.png)
Xero Integration in Scheduling
This is an Astalty Scheduling feature which is currently in beta testing and not accessible by all customers.
If you would like access to Astalty Scheduling please contact support@astalty.com.au.
Overview
Astalty allows you to integrate with your Xero account for the purposes of sending your Timesheet Batches across for processing in Xero. This guide will cover all the steps required by an Admin user to prepare Astalty and Xero for integration.
Optional Feature: Scheduling required
If you haven't already turned this on, before you can set up your Xero Integration for syncing your Timesheet Batches - you will need to enable Scheduling via your Optional Features page in Settings.
For more on how to enable Optional Features - click here
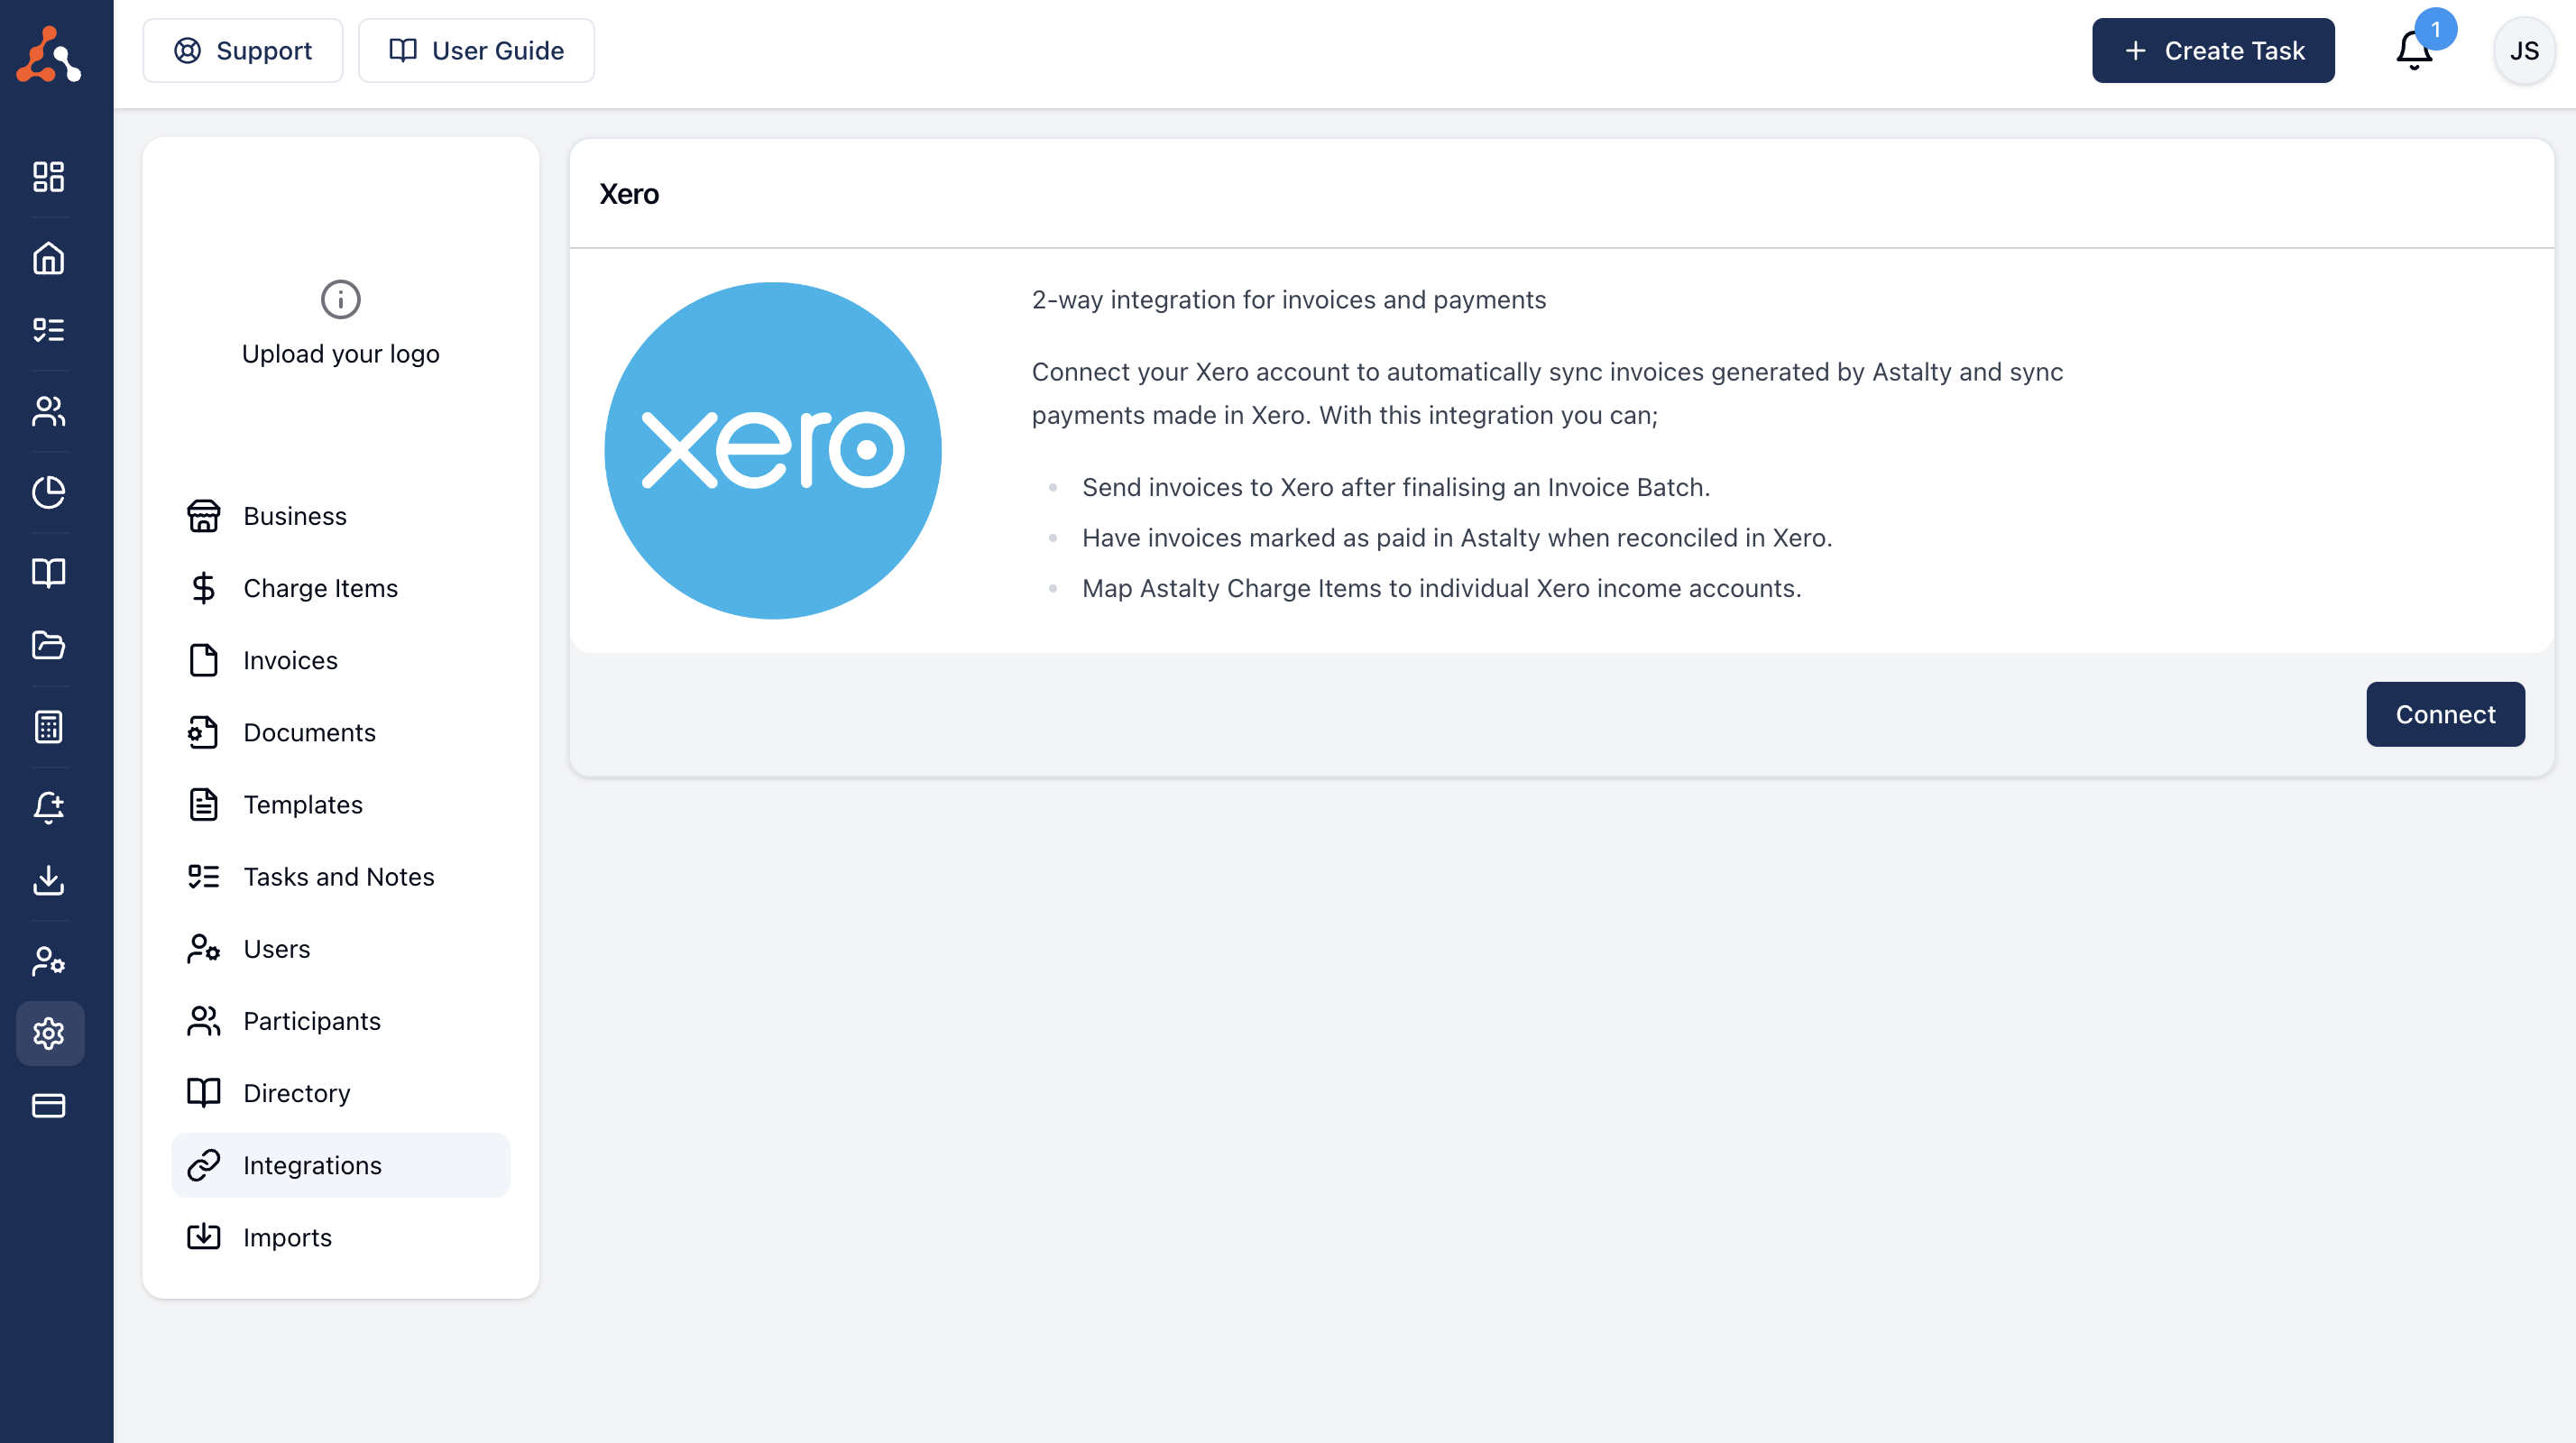
Connecting Xero
Head to the Integrations settings page and click Connect.
Allow Access
You will then be asked to allow Astalty to access certain parts of your Xero account - you may need to log in first.
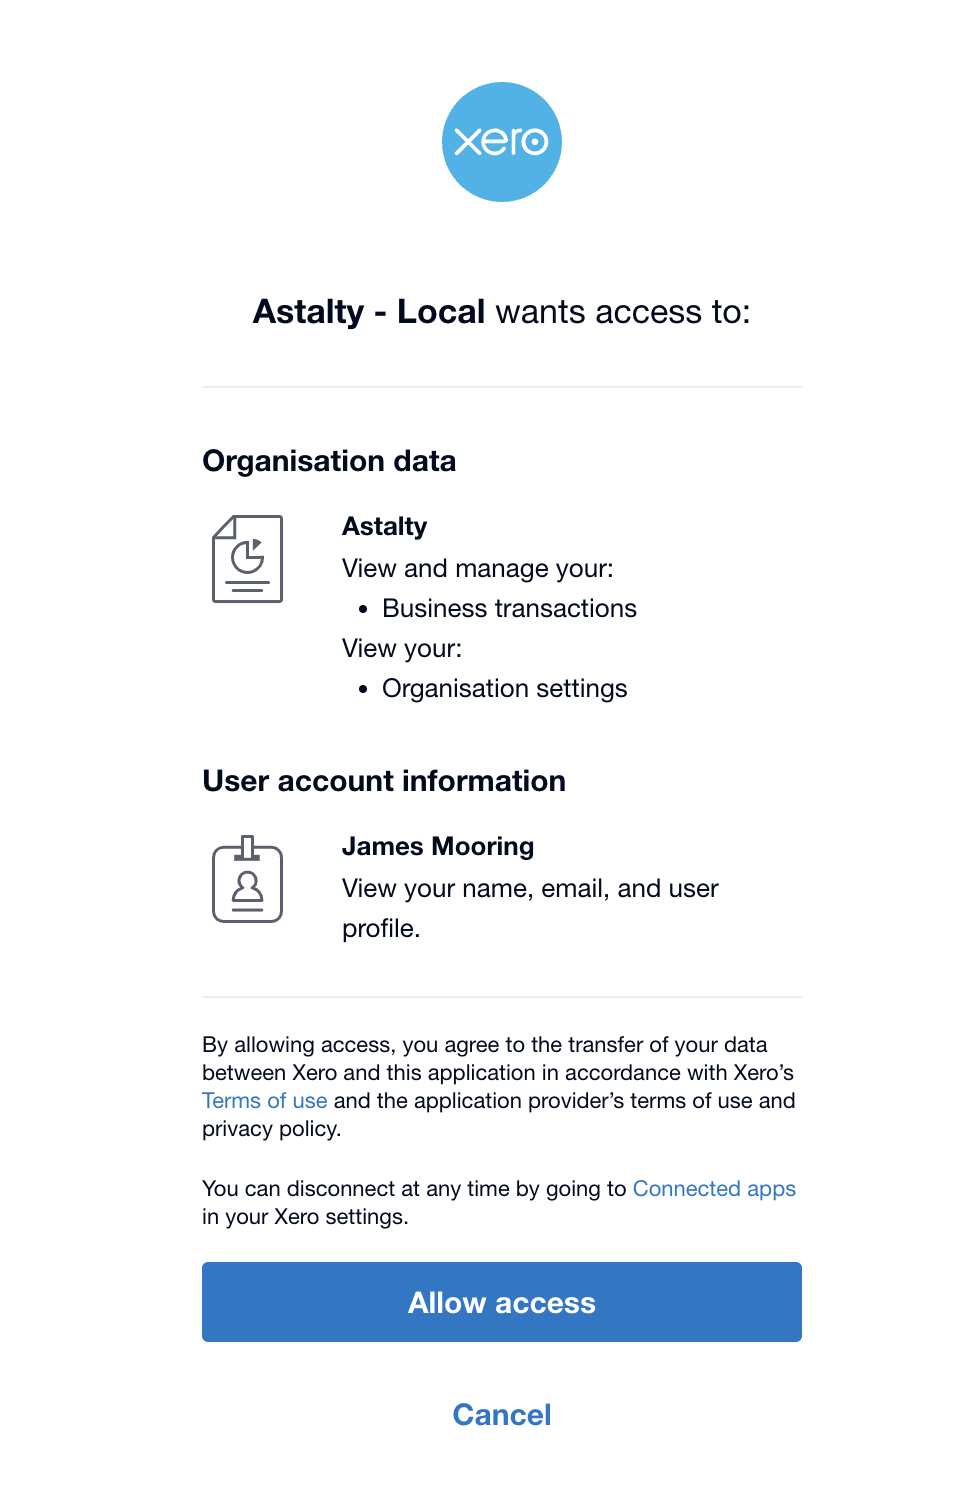
Once you have allowed access, if you haven't already - you will need to configure your Payroll settings within your Xero account - see Xero Configuration below.
Xero Configuration
You will need to ensure you have a valid Xero configuration in order for the integration to work properly. There is some required configuration that needs to be setup in both Xero and Astalty. This section will cover the required configuration in the Payroll Settings within Xero:
Pay Frequencies
Pay Items
Pay Frequencies
In Xero, navigate to Payroll Settings where you will require a Pay Frequency setup to manage the Pay Period of your Support Workers. If this hasn't been set up, you can select Add to create one.

Pay Items
In Xero, select the Pay Items tab within Payroll Settings. This is where Xero stores all the pay items that can be mapped with the your Astalty Pay Items stored within the selected Pay Groups. If this hasn't been set up, you can select Add to create a new Pay Item.


Employees
In Xero, to view the employees that will be available for mapping with the employees (users) in Astalty, navigate to the Employees page via the Payroll menu. If you haven't already setup your Employees in Xero, you can add them by selecting New employee.

Astalty Configuration
You will need to ensure you have a valid Xero configuration in order for the integration to work properly. There is some required configuration that needs to be setup in both Xero and Astalty. This section will cover the required configuration in Astalty:
Payroll Platform
Payroll Calendar
Pay Groups
Employees
Payroll Platform
Begin by assigning Xero as your Payroll Platform within your Scheduling Settings.


Select Update to save your changes.
Payroll Calendar
Within Astalty navigate to your Xero Integration Overview page and select Edit.

Select the required Payroll Calendar (the Pay Frequency setup in Xero), and then Update to save your changes.

Payroll Calendar
You can only select one Payroll Calendar - If you have different payroll calendars, we would suggest using the Payroll Calendar for your Support Workers.
Pay Groups
Pay Groups let you organise Pay Items into specific groups. Within Astalty's Xero Integration page navigate to Pay Groups. If you don't already have a pay group setup, you can create one by selecting Add Pay Group

Give the Group an appropriate Pay Group Name, and select Create Pay Group.

Use the 3 dot menu of the Pay Group you just created to select Edit Pay Item Mapping.

Here you can begin mapping the Pay Items with the Pay rates from Xero.

If you need to make any changes to any other existing Pay Groups, use the 3 dot menu if you need to Edit Pay Group or Edit Pay Item Mapping.

Employees
Within Astalty's Xero Integration page navigate to Employees. Here you will find a list of employees that are either currently Linked or Not Linked to Xero. To ensure the integration works correctly, you will need to map out the employees between Astalty and Xero.
To map any employees (users) that are not currently linked to their Xero employee yet, view the list by selecting the Xero Employee filter for Not Linked, and select the employee (user) to edit.

Then select the matching employee from the drop down that is populated from Xero, and then Update to save your change.

Once the employees are linked, they'll appear within the Linked list. If required, you can edit the linked Xero employee, by selecting a Linked employee (user) from the list.

Missing Employees
If the employee is missing from the Xero Employee dropdown, you will need to ensure they are setup in Xero as an Employee.


If an employee cannot be found in either Linked or Not Linked, you will need to ensure the user is setup in Astalty with their own User Profile - within Users.
Syncing Timesheet Batches to Xero
When generating your Timesheet Batch to sync with Xero, the dates must match the next Pay Frequency date range that Xero hasn't processed yet.
Once you have generated your Timesheet Batch, use the Actions button to select Export Timesheet for Xero. See our Timesheet Batches guide for more information on how to create these.

When you're ready to sync the Timesheets batch with Xero, select Validate.

After Validating, the export will display below within Export Results. If it was successfully synced with your Xero account, the Export will display as 'Completed'

The newly synced Timesheets will appear in Xero with the Timesheet Status of Draft, ready for processing in Xero.

Errors When Syncing Timesheets
Astalty will identify errors that occur during the syncing process when you attempt to Validate a Timesheet Batch.
Timesheet already exists
If you have already synced an existing batch to Xero, Astalty will prevent the batch from syncing and will provide you with a Failed message.

Incorrect Timesheet Batch Dates
When generating your Timesheet Batch to sync with Xero, if the batch dates do not match the next Xero payroll period (next payroll period that Xero hasn't processed yet) - Astalty will advise you that it cannot be synced. This is a limitation of Xero as it cannot process multiple batches for the same pay period and nor can it process batches where its not the exact date range (e.g. overlaps two xero payroll periods).
If you need to process missed timesheets that occured in a previous period, these will need to be manually exported from Astalty and then manually inputted and processed within Xero.

Missing Users
If you attempt to sync a batch that contains users who are not linked to employees in Xero, the sync will fail. You will need to link these employees before rerunning the sync.

Clicking on the Wrench Icon will navigate you to Employee page to fix the issue.
