- Day-to-Day
- Adding Documents to a Task
Adding Documents to a Task
Overview
Within Astalty tasks you can upload documents. You can do this one of two ways, by either Uploading documents to a Note or Uploading documents to a Task. By uploading a document to a participants task, it also will be uploaded to their participant 'Documents' page. This removes the need to upload anything twice.
Uploading Documents to a Note
You can upload documents directly to a Note once it has been saved - the Upload Documents button at the bottom of the Note input will be enabled. Simply click this button and upload your files.
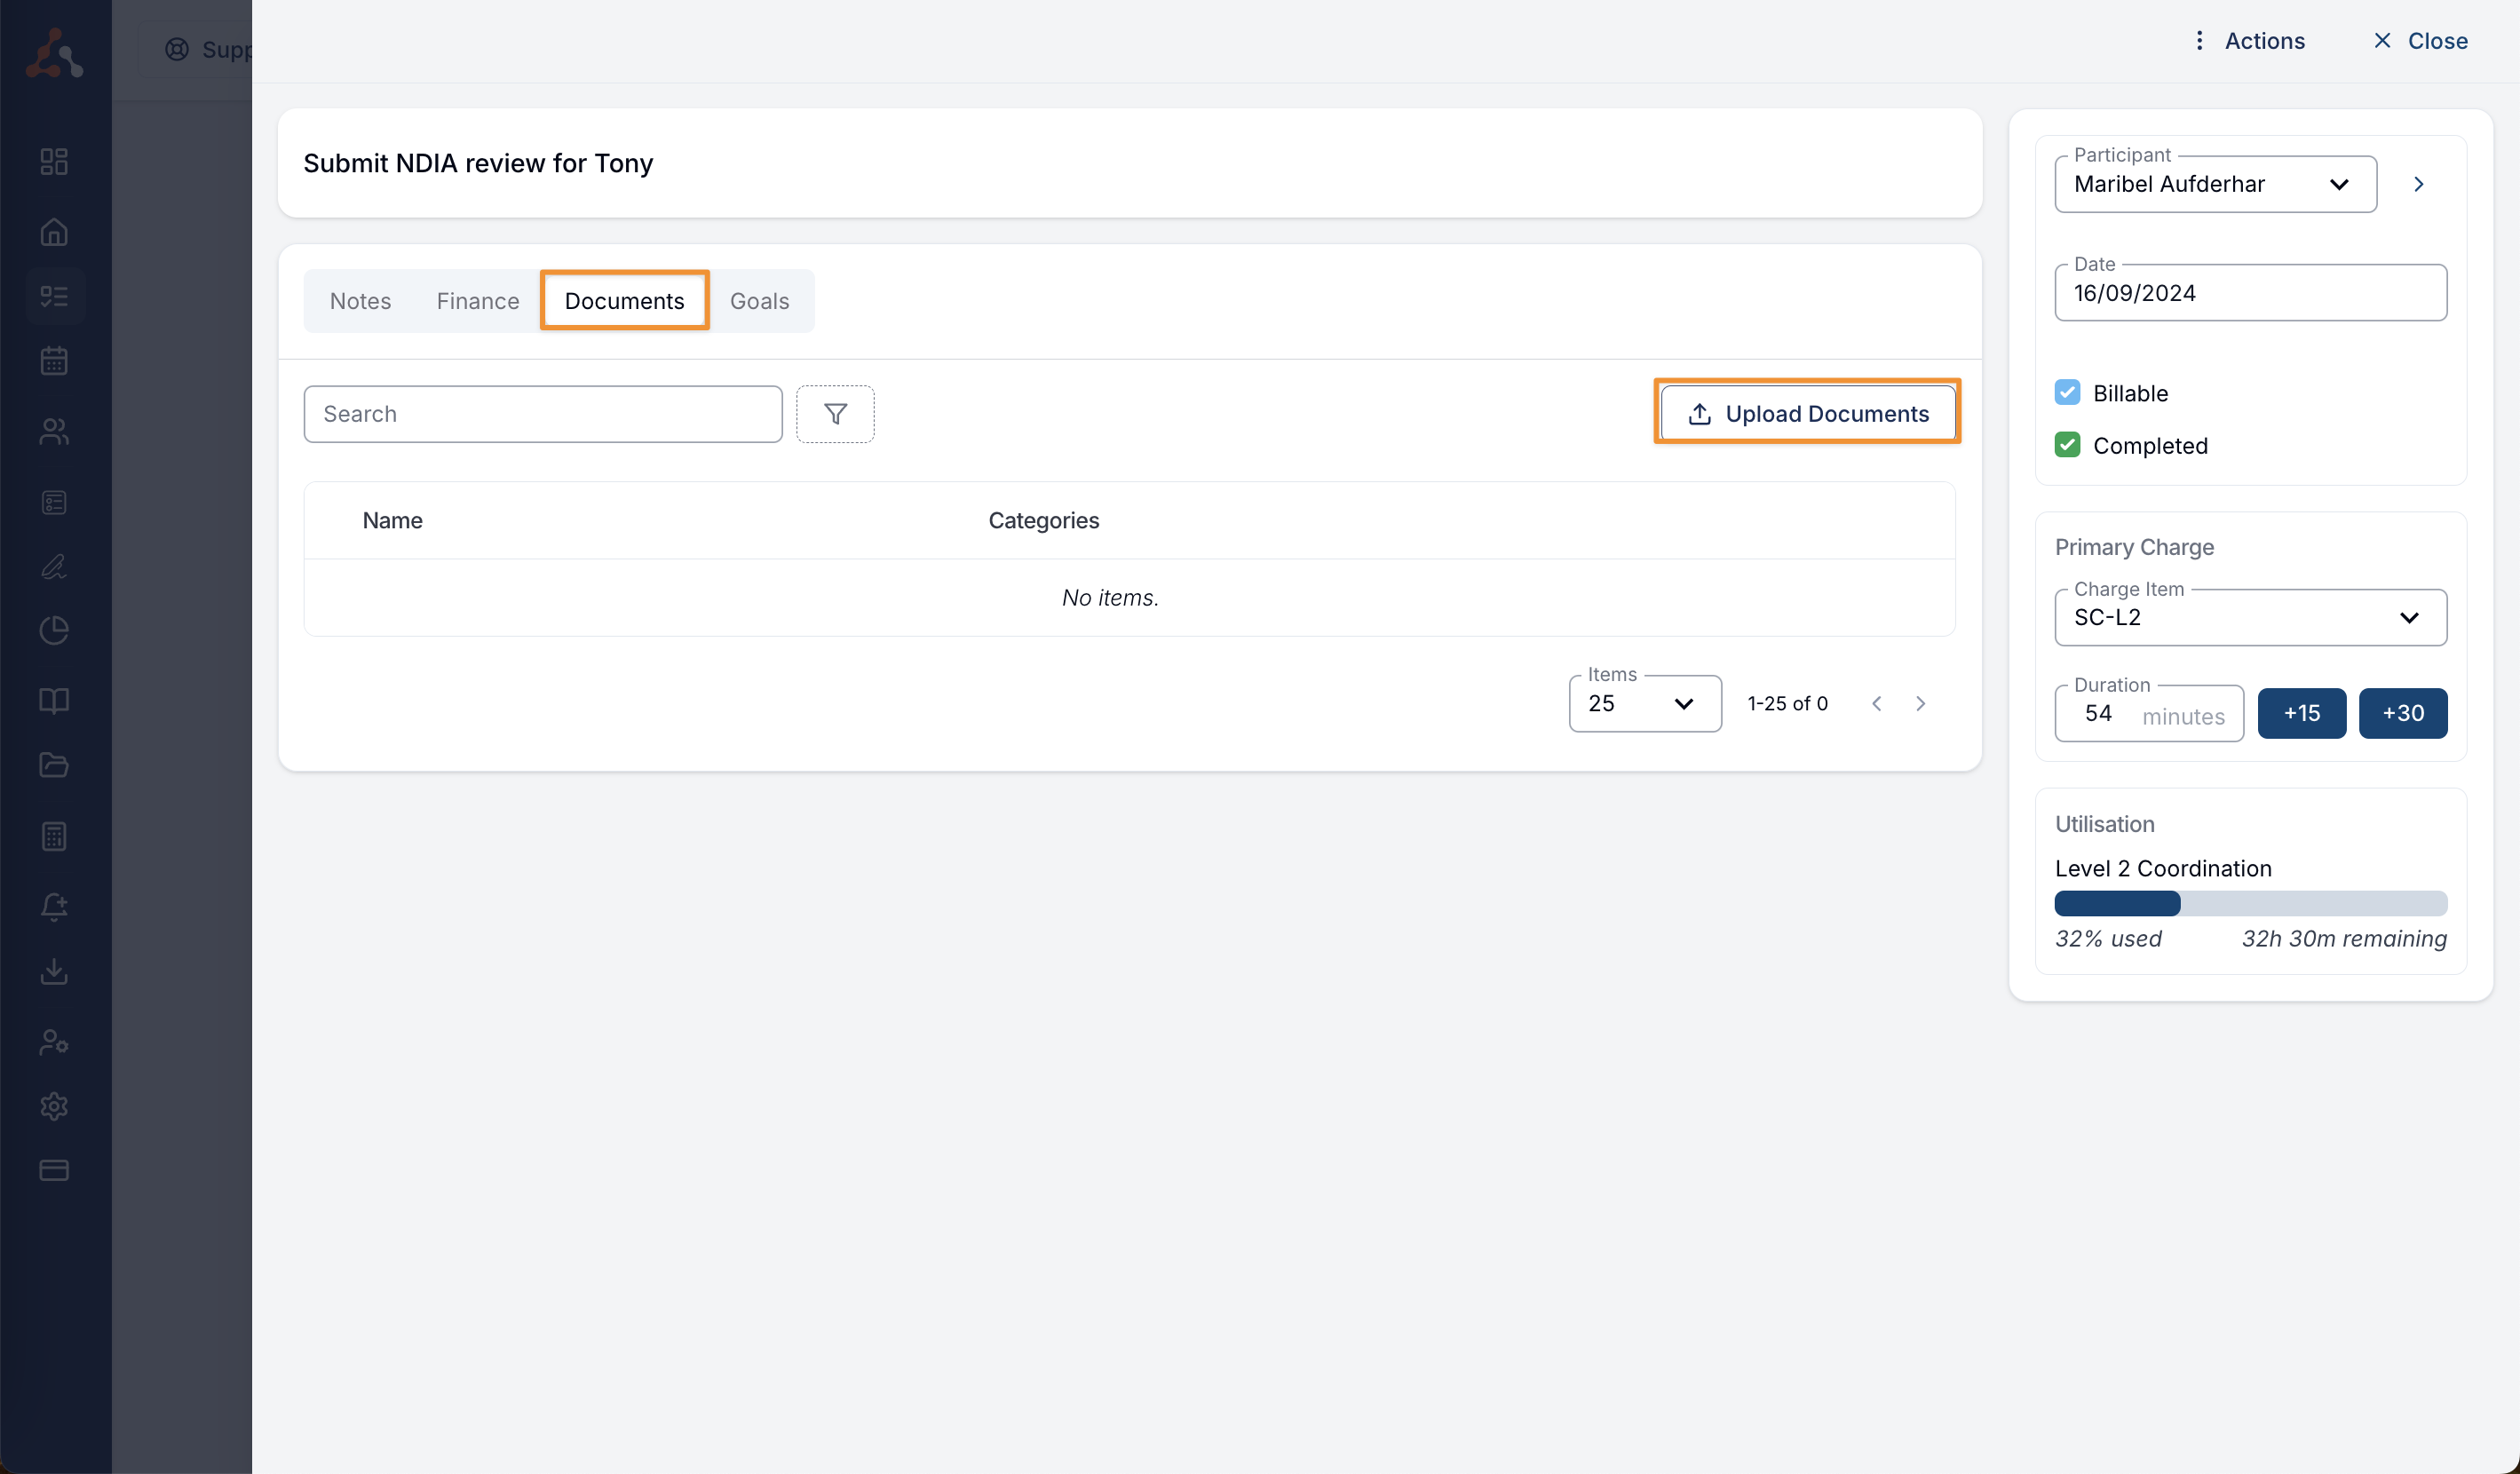
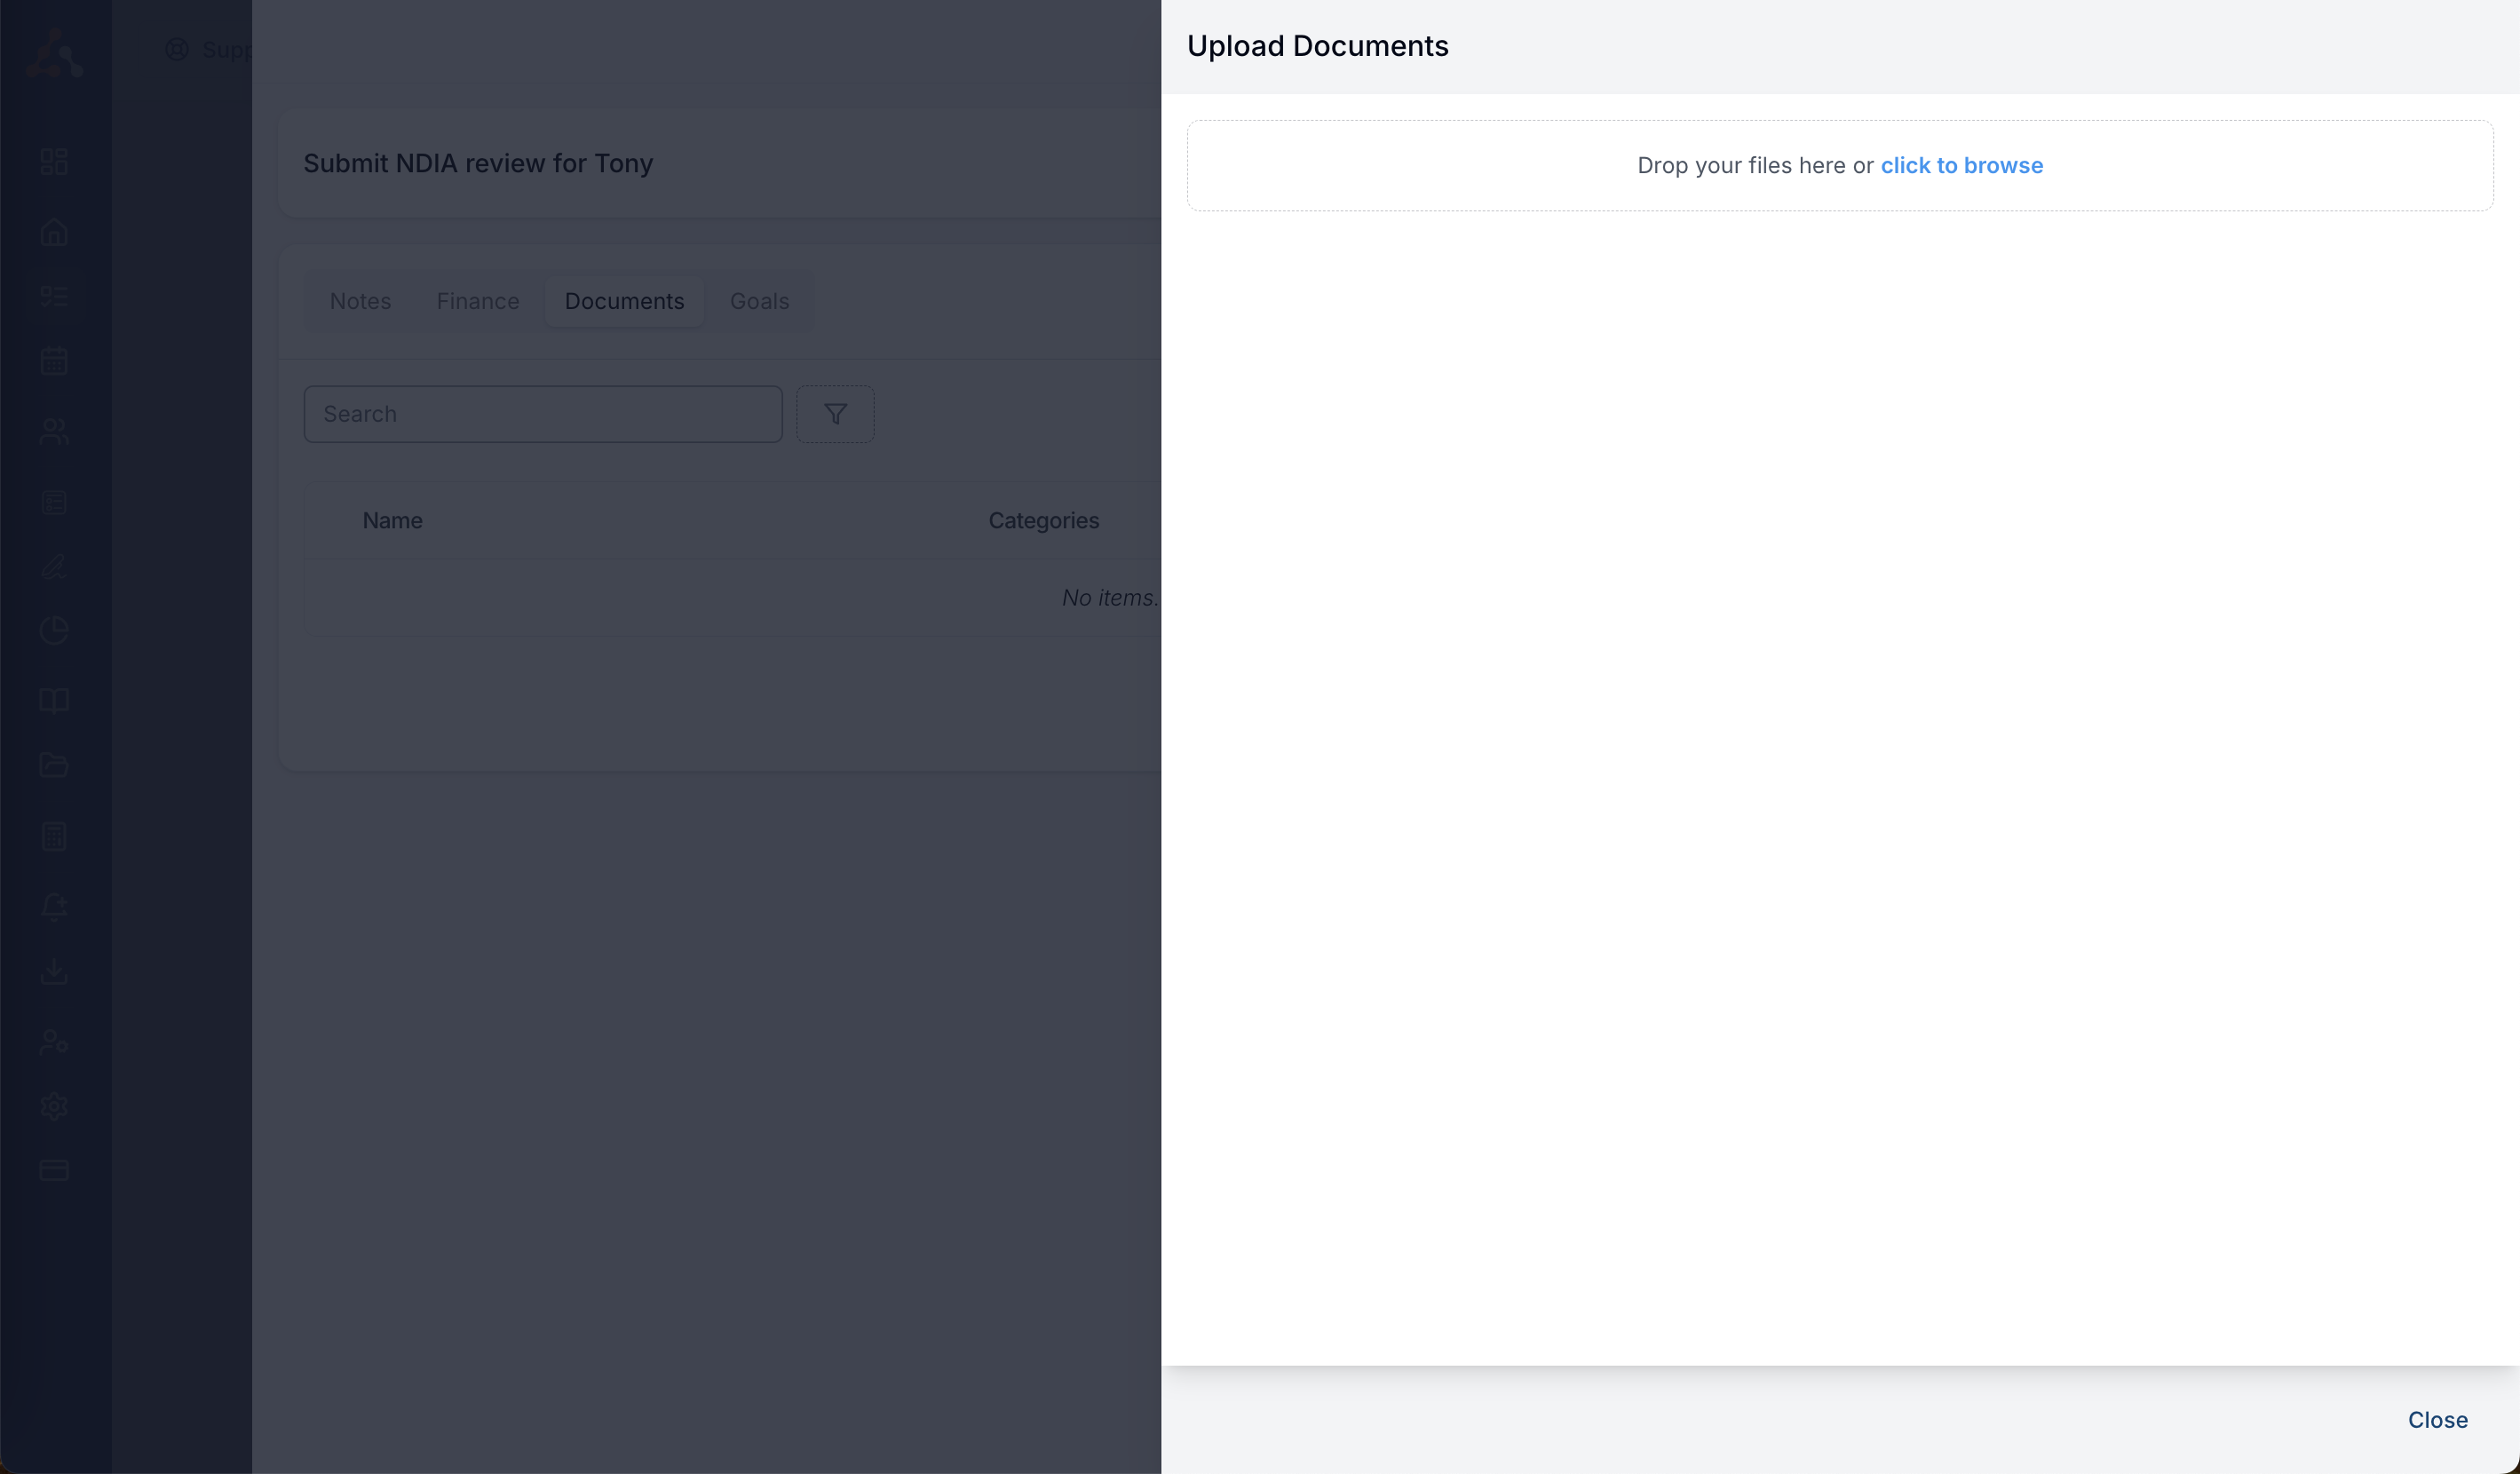
Uploading Documents to a Task
You can also upload documents to the Task - you can do this by clicking into the Documents tab, clicking Upload Documents and upload your files.
Editing the Name and Adding a Category to an Uploaded Document
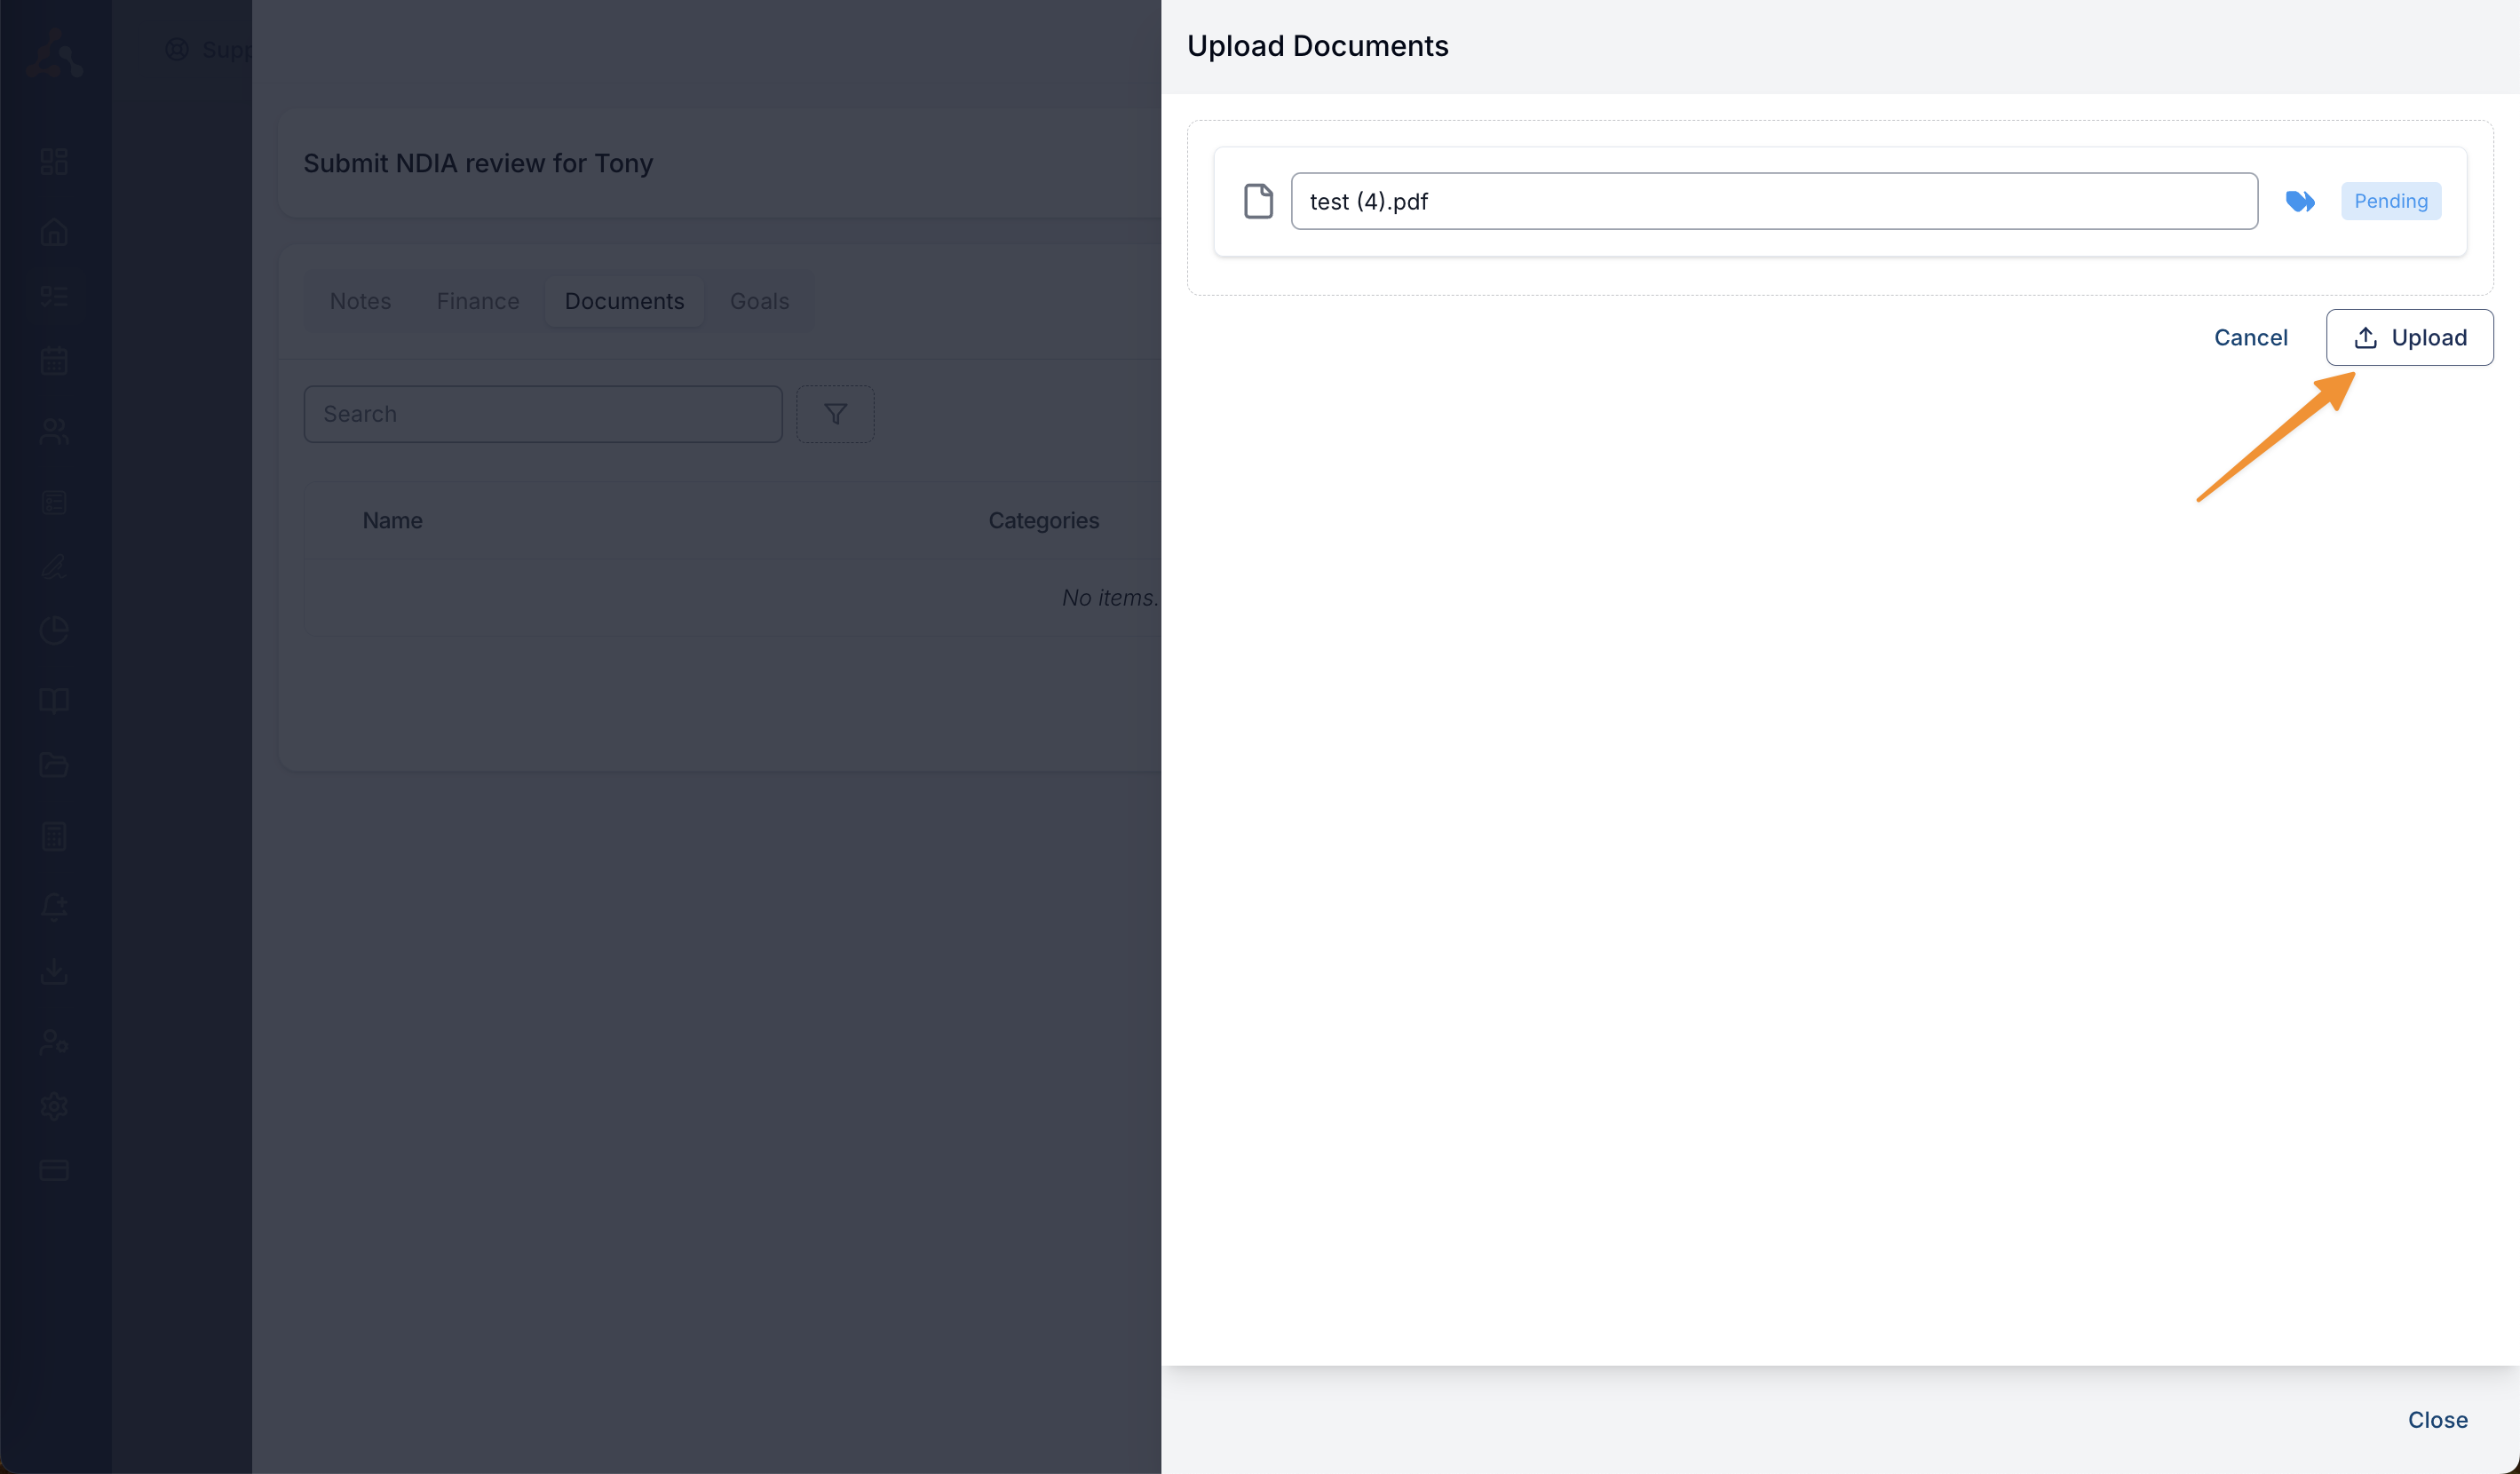
When you upload a document to a task you can edit the document name and add a category to a document so that it can be easily sorted within the participants documents menu. To do this click the name of the document, you will then be able to type a custom text to rename the document. To add a 'category' click the 'category' icon to the right of the upload name. Upon doing this you will see a list of categories in a dropdown list. If you cannot see the category you would like, you can just type the category name in the search bar and create the category on the fly.
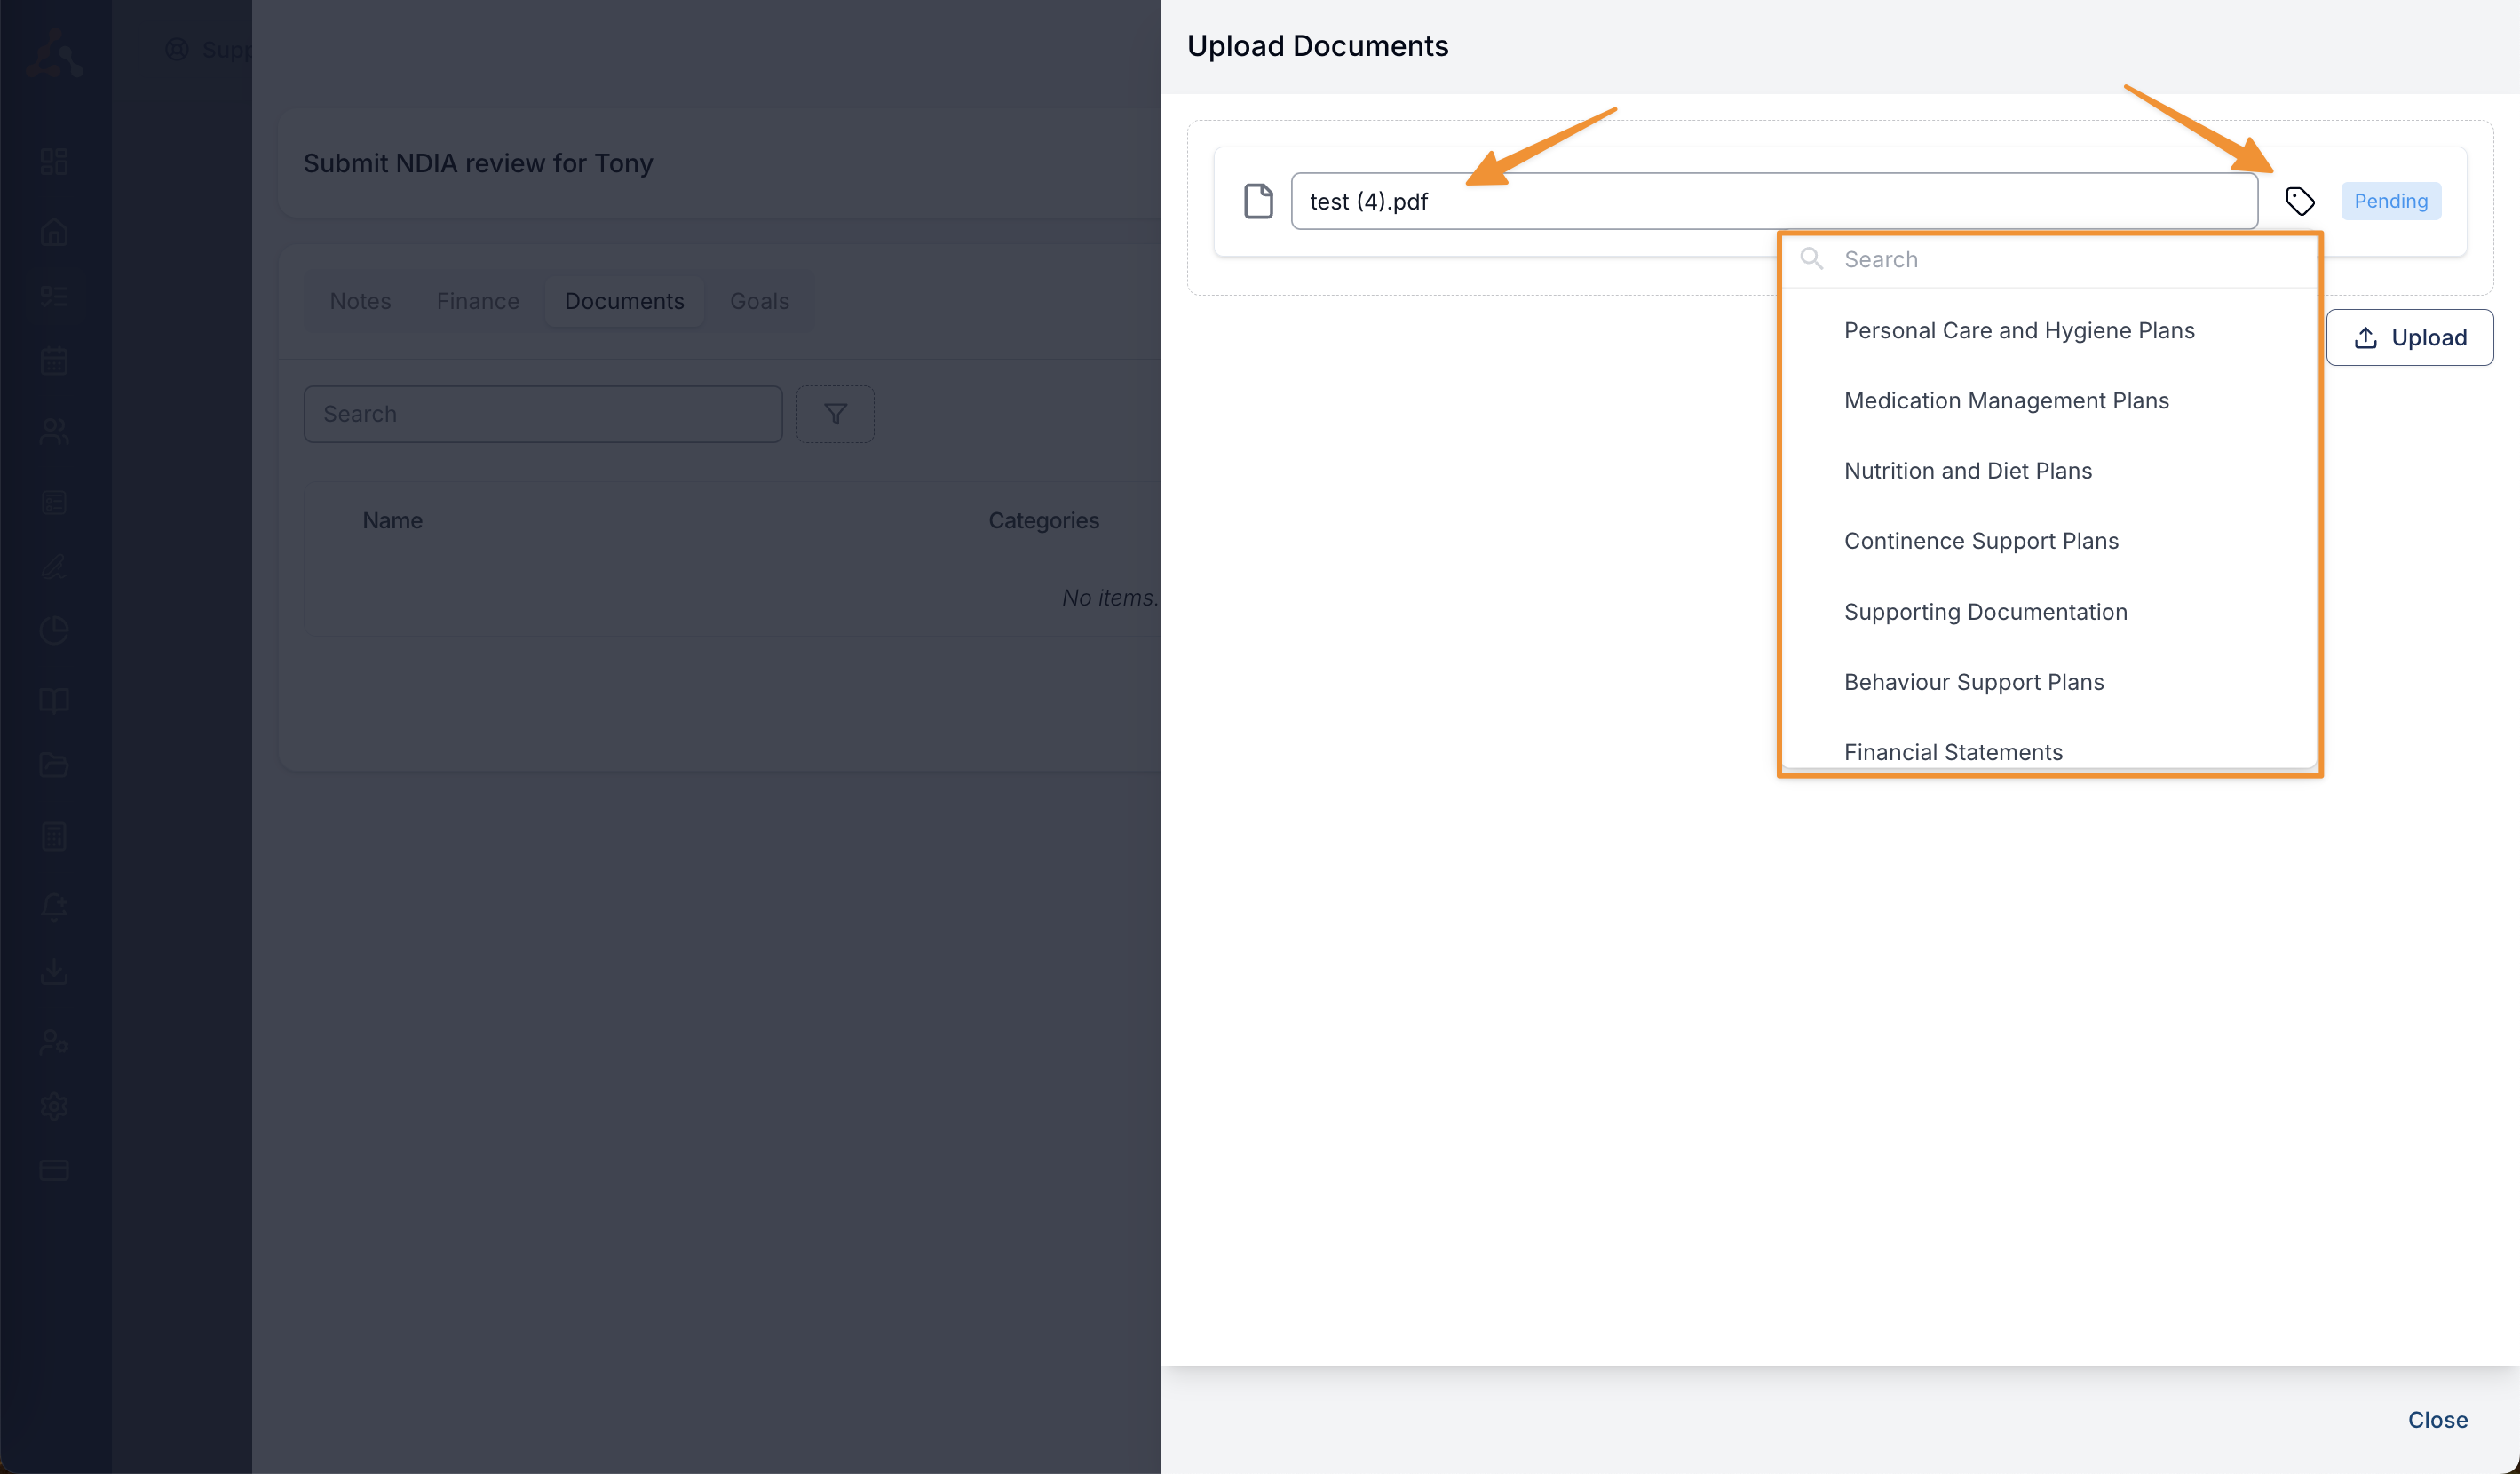
Once you are happy with this document you can then click upload to upload to document.
Adding Multiple Documents to a Task
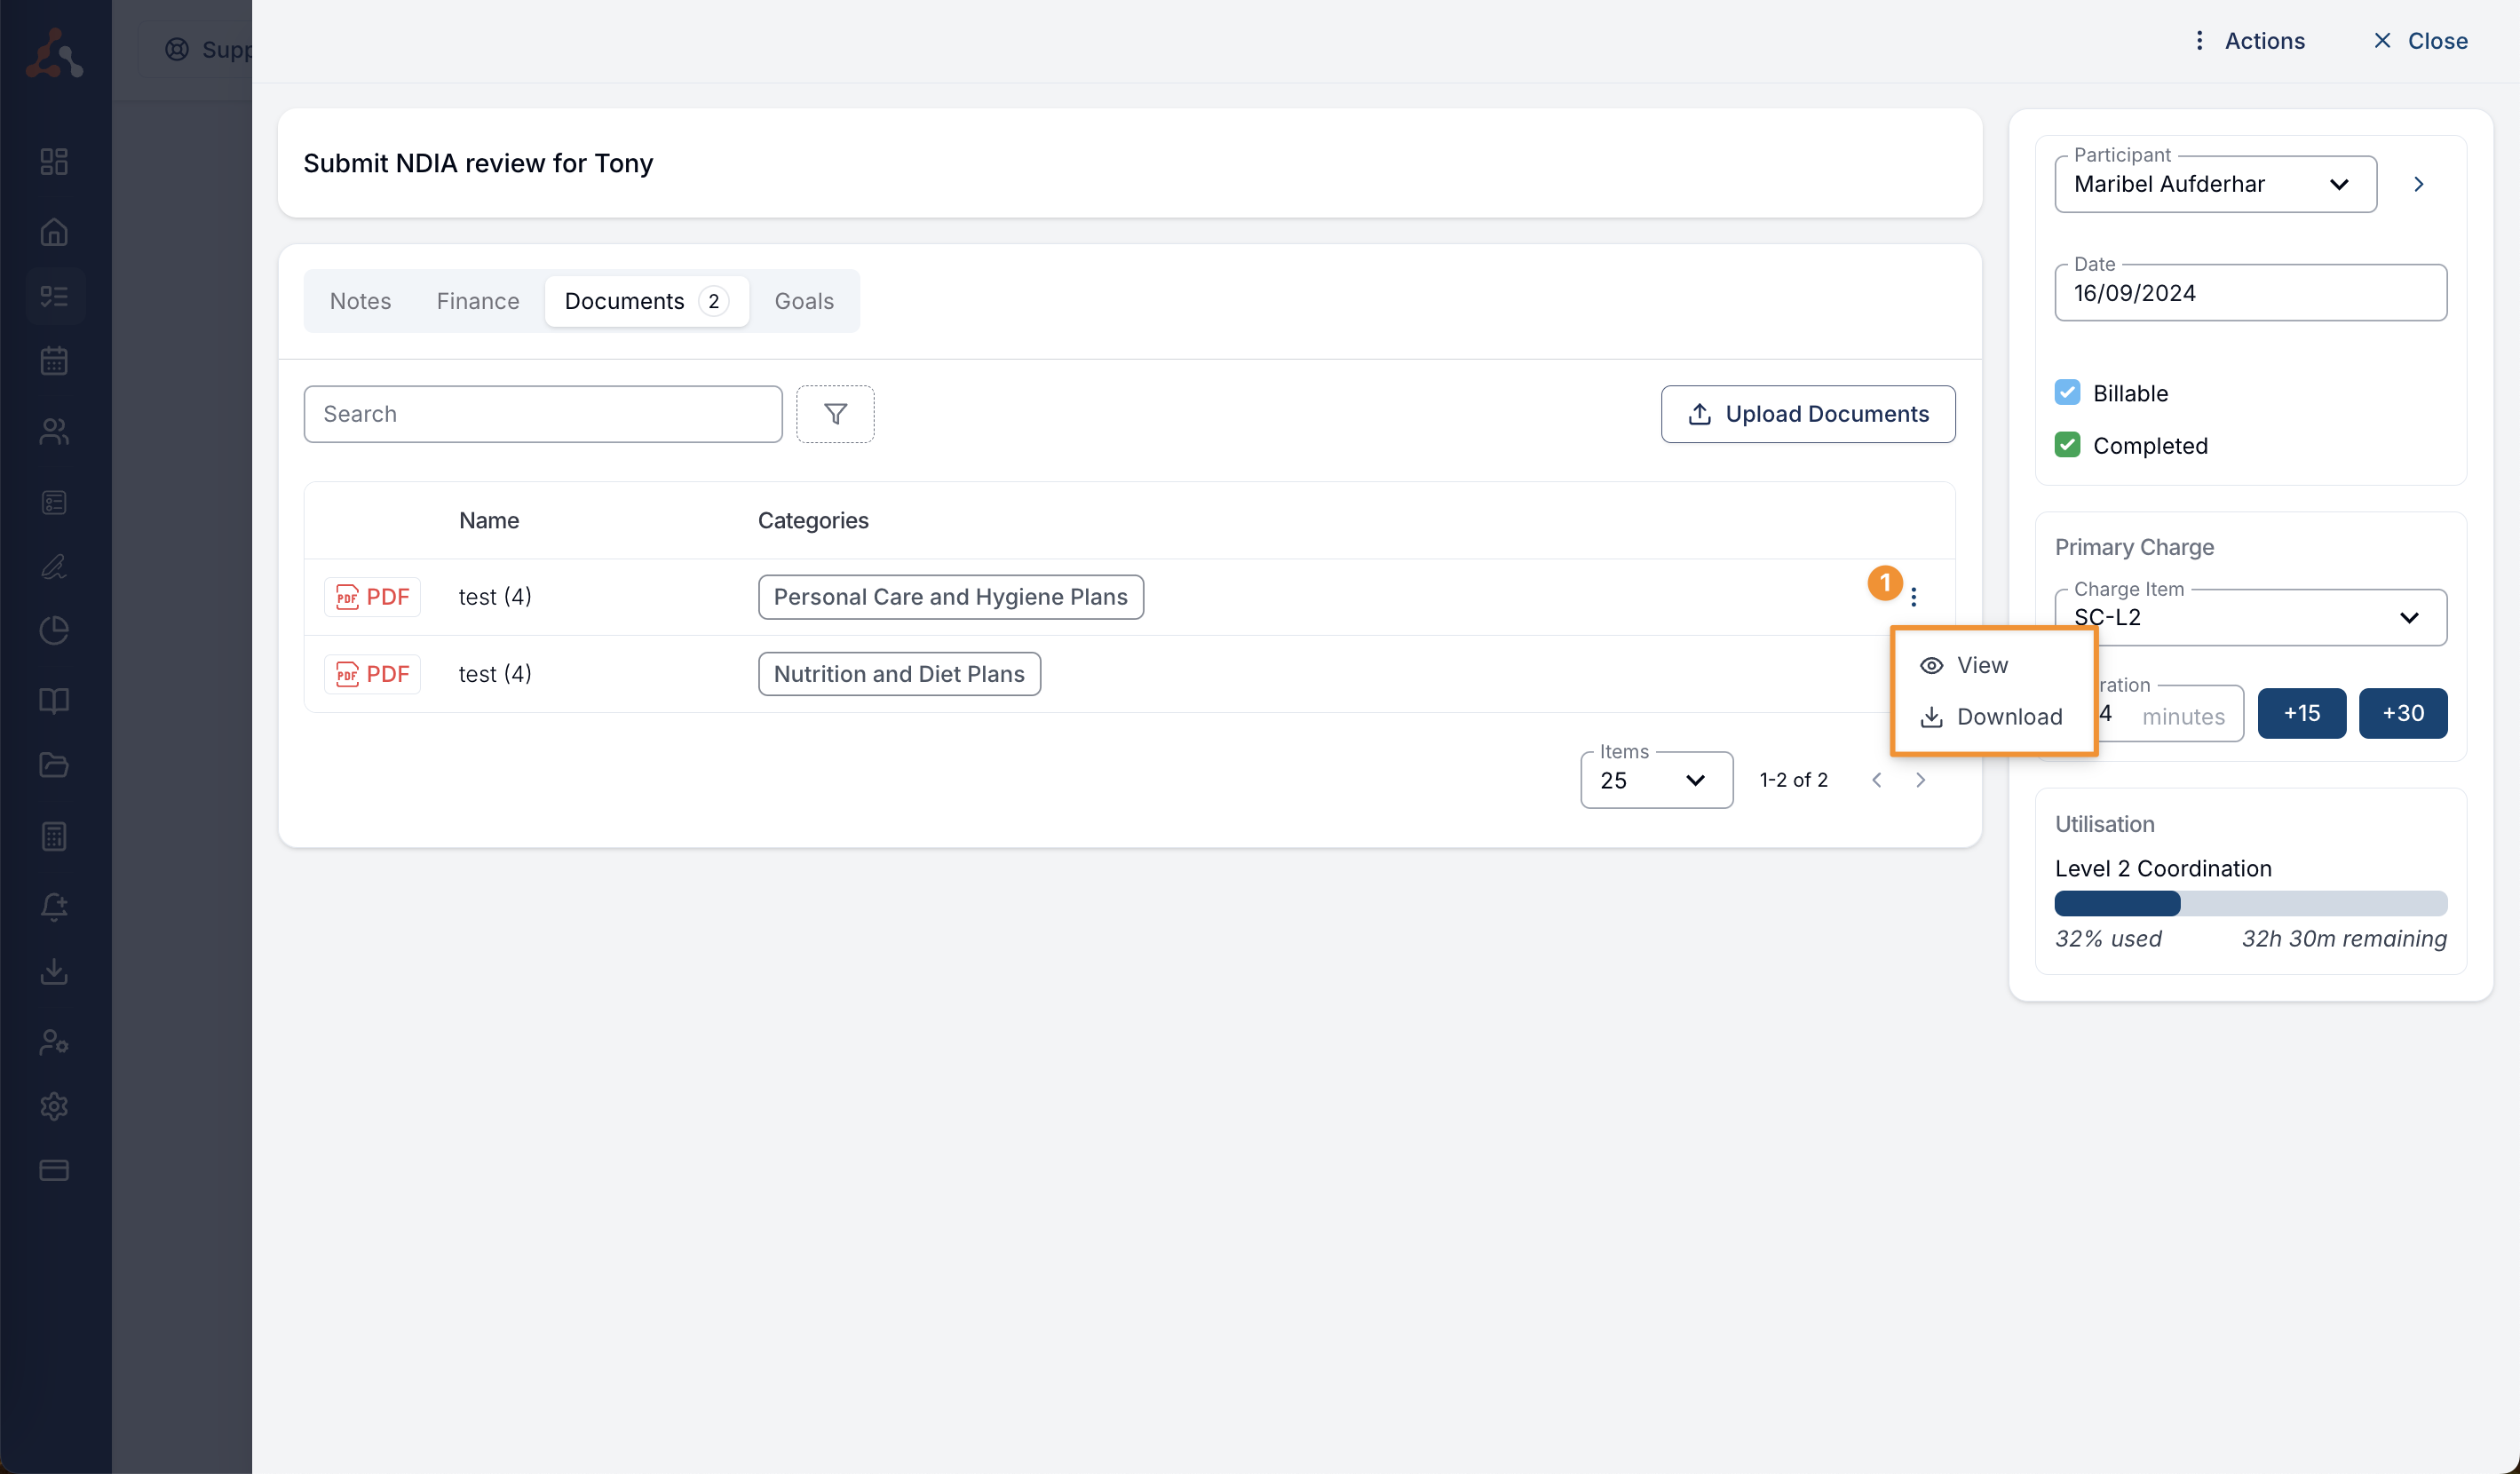
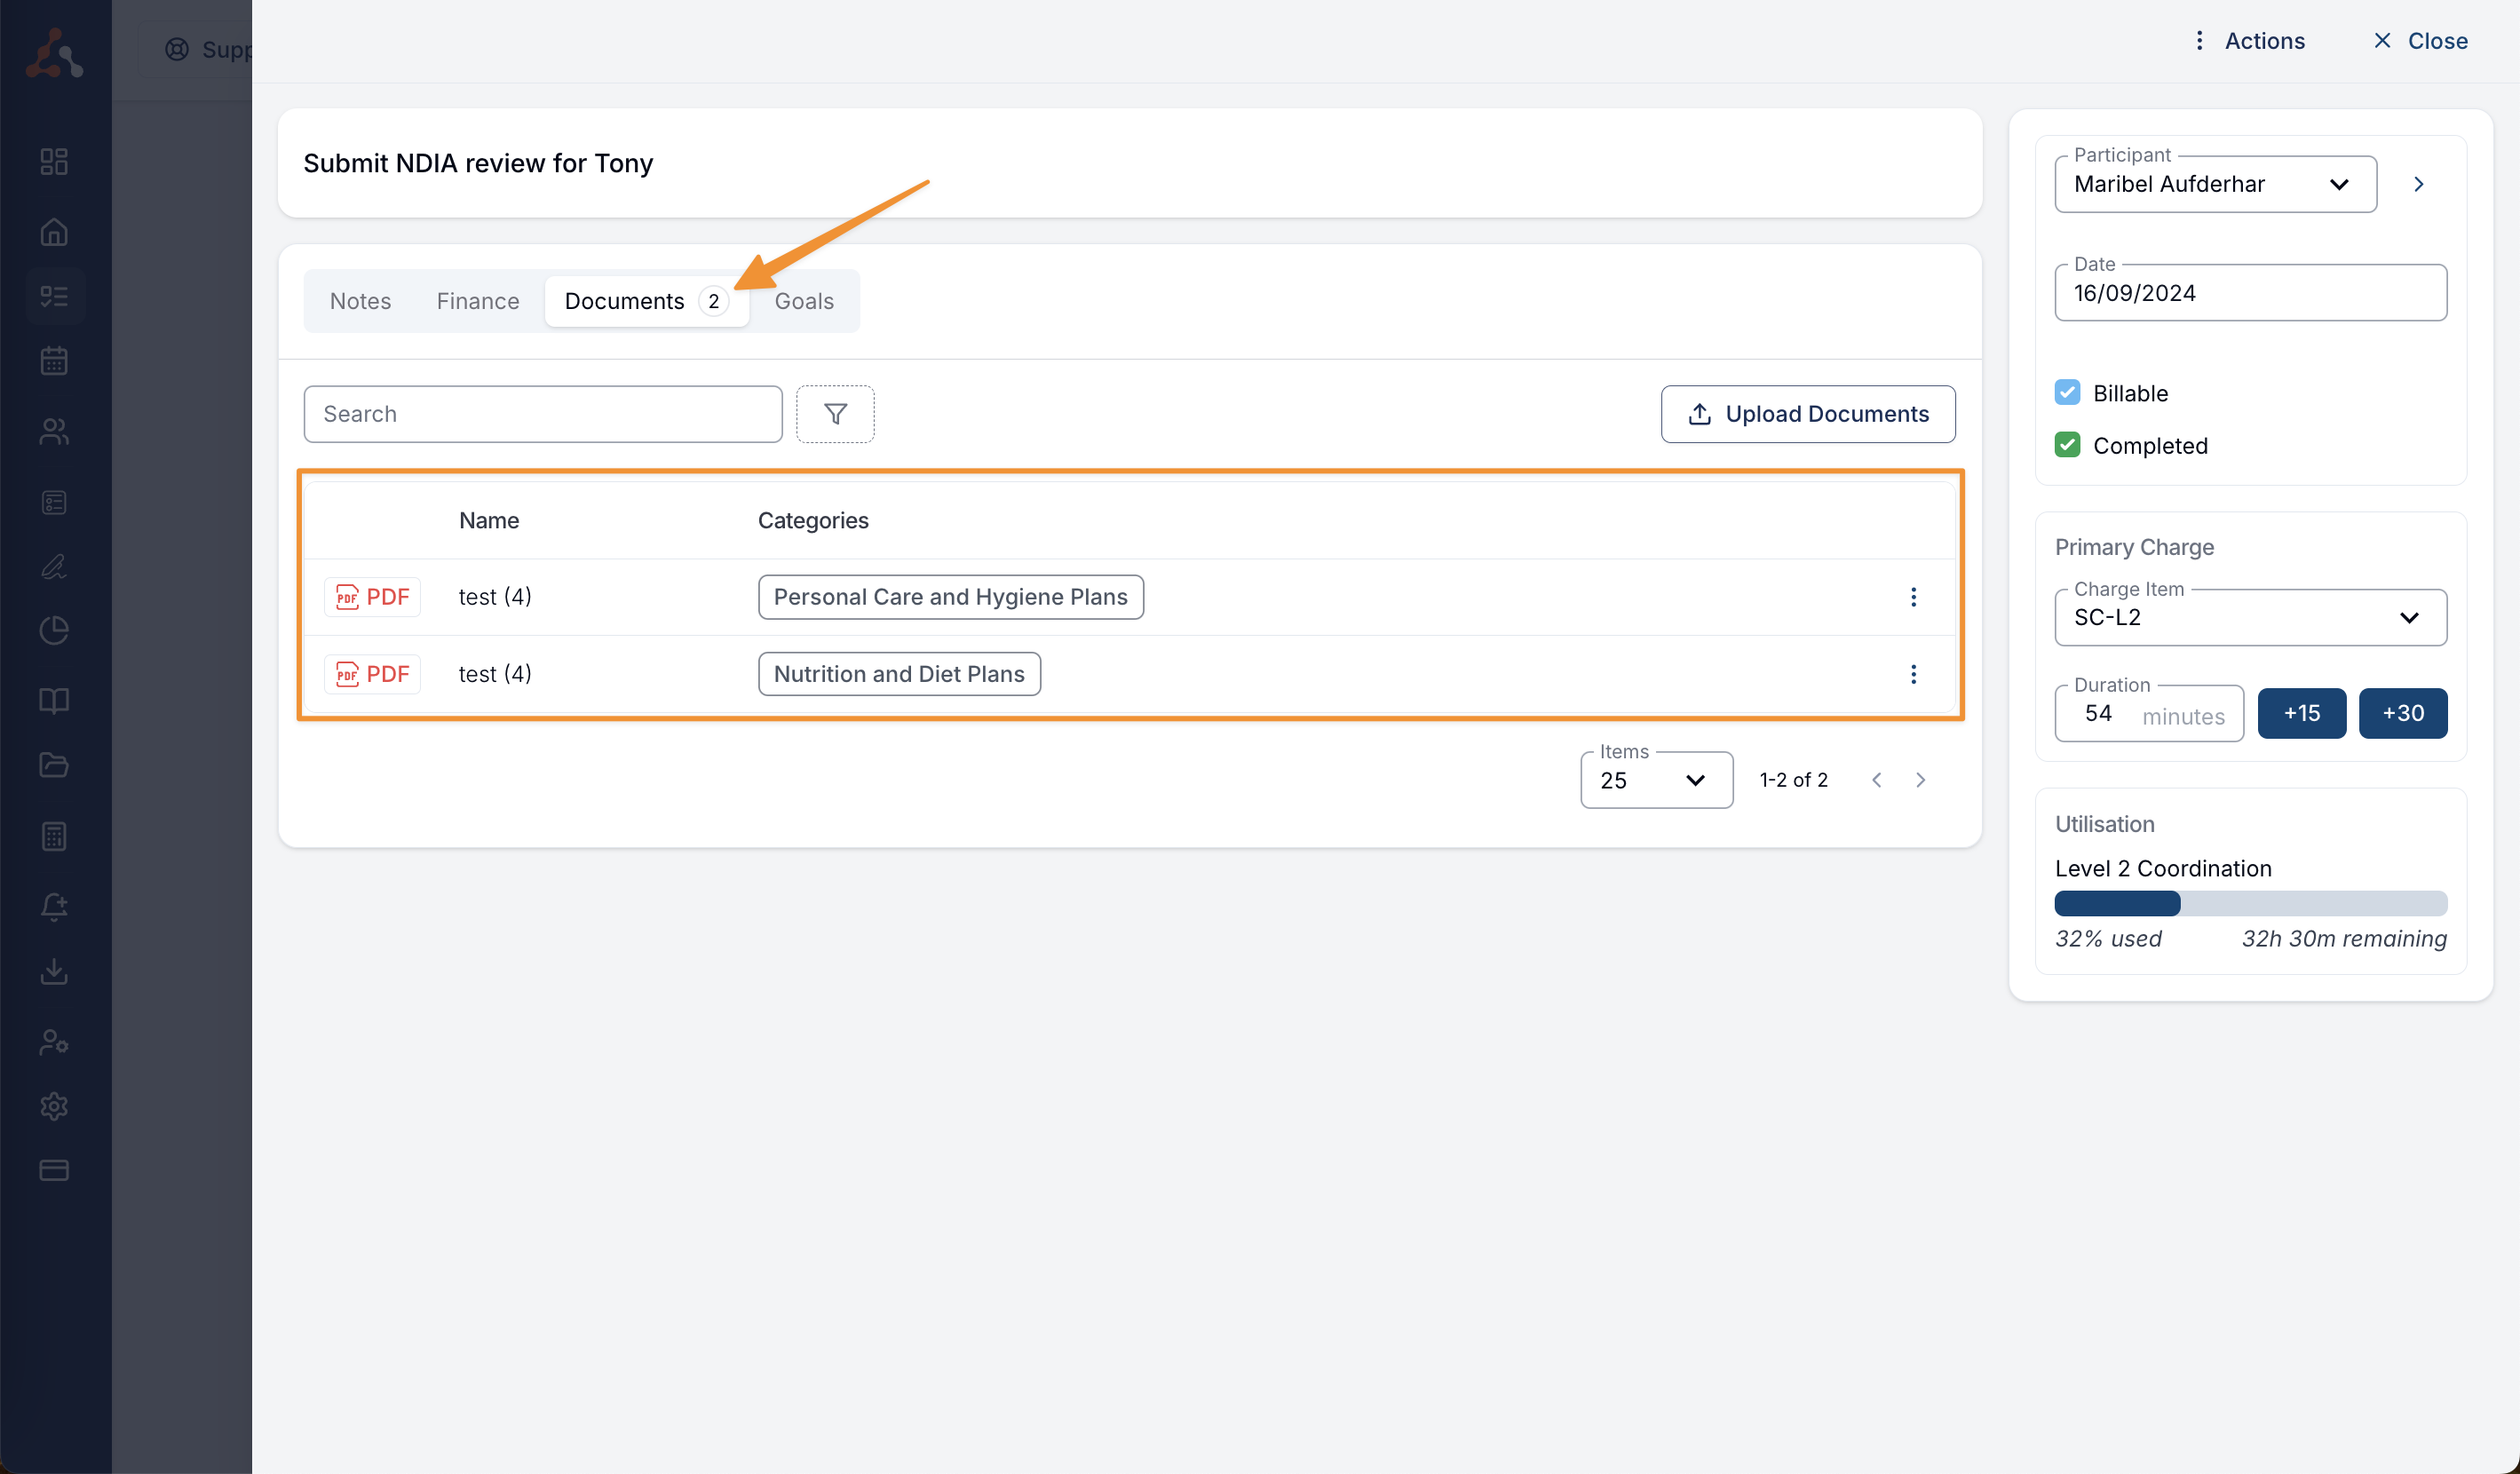
You can add multiple documents to a task by following the above method. When adding multiple Documents you will see that Astalty will show the amount of documents assigned to the task in the bubble to the right of the document header.
Additional Options
If you click the three dots to the right of the uploaded document. You have the option to view the document within Astalty or Download the document itself.