.png)
Reconciling NDIA Payments
Once the NDIA has processed your bulk upload payment request, you can download the receipt file generally within an hour (sometimes immediately). To learn how to find this file click here.
Creating the Payment
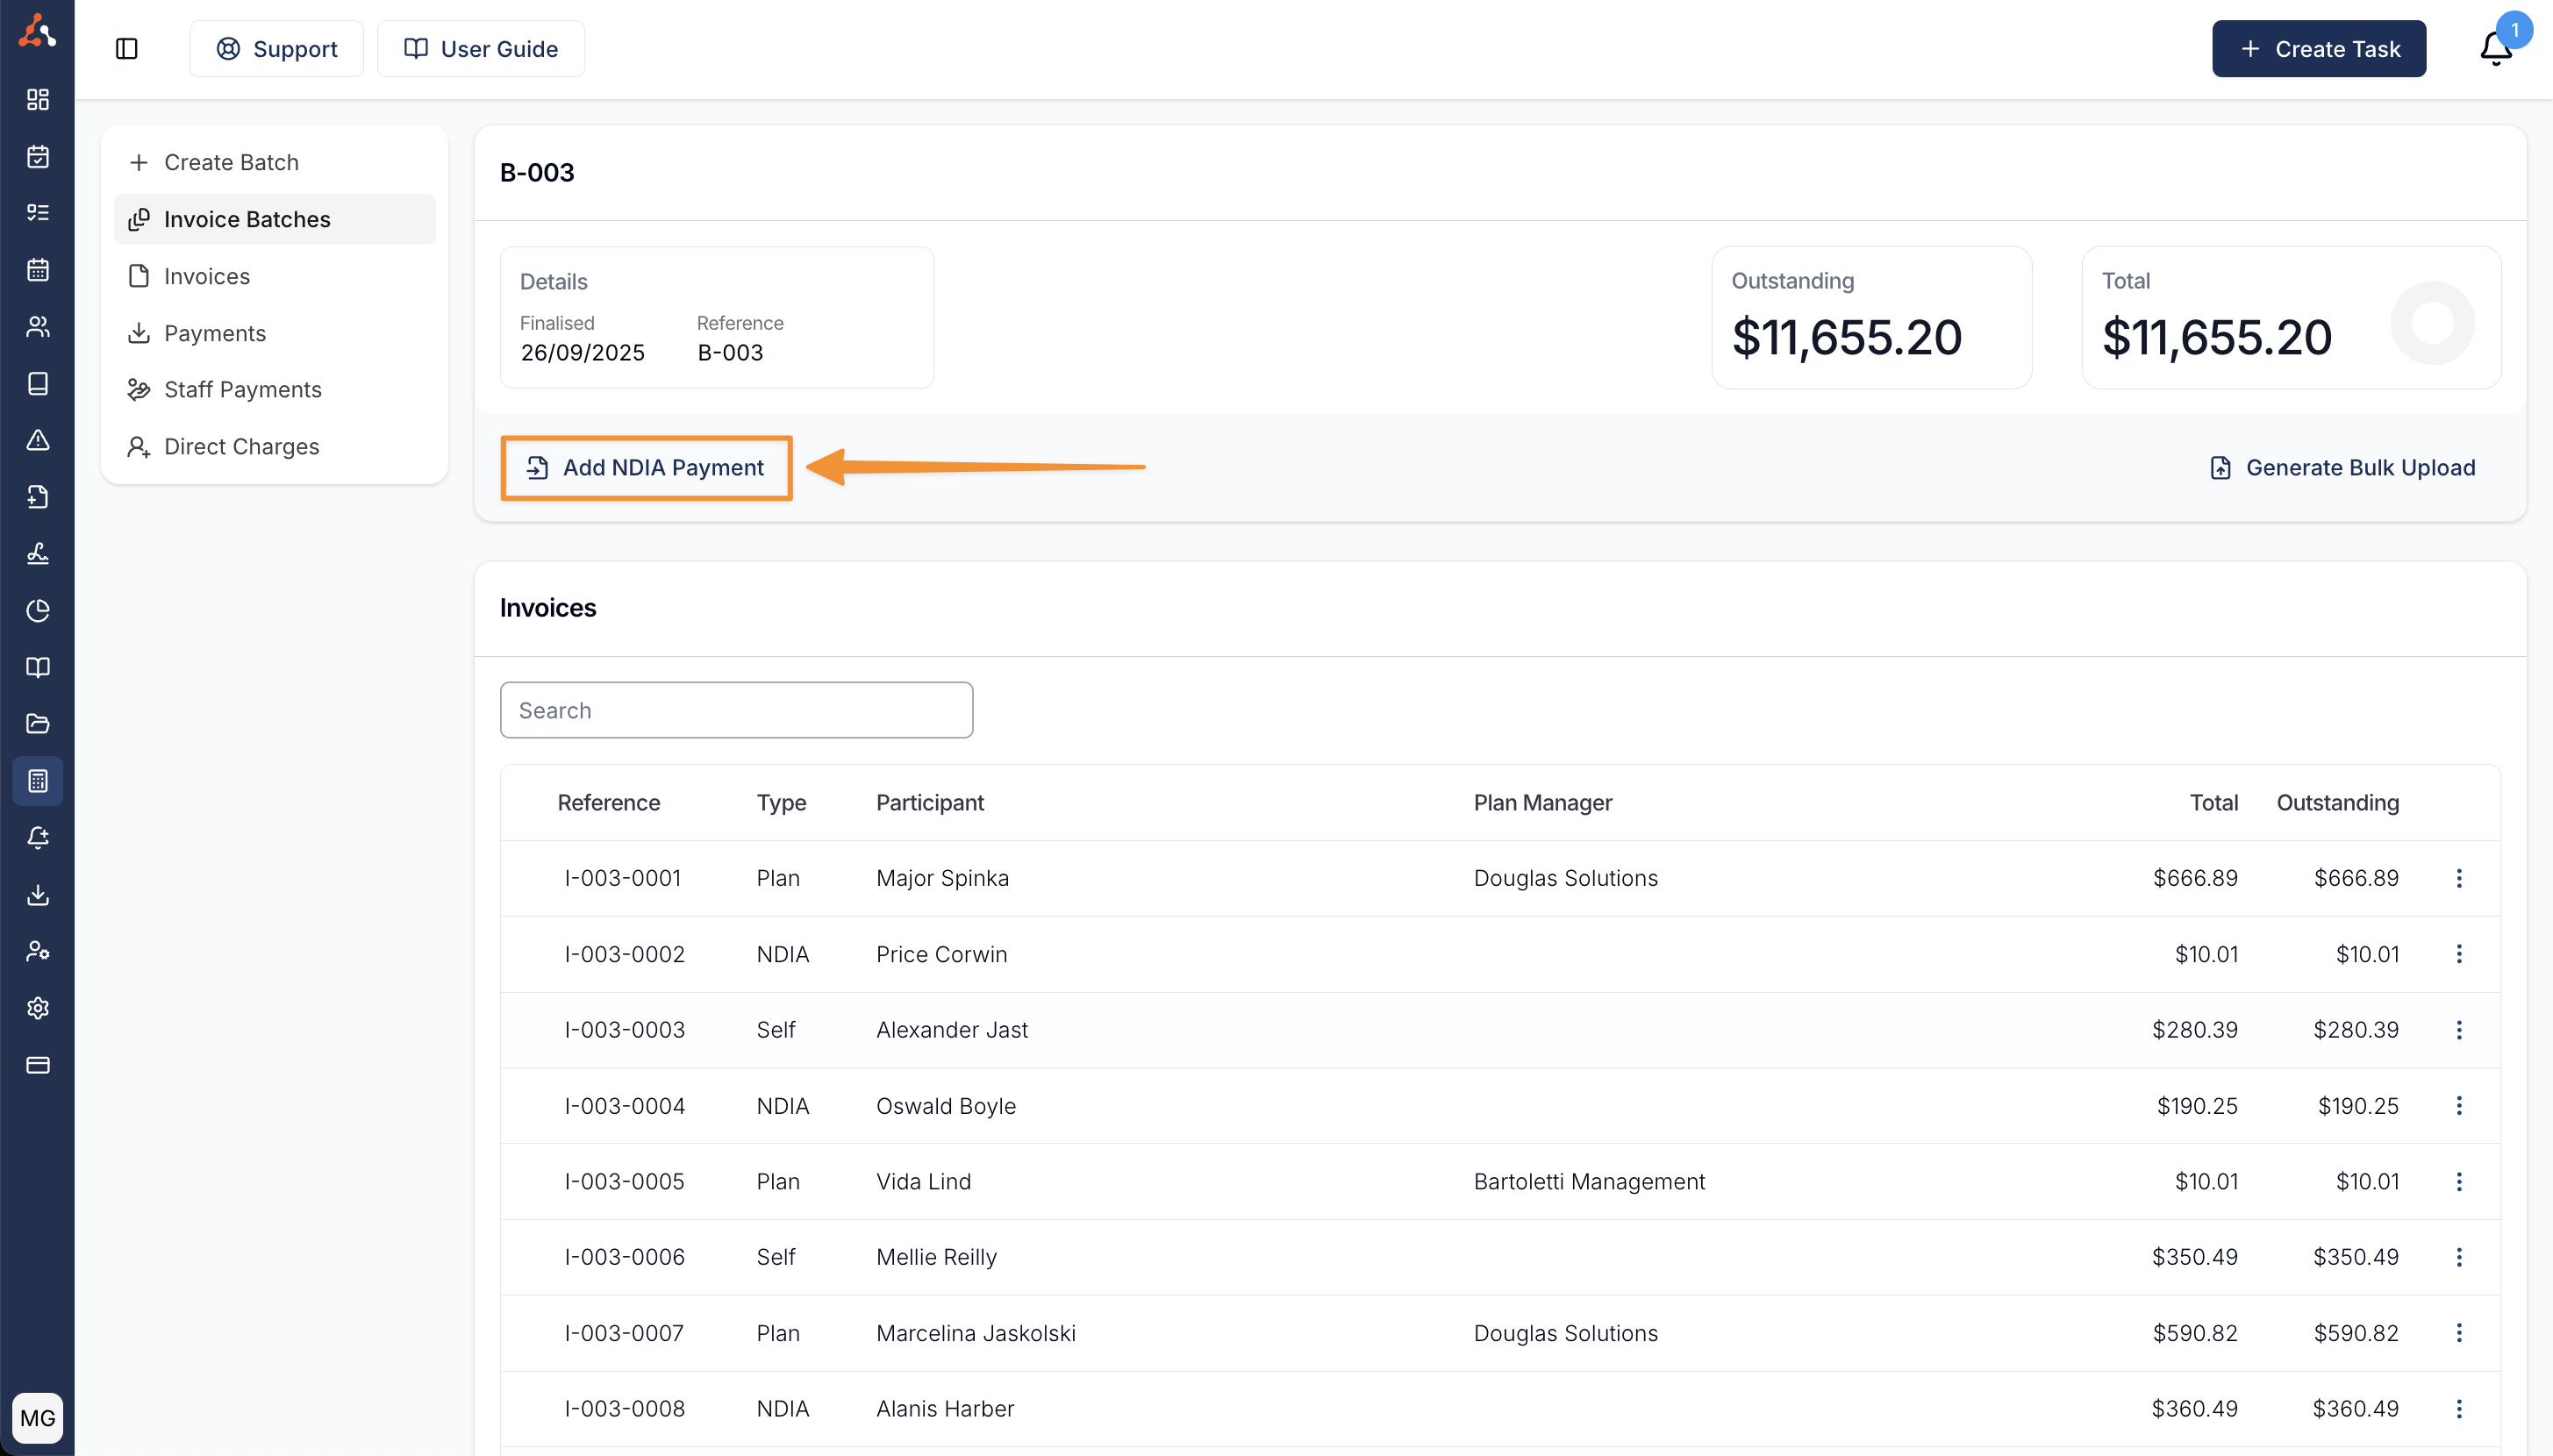
Once you have found and download the receipt file from the portal, click into the relevant Invoice Batch on the Invoice Batches page and click on Add NDIA Payment
Upload the Receipt File
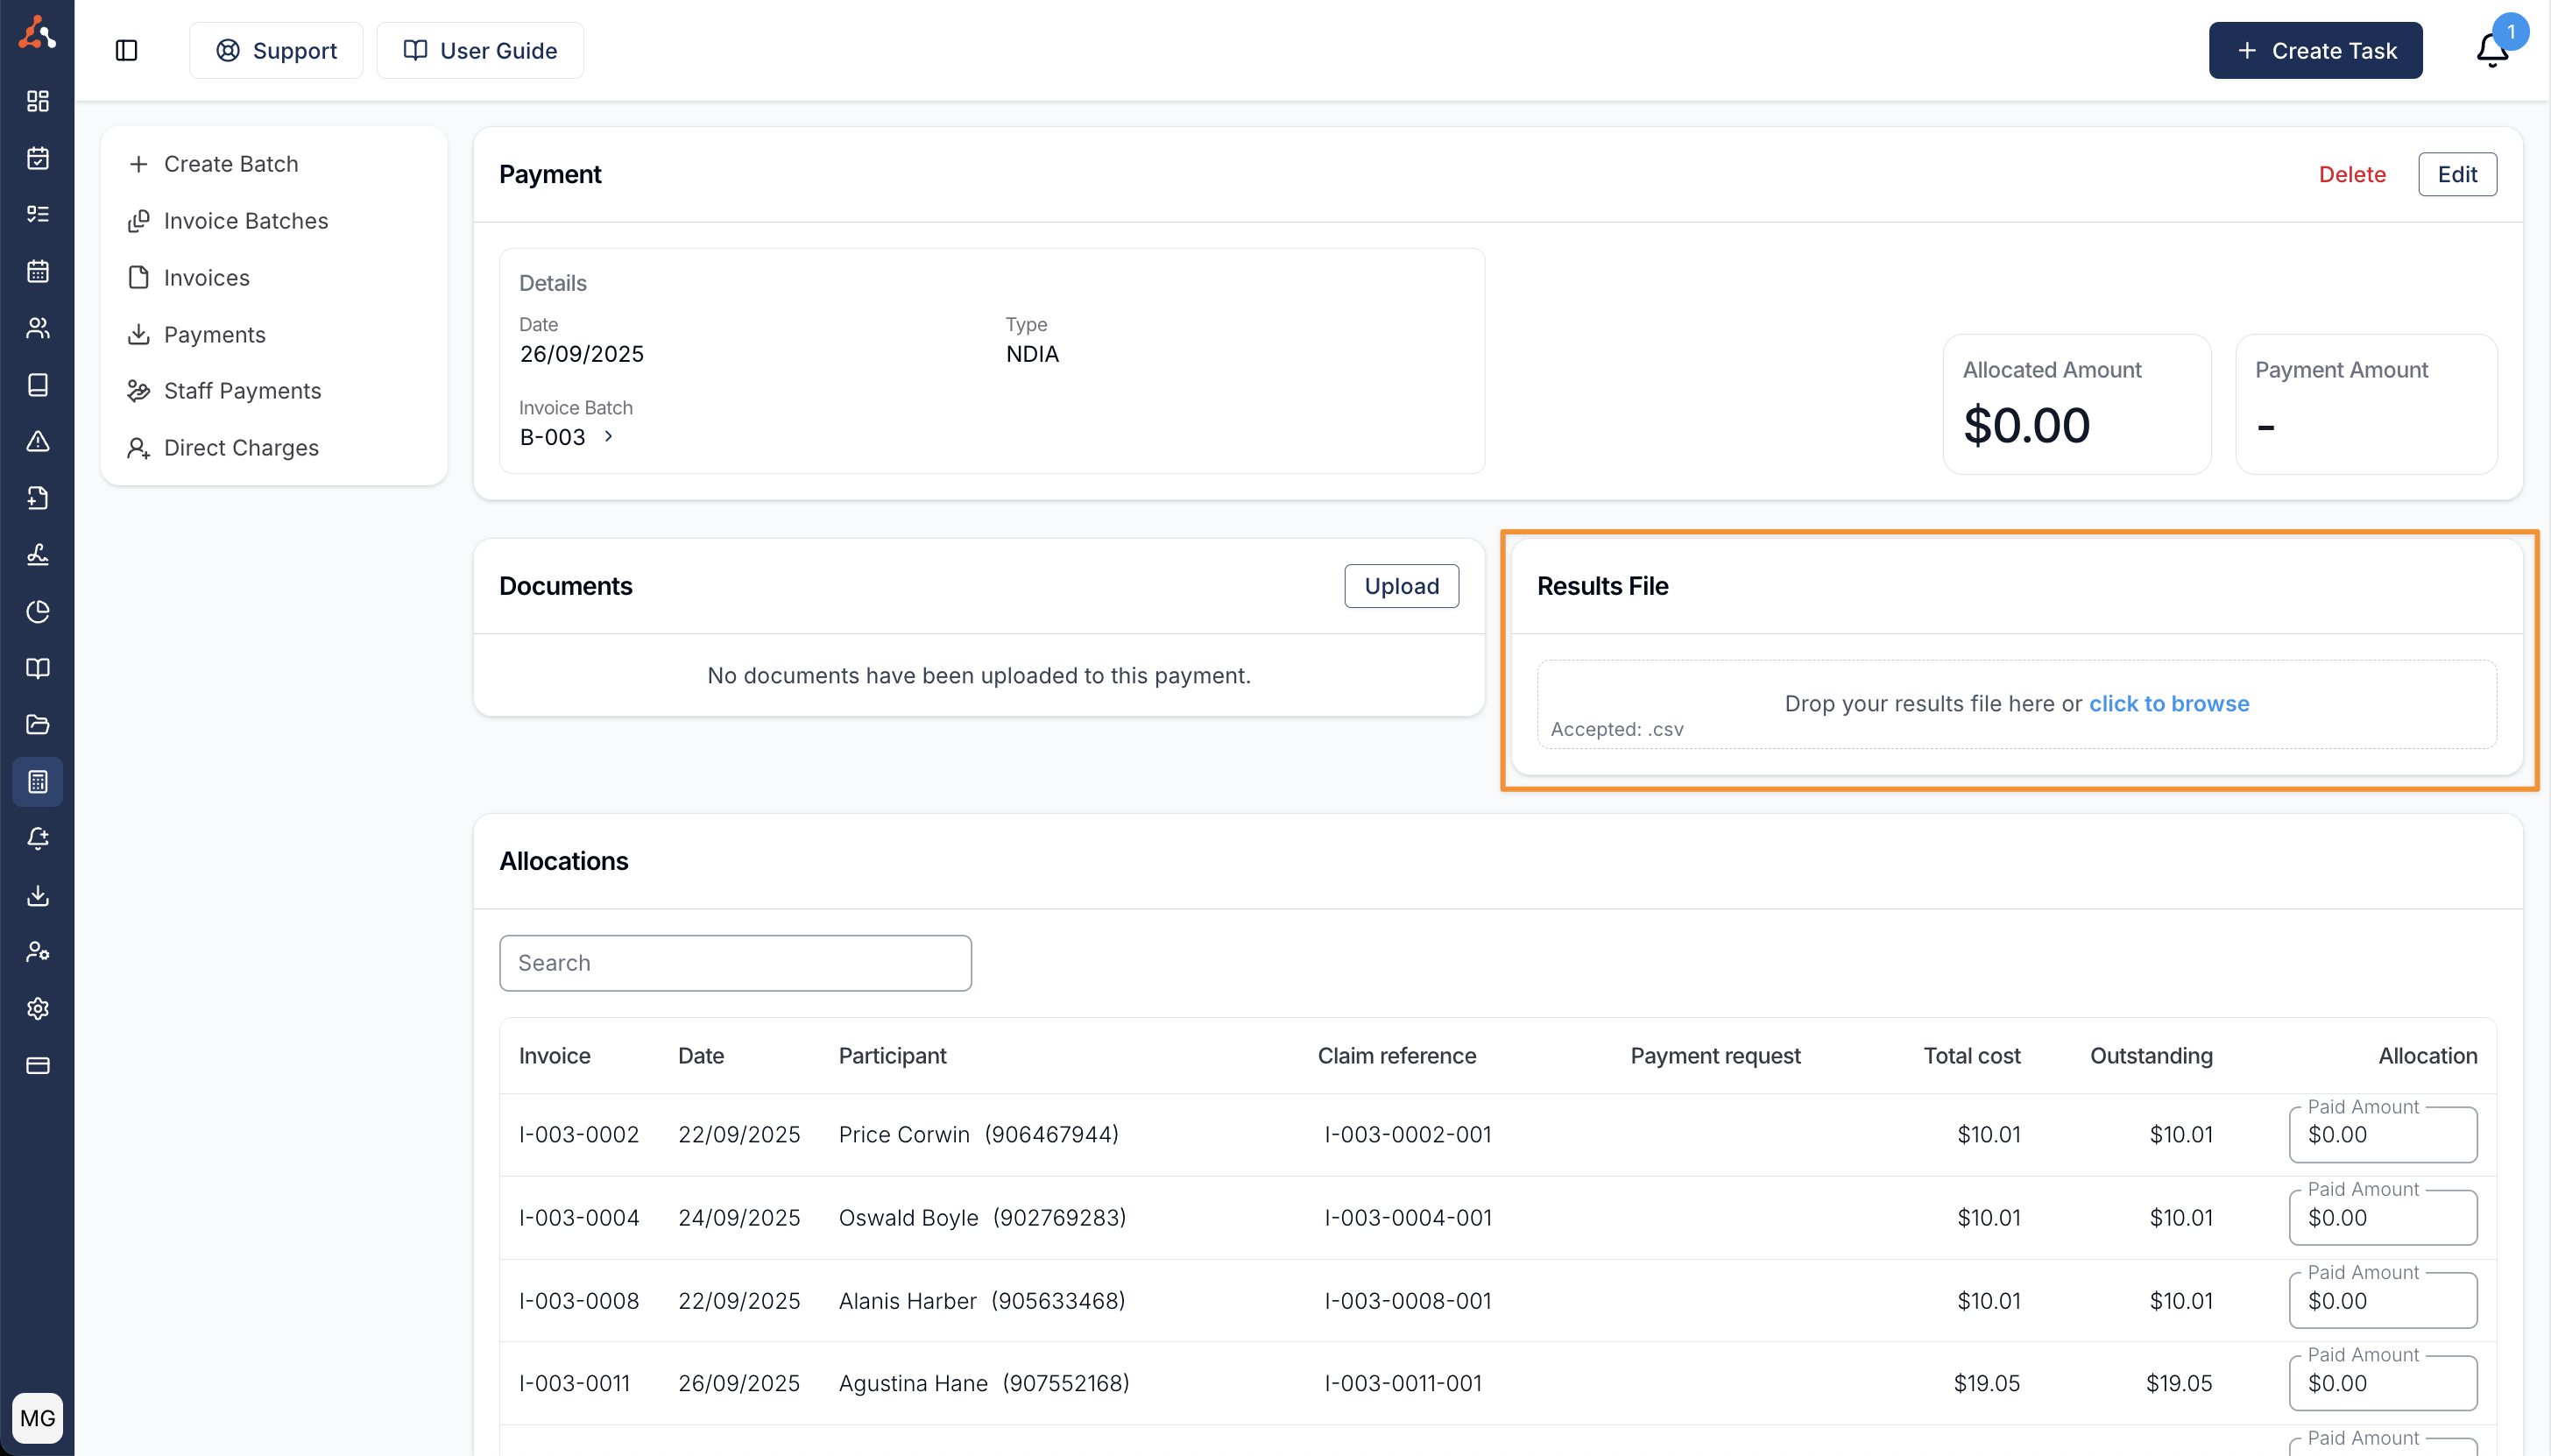
Once the payment has been created, drag and drop or upload the receipt file from your computer into the receipt file section within the payment.
Apply the receipt file
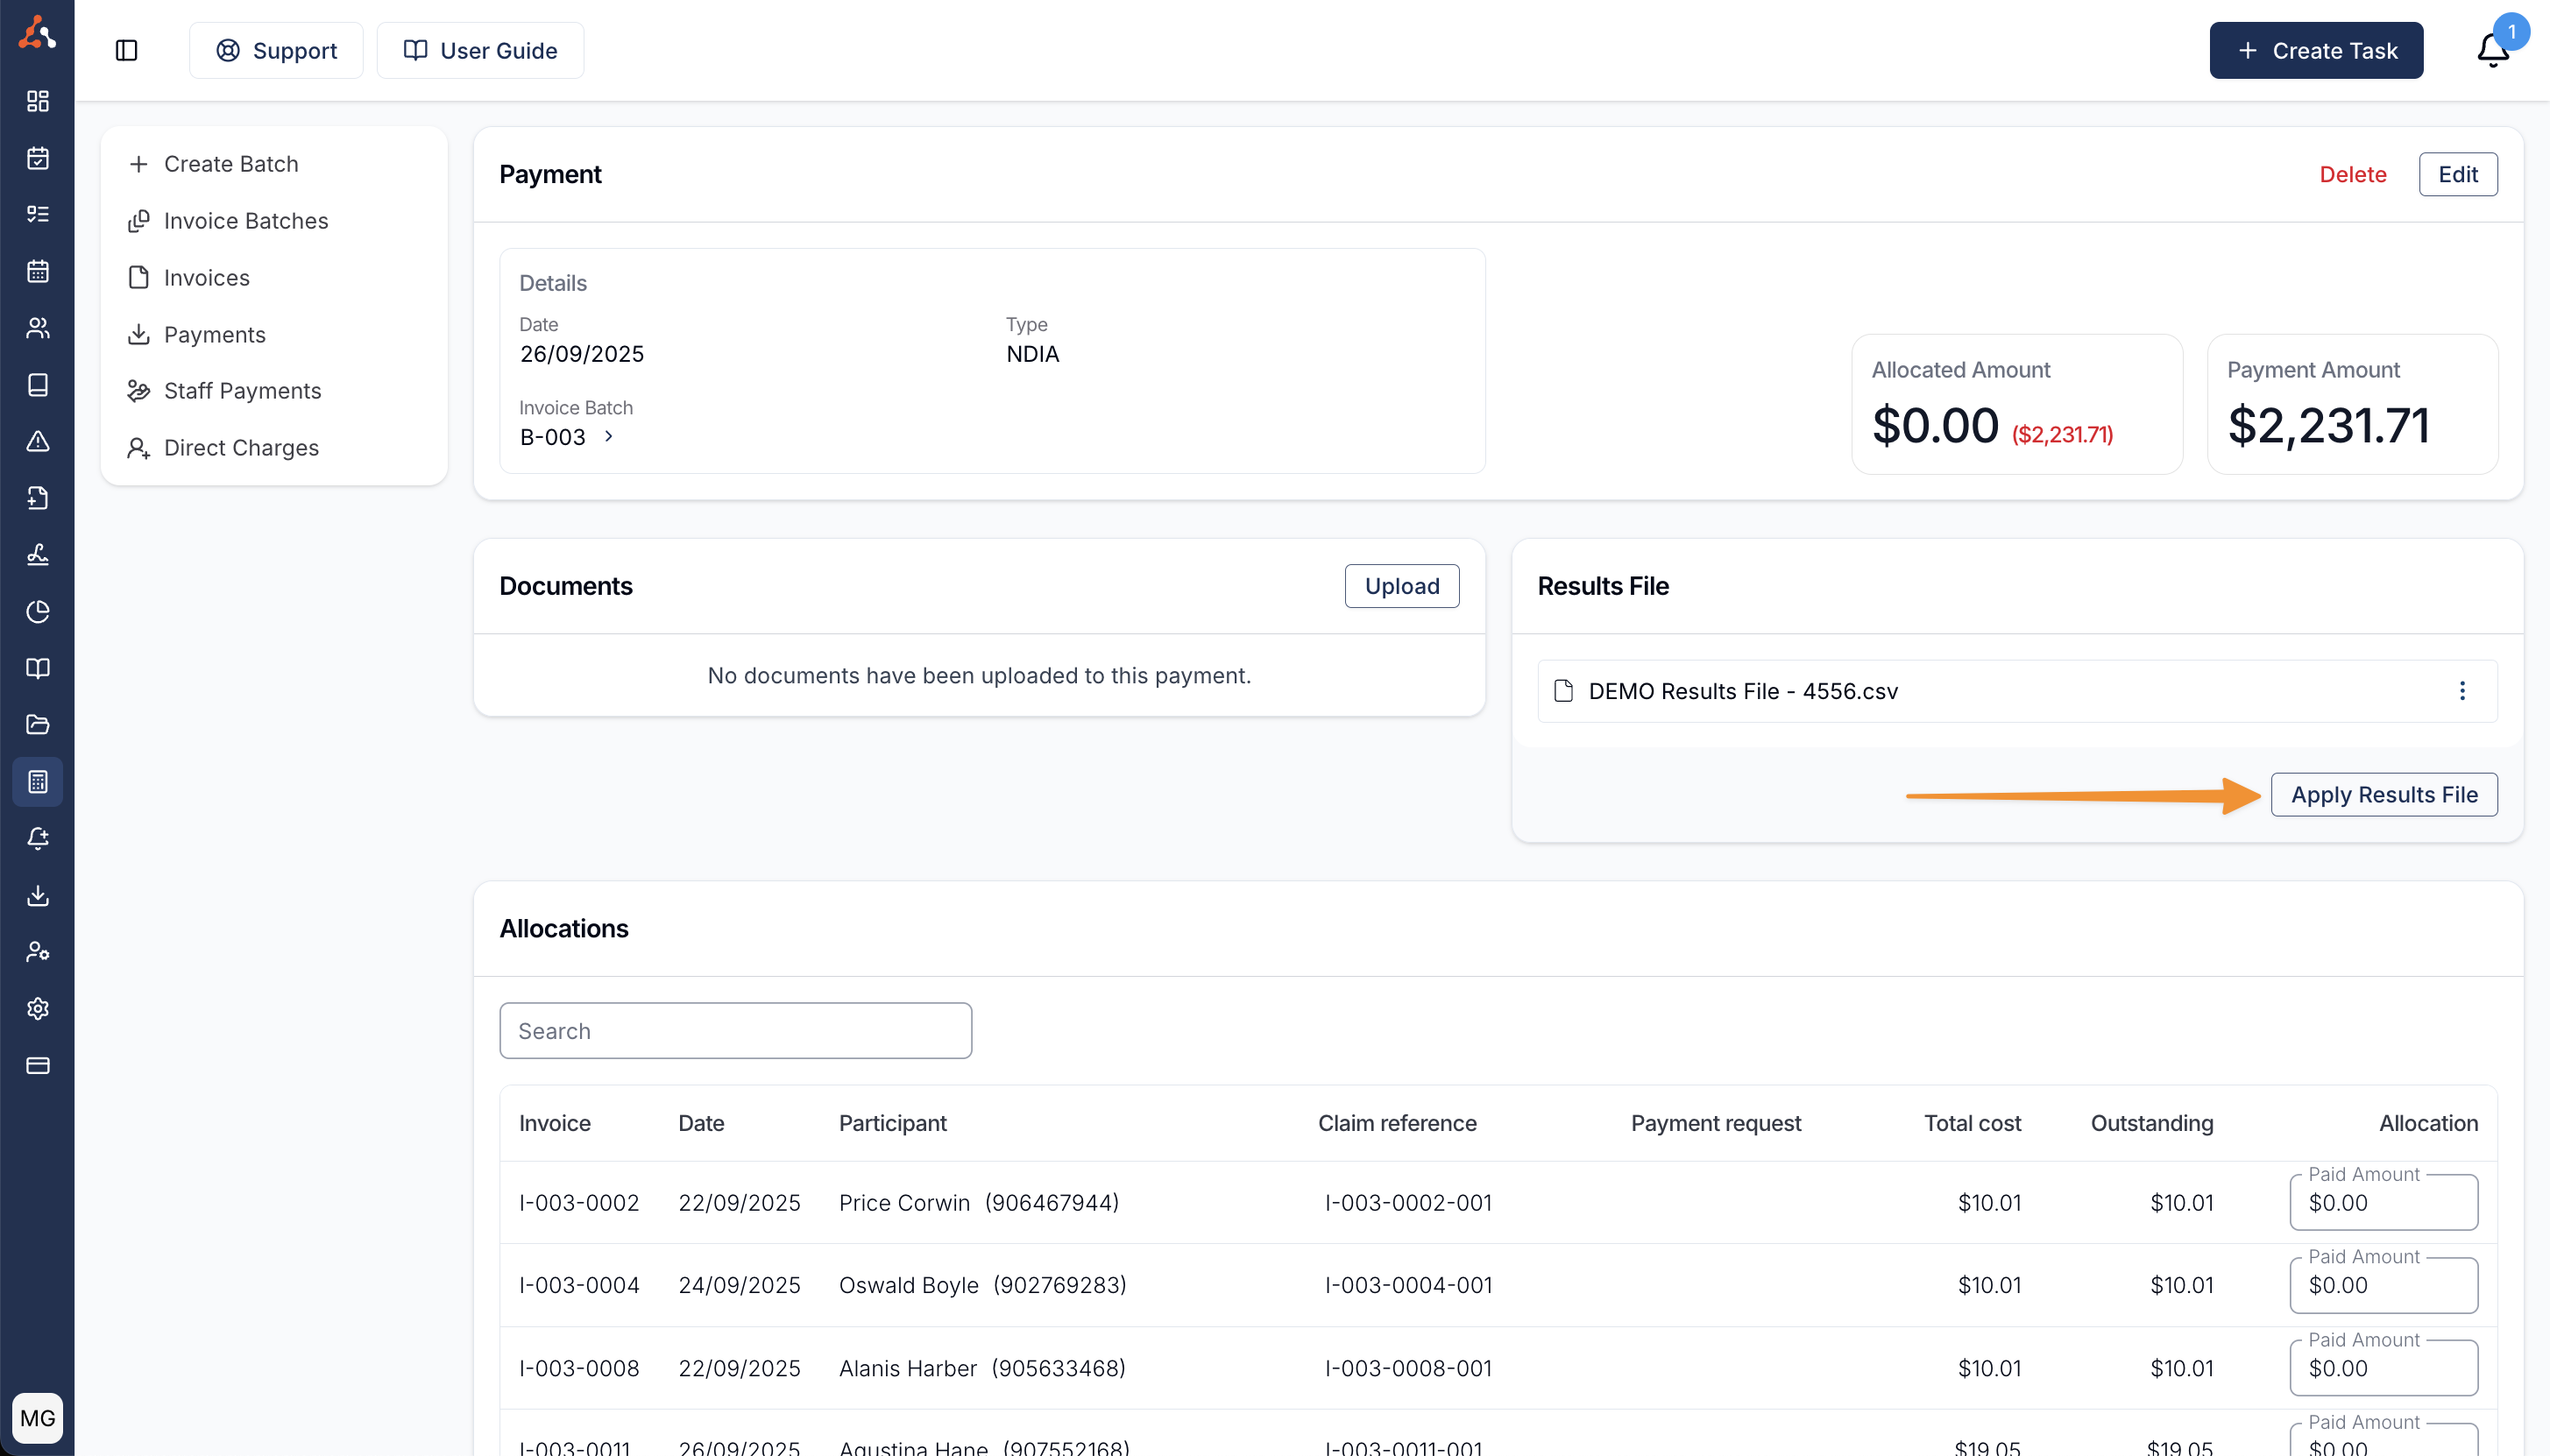
Once this file has been uploaded, you need to click Apply Results File so that Astalty can match the payments to the submitted payment requests.
Payment Errors
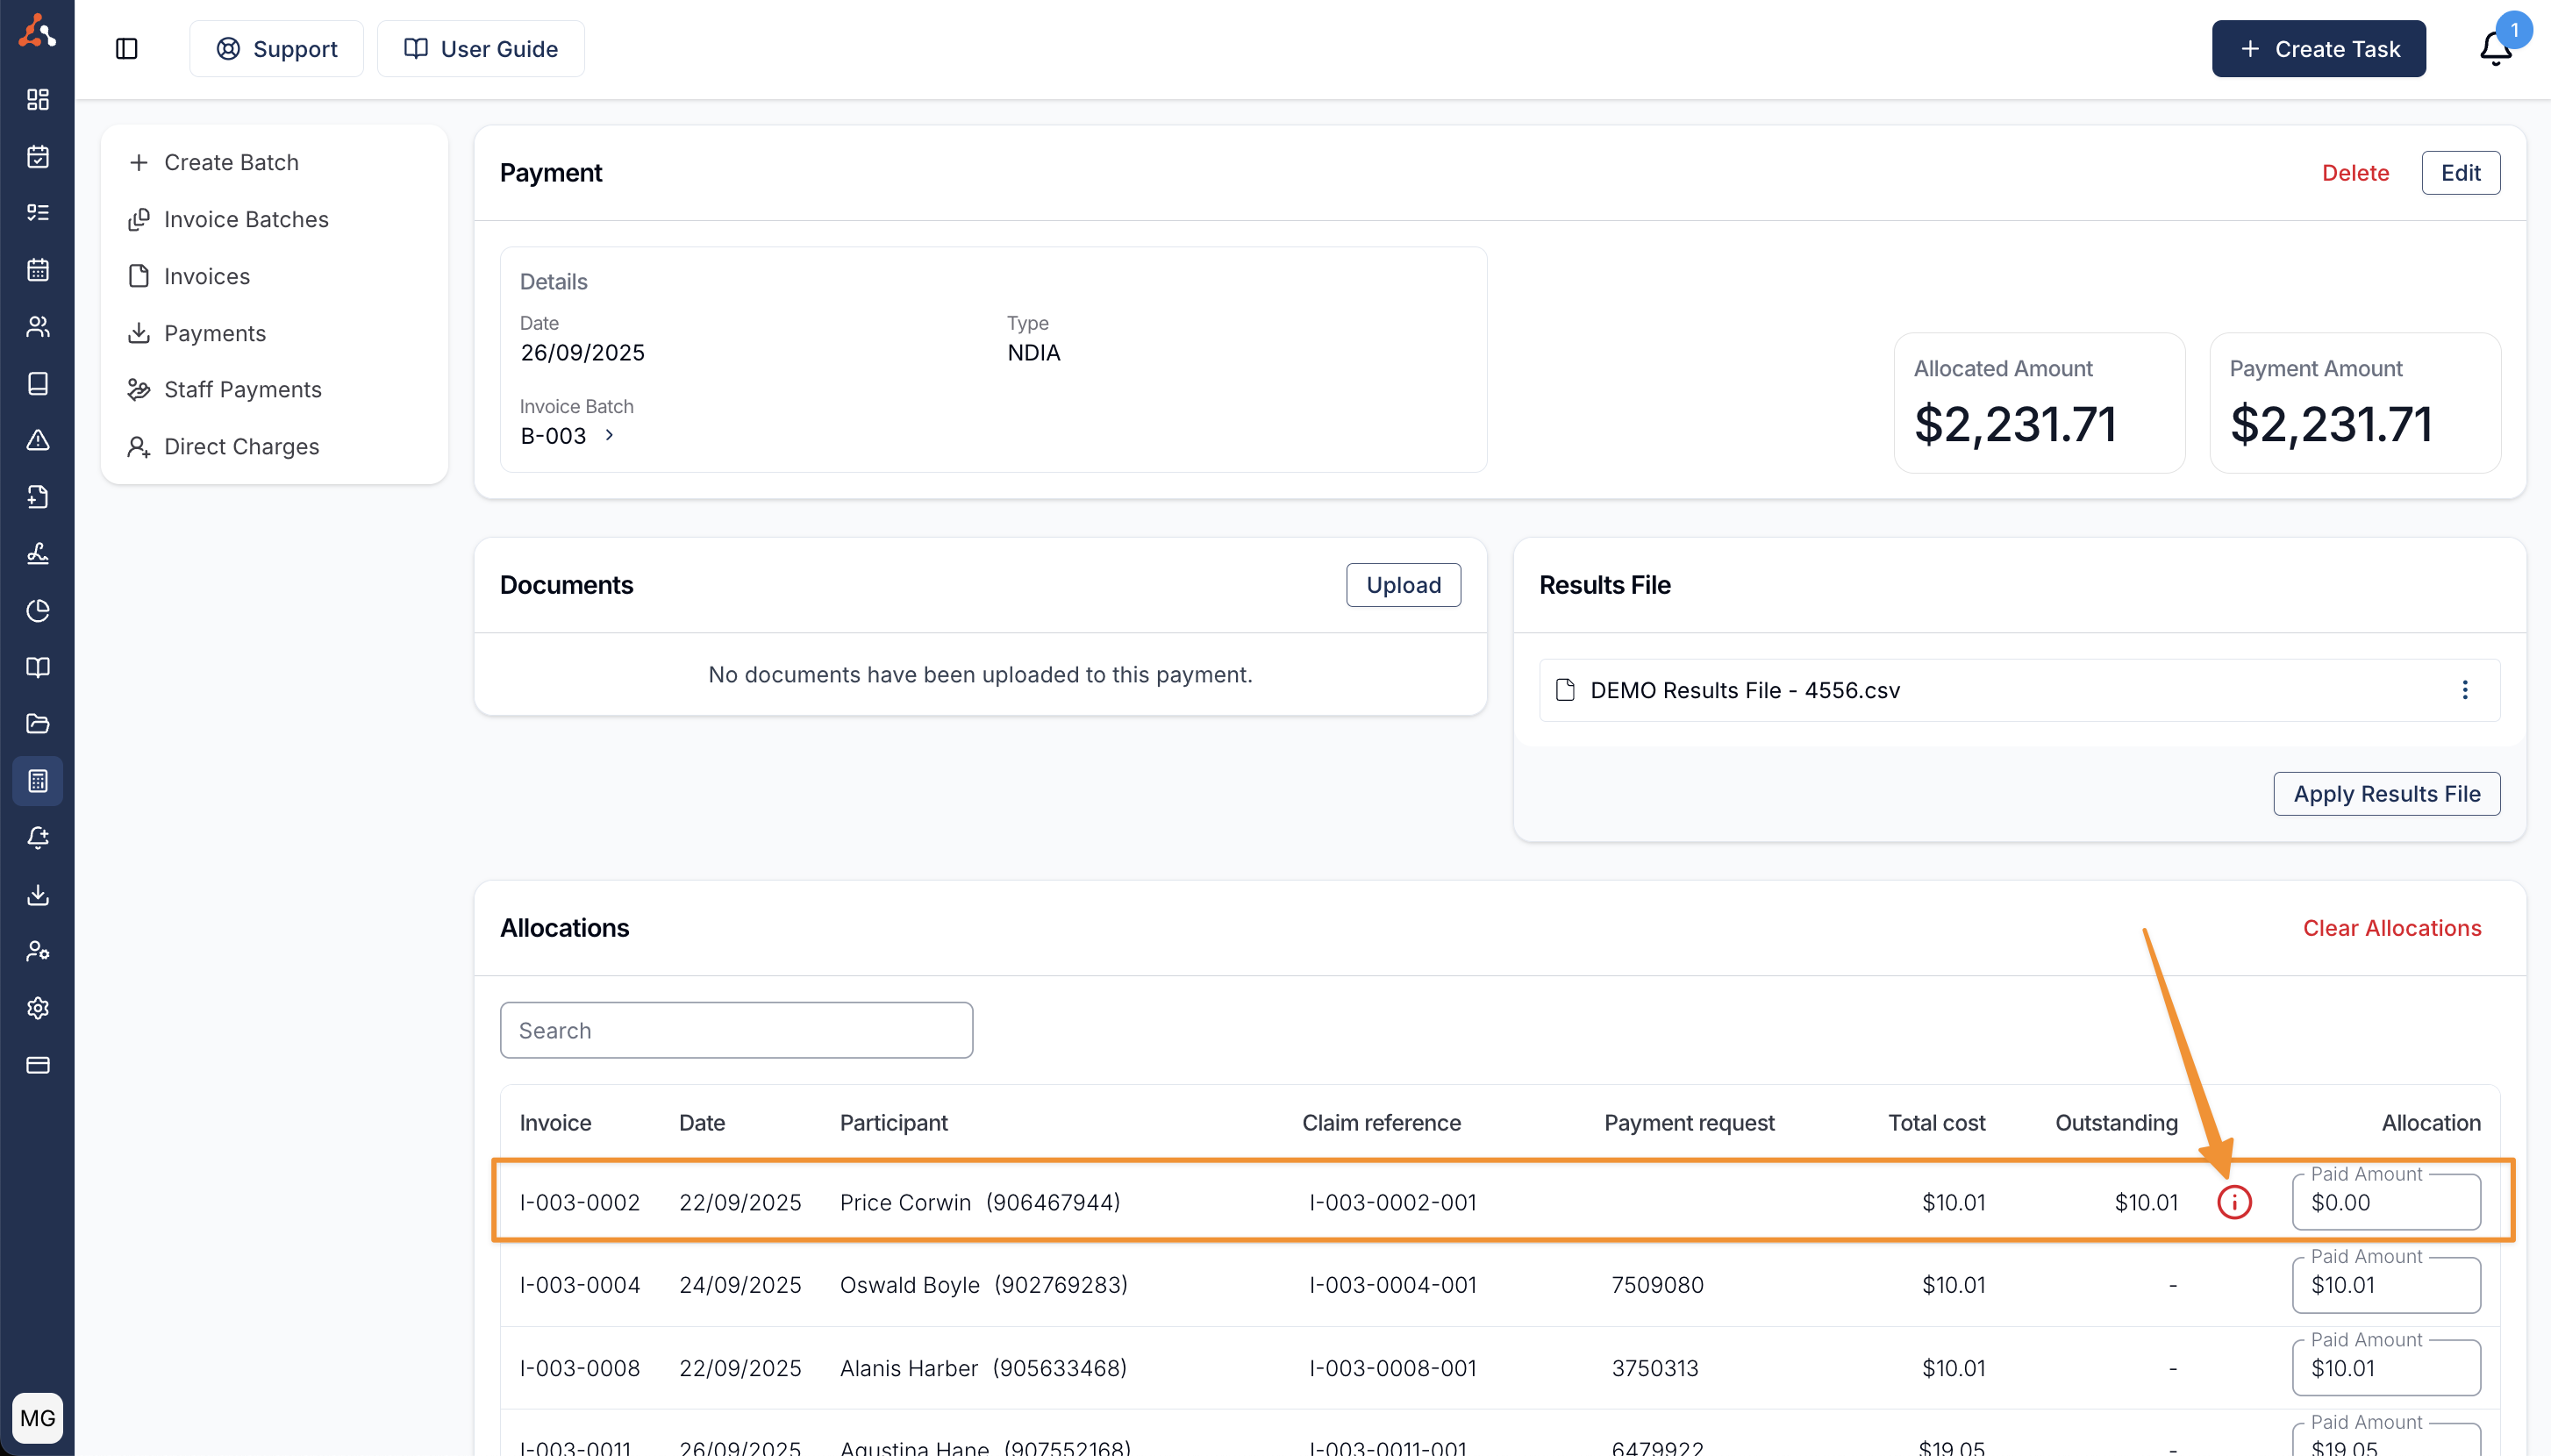
It is common for NDIA managed payments to be rejected for payment for several reasons. If this happens, Astalty will show an error icon on the relevant charge. You can then fix the error and generate a new bulk upload file from the Invoice Batch.
Missing Claims Handling
When applying a receipt (results) file to a payment, Astalty helps you manage situations where the file contains claim references that don’t exist in the invoice batch. This ensures valid claims can still be processed without unnecessary delays and removes the need to manually edit receipt files before processing valid claims.
What Are Missing Claims?
A missing claim occurs when a claim reference in the receipt file cannot be found in the invoice batch you’re applying it to. This can happen if a claim was removed, billed in a different batch, or if the wrong results file was selected.
What Happens When You Apply a Receipt File
When you click Apply Results File, Astalty automatically checks that all claim references in the file exist in the invoice batch.
If all claims match, the file is applied as normal.
If one or more claims are missing, Astalty will display a Missing Claims Warning dialog. The warning dialog will:
Show a list of the claim references that could not be found
Explain that these missing claims will be skipped if you continue
Give you the choice to either Proceed or Cancel. If you choose to proceed, Astalty will apply the receipt file and process only the claims that exist in the batch. Any missing claims will be skipped, and payment allocations will be created for the valid claims only.

Example Scenario
If your receipt file includes claims A, B, C, and D, but the invoice batch only contains claims A, B, and C, Astalty will notify you that claim D is missing. You can then choose to proceed, in which case claims A, B, and C will be processed successfully while claim D is ignored.
Open Payments
When a receipt file from PRODA contains OPEN payments, Astalty will not stop you from uploading and processing the file. Instead, Astalty will warn you so you can still create payments from NDIS.

Once the Results file has applied, any invoices outstanding that were OPEN will remain unpaid.

Once the NDIA has made payment, you can download the new version of the receipt file from the Portal and apply a new payment within the Invoice Batch - there is no need to remove the previous Payment applied, as Astalty will recognise the previous payments to invoices made and these won't create duplicate payments. Once applied the previously marked as OPEN invoice will now have a payment attached.

Xero Integration
For accounts that have a Xero Integration setup, Astalty does not send the NDIA managed invoices into Xero because Astalty has our own way of reconciling these on a line by line basis.
Once you've reconciled the NDIA batch, Astalty will tell you how much the NDIA paid and you can then reconcile that as a Receive Money in Xero.