- Administration
- Settings
- Participants Settings
Participants Settings
Managing Participant Information and Tags
Information Items
Information Items act as customisable fields within a Participant's profile where specific details can be stored and organised. These fields help you maintain a structured and detailed record of Participant-related information that is easily accessible when you click on a profile.
How to Create an Information Item:
- Click on the Create Information Item button.
- In the pop-up window, type in the title of the information you want to record, for example, "Overview" or "Risks and Behaviors".
- Decide whether this information is mandatory for all Participant profiles by selecting the Required option.
- Click Create to add the Information Item to the system.
Once created, the Information Item will automatically appear on all Participant profiles, ready to be filled with relevant data. This allows for a uniform approach to data entry across your organisation.
Handy Hint: You can re-order your information items by clicking and dragging them to the appropriate position. By doing this, you can order your information items in terms of your organisation's preferences.

Participant Record Types
Within the Participant settings you can create and edit the properties of the Participant Records. For more information on the Record Creation and Editing process click here. For more information about records click on this link here to access the user guide article
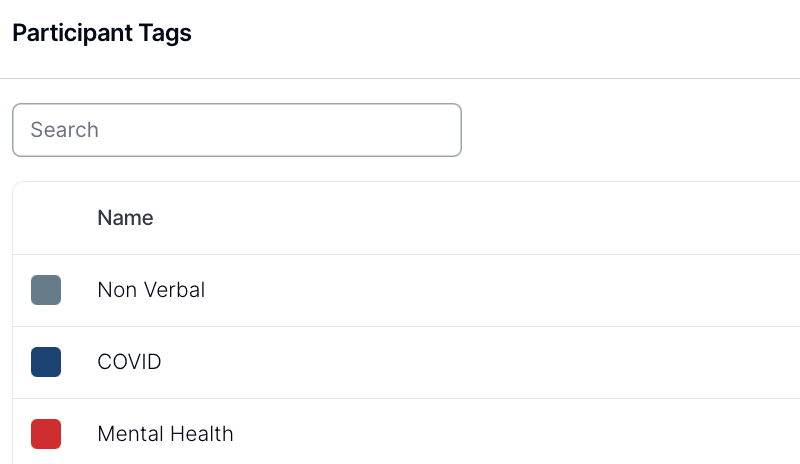
Participant Tags
Participant Tags are visual identifiers that offer a quick reference to key attributes of a Participant, such as their communication preferences or specific needs.
How to Create a Participant Tag:
- Select the Create Tag button.
- Enter a name for the tag that represents the attribute you wish to note, such as "Non-Verbal" or "SMS Only".
- Assign a colour to the tag to facilitate visual identification.
- Click Create to establish the new tag.
Tags are applied at an individual profile level and are not automatically populated across all profiles. They must be selected and assigned as appropriate for each Participant.
By creating and using tags systematically, you can enhance the efficiency of Participant identification and ensure that staff are aware of key Participant characteristics at a glance.
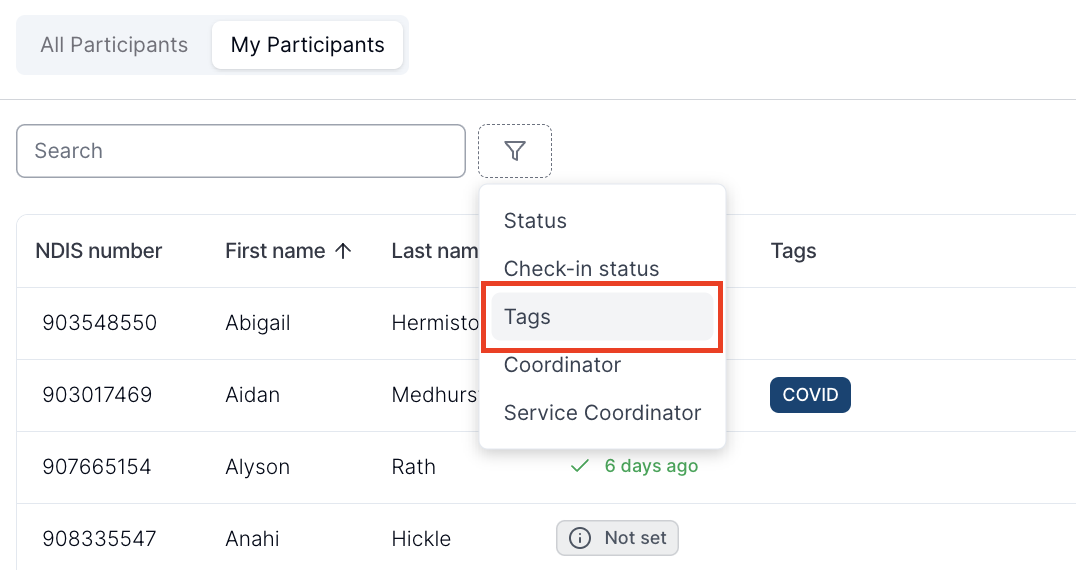
Handy Hint: When looking at the Participant list, you can filter by tags. This gives you a quick way to assess Participants by a specific tag.
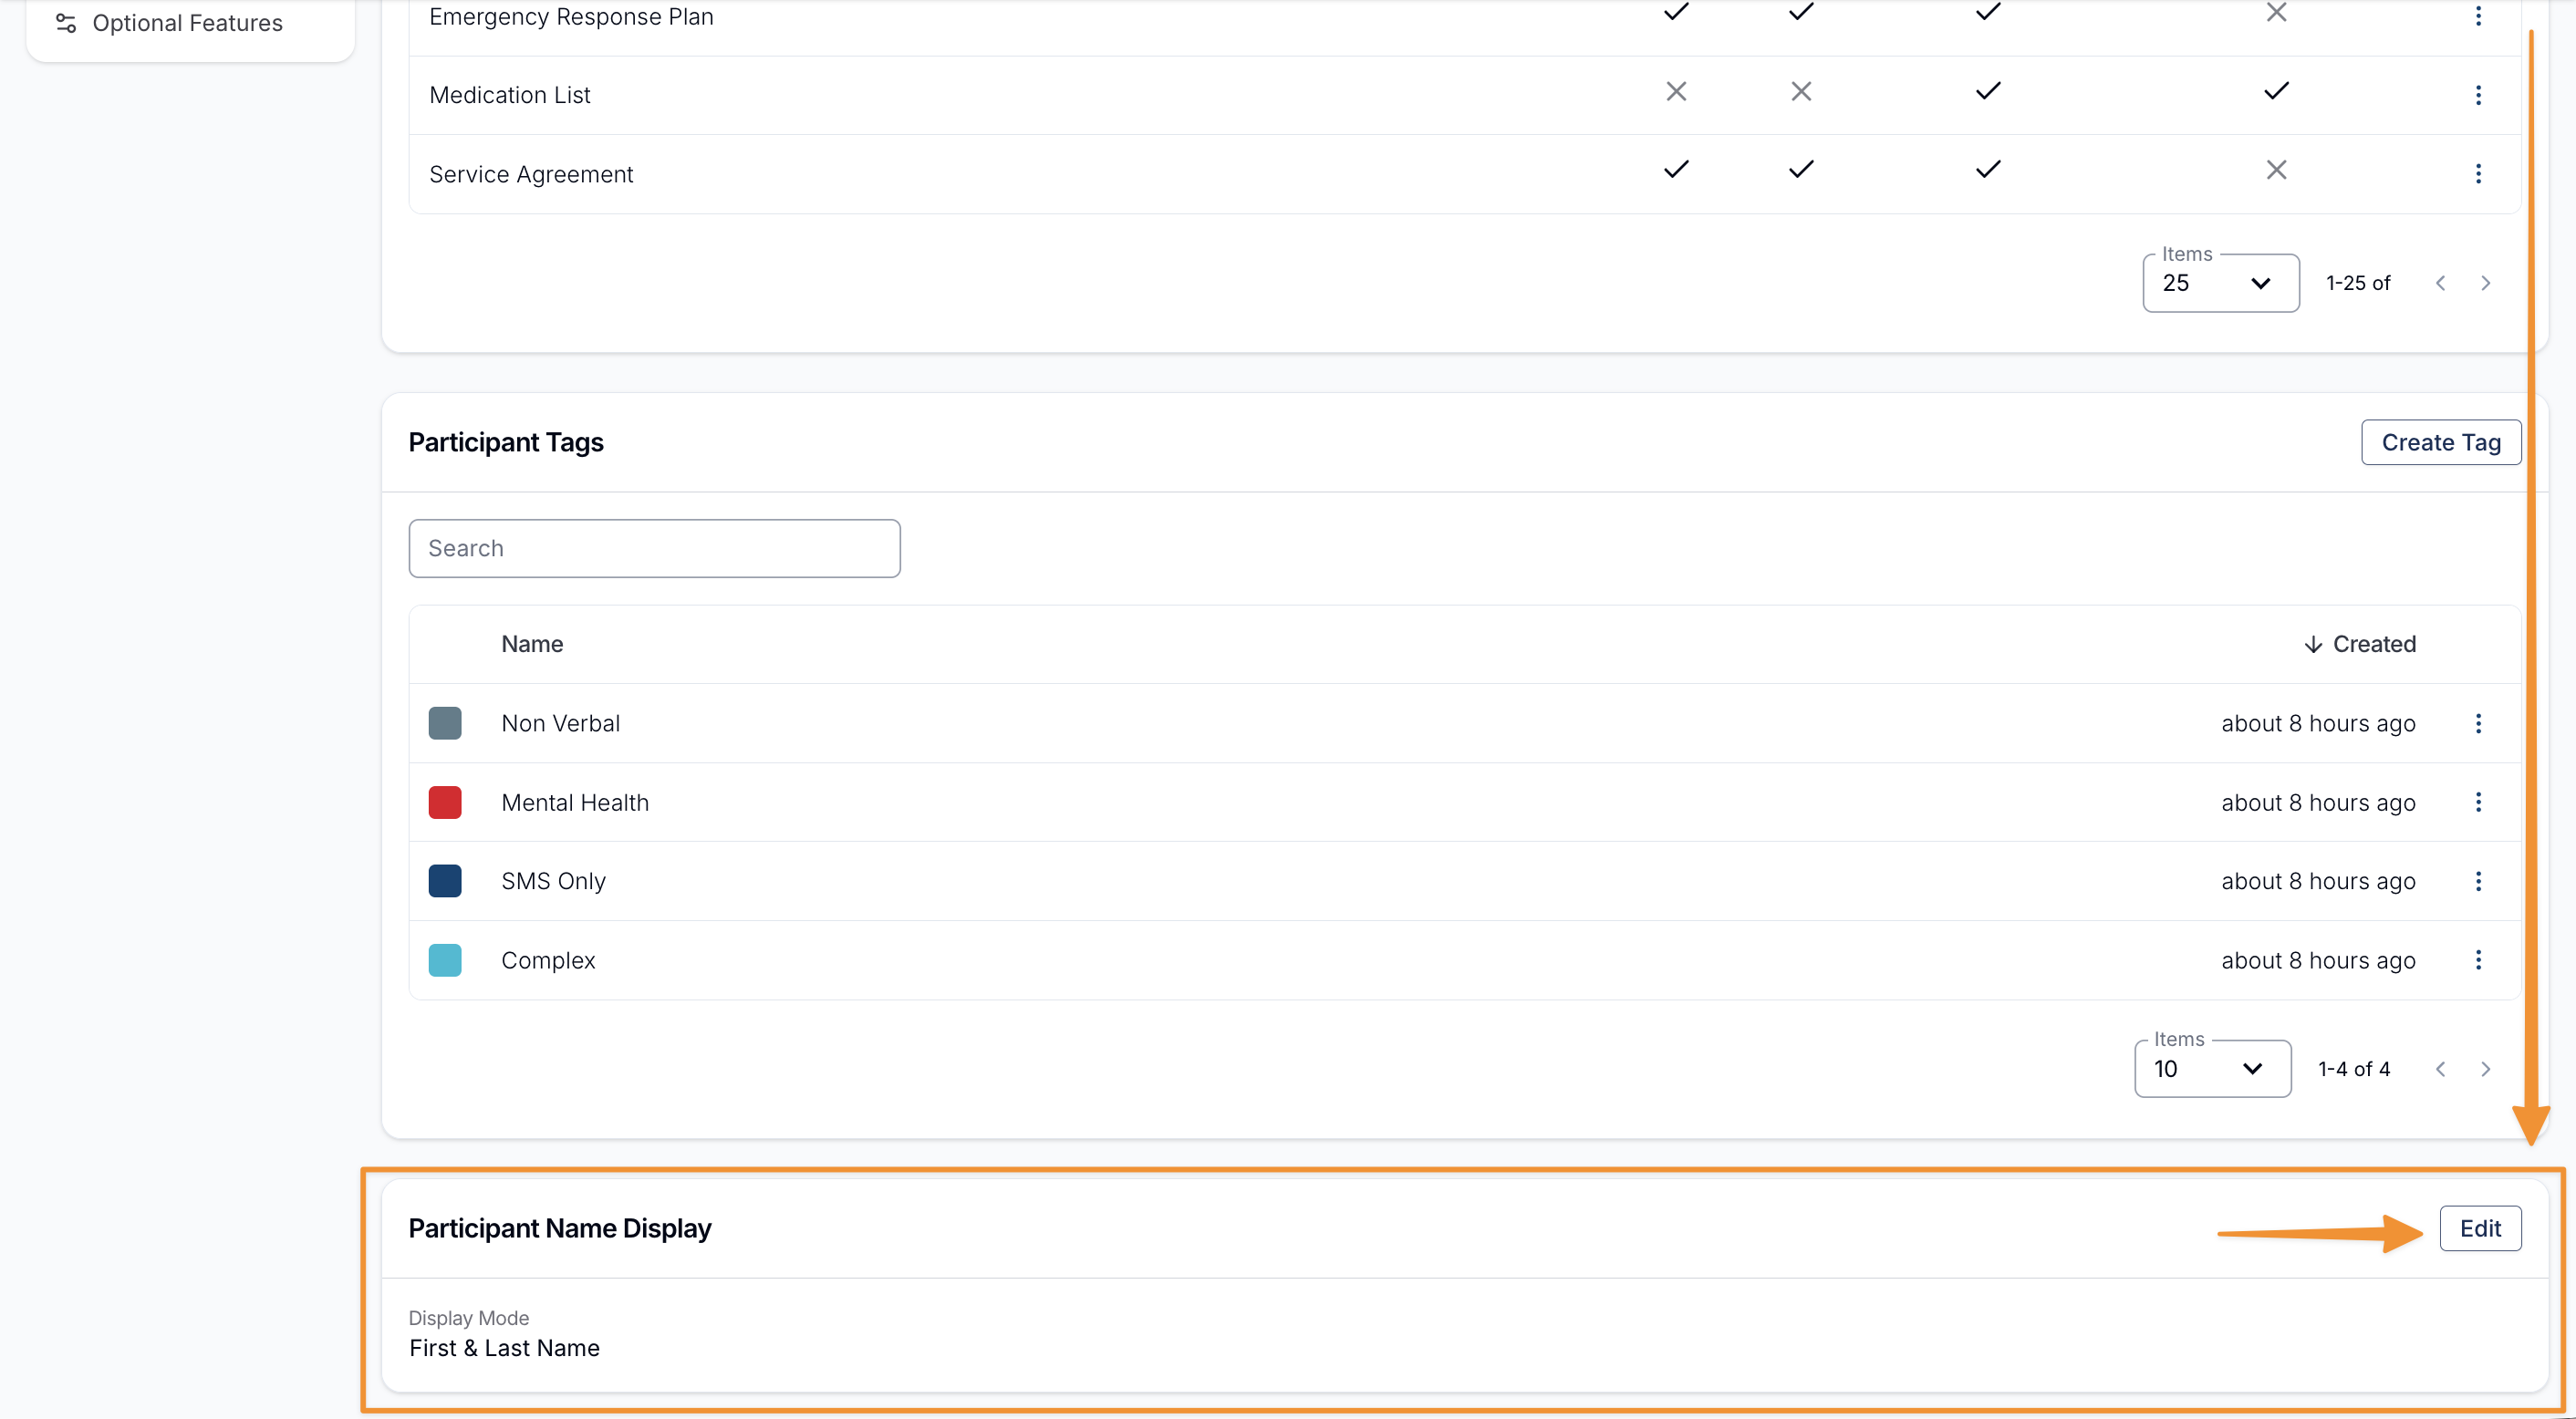
Participant Name Display
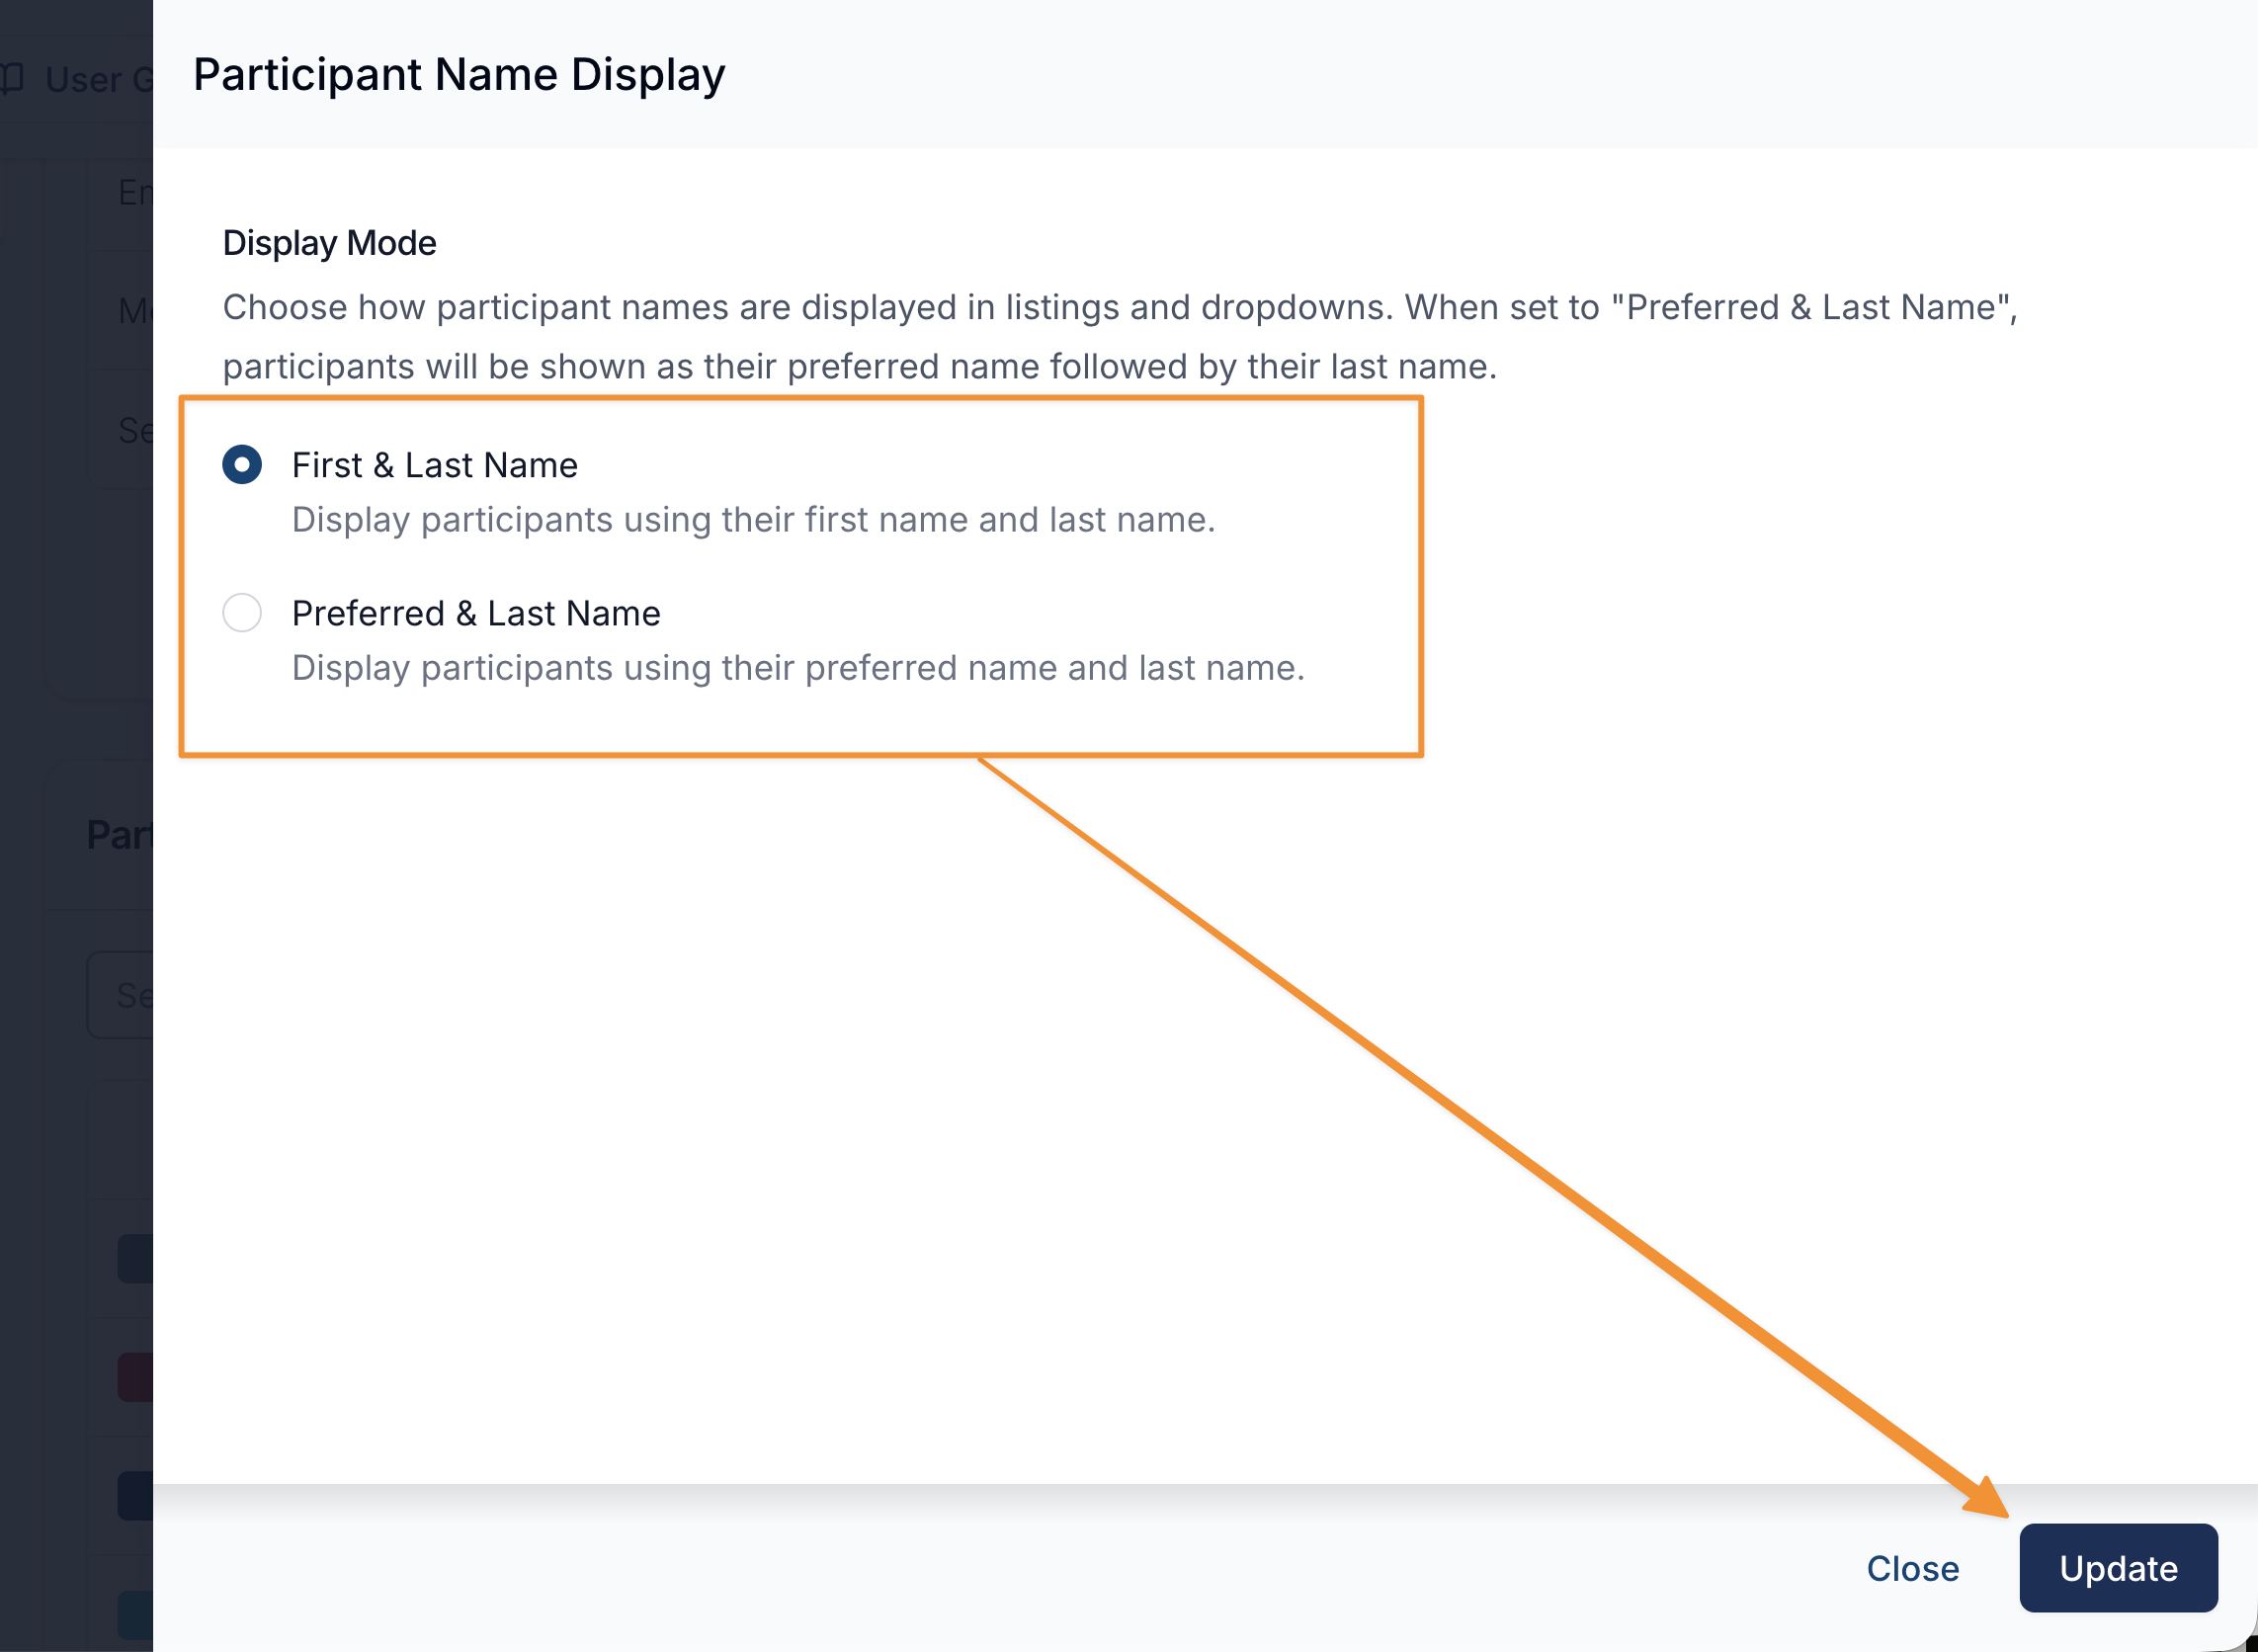
The Participant Name Display setting controls how participant names appear throughout the system in listings, dropdown menus, search results and selection fields. This setting changes only how names are displayed - it does not change, overwrite stored participant data, and nor does it change the requirements for the legal name to be used on invoice/legal documents (e.g. NDIS templates).
To access this setting, navigate to Participant Settings and then scroll down to the Edit button for Participant Name Display.
Display Mode Options
First & Last Name
Participants are displayed using their recorded first name followed by their last name.
Example:
If a participant’s profile contains:
- First Name: Benjamin
- Preferred Name: Ben
- Last Name: Smith
They will display as: Benjamin Smith
Preferred & Last Name
Participants are displayed using their preferred name followed by their last name.
If no preferred name is recorded, the system will default to the first name.
Example:
If a participant’s profile contains shows:
- First Name: Benjamin
- Preferred Name: Ben
- Last Name: Smith
They will display as: Ben Smith