Contacts
Astalty has a powerful Contacts system that allows you to share Contacts across Participants and record details such as the relationship between a Contact and Participant as well as whether or not you have consent to share information with that Contact.
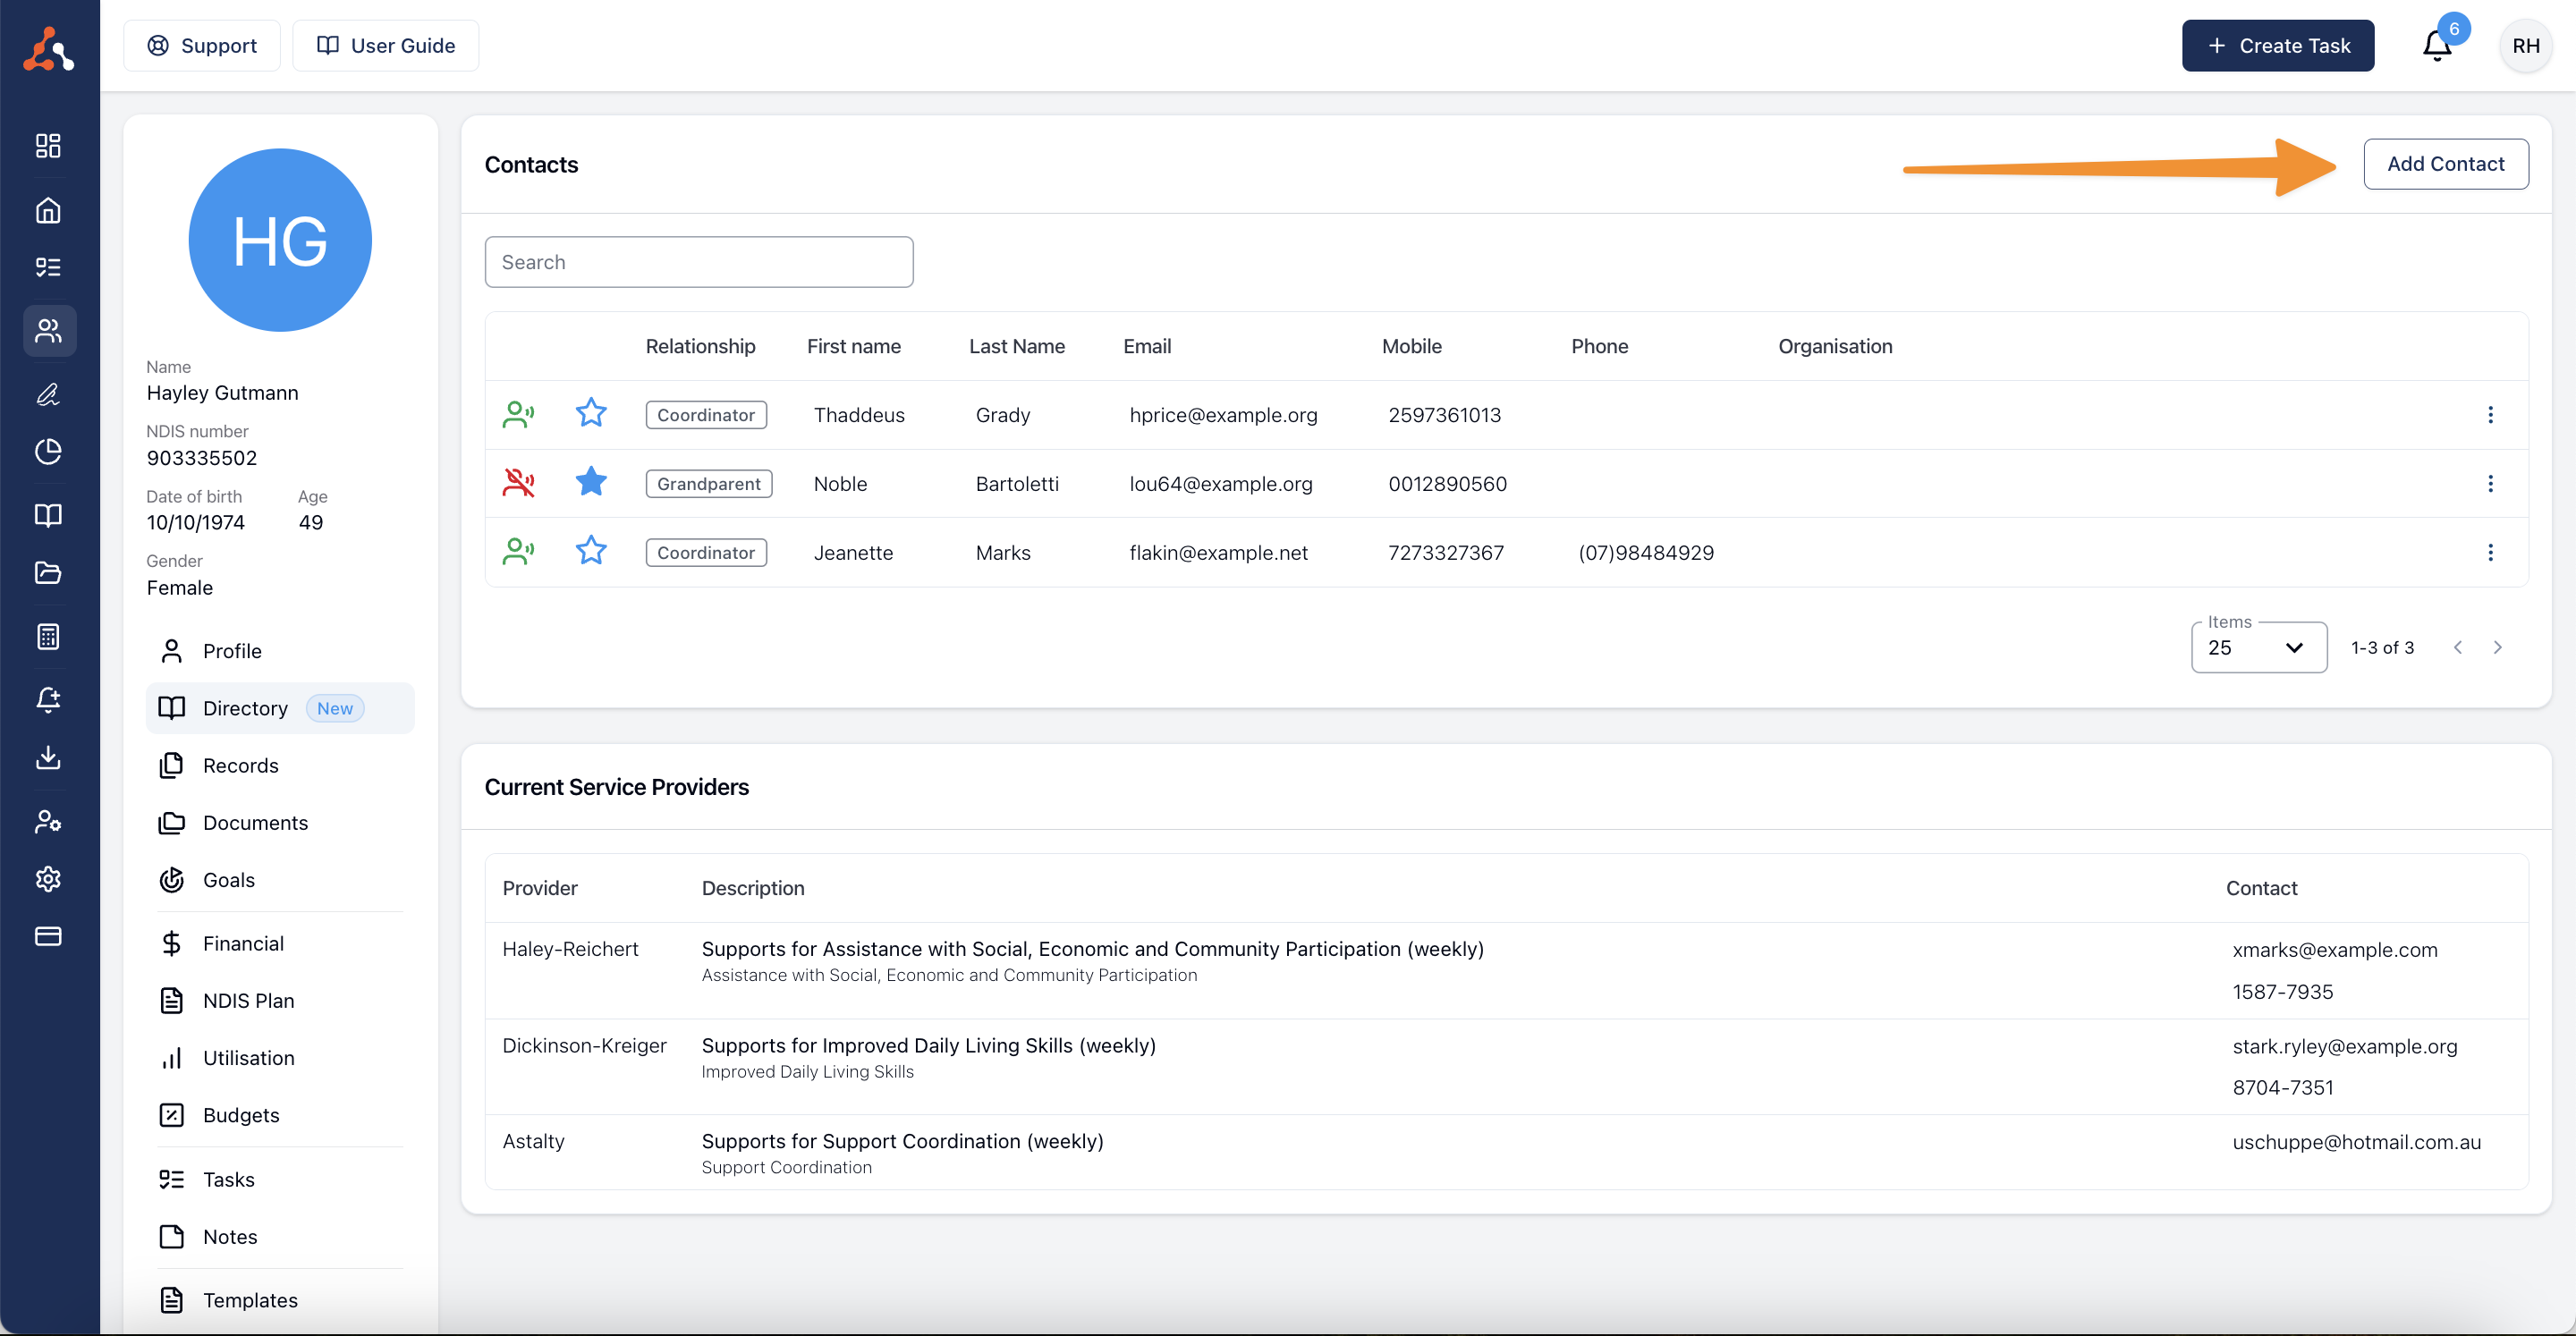
To manage a Participant's Contacts, head to the Participant Directory page within their profile.
Adding Contacts
To add a Contact to a Participant, on the Participant Directory page click the Add Contact button.
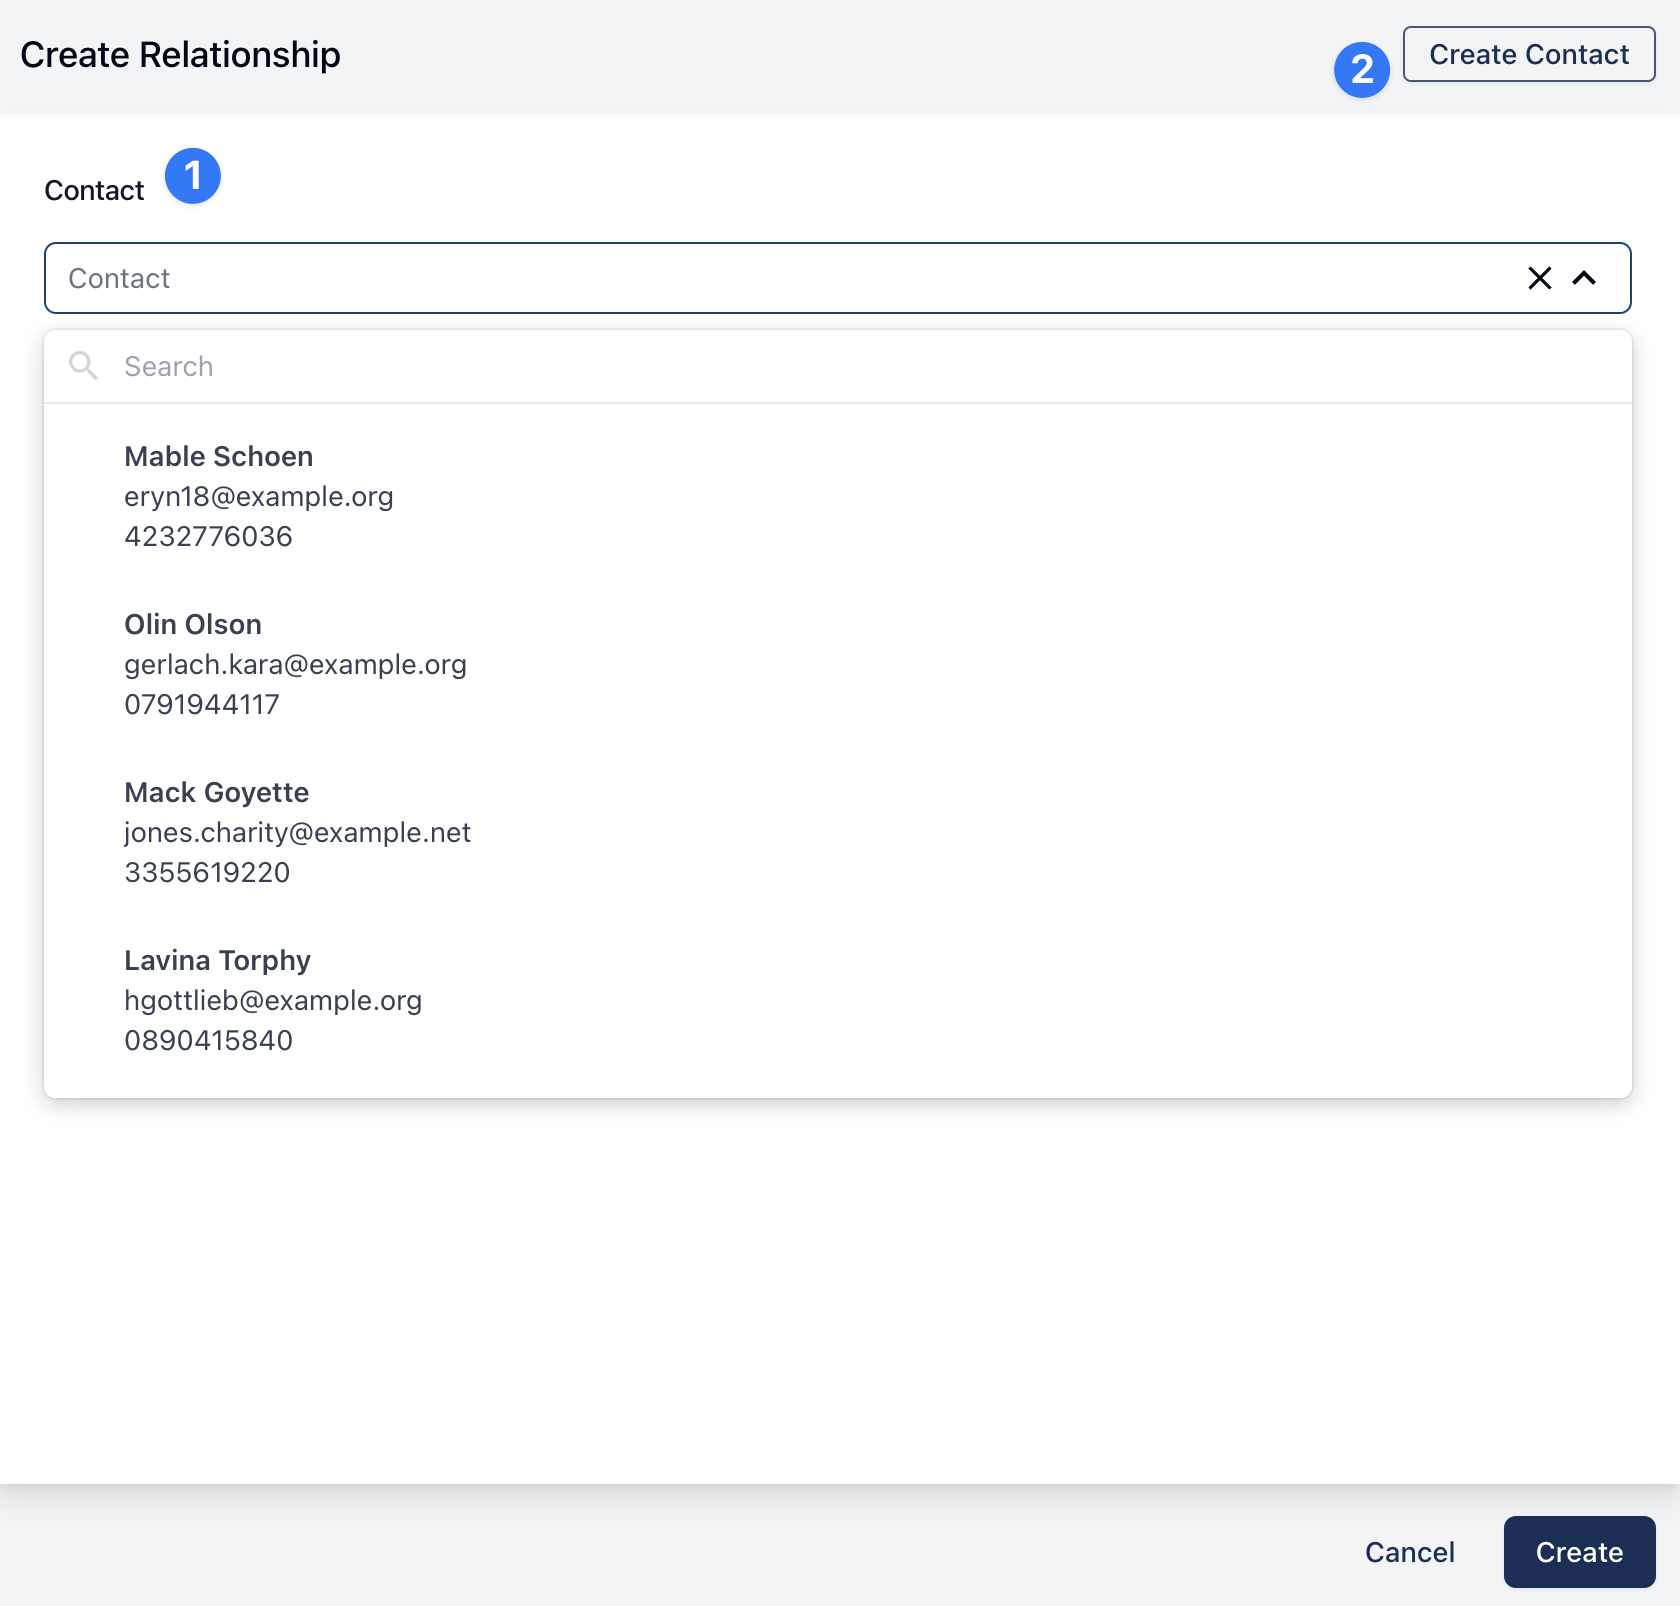
Once the form opens, you have two options;
- Search for an existing Contact - this is extremely useful if sharing a parent across several Participants or reusing a Contact such as an LAC or Public Guardian.
- Creating a new Contact - if you can not find the Contact you need within Astalty using the Contact search, you are free to create a new Contact from this page
Relationship
Once you have selected an existing Contact or created a new one, you will need to provide the relationship this Contact has with the Participant. Astalty has some predefined options for you however if you can not see the option you need, you can simply type in any value and it will be made available in the drop down next time.
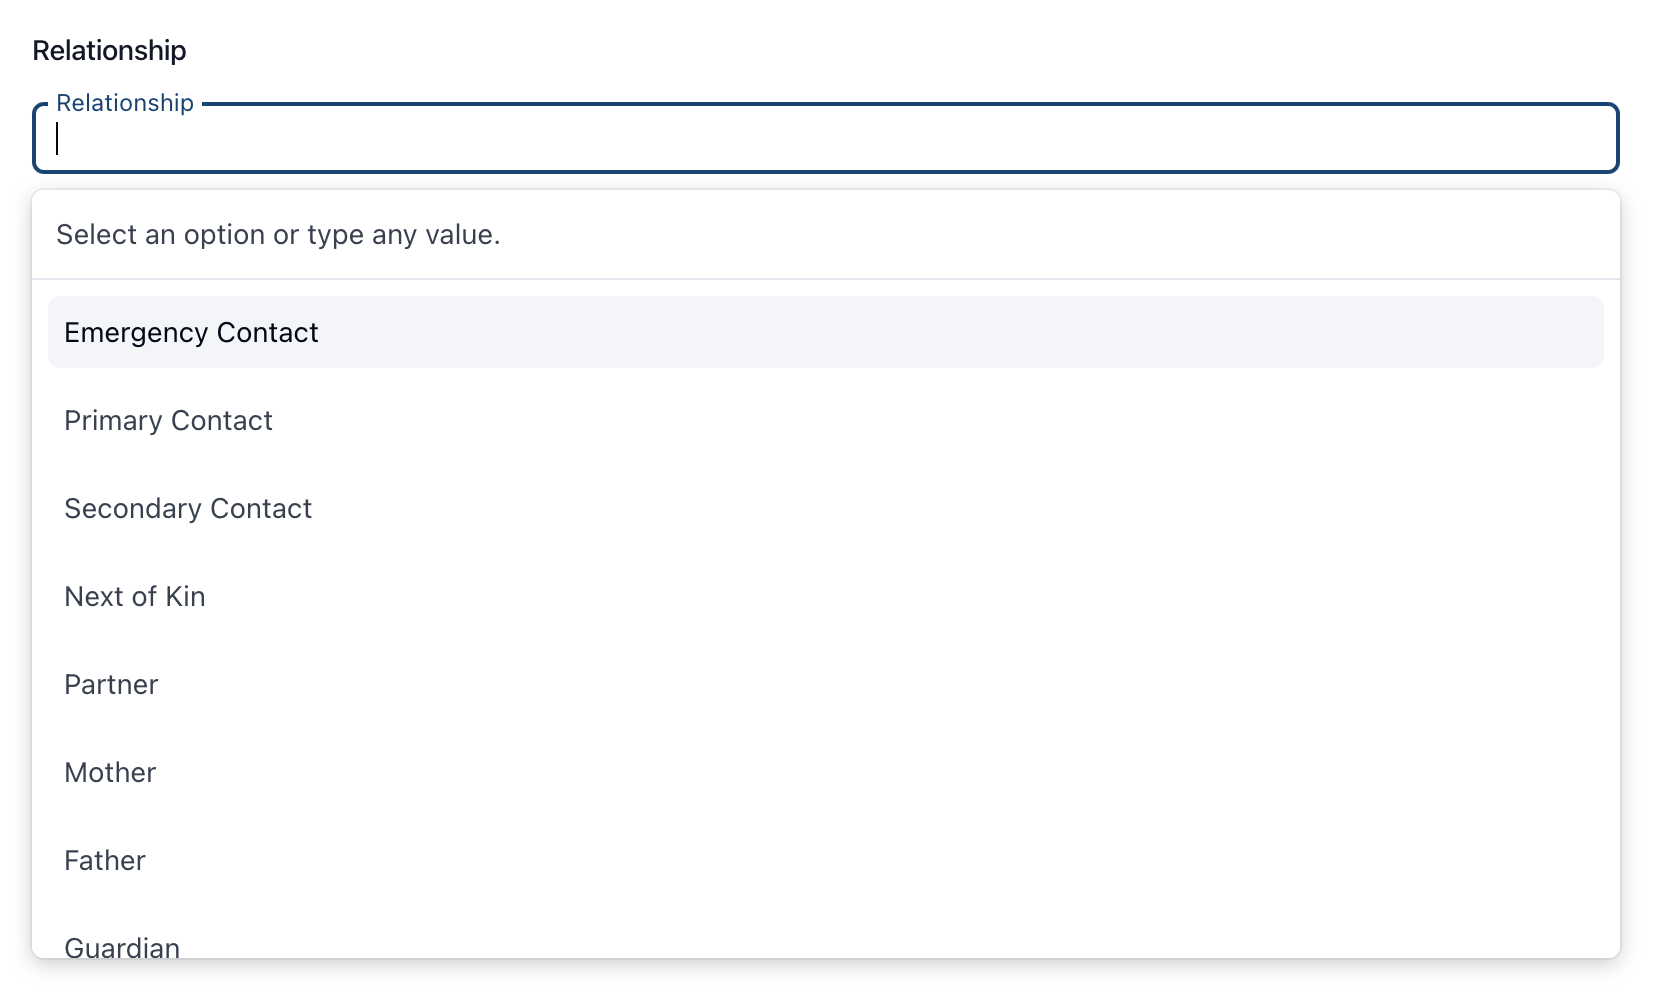
A few relationships also feed document templates. Recording a Contact as Primary Contact, Emergency Contact, Plan Nominee, or Child Representative lets the matching document template placeholders fill in that Contact's details automatically. Those placeholders match the relationship exactly, so it needs to be spelled as shown.
Consent
The consent to share information field allows you to tell Astalty if you have consent to share information with the Contact for this Participant. This is clearly indicated in the Contacts table for the Participant with red or green icons.
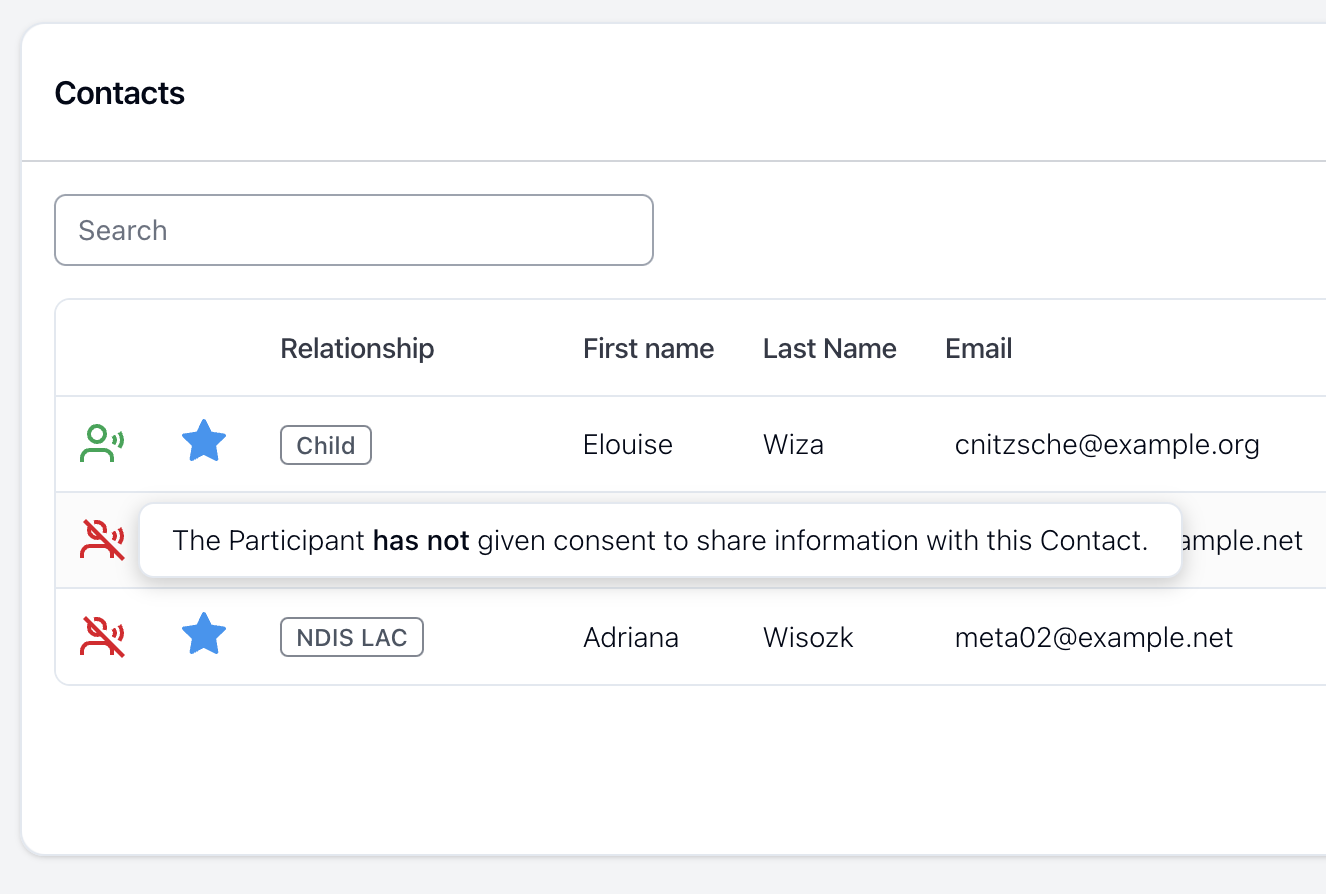
This value is also available as a document template placeholder for the Primary Contact, Emergency Contact, Plan Nominee, and Child Representative relationships — useful for generating a relationship-specific consent form.
Additional Details
Store Additional Details of the relationship or contact here.
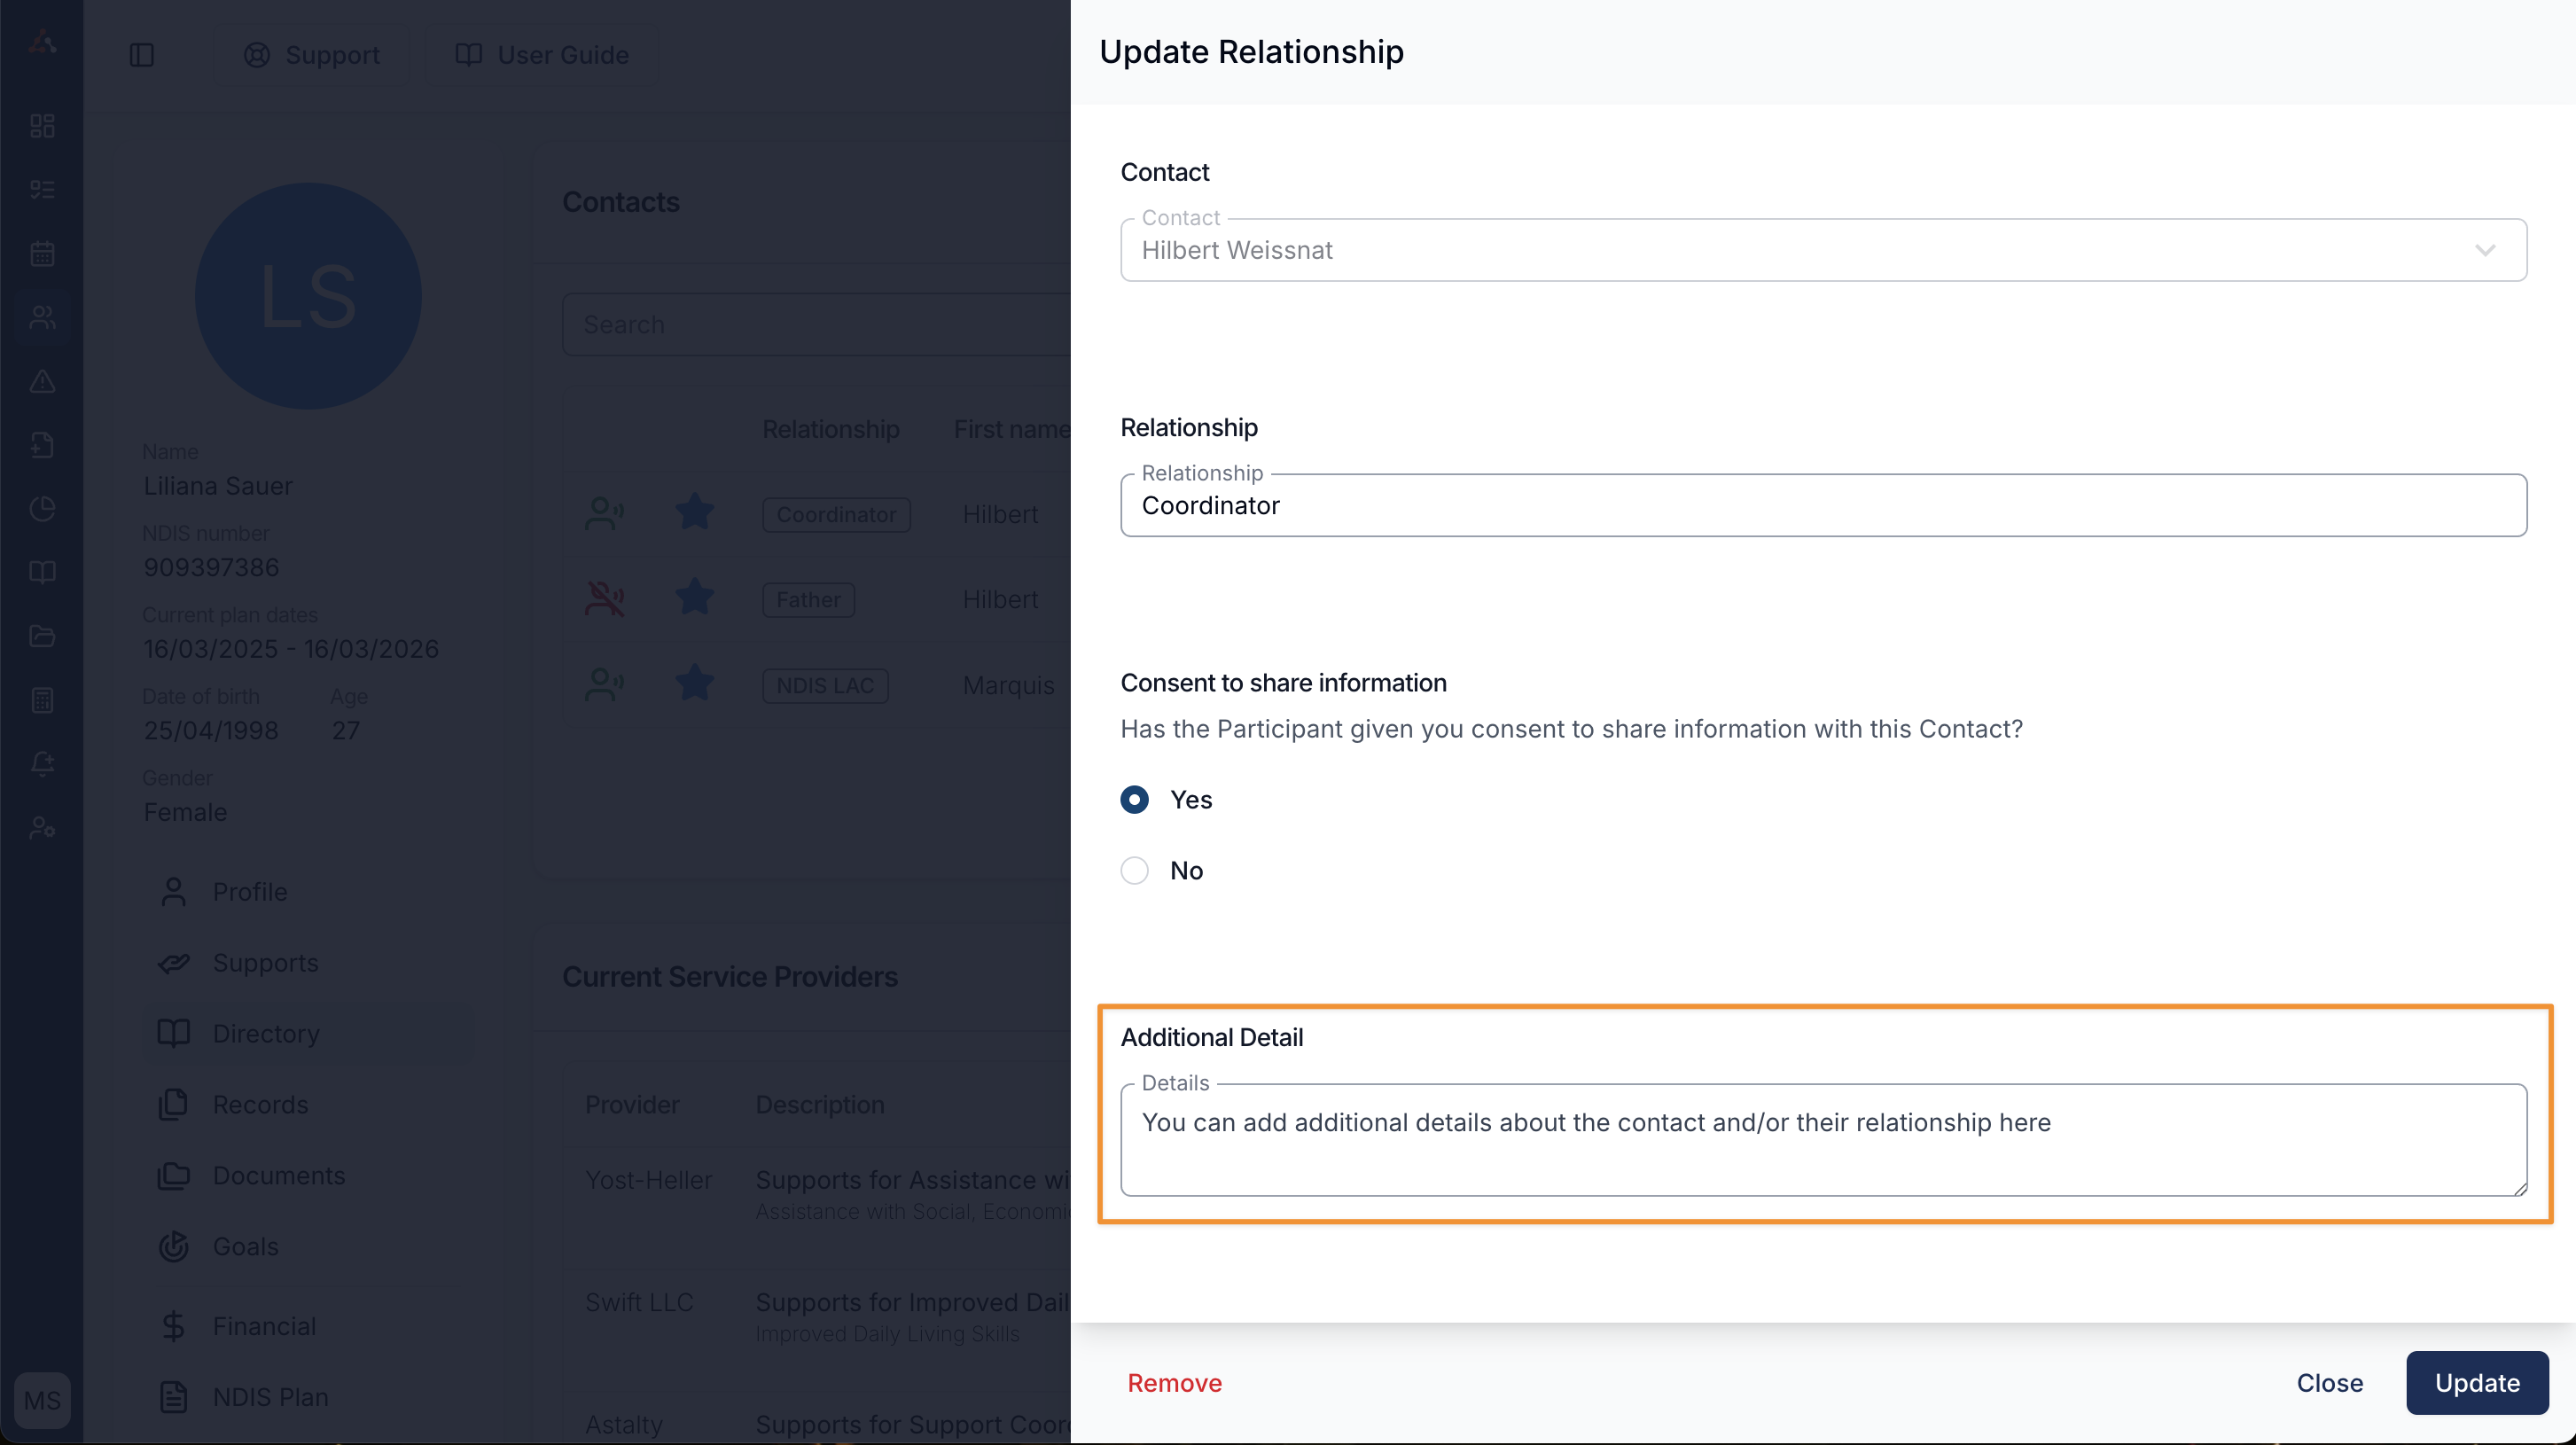
As shown below, when you hover your cursor over the relationship label it will temporarily display any text stored in the contact's Additional Details field. This provides you and your users with valuable and timely context. Note the label also has a pinned note icon attached to signify that Additional Information is available.
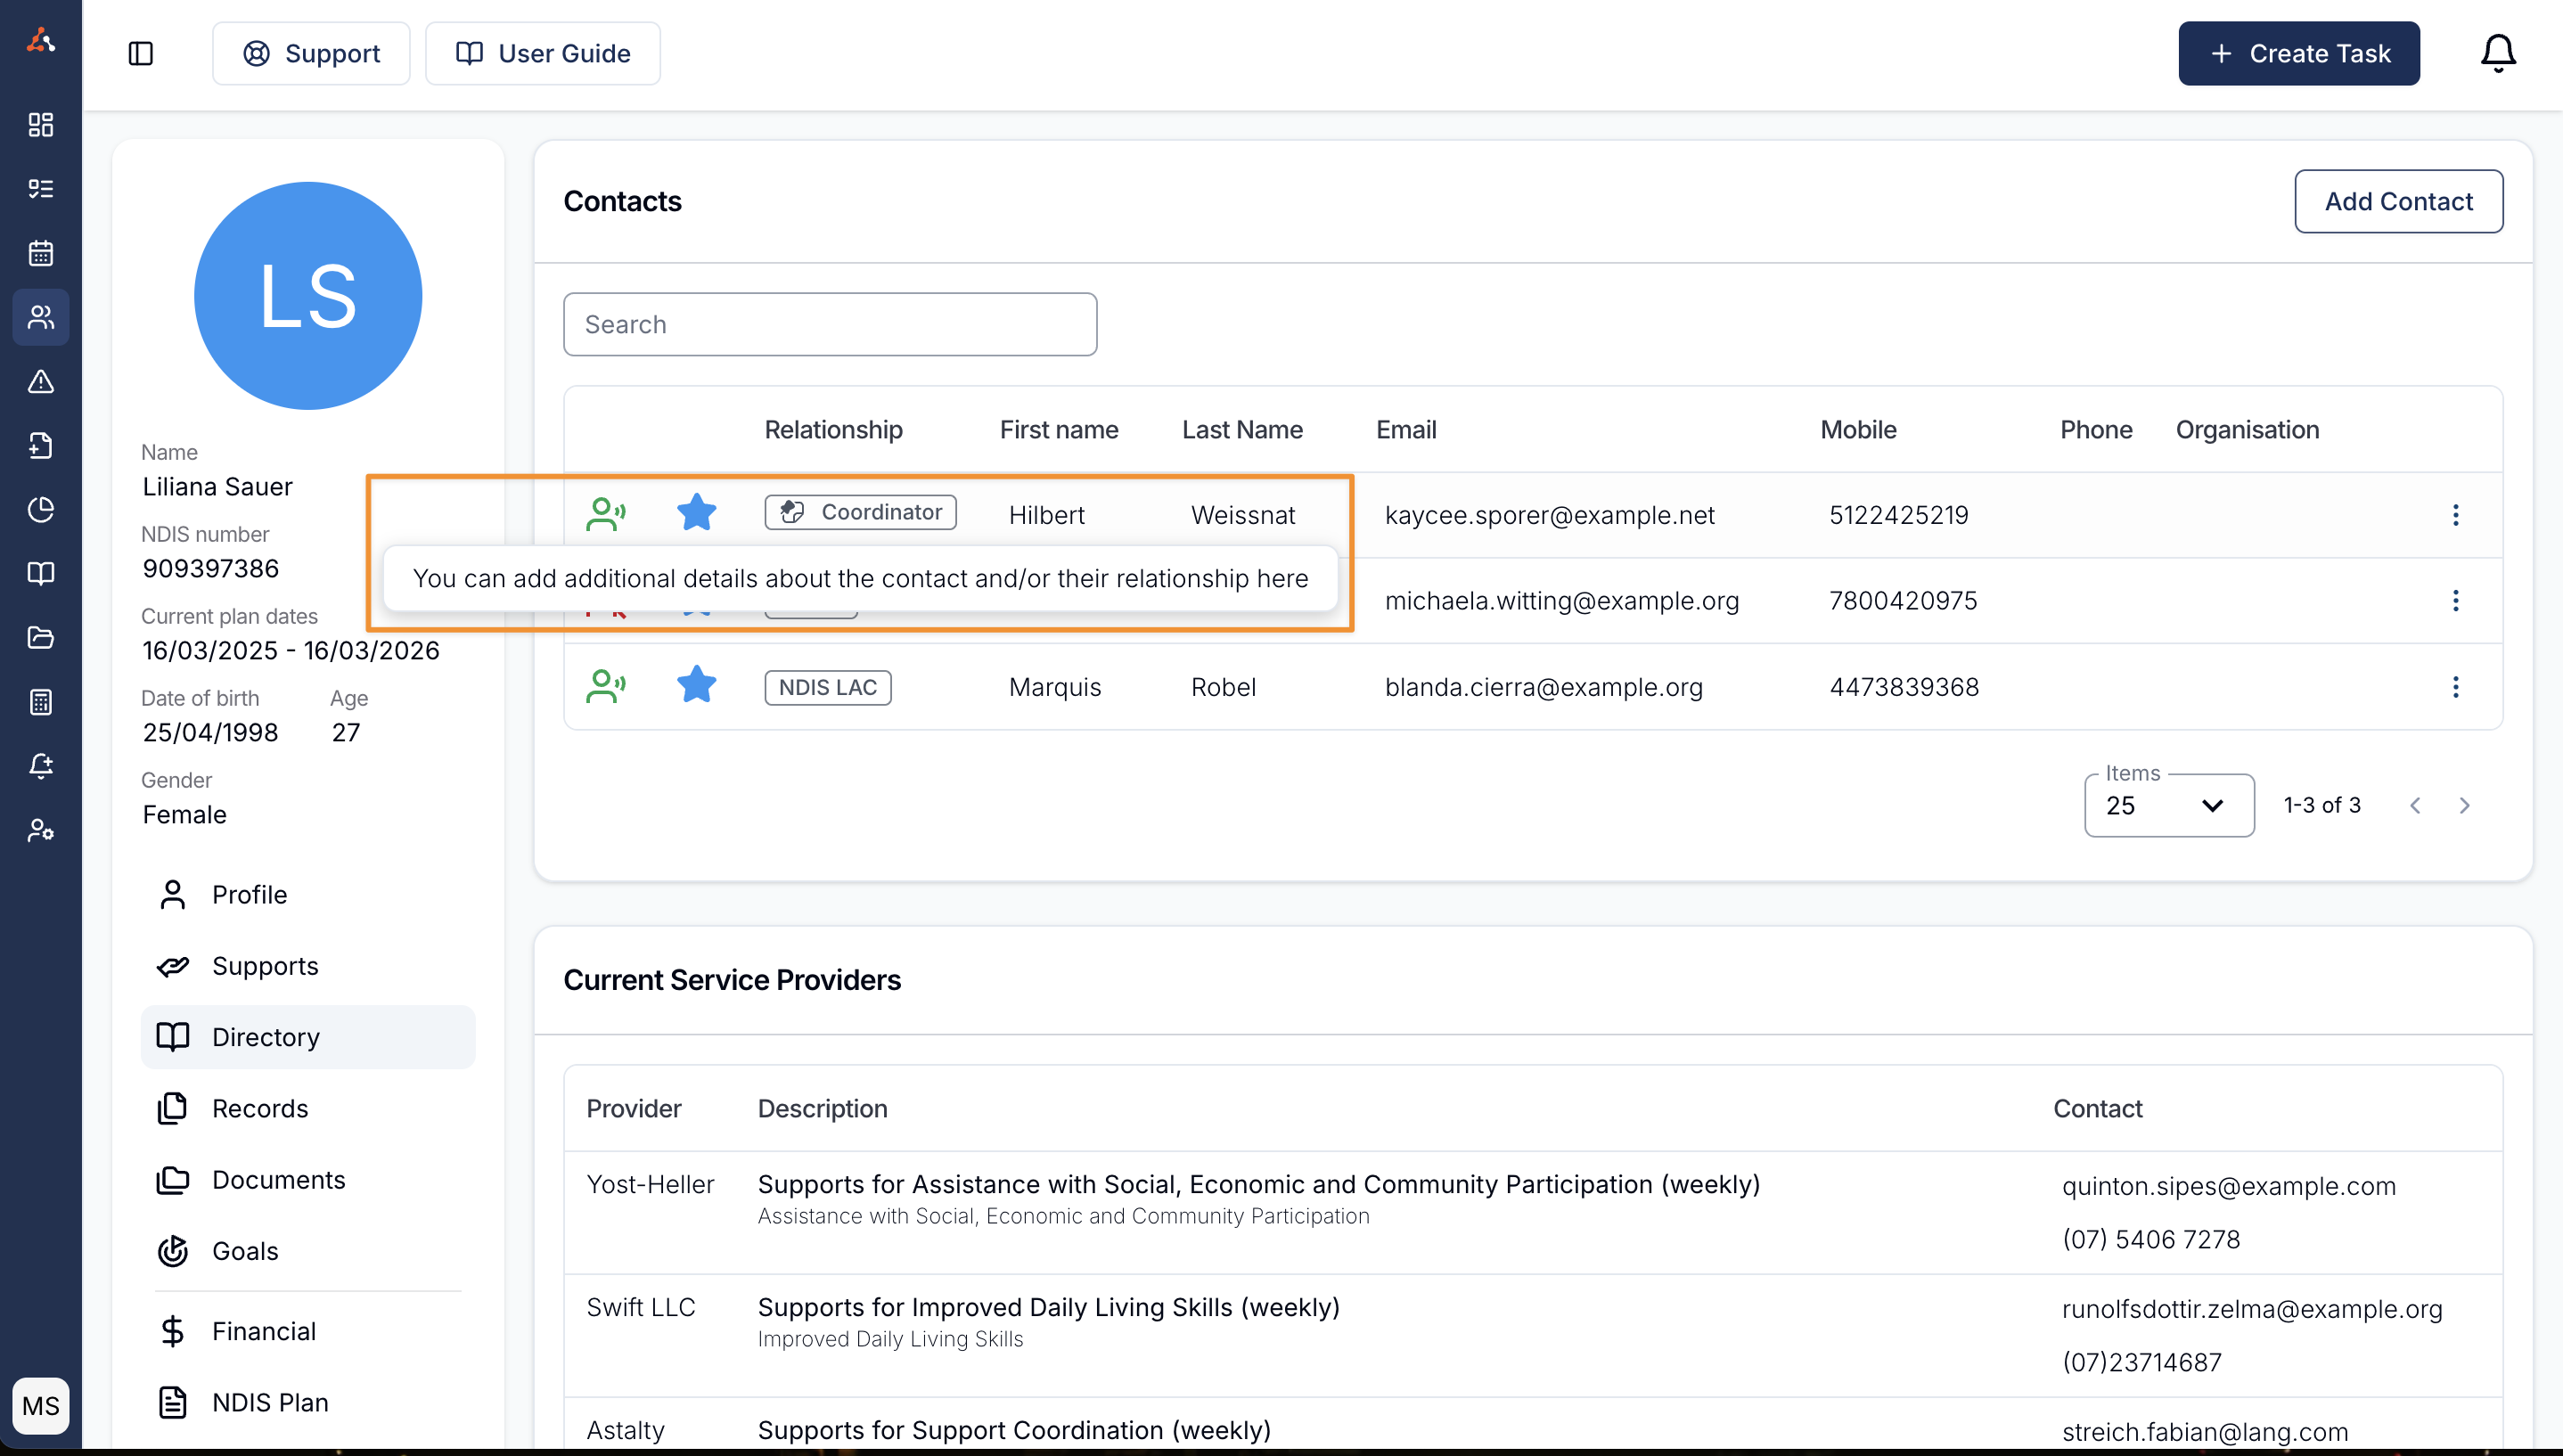
Support Worker Visibility
Support Worker Visibility lets you choose which of a Participant's Contacts are shared with your Support Workers in the Astalty mobile app. Contacts are hidden by default — you opt each one in individually, so you stay in control of exactly which contact details Support Workers can see.
To share a Contact, head to the Participant's Directory and open the Contact you want to update — click Add Contact for a new relationship, or choose Update Relationship from the actions menu of an existing Contact.
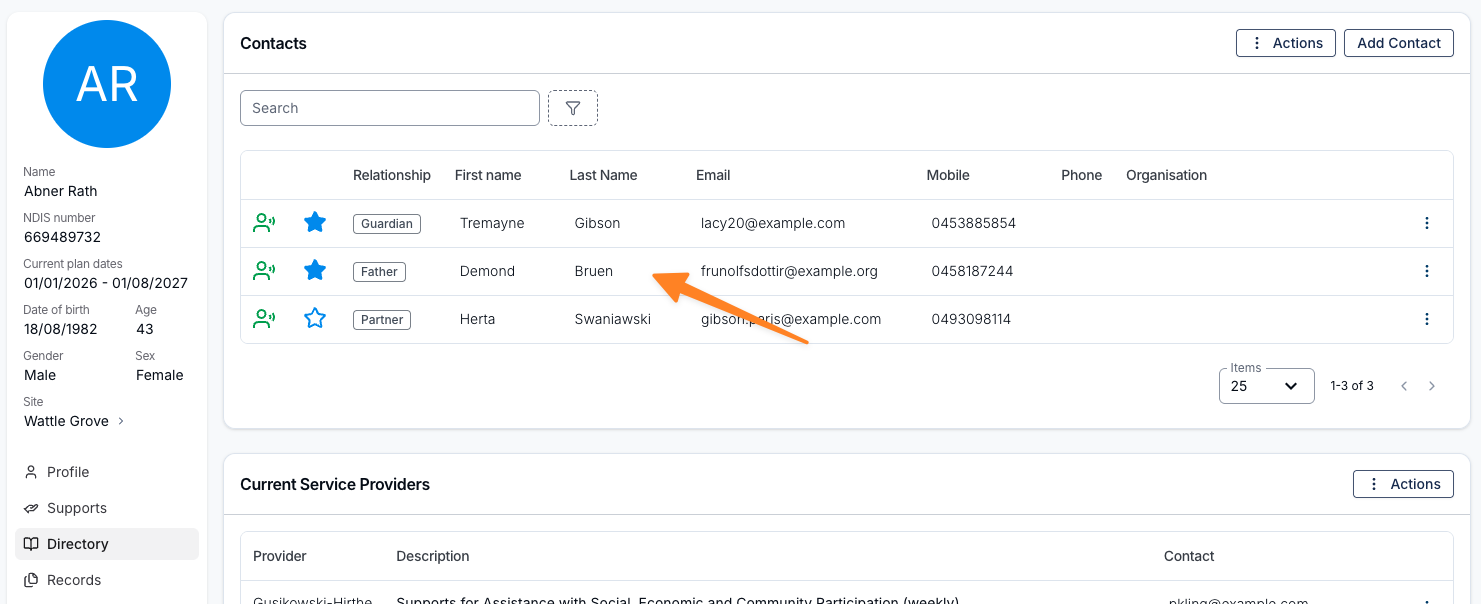
In the Support Worker Visibility section, tick Visible to Support Workers and then save. This setting is separate from Consent to share information — visibility is controlled solely by this checkbox.
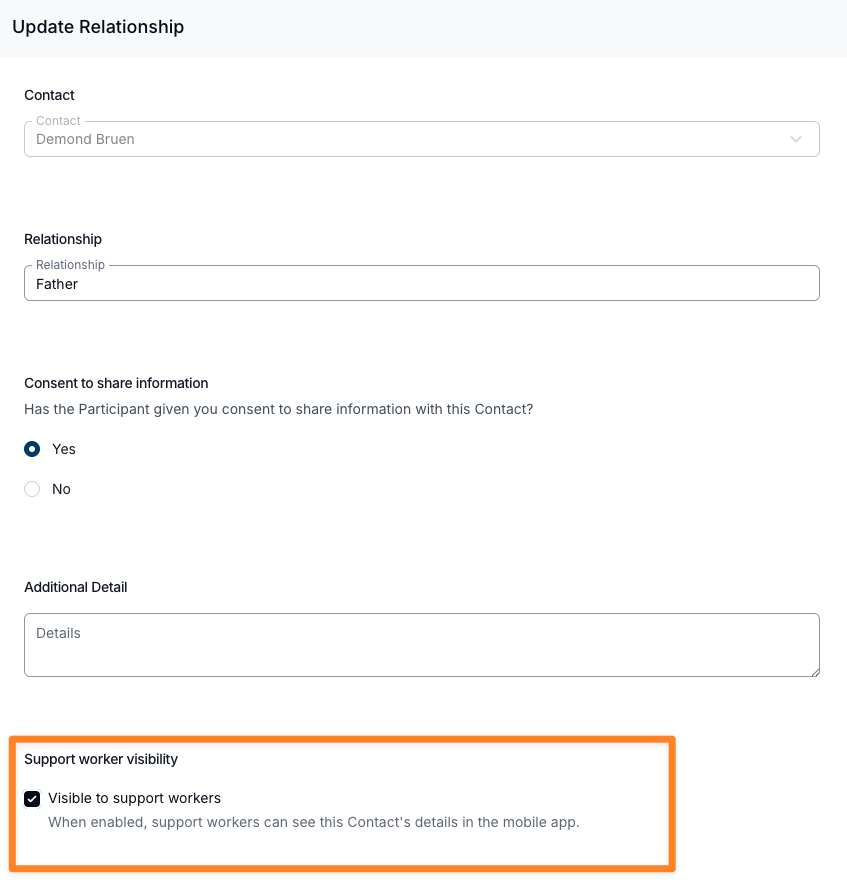
Identifying shared Contacts
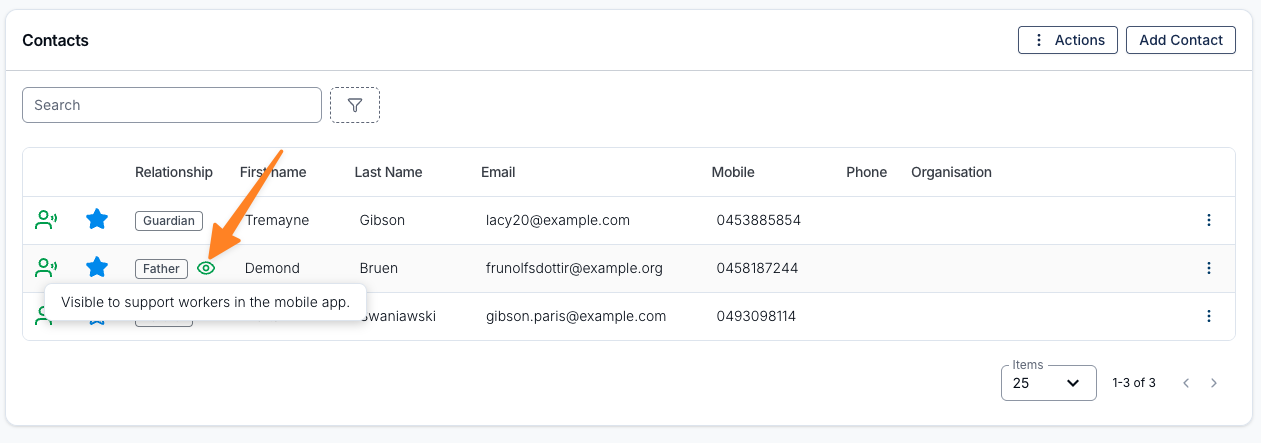
Contacts that are shared with Support Workers are marked with a green eye icon in the Contacts table. Hover over the icon to confirm the Contact is visible in the mobile app.
What Support Workers see
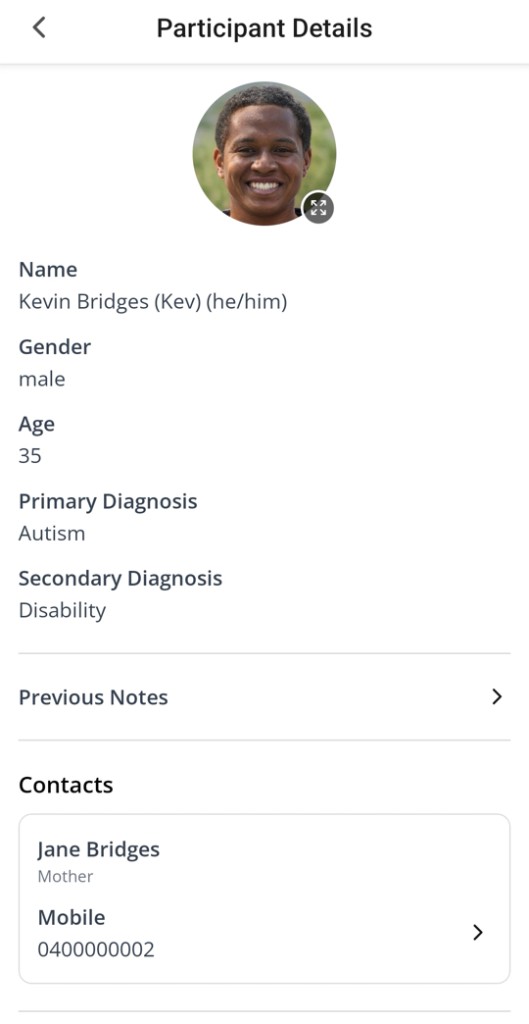
Shared Contacts appear on the Participant's screen in the mobile app, showing the Contact's name, relationship, organisation, mobile, and phone.
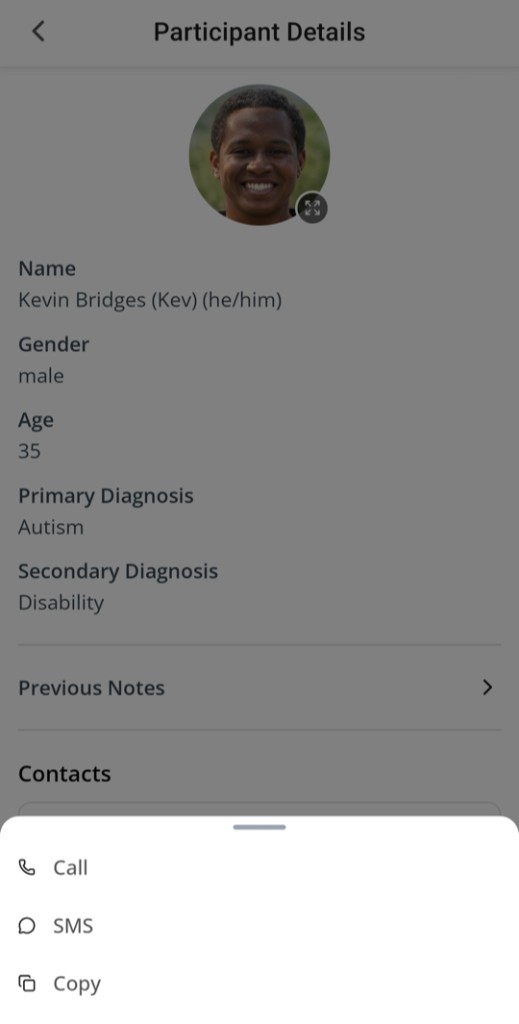
Support Workers can tap a Contact to quickly Call, SMS, or Copy the Contact's details.
Starred Contacts
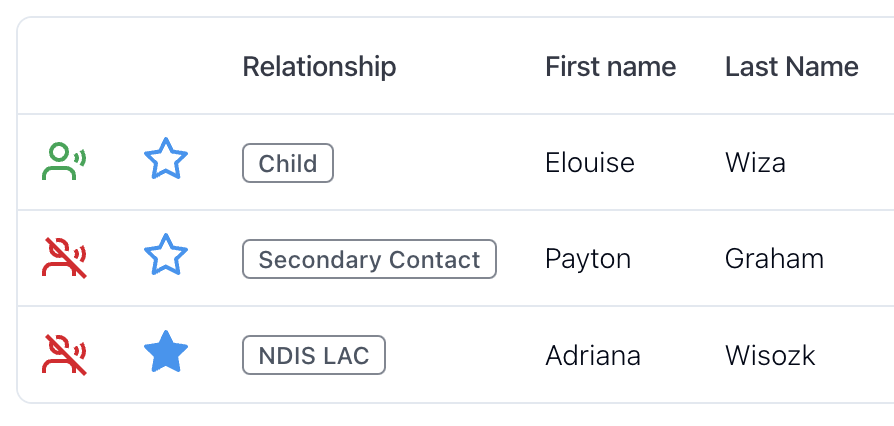
On the Contacts table, there is also a blue star which will be filled or not filled. A solid blue star means the Contact has been starred whereas a star with only a blue outline means the Contact has not been starred.
Emergency Contacts and Primary Contacts are always starred, so their star cannot be changed.
Viewing starred Contacts
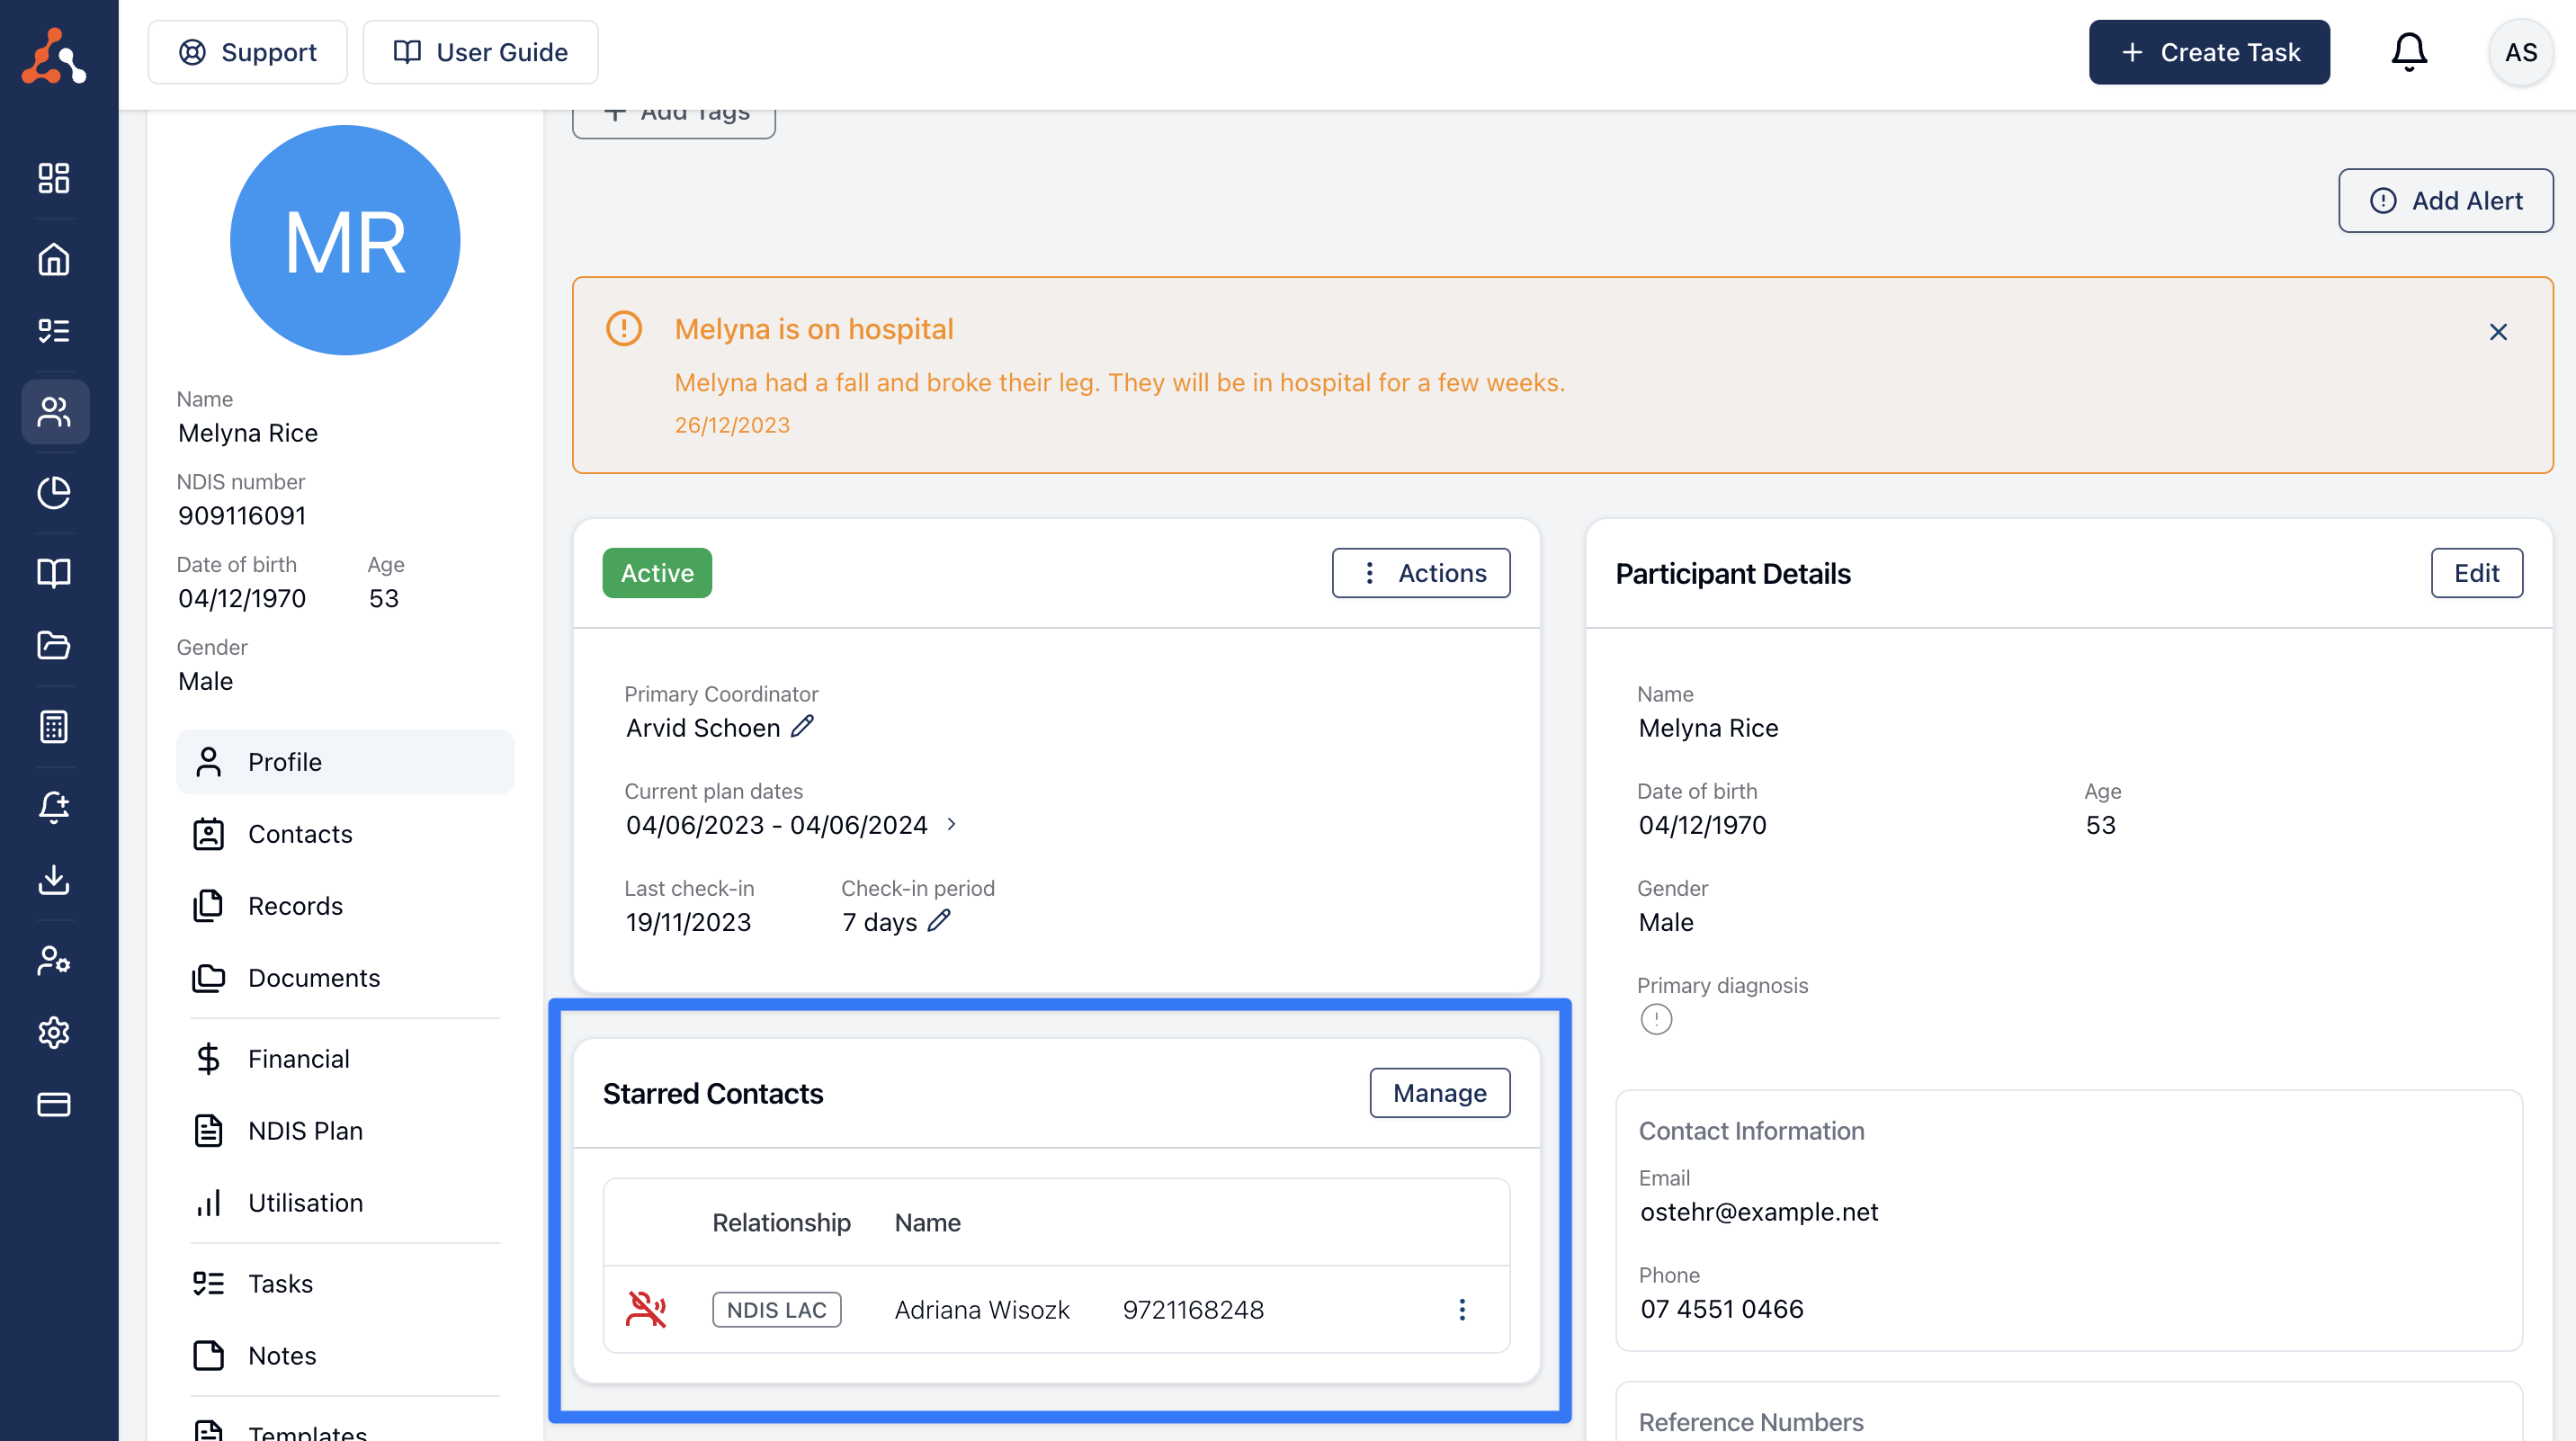
Starred Contacts will appear on the Participant's front page under the Starred Contacts card. The starred contacts feature allows you to store every contact for the Participant but keeping the most important ones starred and therefore displaying front and centre on their profile.
Inactive Relationships
Use Mark Inactive when the Contact should stay in the Directory but their relationship with this Participant is no longer current. The row receives an Inactive badge and no longer appears in the mobile app, even if Support Worker visibility was previously enabled. Use Reactivate to make the relationship current again.
The Contacts table can be filtered by Consent Status, predefined Relationship Type, relationship Status, archived Contact status, and Organisation when you have permission. The search box also matches custom relationship names.
Participants with the Same Contact Details
If you have Participants that have the same contact details (for example, siblings where their contact is a parent), you will need to add that contact as a Primary Contact. We have created a video walk through that guides you through the process of assigning a shared contact amongst Participants.