- Administration
- Directory
- Contacts
Contacts
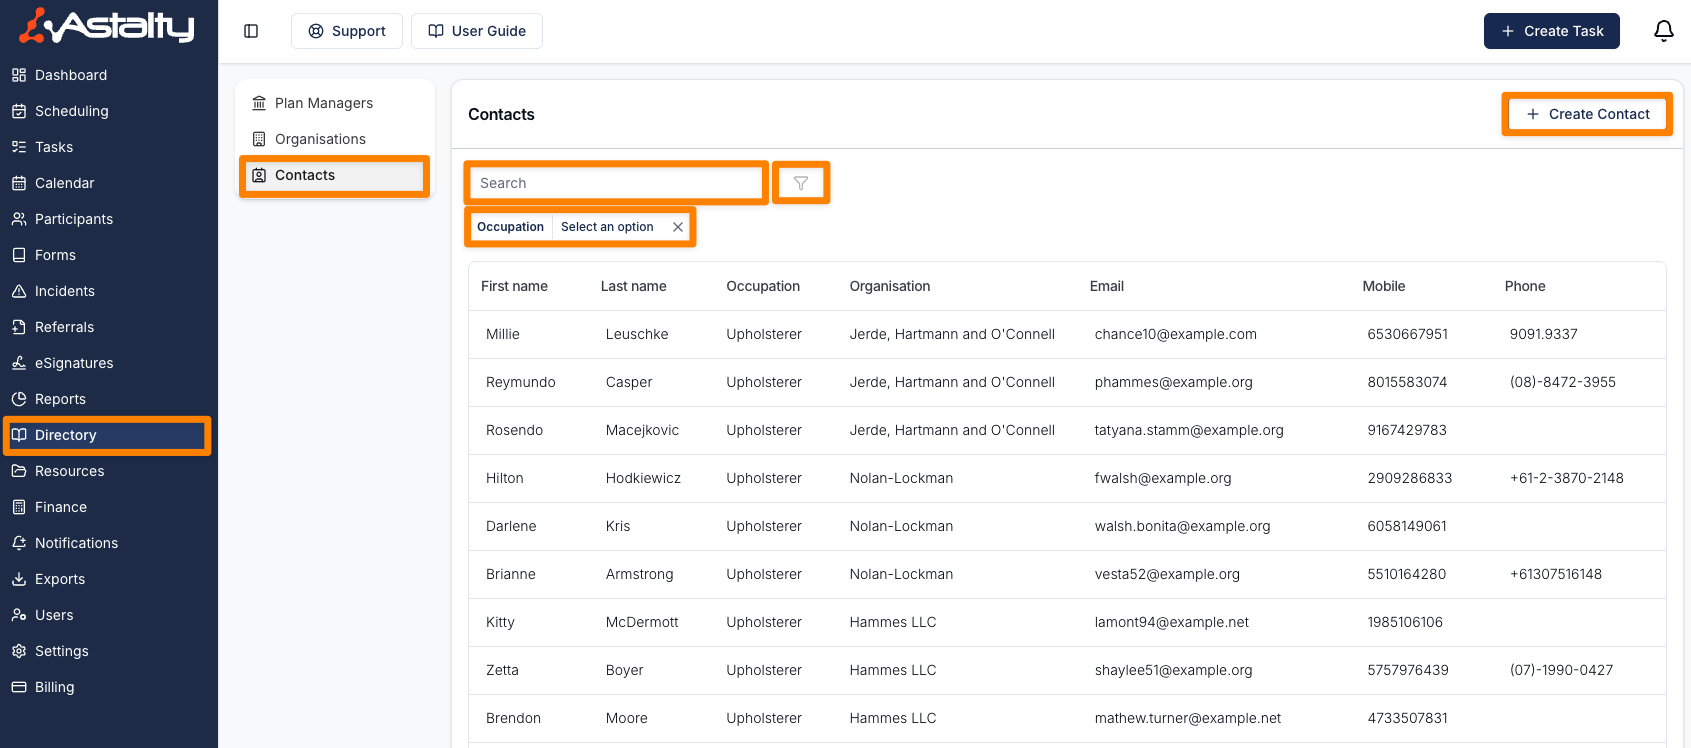
To manage Contacts, navigate to the Directory page and click Contacts in the sub menu or click here.
Contacts are any individual person, whether they are the direct support person, professional contact, family/guardian of a Participant etc.
From this page, you can create a new Contact by clicking Create Contact. You can also search by First and Last Names, Email, Mobile, and Phone, or use the filter icon to narrow your results by Occupation.
Creating Contacts
Within the Contact form, you should enter as much detail as possible. All fields and their purpose are outlined below;
Personal Information
Fields are available for First and Last Names, and the persons Date of Birth.
Contact Details
Fields include, Email, Mobile, Phone, and a drop down menu for Preferred Contact Method (phone, mobile, email). This will be the default contact method that appears when a contact is Starred in a Participant Profile.
Please note that mobile numbers and email addresses can only be linked to one Contact in Astalty. If you have Participants that have the same contact details (for example, siblings where their contact is a parent), you will need to add that contact as a Primary Contact. We have created a video walk through that guides you through the process of assigning a shared contact amongst participants. You can also find more on Starring a Contact here.
Occupation
This can be used for filtering when searching for a Contact from the Directory page.
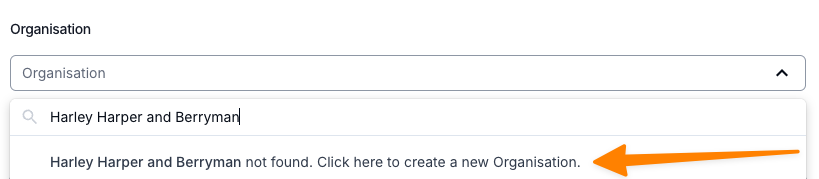
Organisation
Any Organisations that have already been added to Astalty will be searchable in this field. If they don't appear in the drop down menu, simply start typing the Organisation name — if they've been created already, you'll be able to select them, if not, you can Create a New Organisation by selecting the option in the drop down menu. This will open a new pop-up to complete the Organisations details — once saved, this will then appear in the Organisation field of the Contact.
Additional Information
Record any relevant information about the Contact in this space.
Viewing Contacts
Select a Contact to open their profile. Each Contact profile includes the following tabs:
- Overview
- Participants
- Documents
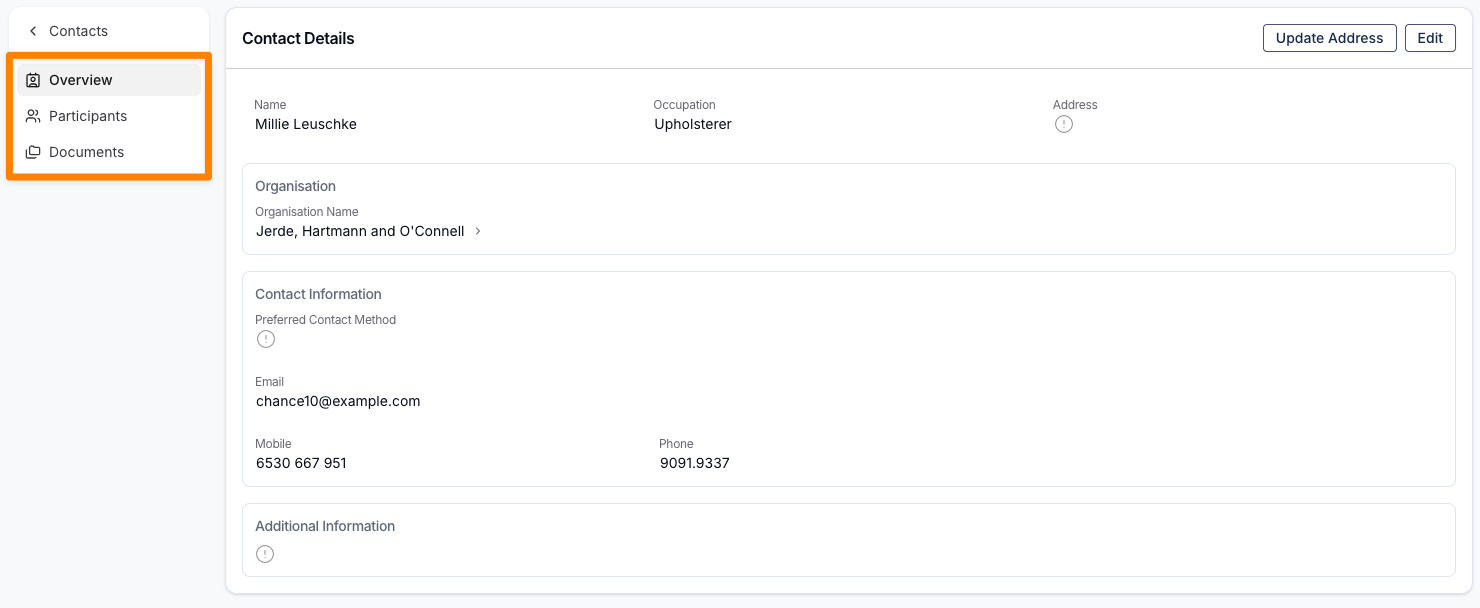
Overview
The Overview tab displays all key details for the Contact, including contact information and the ability to open the Organisation they have been linked to (if relevant).
From this view, you will also have the ability to Update the Contact's Address, and Edit any of their contact information by clicking on the relevant buttons at the top right of their profile.

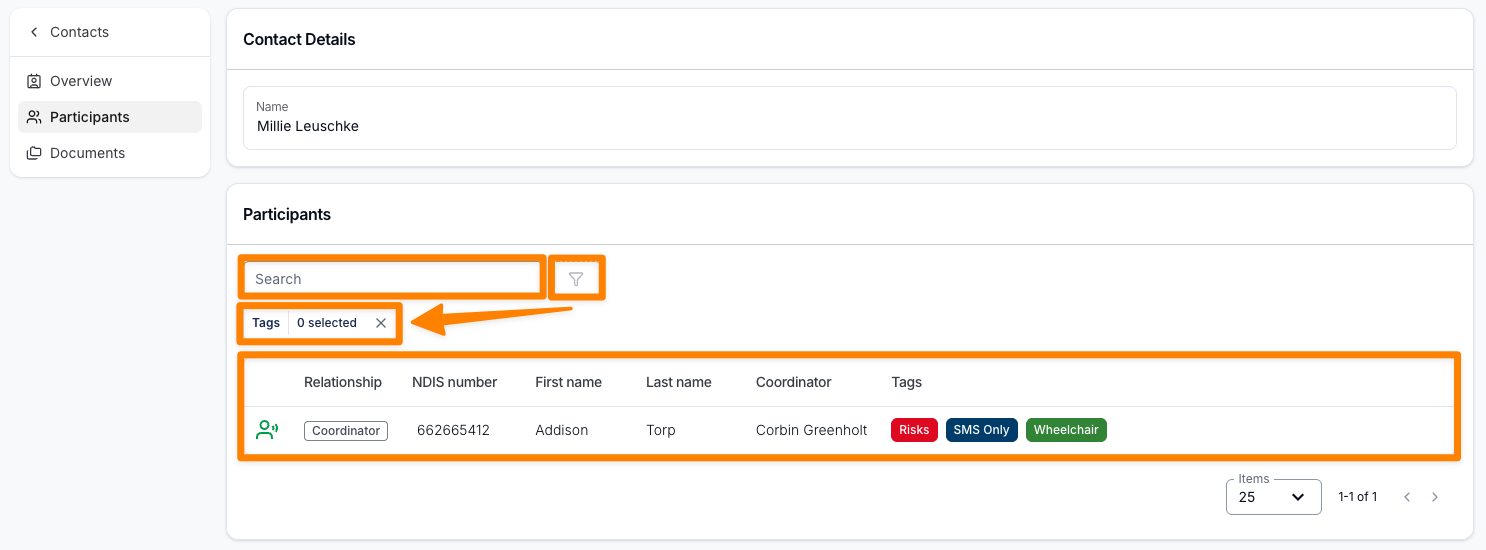
Participants
The Participants tab shows all Participants directly linked to the Contact, and will also display the Relationship that they have to each Participant. To learn how to connect a Participant with a Contact, click here.
You can search for Participants linked to the Contact in the search bar, use the filter icon to narrow results to Participant Tags, and you can open the Participant profile by selecting them from the list.
Documents
The Documents tab displays all documents uploaded to the Contact. You can also assign Categories to Documents to help with filtering and organisation. There's more on Document Categories here.
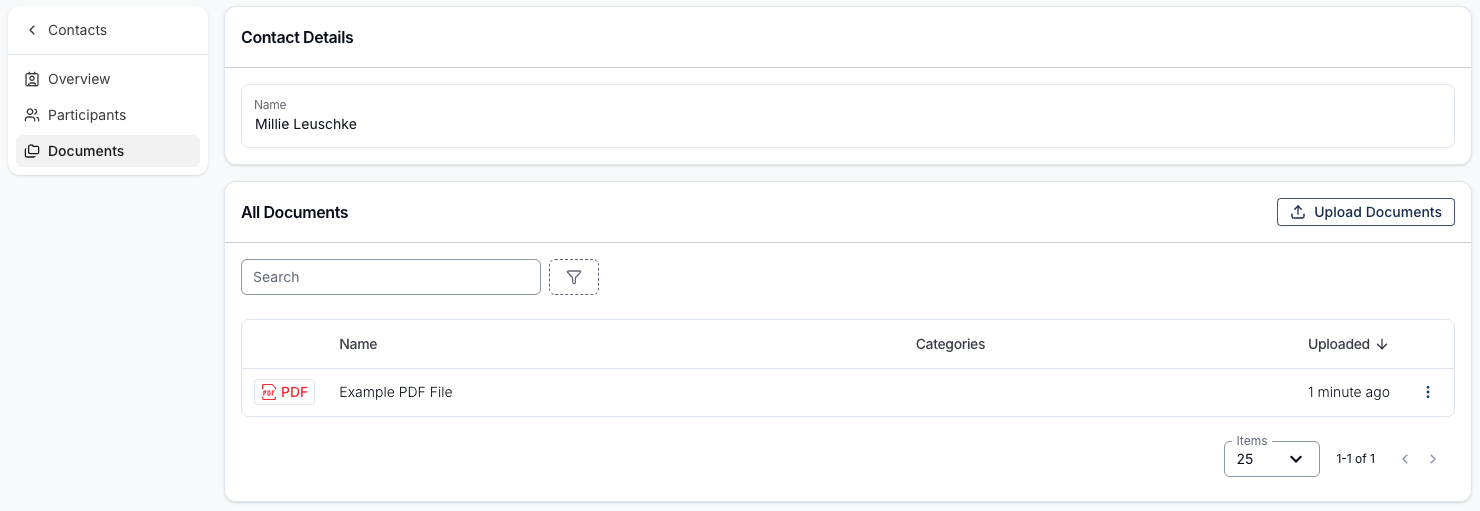
To upload a new document:
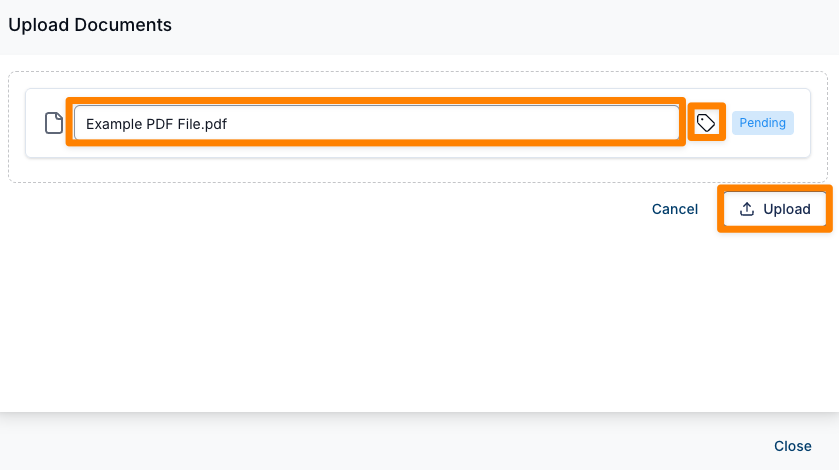
- Click Upload Documents.

- Select the file and assign a Category (optional). Then click Upload.
The uploaded Document will appear under All Documents. Use the three-dot menu to View, Download, or Delete the Document.

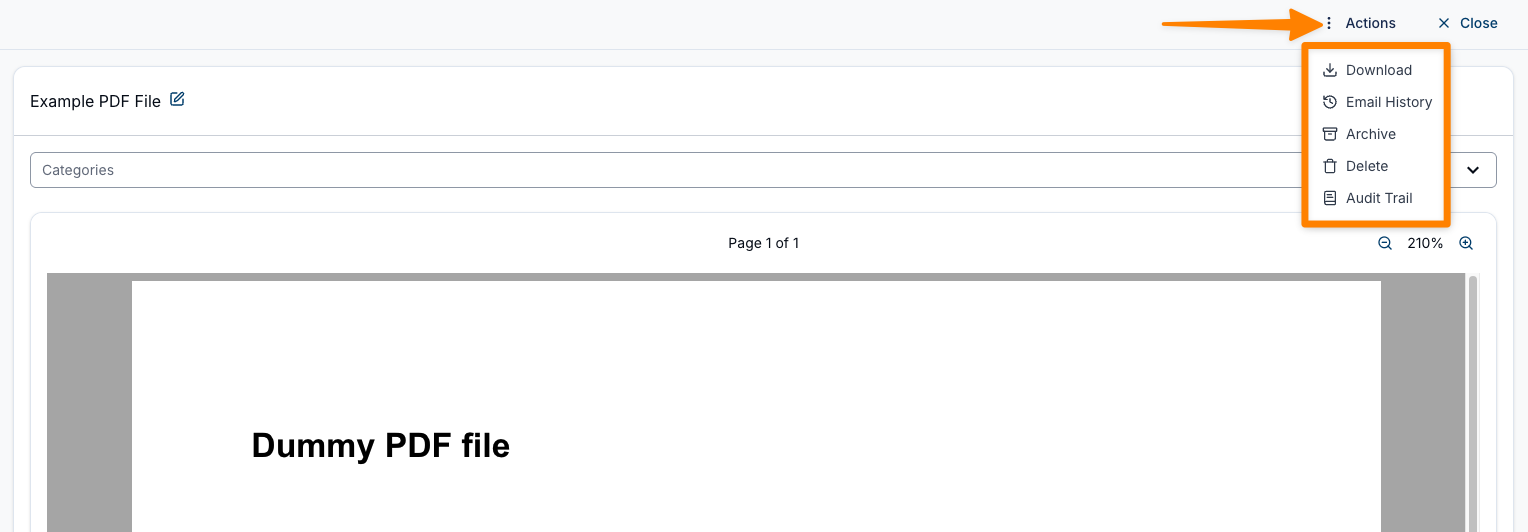
Clicking anywhere on the Document row will open it for viewing. Within the Document view, you can edit the file name, assign a Category, or select Actions for additional options:
- Download
- Email History
- Archive
- Delete
- Audit Trail
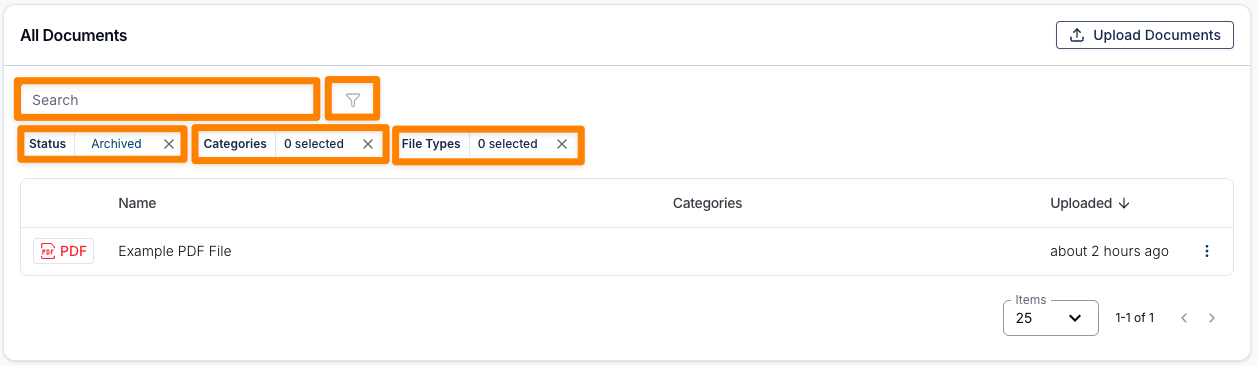
Use the search bar or the filter icon on the Documents page to locate Documents by Status (e.g., Archived), Categories, or File Type.