- Forms & Quality
- Submission Request
- Create a Form Submission Request
Create a Form Submission Request
Overview
Use a Form Request to ask people to complete a form. One request can go to several people at once - team members, Participants, or people outside your organisation - and each of them receives their own email and their own request to complete.
Start from the Create Request page, which you reach by clicking Create Request on the Submission Requests page.
Choosing the form
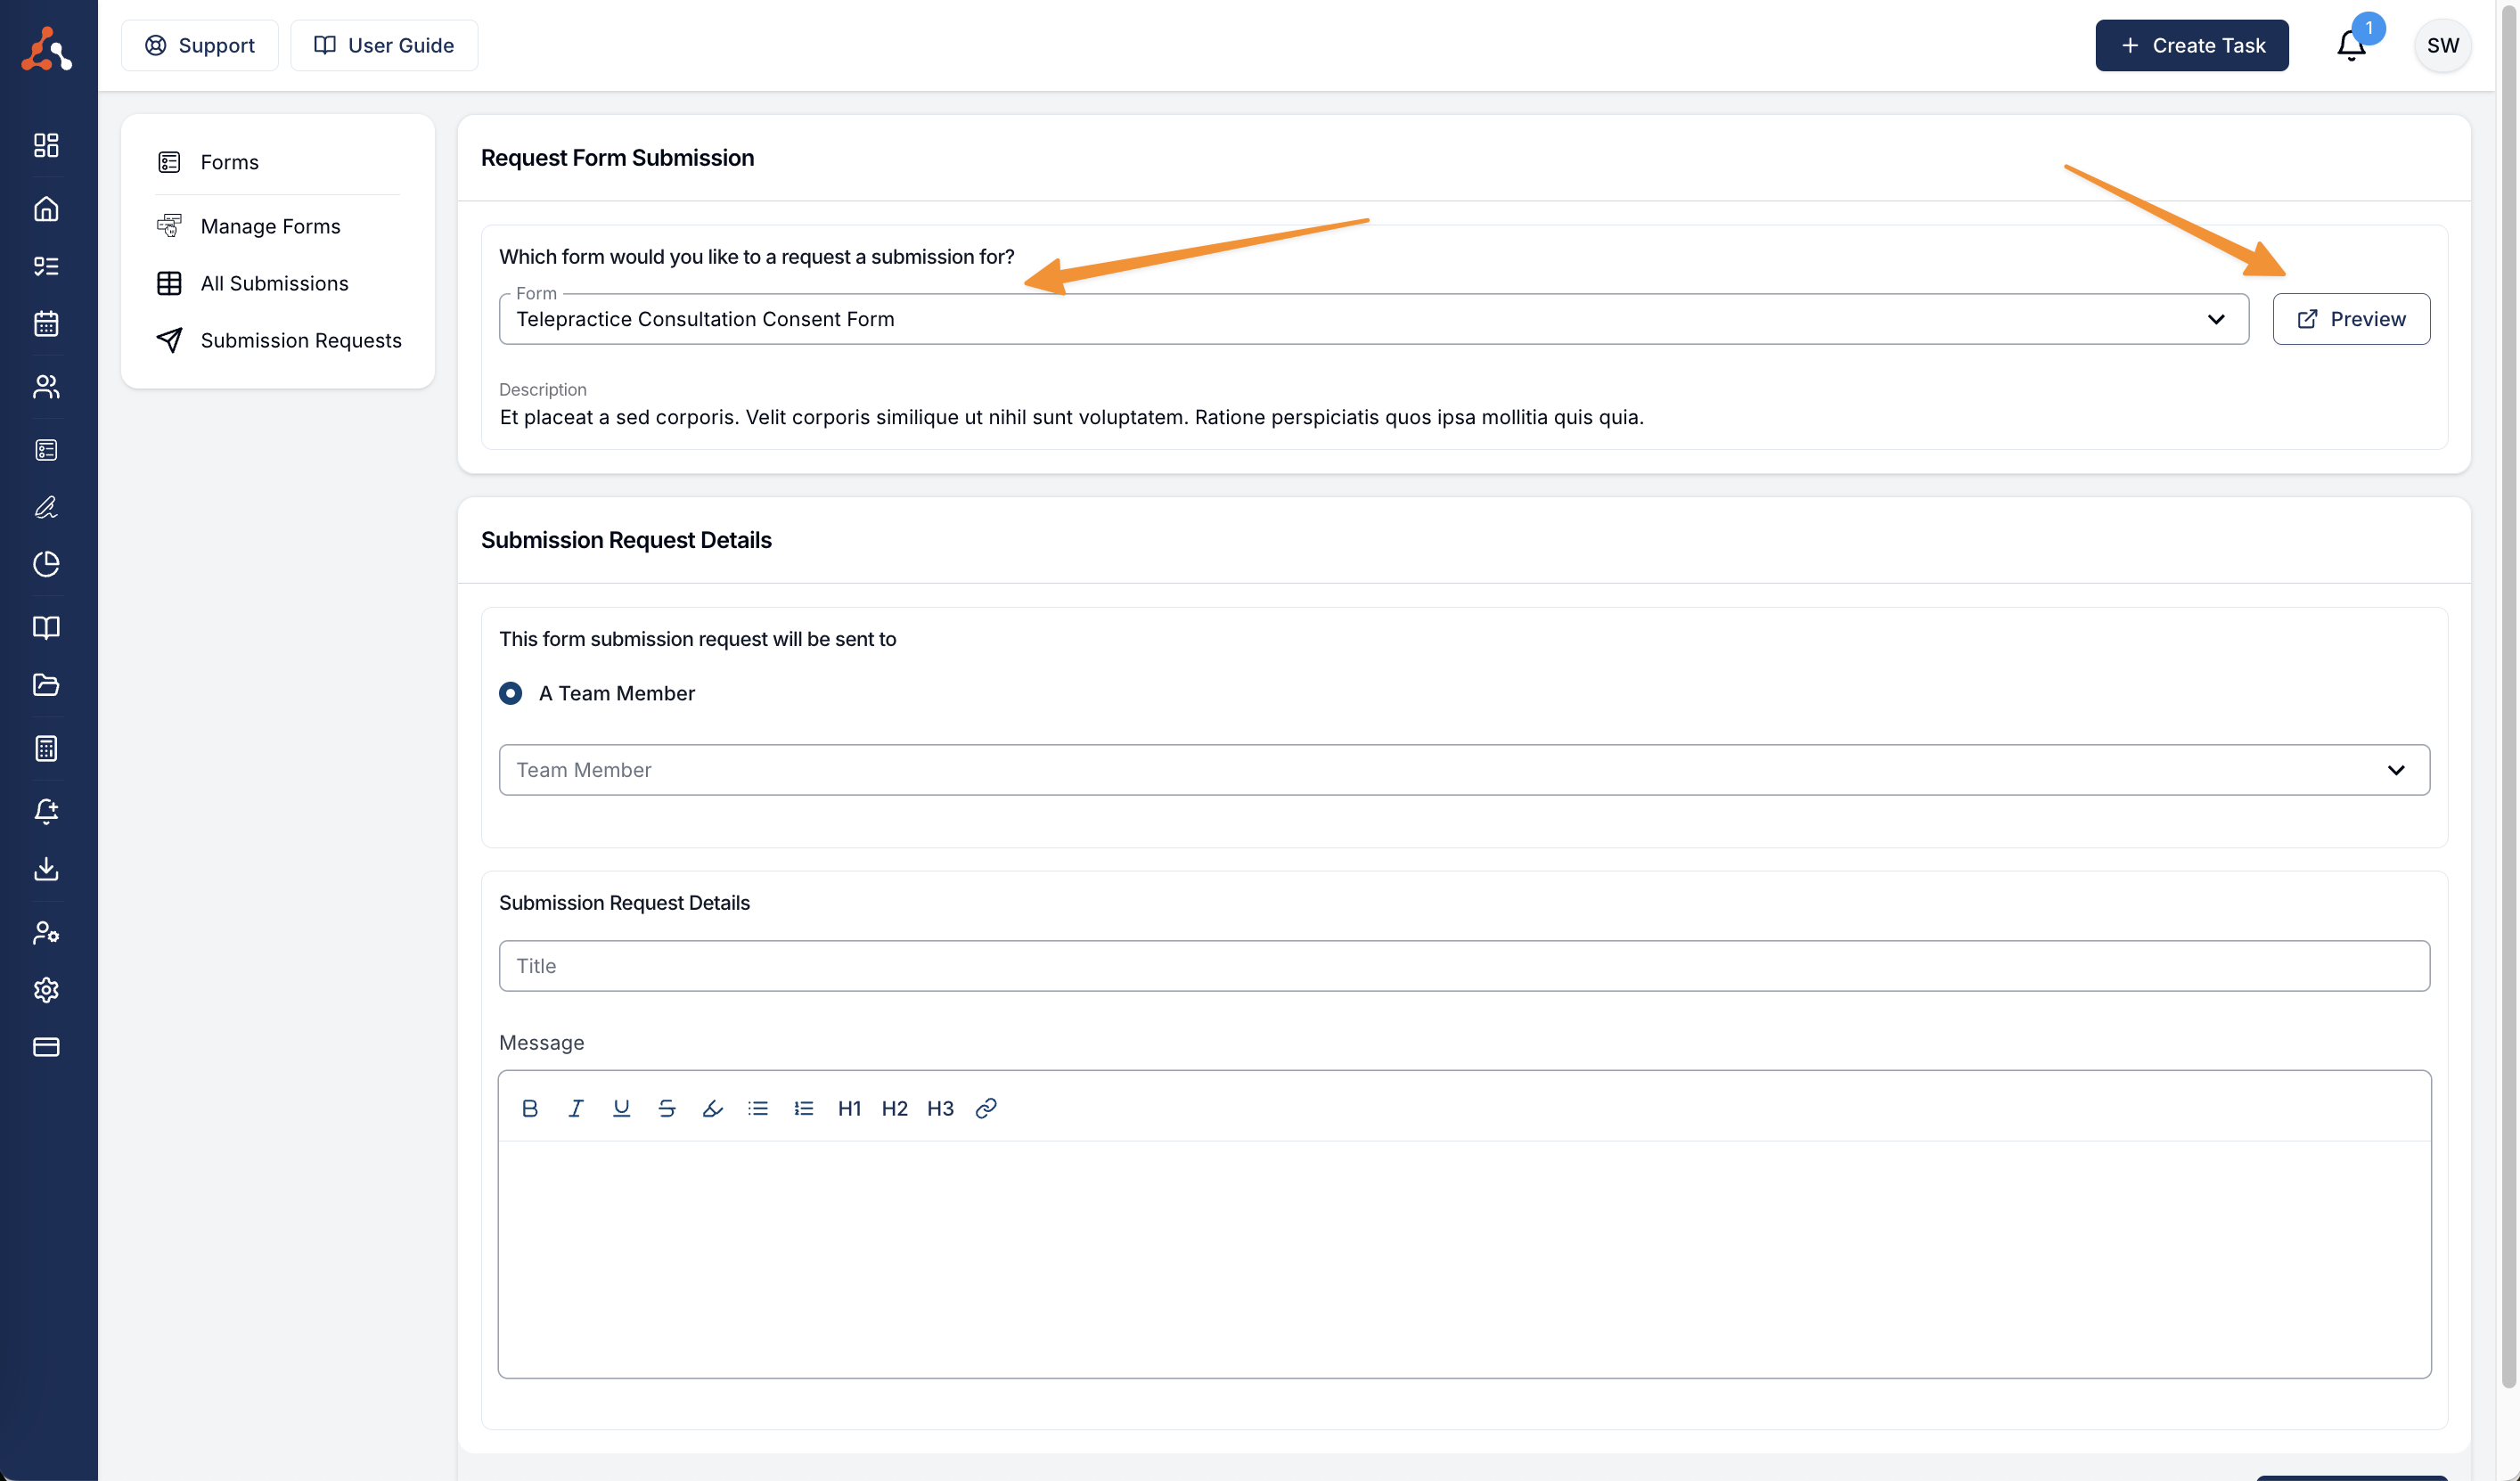
Click the Form dropdown and pick the form you want a submission for. Its description appears underneath so you can check you have the right one.
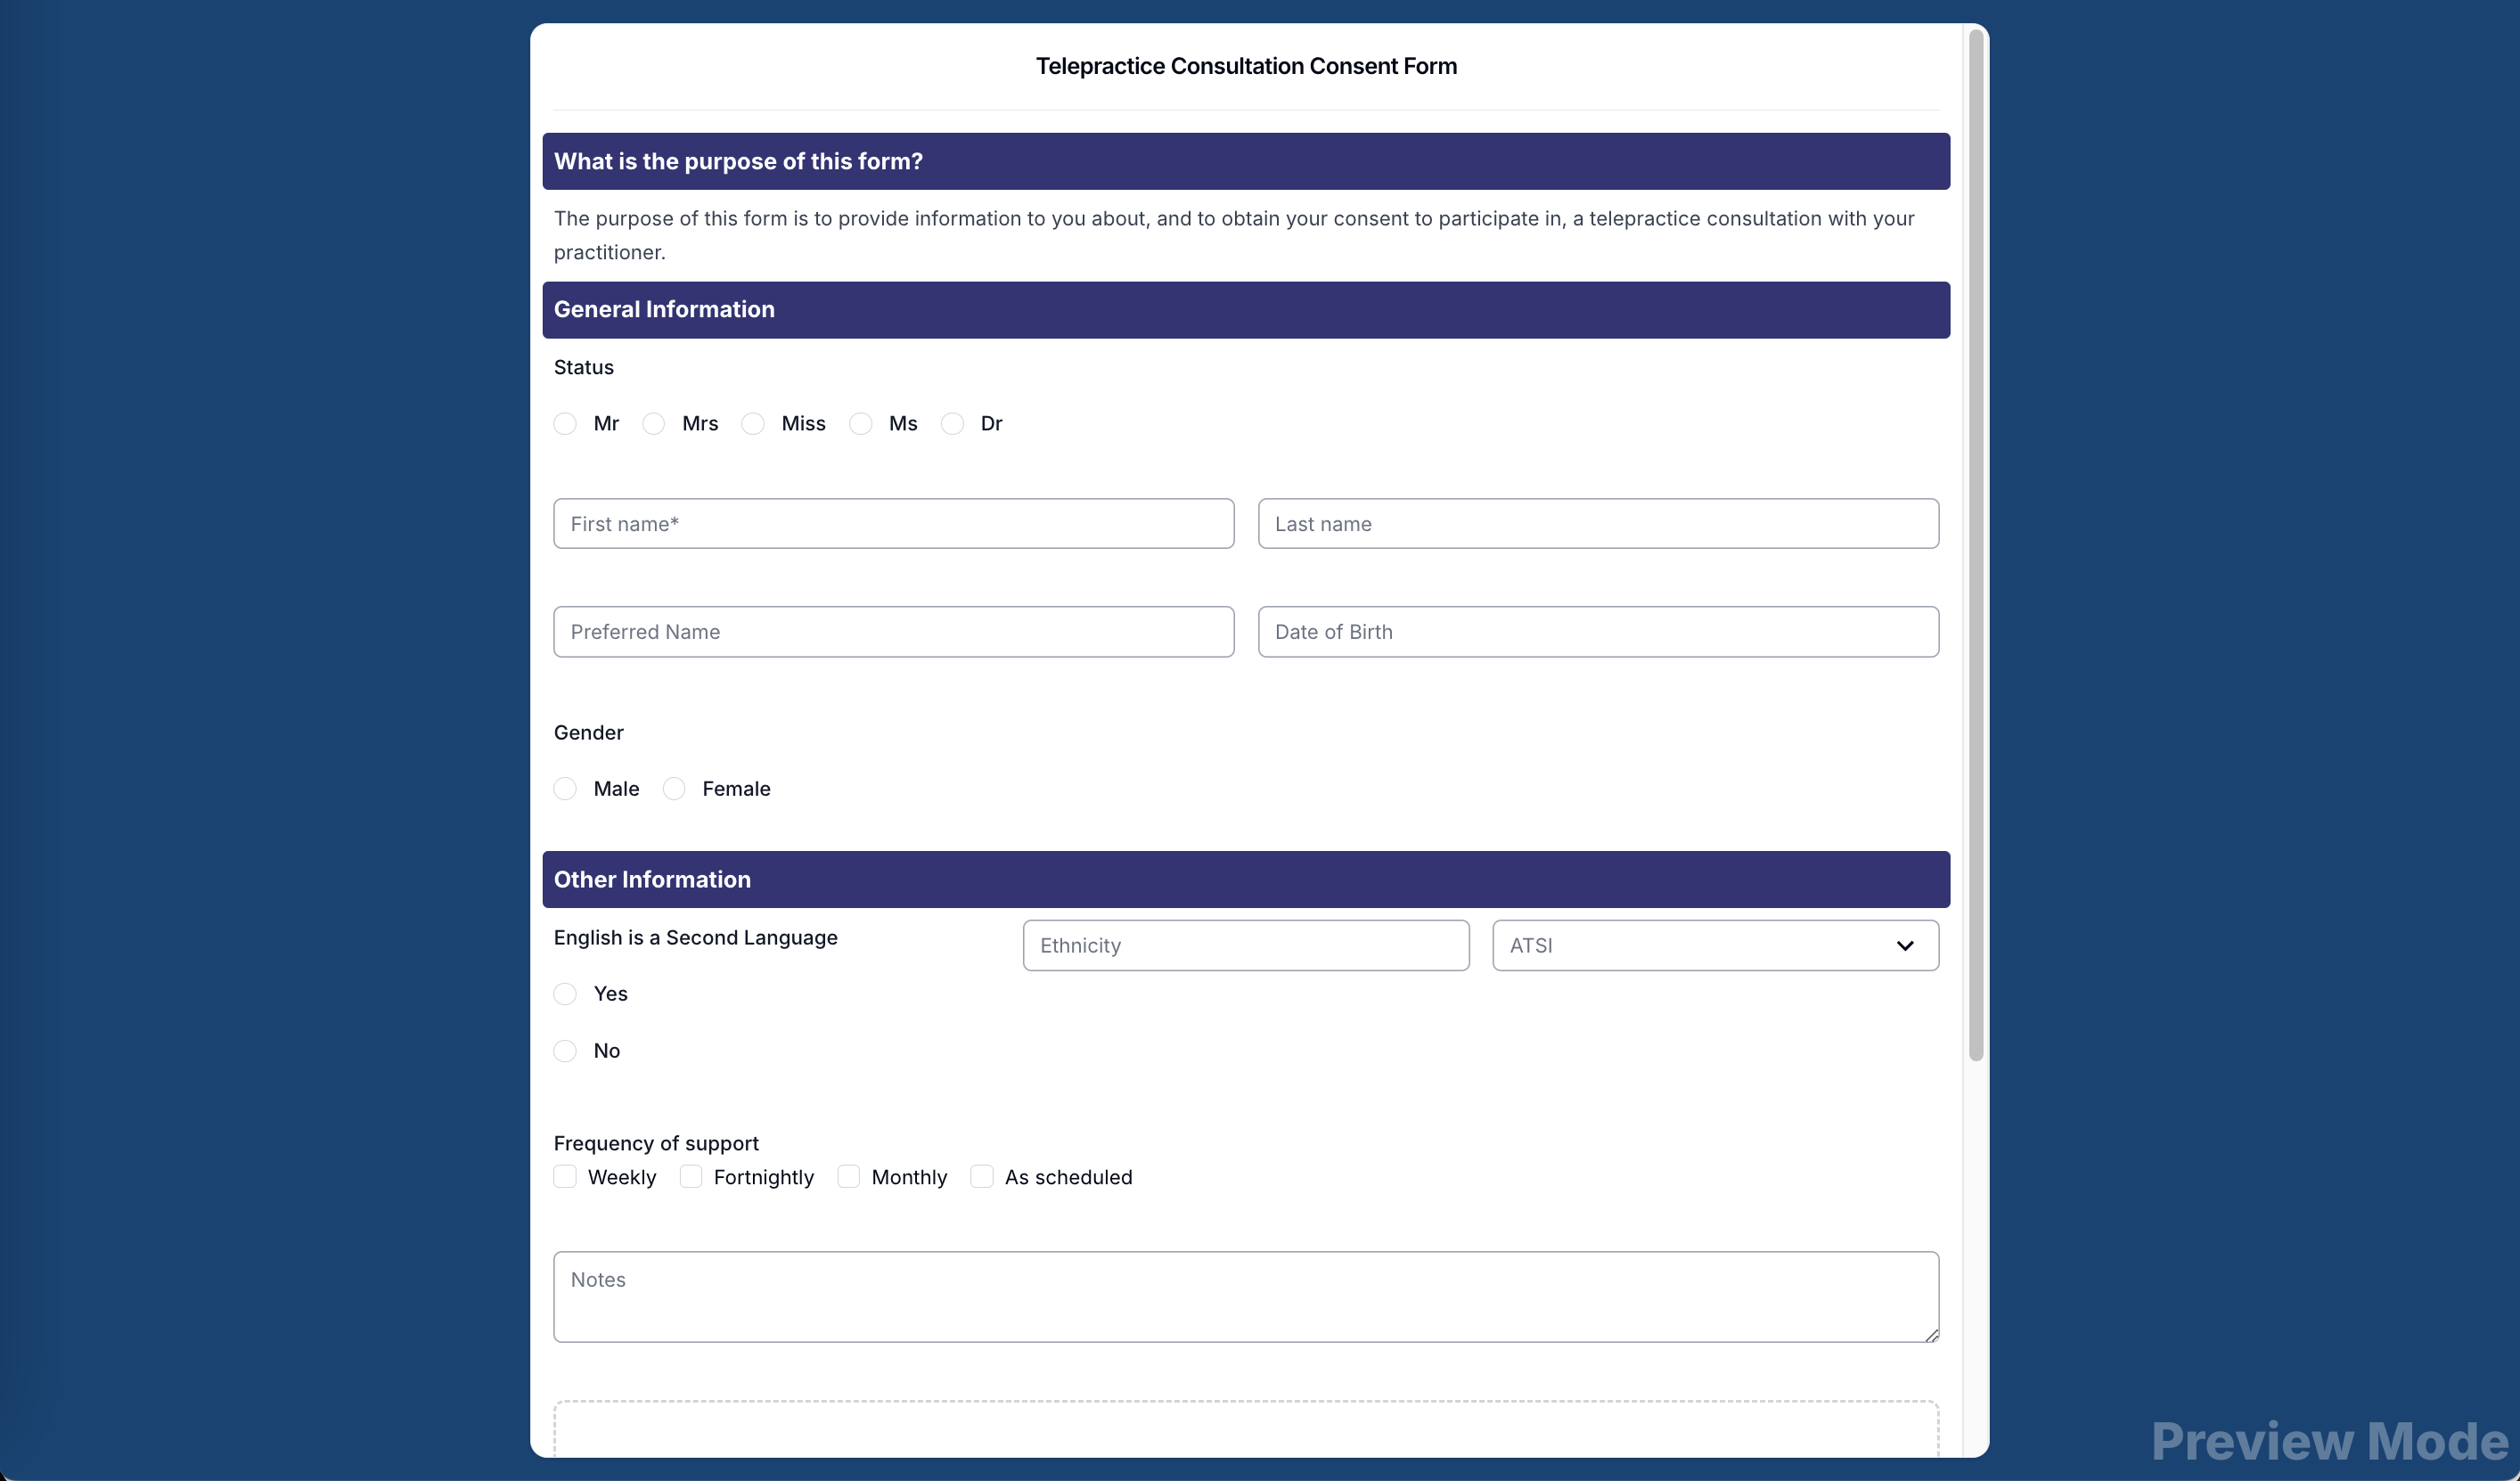
Click Preview to see what the form will look like to the person receiving it.
The preview opens in a new tab. The watermark in the bottom right tells you the form is in preview mode.
Choosing who receives the request
Under This form submission request will be sent to, choose who you are asking. The options you see depend on the form:
- Internal forms can only be requested from A Team Member.
- External forms can also be requested from A Participant or Someone else.
Team members
Select A Team Member, then choose one or more User Groups and individual Team Members. Every active member of a selected group receives their own request. Astalty shows which people each group will add before you send.

Participants
Select A Participant, then choose one or more Participant Tags and individual Participants. Participant Tags are available when the Participant Tags feature is enabled. Every matching Participant receives their own request.
Someone else
Select Someone else to send the request to people who aren't in your Astalty account - a family member, a Plan Manager, or an allied health contact, for example.
Enter a Name and Email for the first recipient, then click Add Recipient to add another row for each extra person. Use the ✕ at the end of a row to remove a recipient you no longer need.

Writing the title and message
The Submission Request Details section holds the Title and Message that the recipient sees. Fill both in before you send - the title isn't filled in for you.
Personalising with placeholders
Because one request can go to several people, you can drop the recipient's own details into the wording rather than writing something generic.
Click Insert placeholder above the Title field, or the { } button in the Message toolbar, and choose one of:
| Placeholder | Inserts |
|---|---|
| Recipient Email | ${Recipient_Email} |
| Recipient First Name | ${Recipient_First_Name} |
| Recipient Name | ${Recipient_Name} |

Placeholders can be used in the title, the message, or both. Astalty swaps each one for that person's own details as the requests are created, so every recipient gets their own wording.

Sending the request
Click Create Request when you're happy with everything.
If the request is going to more than one person, Astalty first shows a Confirm recipients window listing every name and email address it is about to send to. Check the list, then click Send to n recipients - or Cancel to go back and adjust your selection.
After you send a request
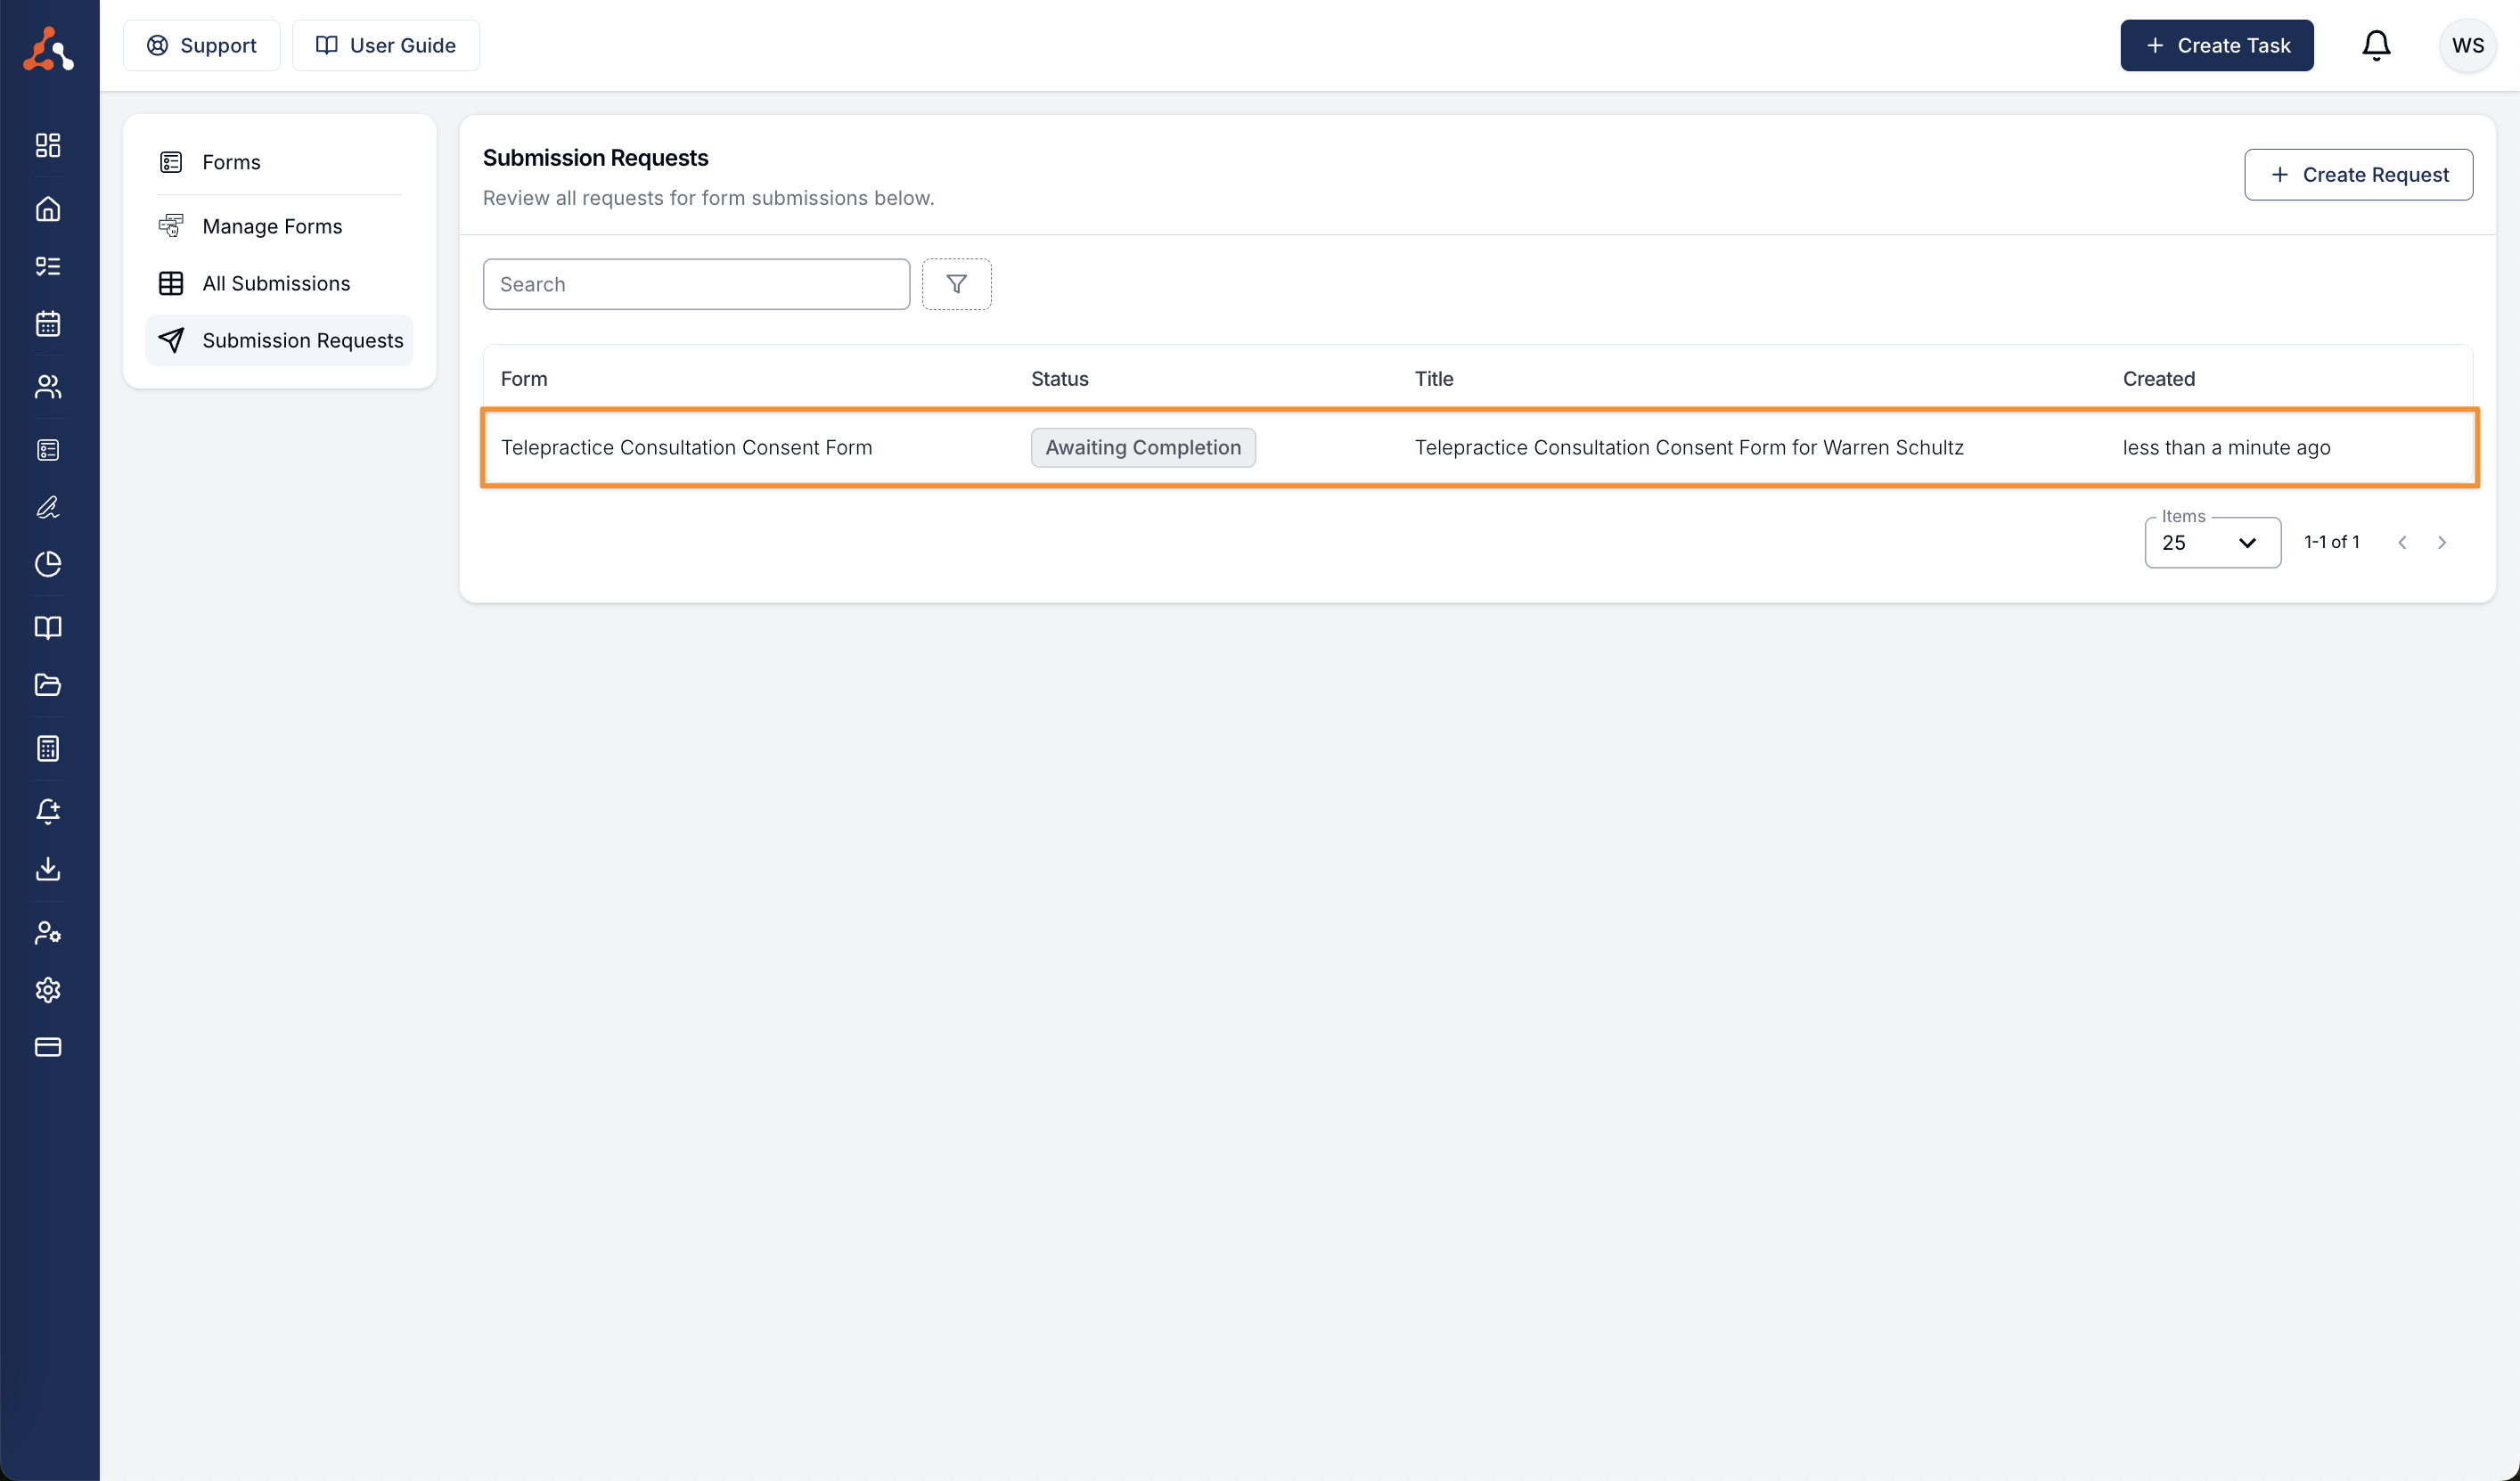
Each recipient gets their own request, and each appears as its own row on the Submission Requests page. Click a row to open the request.
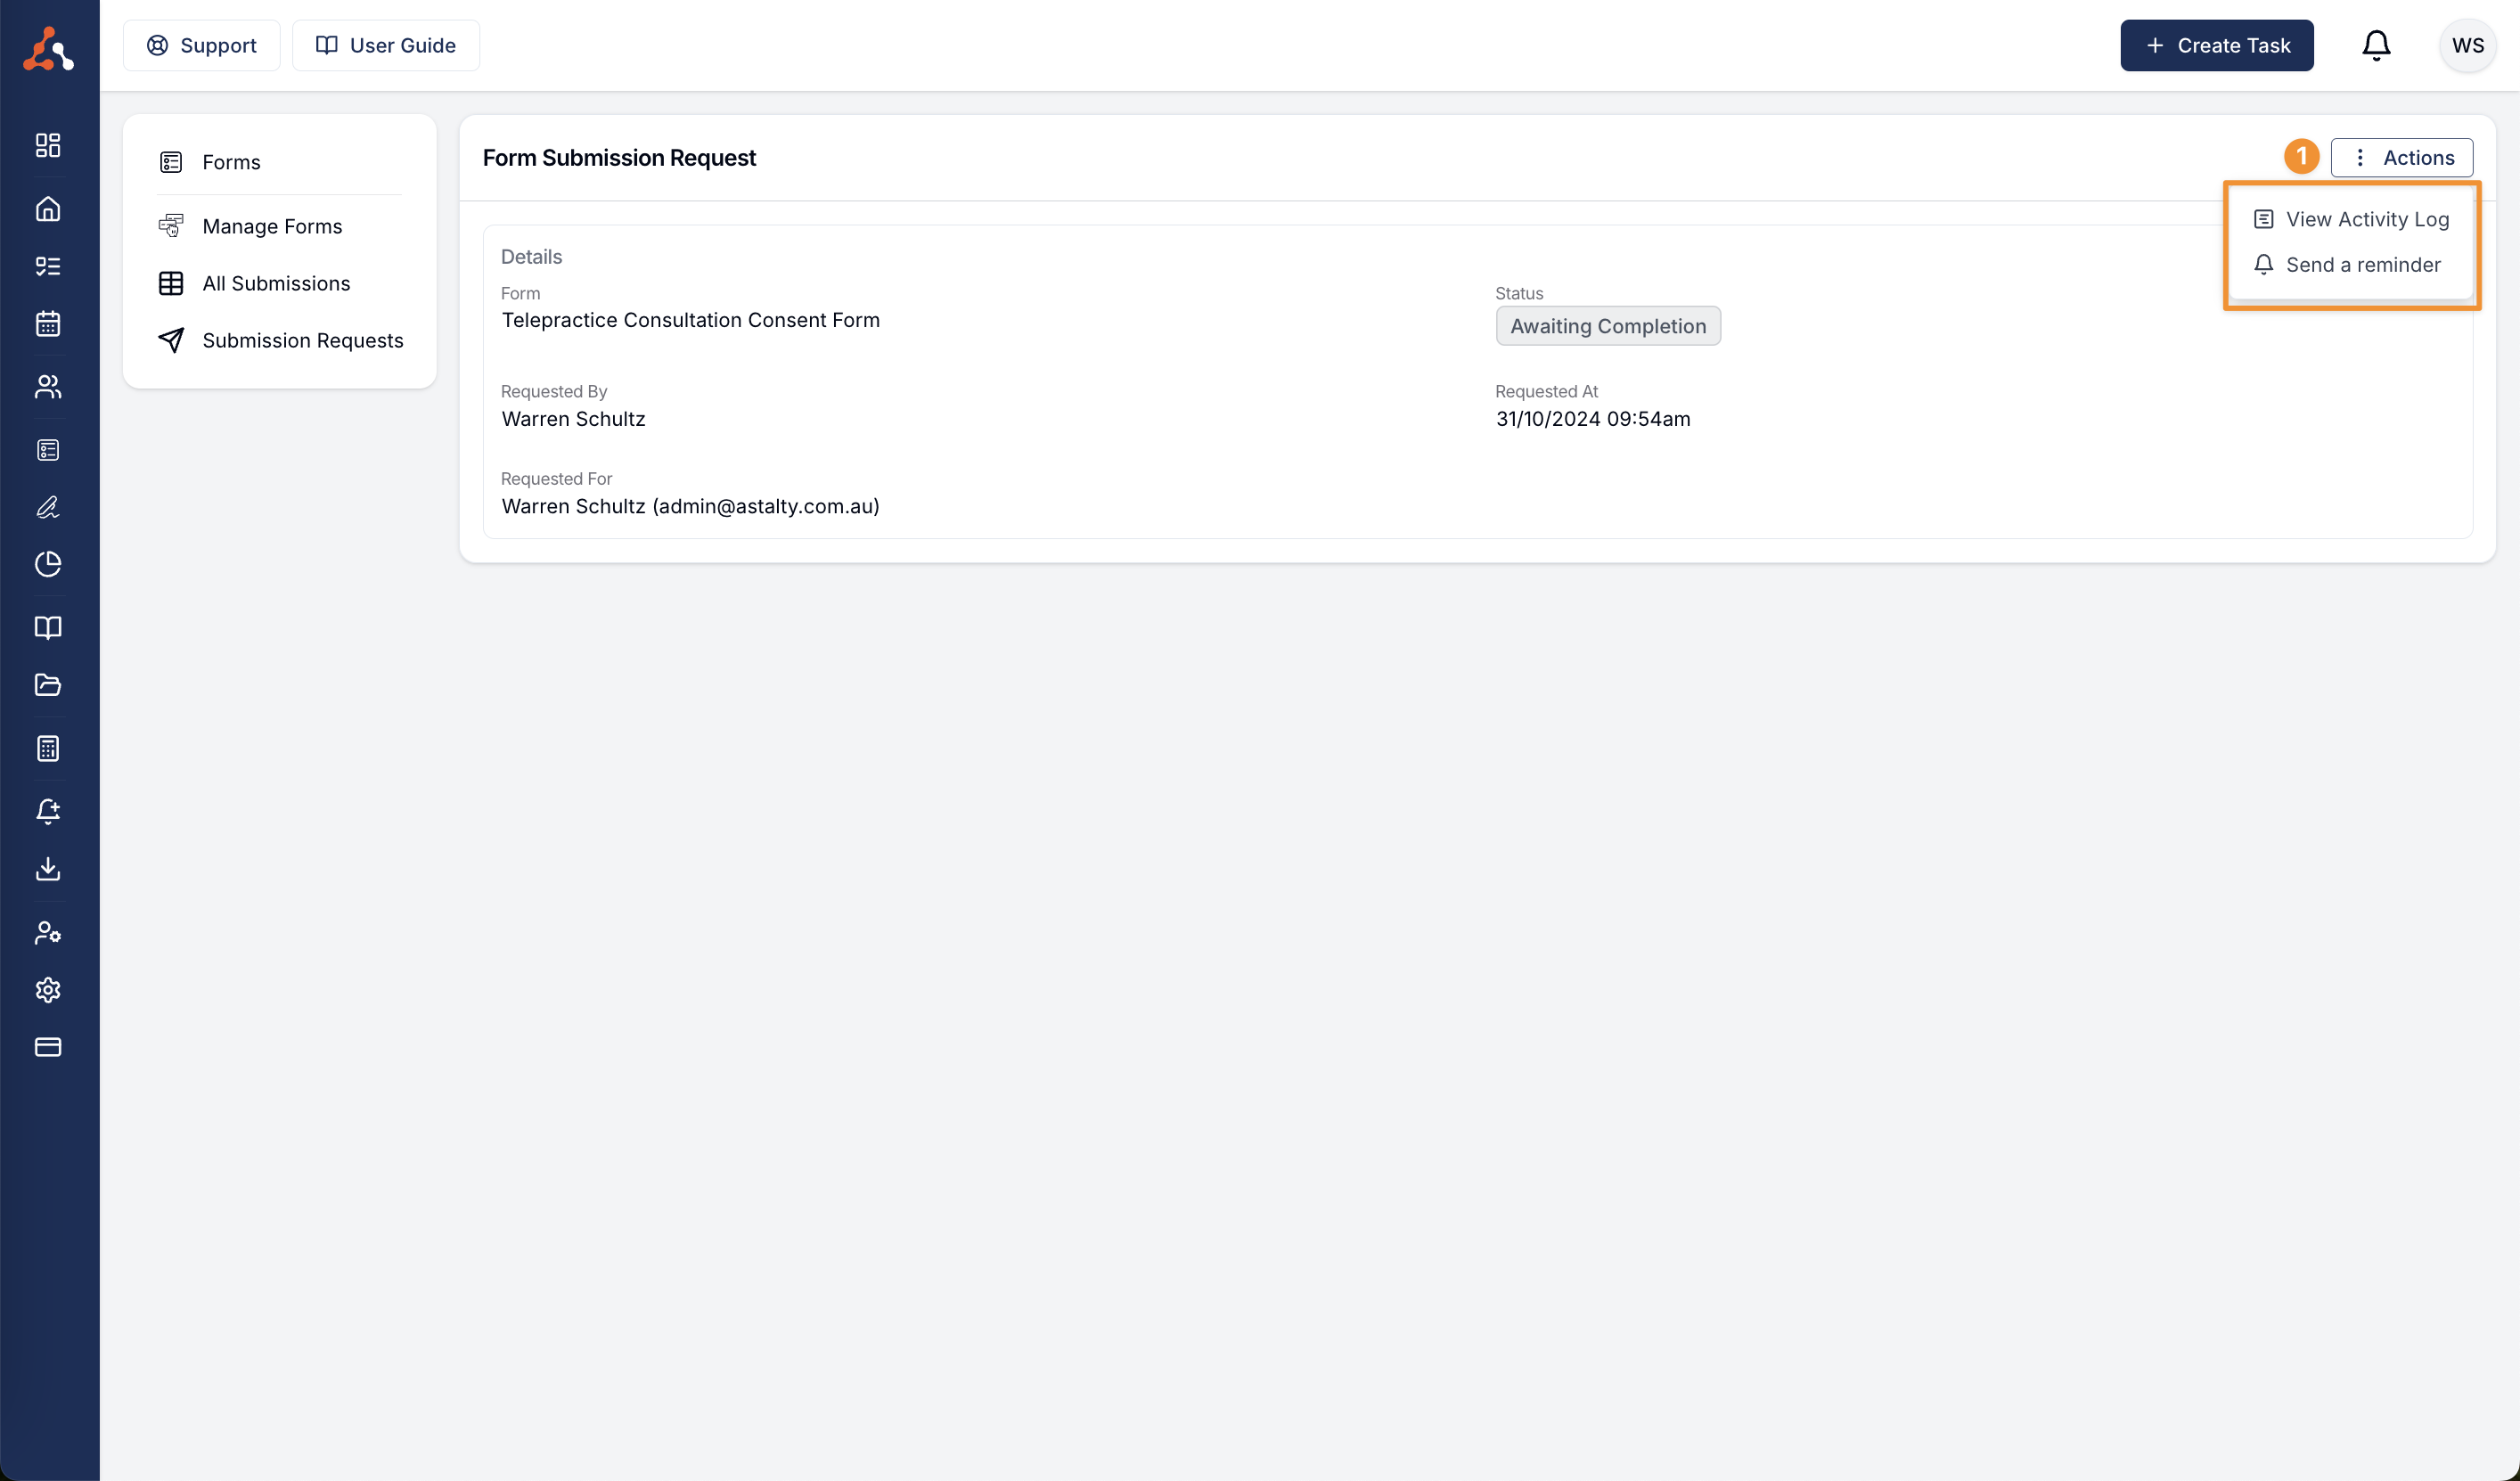
From an individual request, the Actions menu lets you view the activity log for that request, send the recipient a reminder, or cancel the request.
Cancelling an outstanding request requires an internal Cancellation Reason. You can also email the submitter with a cancellation message. Cancellation cannot be undone.