- Participants
- NDIS Plan
NDIS Plan
Overview
To manage NDIS plans for a Participant navigate to their NDIS Plan page within their profile. This page will look slightly different depending on whether or not the Participant has a current NDIS Plan. If you are creating the first NDIS Plan for a Participant, this page will look like the screenshot below.

Creating the first NDIS Plan
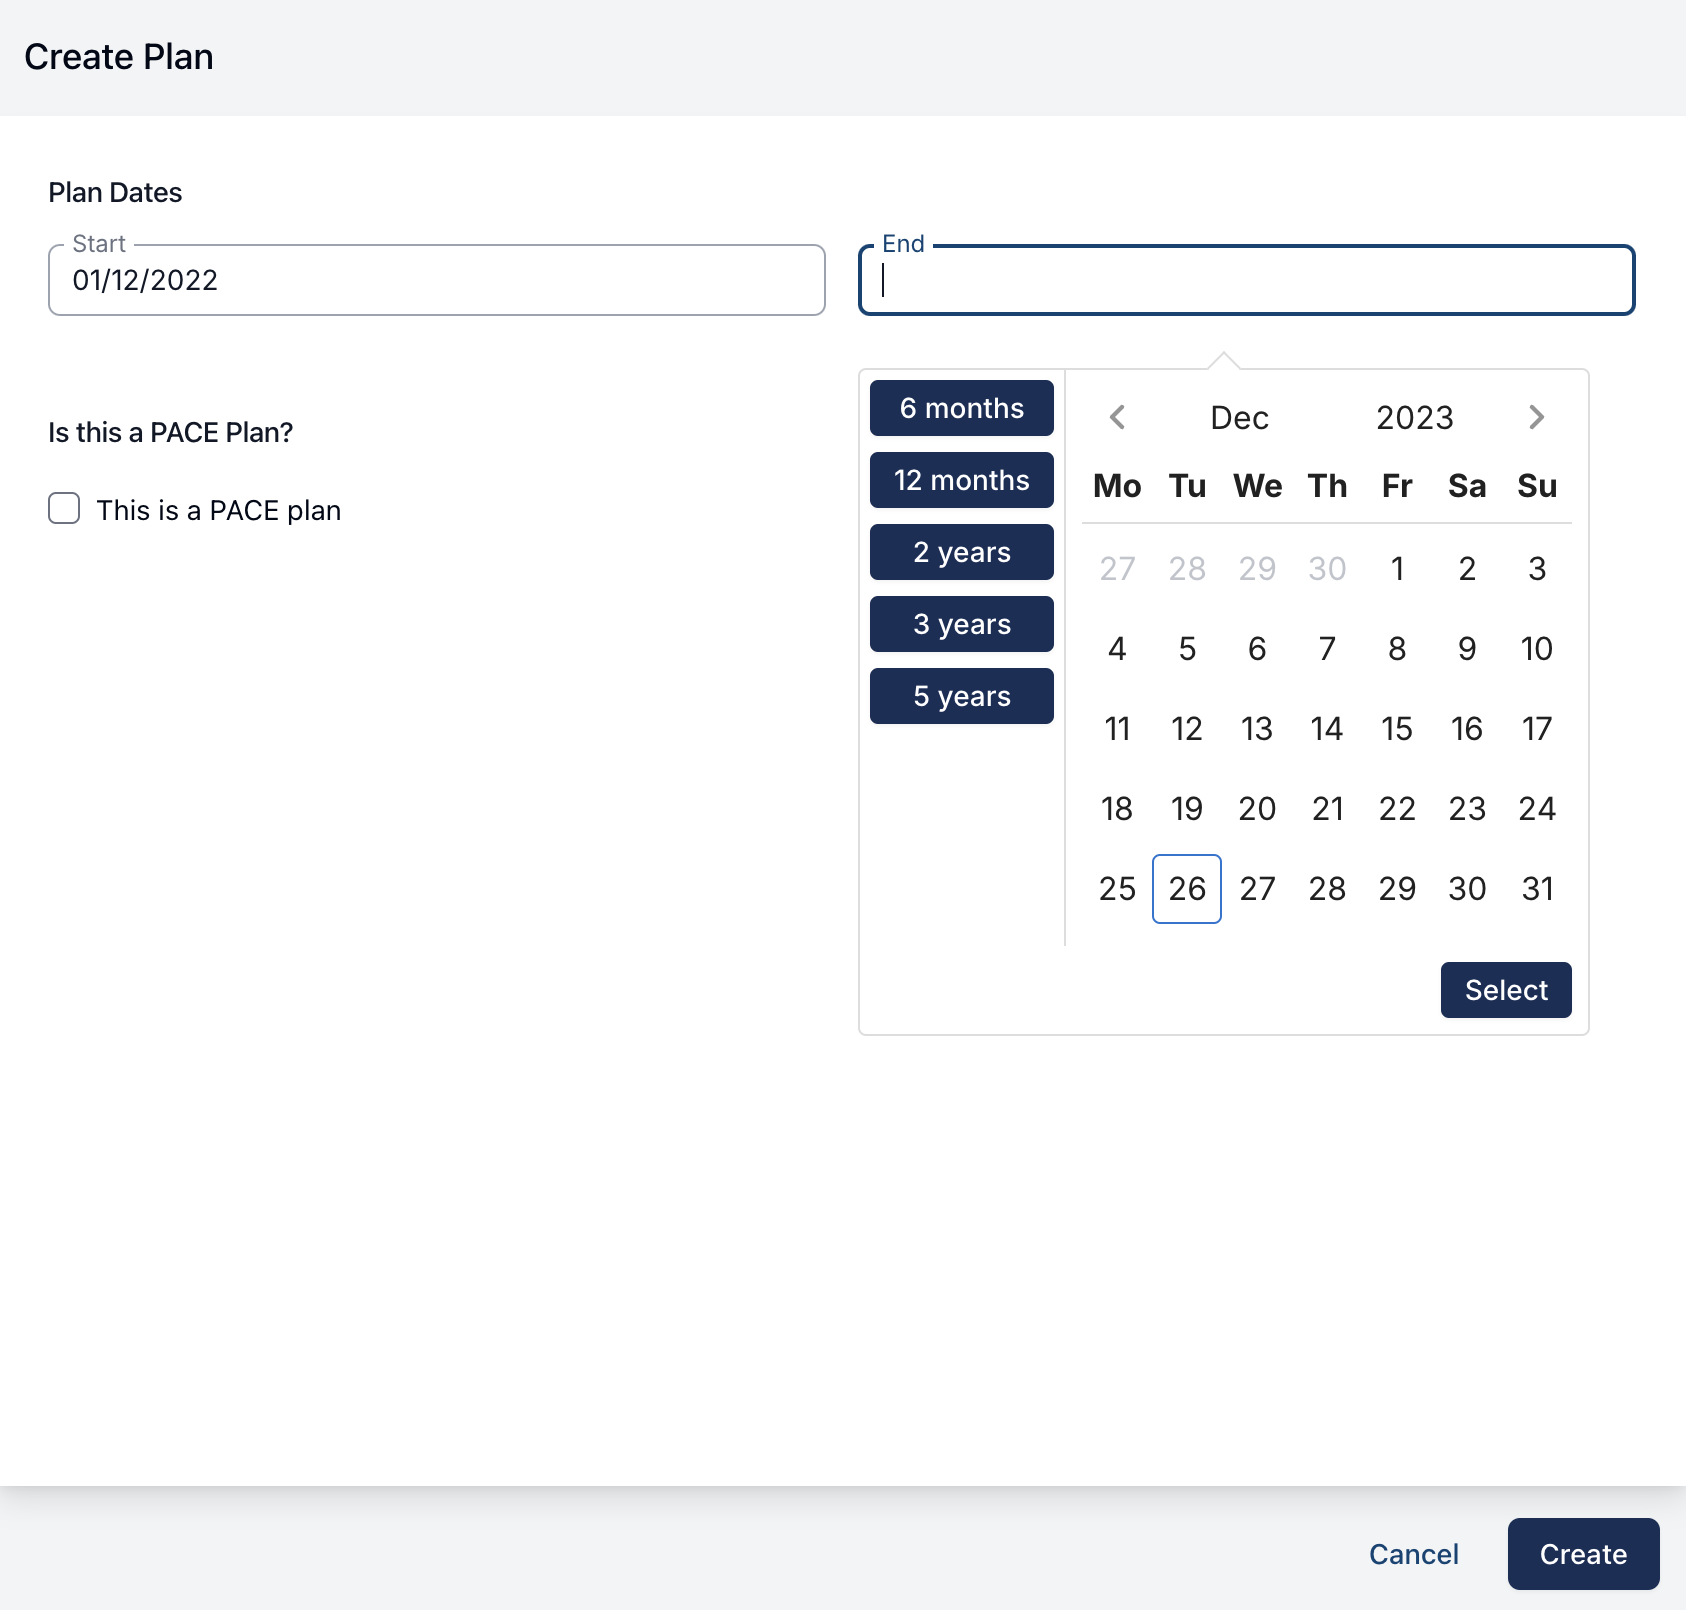
To add a new NDIS Plan, click the Add Plan button. This will open the Create Plan form where you will need to enter;
- Start date
- End date
- (optional) whether or not this is an PACE plan - this is unticked by default
- By telling Astalty than the plan is a PACE plan, Astalty can show you the correct budgets when adding Services and Implementations
Creating additional NDIS Plans
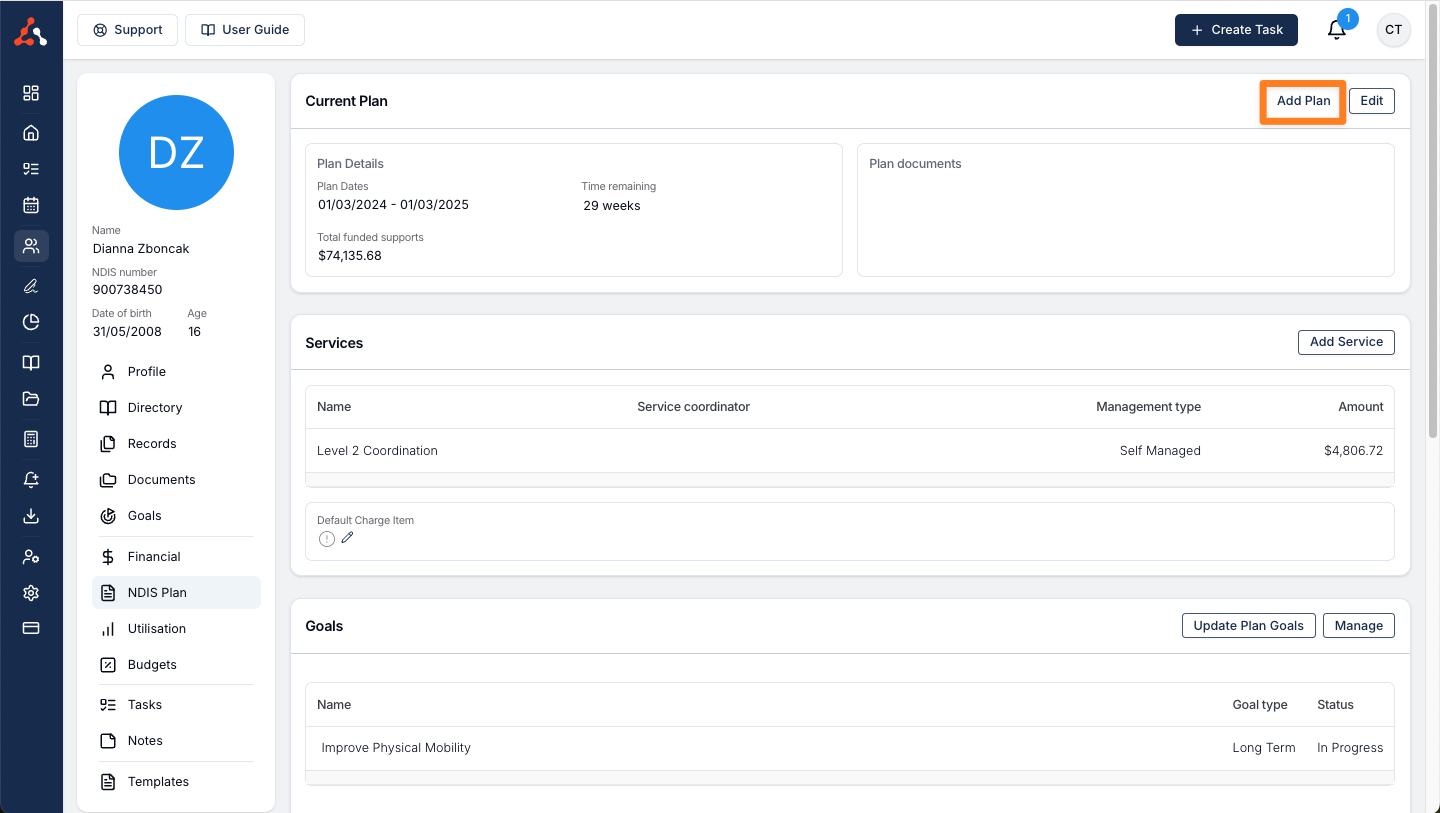
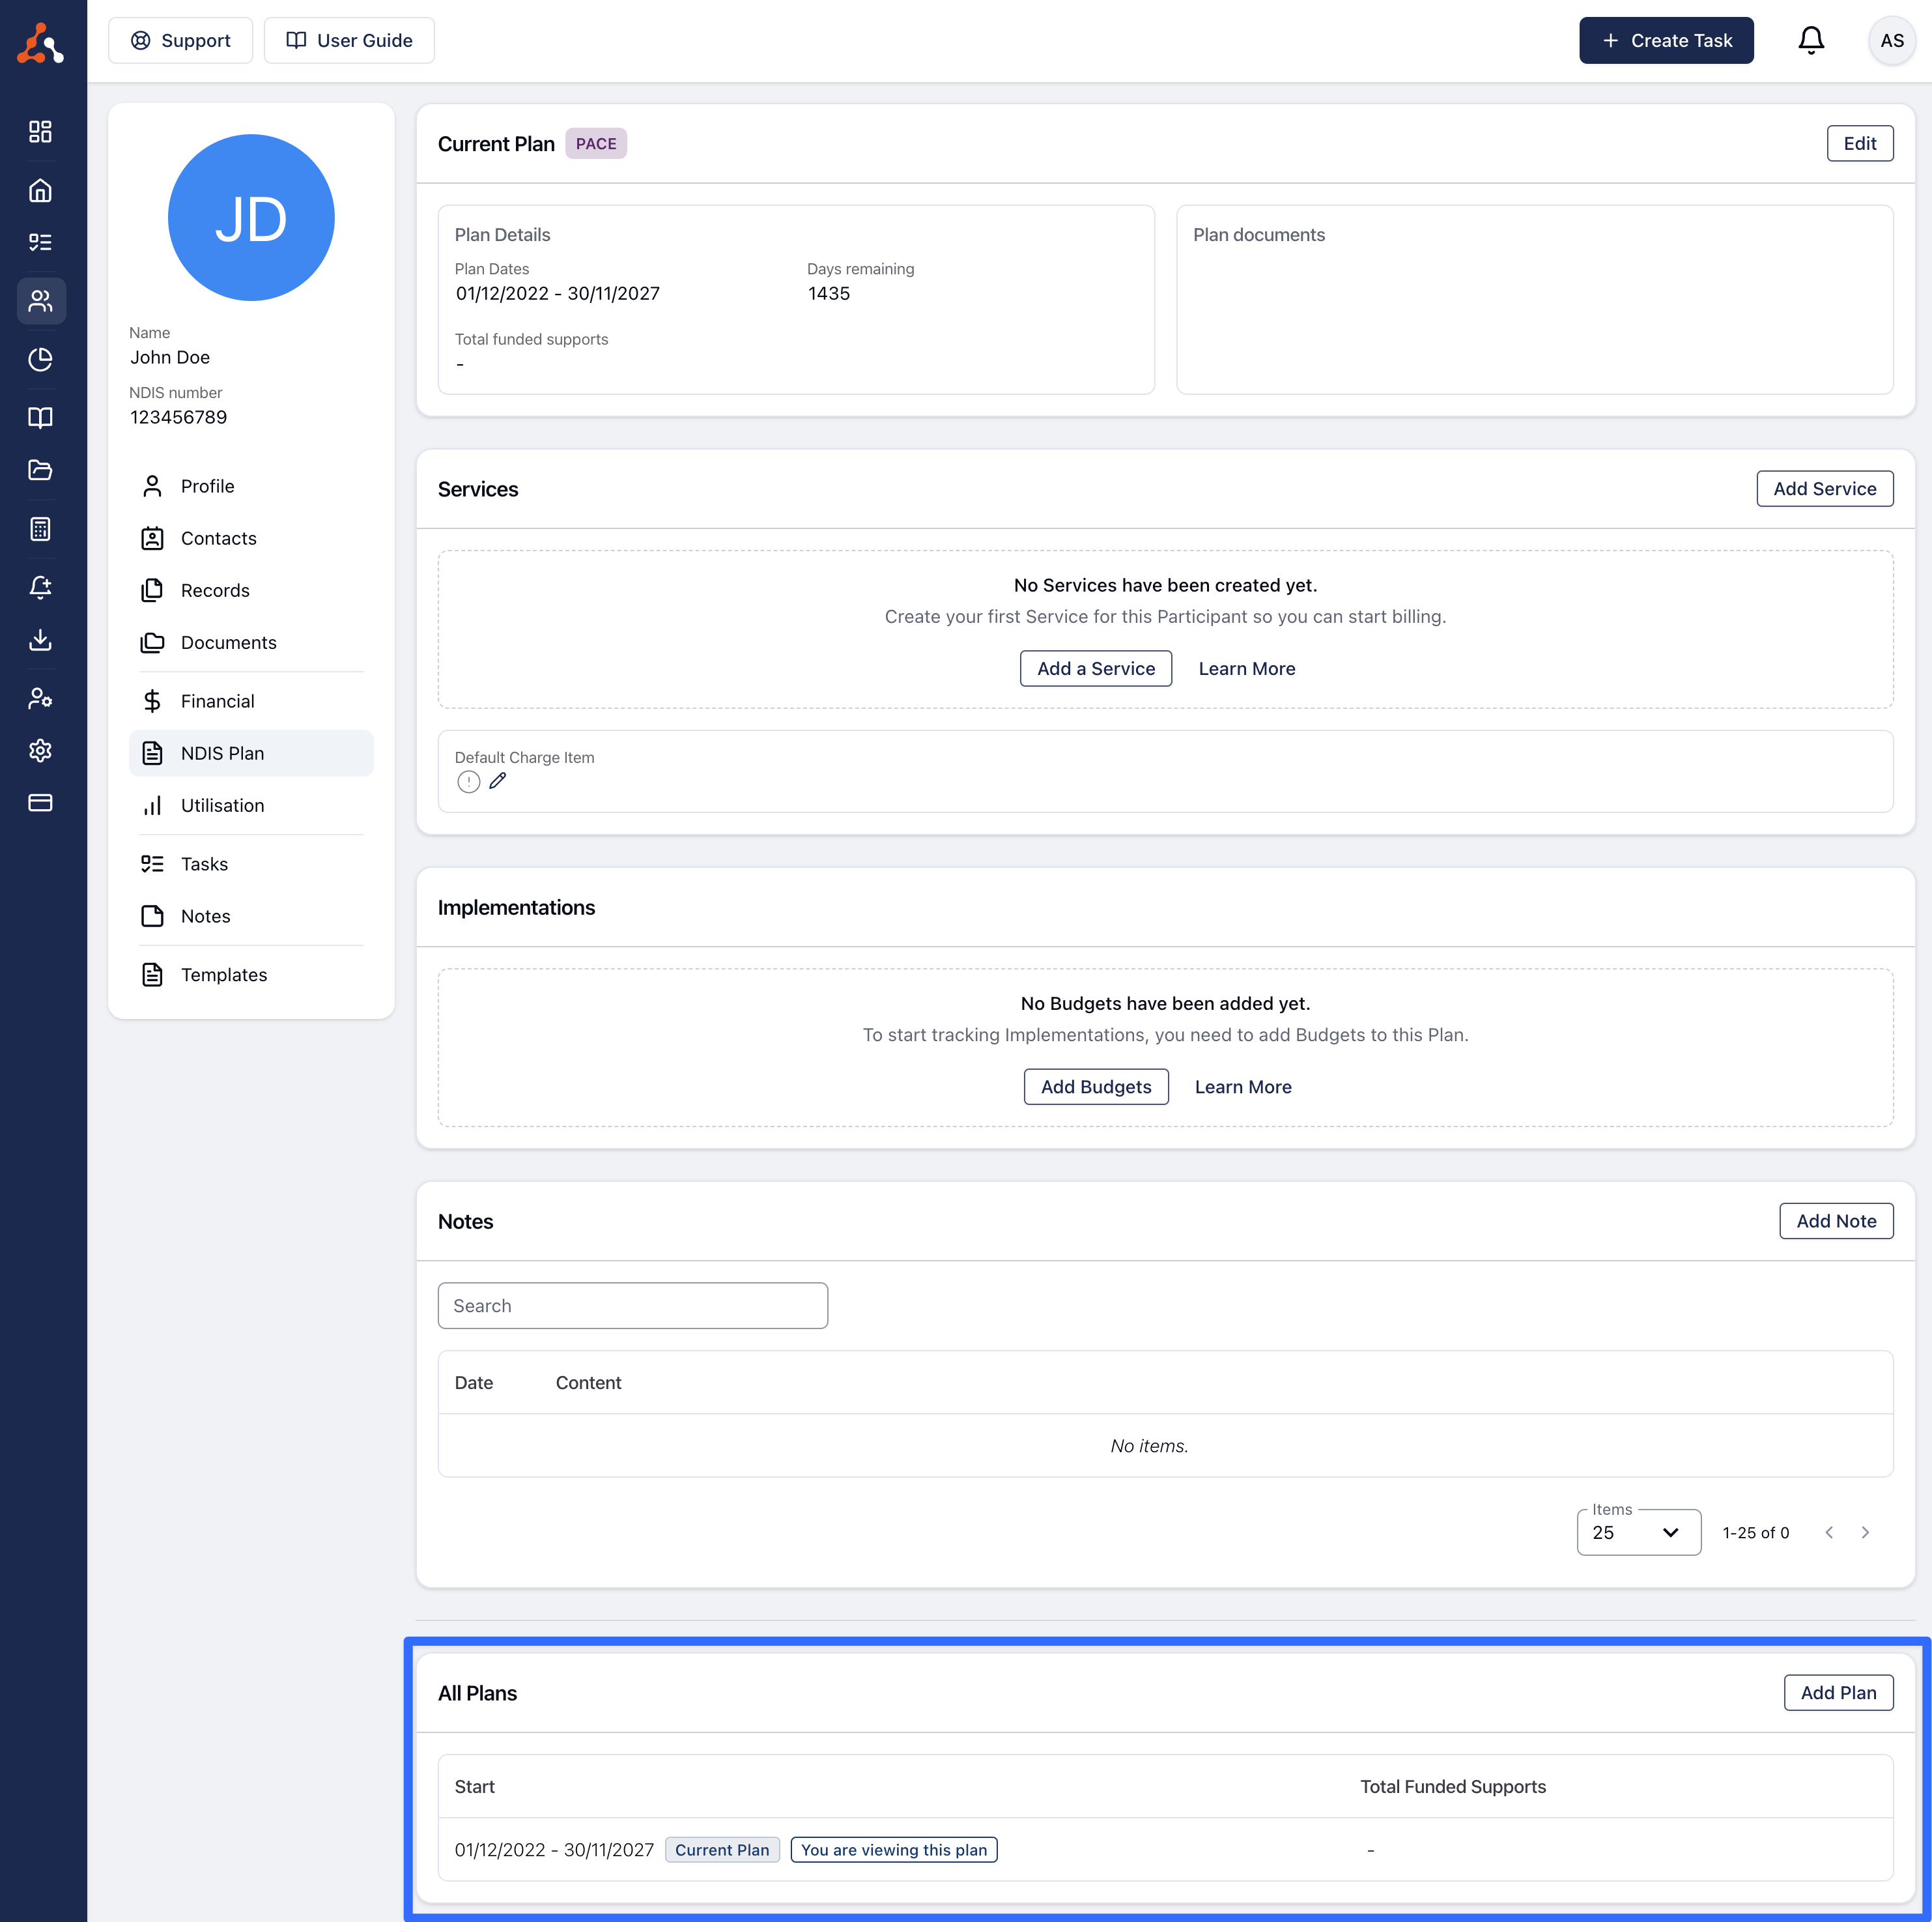
Once a Participant has finished their current plan and receives a new plan, do not delete the NDIS Plan already in Astalty. Instead, you can simply add the new plan. To do this, select 'Add Plan' within the current plan table.
Or navigate to the NDIS Plan page and scroll to the bottom where you will find the Add Plan button and you can following steps for creating a plan outlined above.
How to edit the NDIS Plan
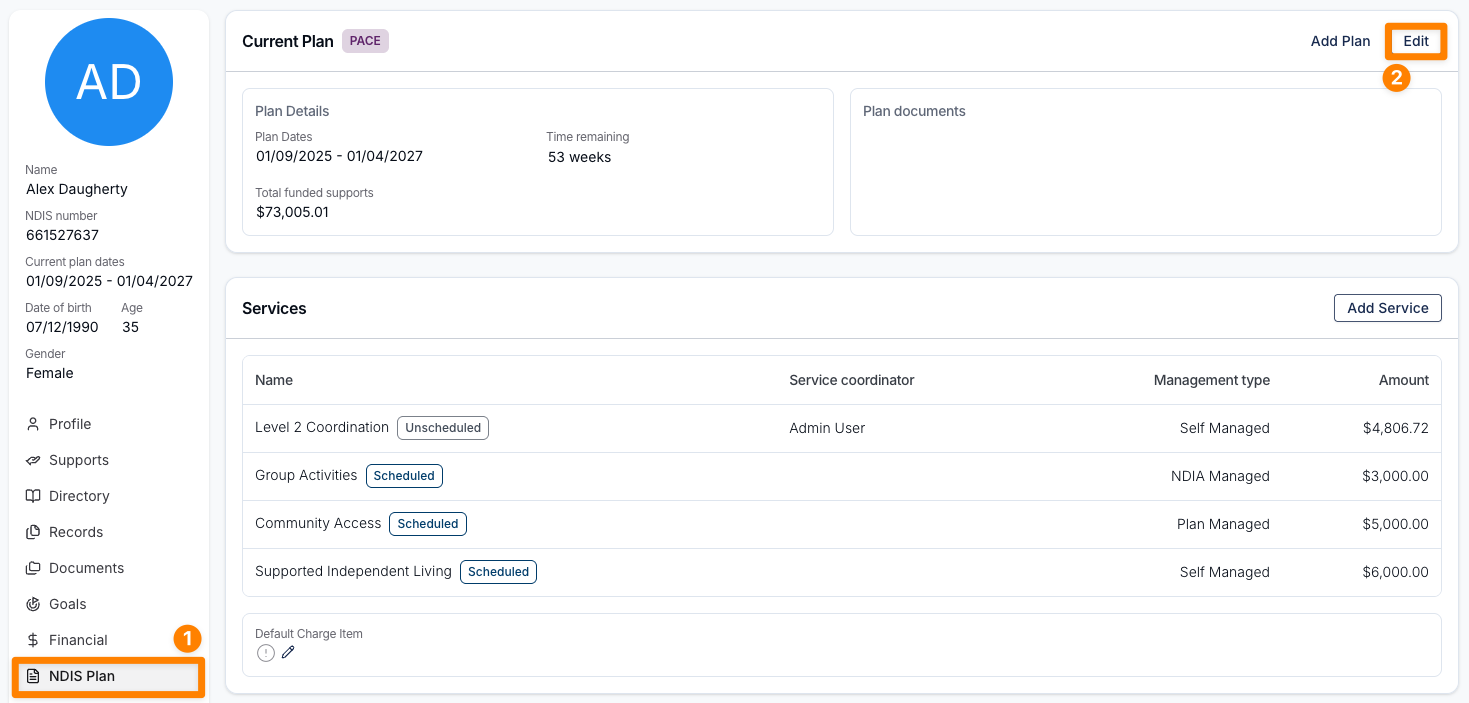
You can edit an NDIS Plan by clicking the ‘Edit’ button in the top right corner of the NDIS Plan page within a Participant’s profile.
Within the edit window, you can update the plan start and end dates, indicate whether the plan is a PACE plan, and add supporting documents by either uploading new files or selecting from existing documents already stored in the Participant’s profile.
You also have the option to notify the Primary Coordinator or Service Coordinators of any changes by selecting them before saving.
Once all updates have been made, click Update to save your changes.

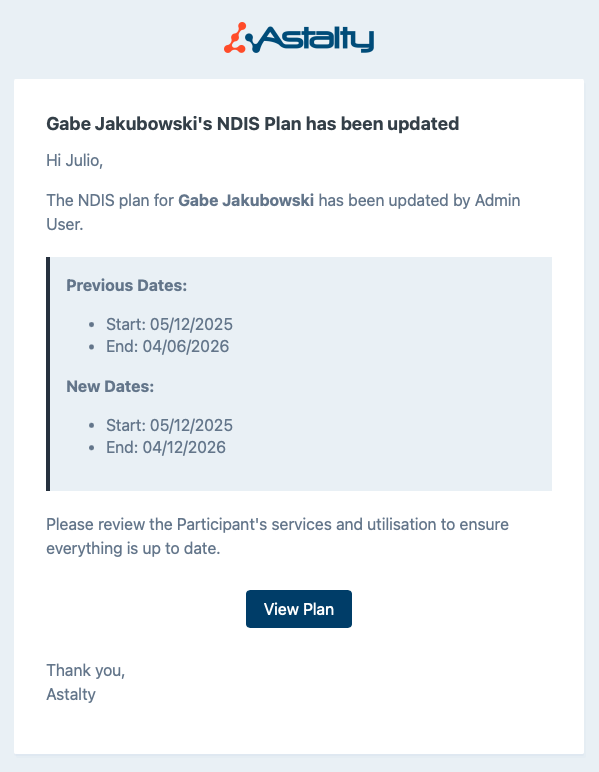
Coordinators will receive an email notifying them of the updates made to the Participant's NDIS Plan details. They will also have the option to quickly navigate to the Participant's NDIS Plan via the View Plan button in the email.
Overlapping Plans
Astalty does not allow NDIS plans to overlap - if you try to add a plan with dates that overlap another plan, you will see an error message.
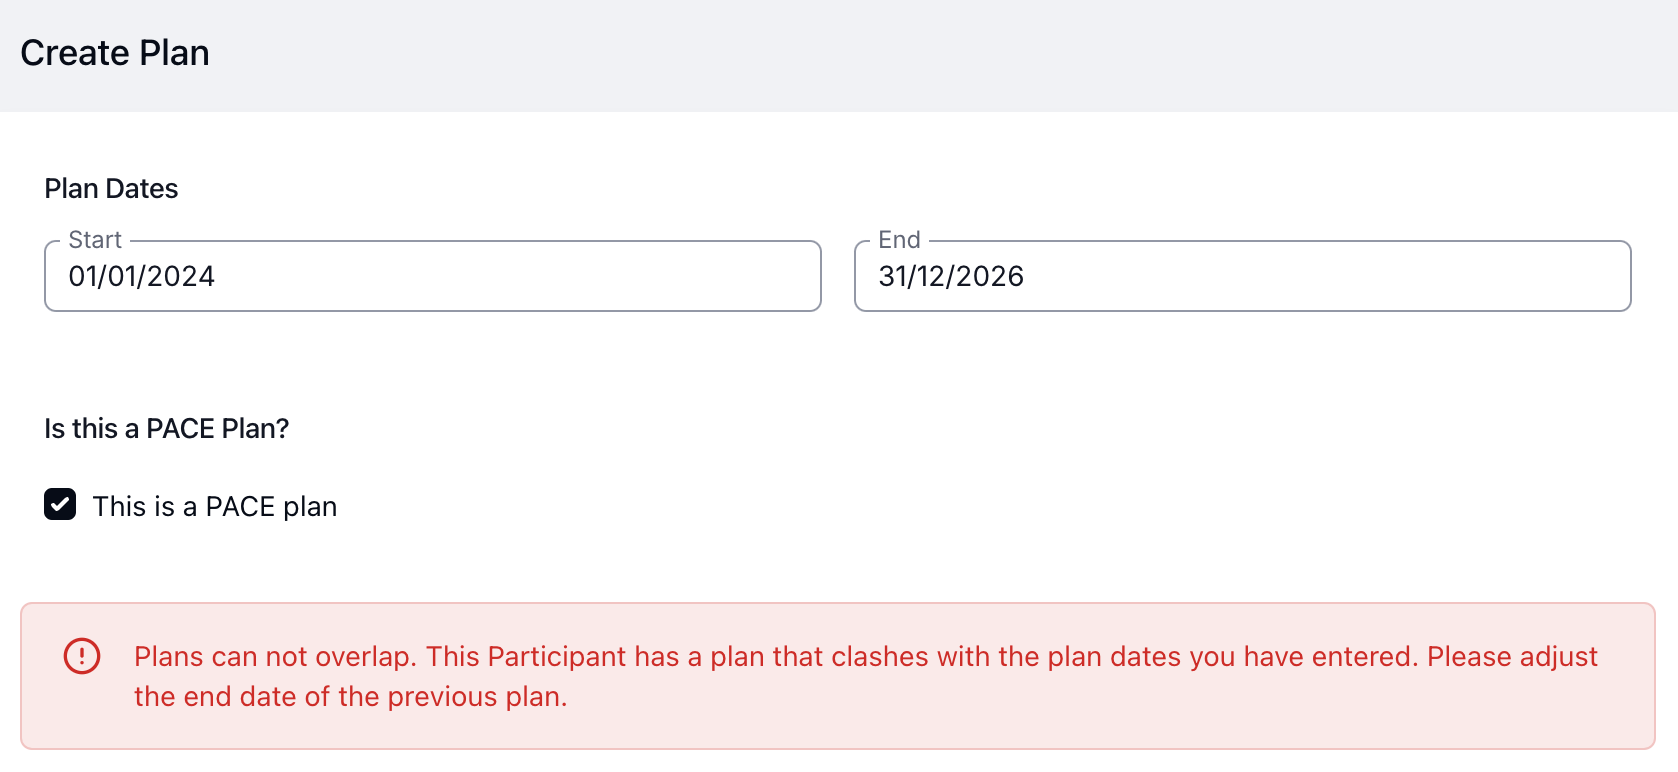
In this example, the new plan starts on the 1/1/2024 - so the current or previous plan must be editing to ensure it finishes at least 1 day prior. In this case it would be 31/12/2023.
Services
Generally once an NDIS plan has been created, the first thing you will want to do is add the Services you will be delivering under this plan. Please head to the Services page to learn more about this. Within services you can outline funding periods for the services you are providing for your participants NDIS plan.
Budgets & Implementations
Astalty has powerful implementation tracking features making it easy for you to ensure your Participant's plans are being utilised and implemented. Head to the Implementations page to learn more about how to make the most of this great functionality.
Toggling Service Permissions
Did you know that you can toggle Team Member user access to editing the NDIS Plan and Services section? You can learn more about this via our user guide article here.