- Start Here
- Getting Started
- Account setup
Account setup
Set Up Your Astalty Account
After creating your Astalty account, follow these steps to configure your settings.
All of your settings can be managed in the Settings page. This page outlines the most important settings to configure first. We recommend that you do this prior to creating Participants and billing for your time via Tasks.
Upon account creation a sample client called John Doe will be created, along with a Level 2 Support Coordination Charge Item and Level 2 Support Coordination Service.
Configure Business Settings
Navigate to the Business Settings page to update your business information:
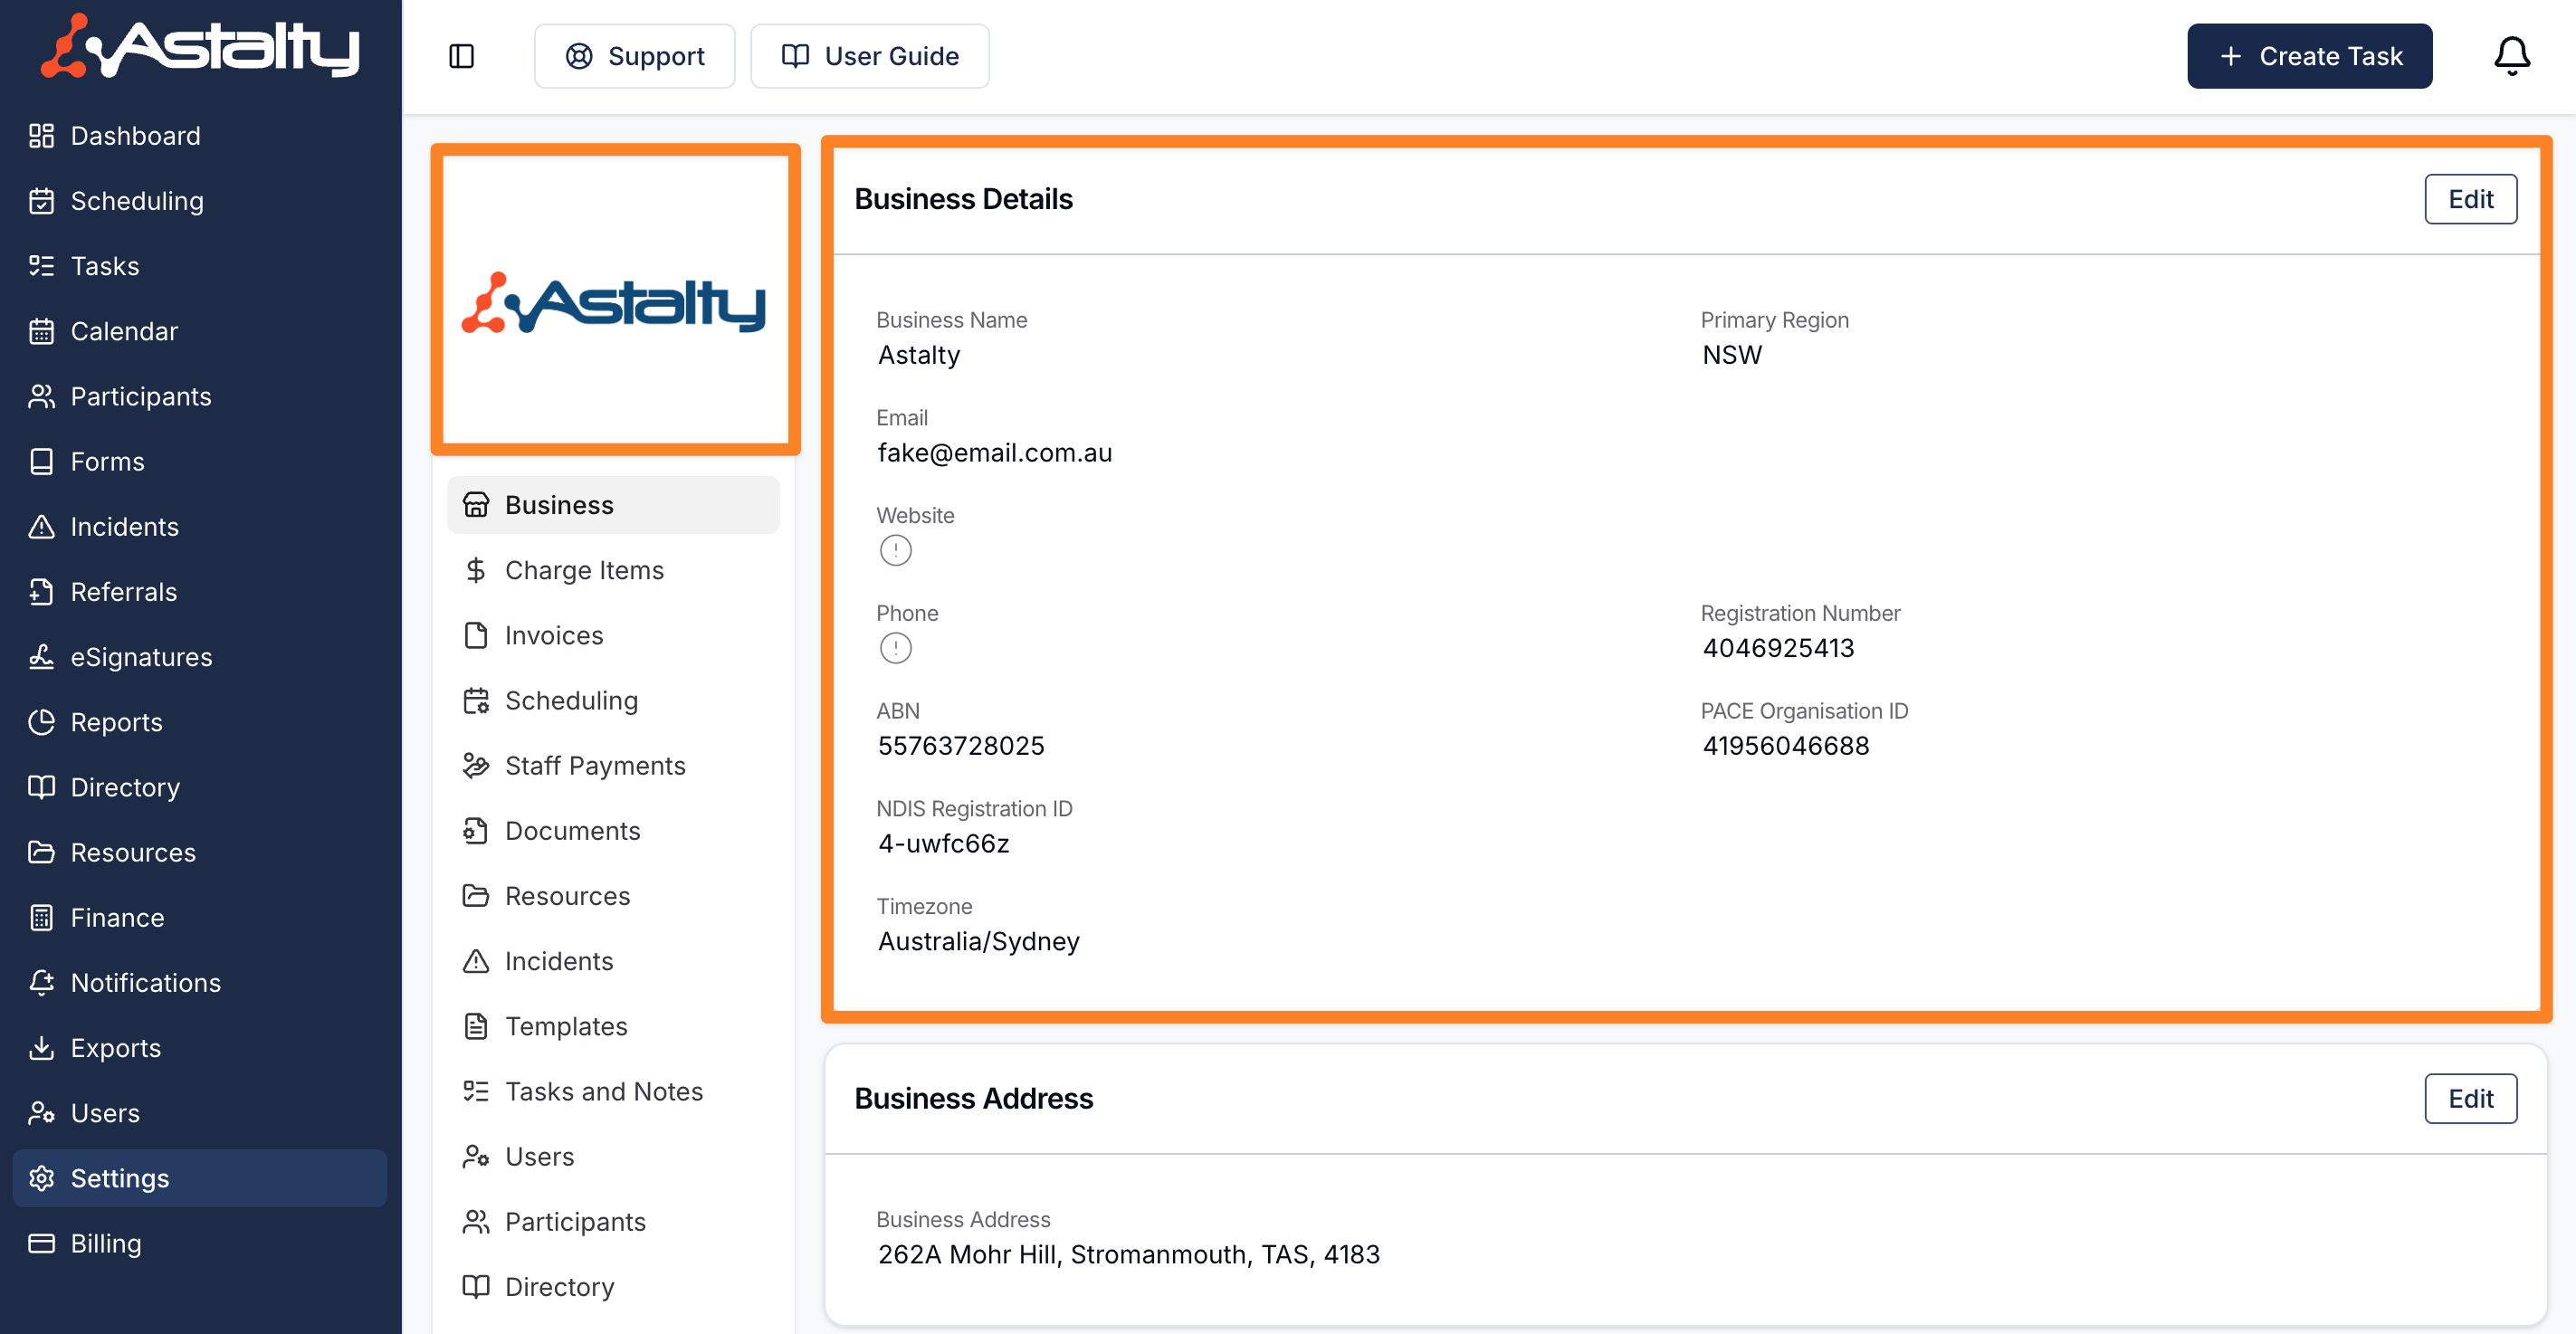
- Upload your logo: this is where you'd upload your business logo. This logo would appear on Forms, Custom Templates, and Invoices within your account. It's our recommendation the image is no larger than 700 pixels wide and 150 pixels high.
- Business Details: Enter your business name, registration number, ABN, PACE Organisation ID and other information.
Setting up these details ensures consistency across your communications and documentation.
Set Your Primary Region
This setting is crucial for importing the correct information from the Price Guide so that you can set up the correct charge items based on your region.
You can update this in the Business Settings section.
Confirm Your Timezone
Ensure your Timezone is correctly set to maintain accurate timestamps for invoices, exports, plan date information, and other time-sensitive elements:
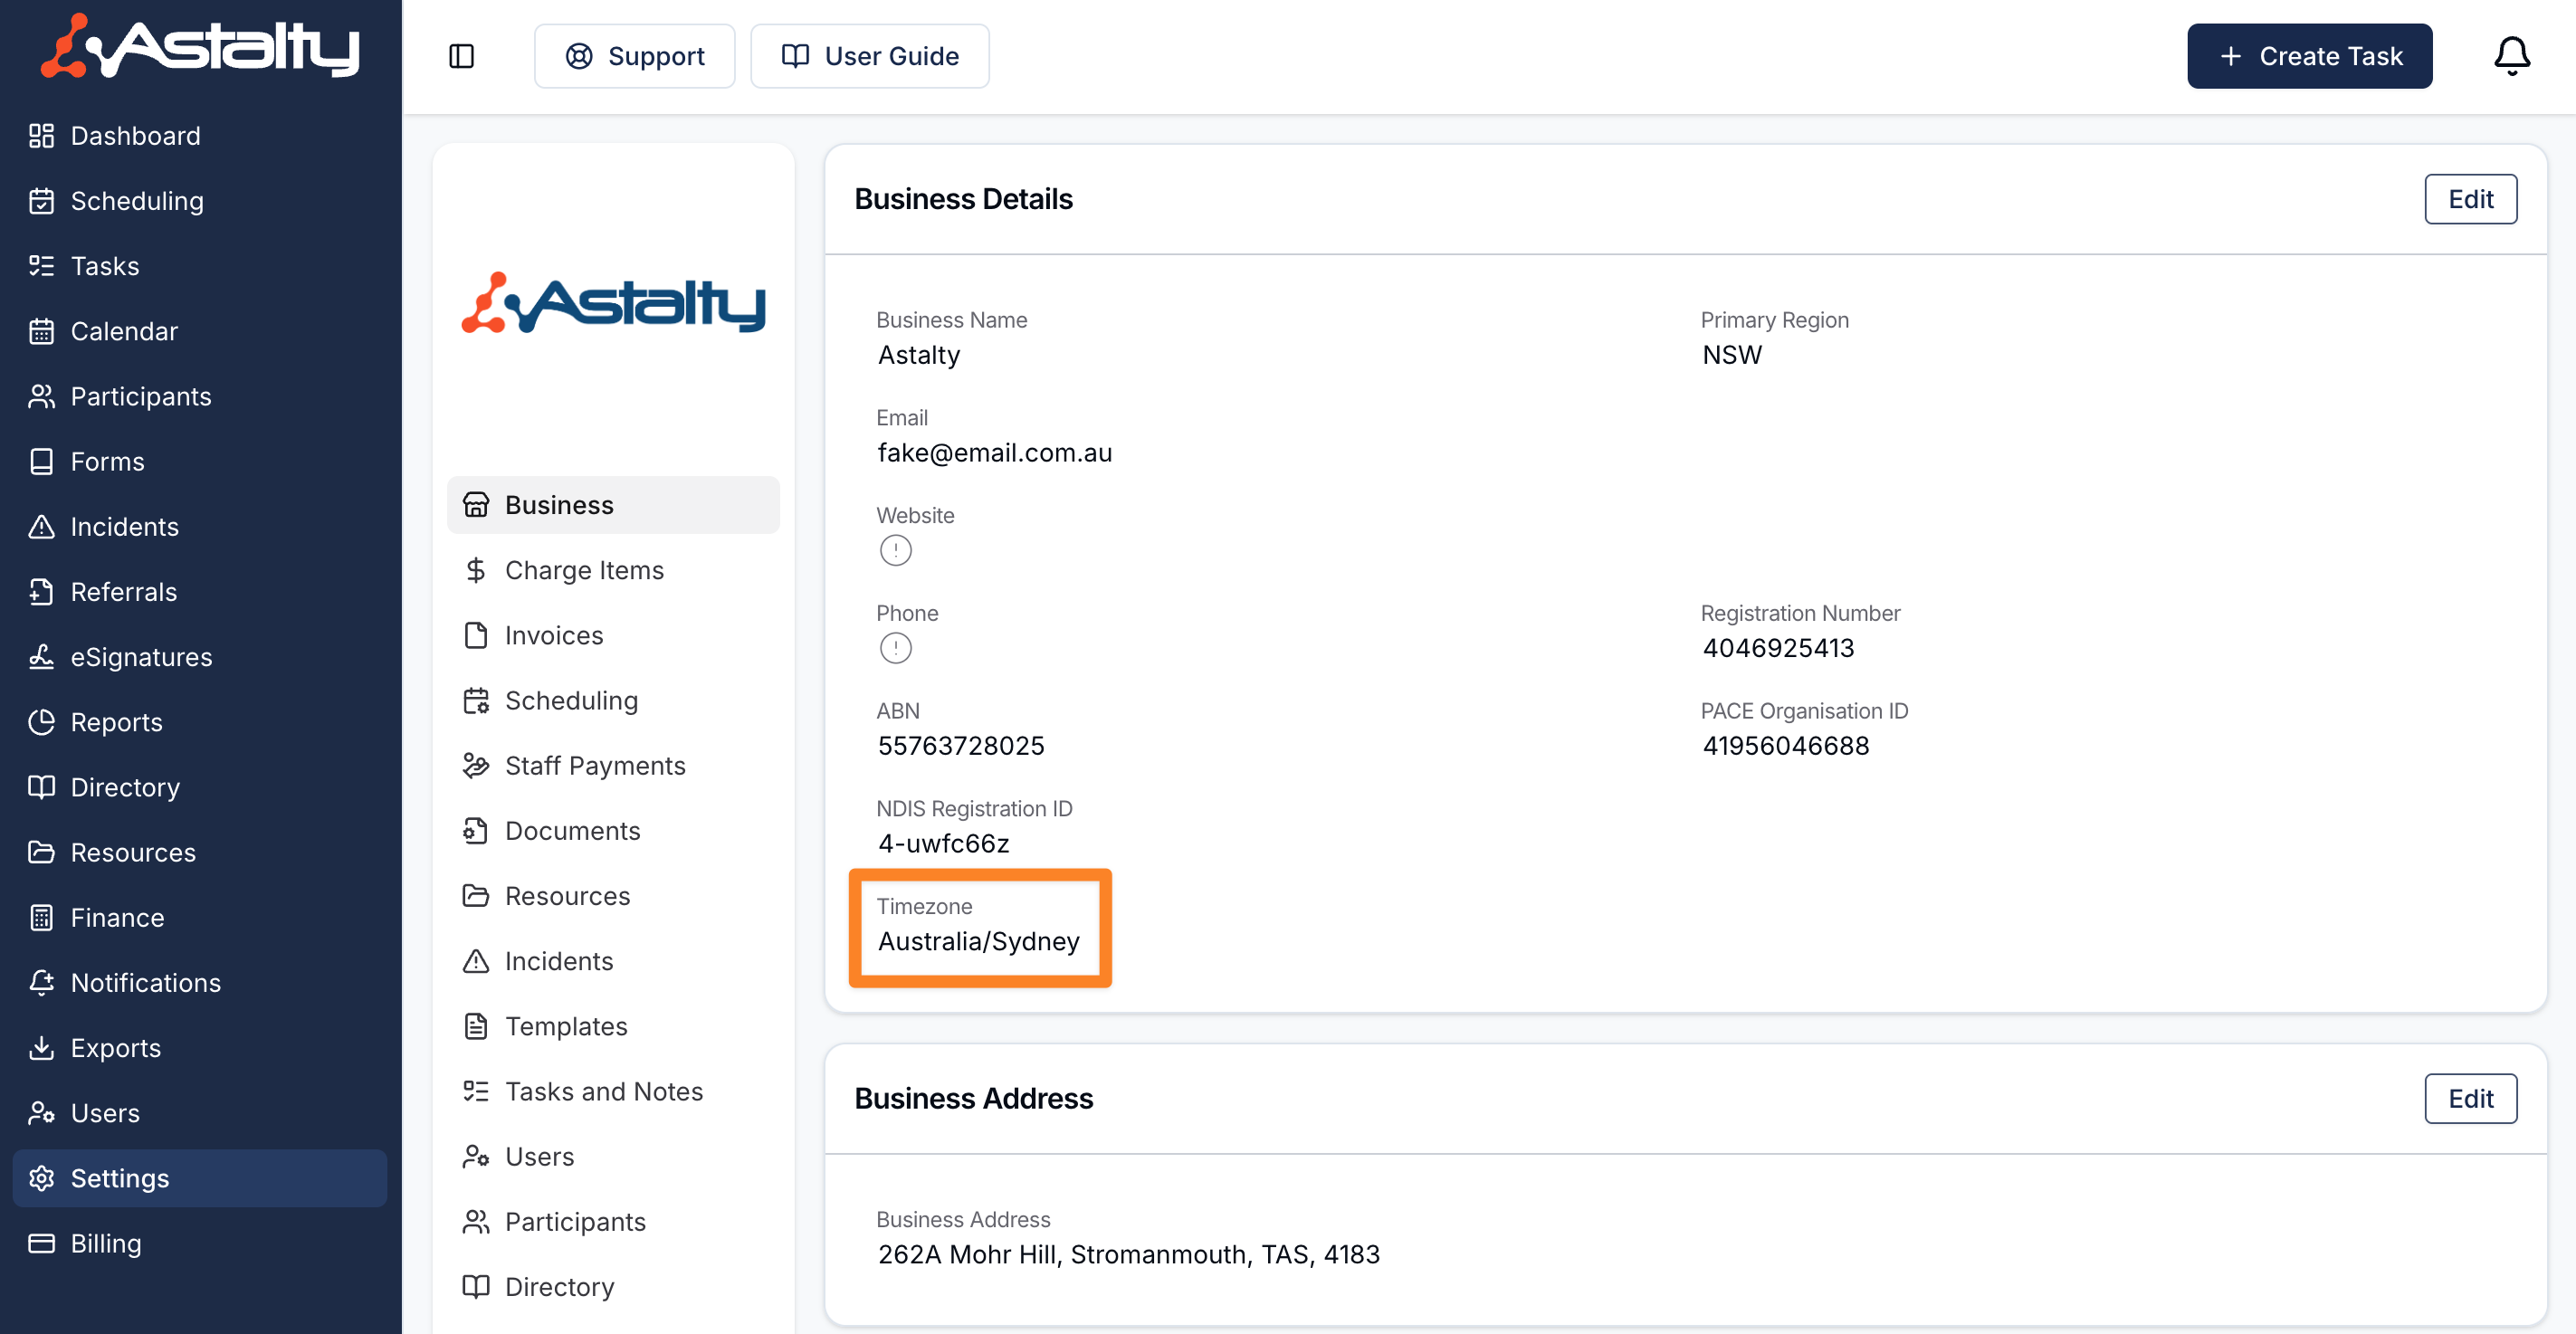
- Astalty automatically sets this based on your browser location during registration.
- Verify and adjust if necessary in the Business Settings section.
Create Charge Items
Define the services and supports your business offers by creating Charge Items:
- Navigate to the Charge Items Settings page.
- Add only the items you currently need; you can add more as your offerings expand.
For detailed guidance, refer to the Charge Items guide.
Set Up Invoice Settings
Before sending invoices, configure your Invoice Settings to ensure that your invoices are sent correctly:
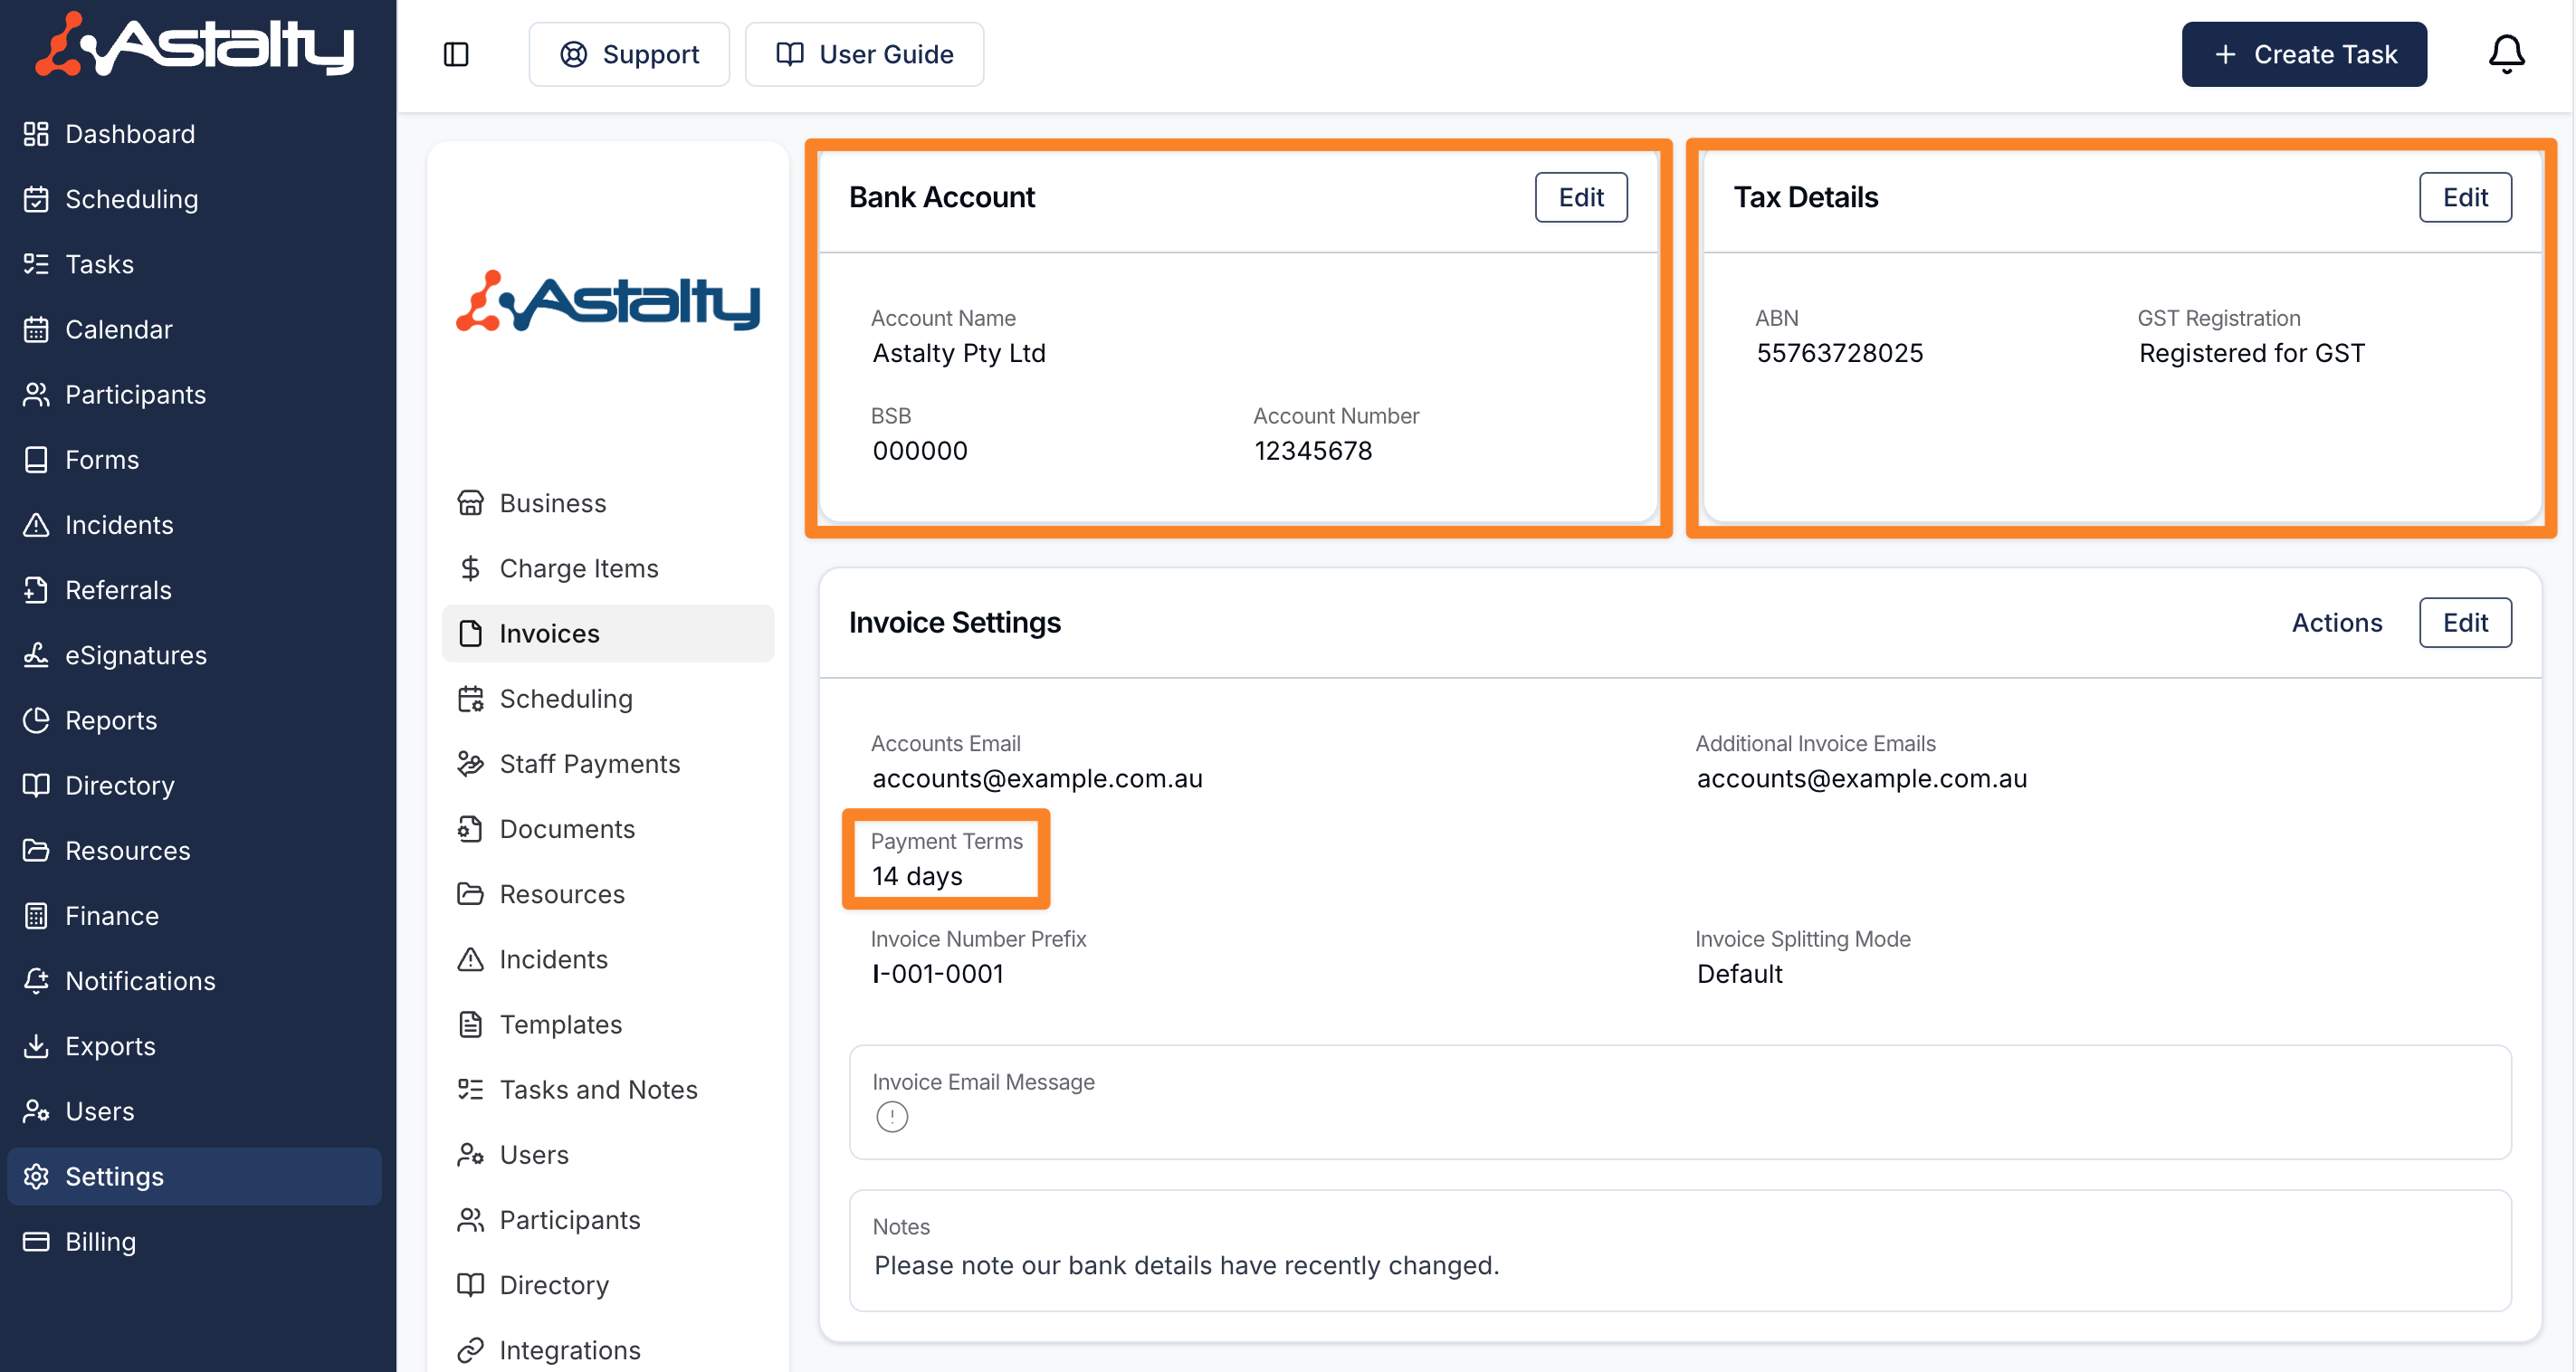
- Bank Account Information: Add your bank details so Plan Managers and Participants know how to pay you.
- ABN and GST Status: Enter your Australian Business Number and select your GST registration status to generate compliant invoices.
- Payment Terms and Messages: Customise payment terms and add personalised messages to your invoices.
Access these settings in the Invoice Settings section.
(Optional) Integrate with Xero
If you use Xero for accounting, you can set up a two-way integration:
- Navigate to the Integrations settings page.
- Follow the prompts to connect your Xero account.
This integration is optional but can streamline your financial processes. You can learn more about this in our Xero Integration user guide article.
Next Steps
With your account settings configured, you're ready to:
- Invite your team to collaborate within Astalty.
- Create your first Plan Manager.
- Add Participants to manage their NDIS plans and services.
- Set up Tasks to organise your workflow and begin to bill for your time.
For a comprehensive overview, explore the Astalty User Guide.
Need Help?
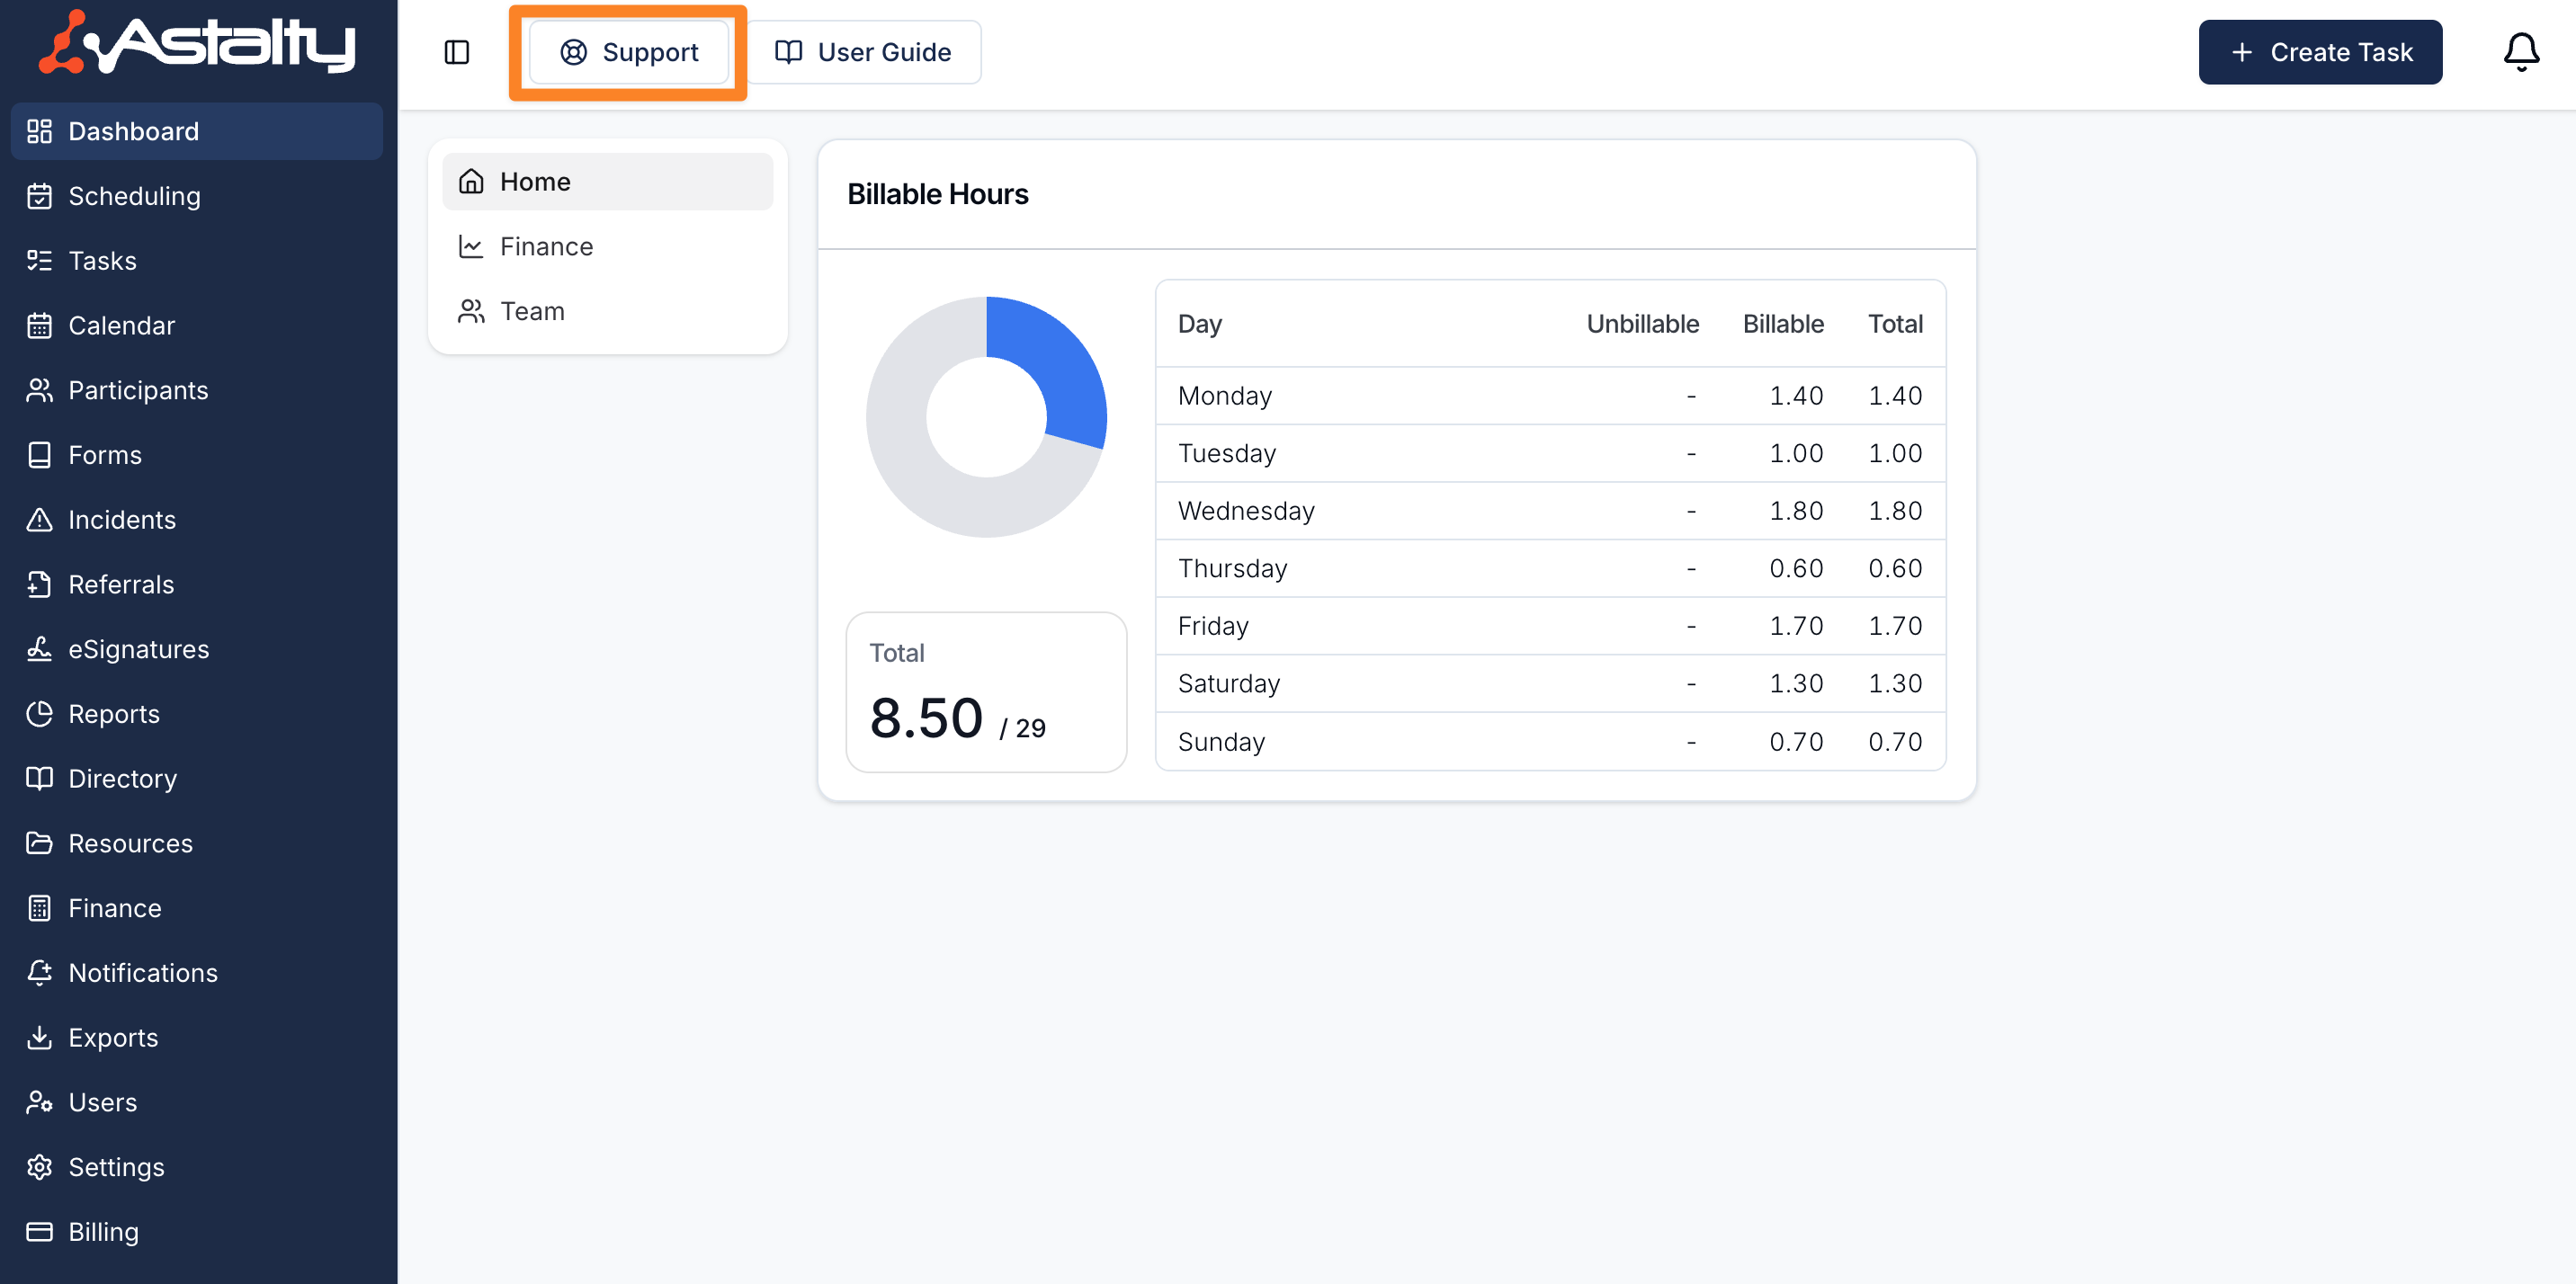
If you have any questions or need assistance, contact our support team at support@astalty.com.au or click on the Support icon within Astalty.