- Participants
- Profile
- Participant Tags
Participant Tags
Overview
Participant tags are a flexible way to add key details to your Participant. Once applied, tags can be used across Astalty to filter, segment, and organise your data — making it faster to find participants, run targeted reports, and generate focused exports.
Where you can use Participant Tags
Participant Tags are available throughout Astalty. Below is a summary of the key areas where tags can be applied or used as filters.
Filtering & searching
- Participants list — filter the participant list by one or more tags to quickly find a specific group of participants.
- Contacts — filter the Participants tab on a Contact by Participant Tags to see which linked participants carry a given tag.
Reports
- Participant Plans Report — filter the report by tags to see plan status for a specific group of participants.
- Participants Without Risks Report — filter by tags to focus your risk‑compliance audit on a particular cohort. Tags are also displayed as a column in this report.
Exports
Several exports include an optional Participant Tags picker, letting you scope the export to all participants who carry one or more selected tags:
- Shifts Export — include shifts for participants with selected tags.
- Completed Shifts Export — include completed shifts for participants with selected tags.
- Shift Approvals Variance Export — compare scheduled and approved values for participants with selected tags.
- Support Notes Export — include support notes for participants with selected tags.
- Supports Without Notes Export — include supports without notes for participants with selected tags.
- Risks Export — include participant risks for participants with selected tags.
- Flagged Notes Export — include flagged notes for participants with selected tags.
- Participant Tags Export — export the full list of all Participant Tags created in your account, including participant counts, colours, and creation dates.
Participant Records
- Participant Records — when creating a Participant Record Type, you can set the record as required only for participants with specific tags rather than for all participants.
Cost Codes
- Cost Code Rules — use Participant Tags as a condition in cost code rules to automatically assign the correct cost code to supports and shifts based on the participant's tags.
Attaching Tags
To add an existing Tag to a Participant's profile click the + Add Tag button. This will open up the Tags list - if you can't see the Tag you need straight away, you may need to search for it.
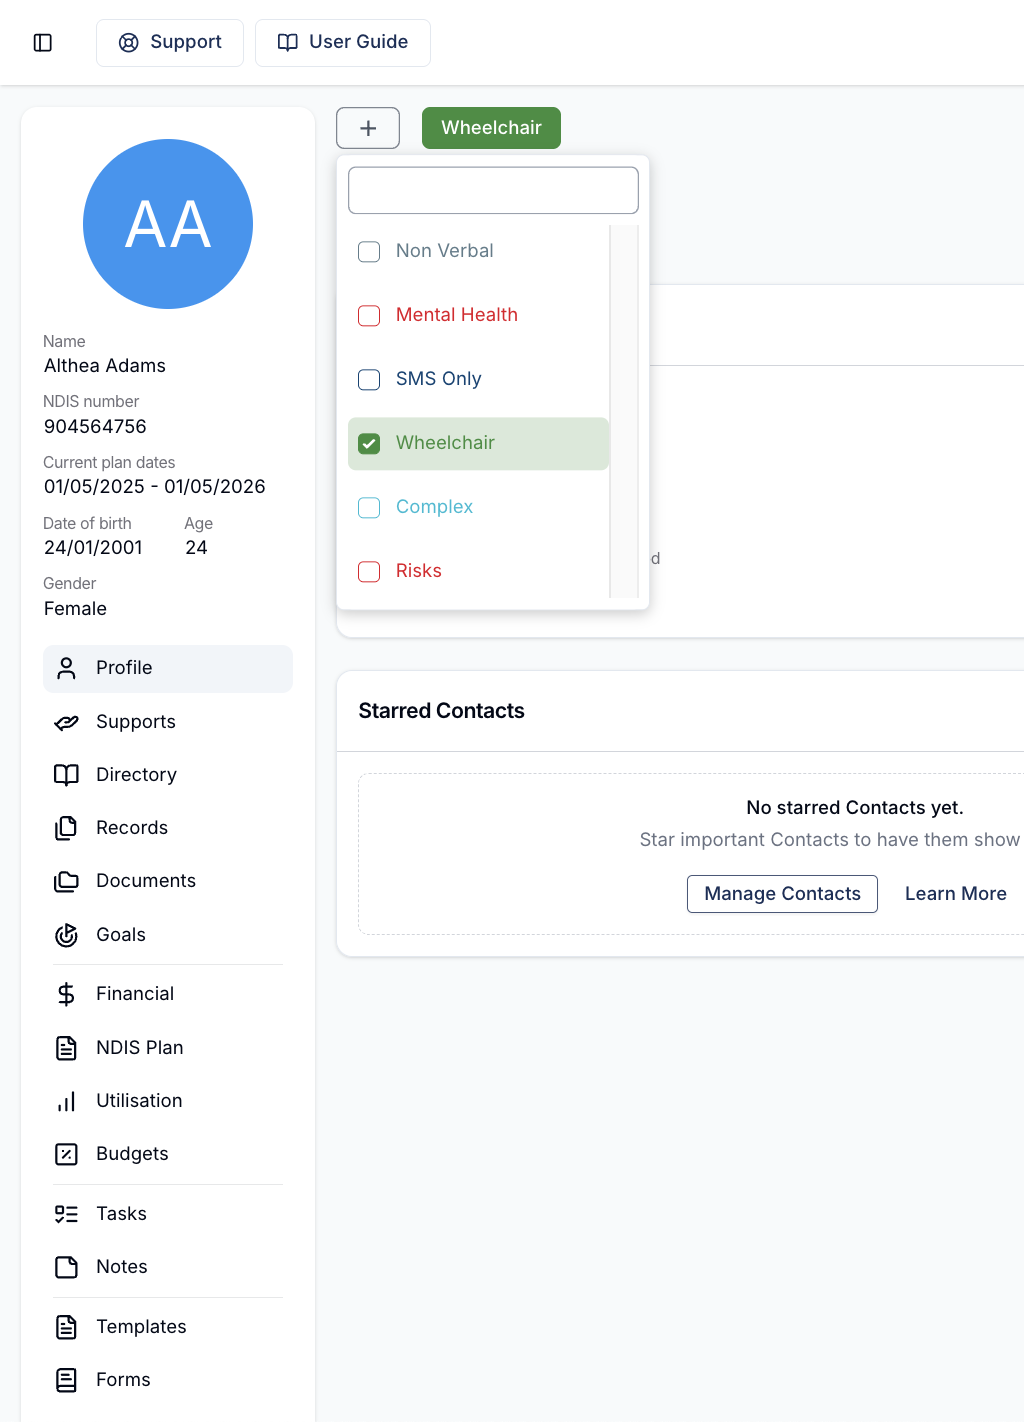
Once you have found the tag you need, simply click it to attach it to the Participant.
Removing Tags
To remove a Tag from a Participant, follow the same steps outlined above - if you click a Tag that is already assigned, it will be removed instead.
Creating a new Tag
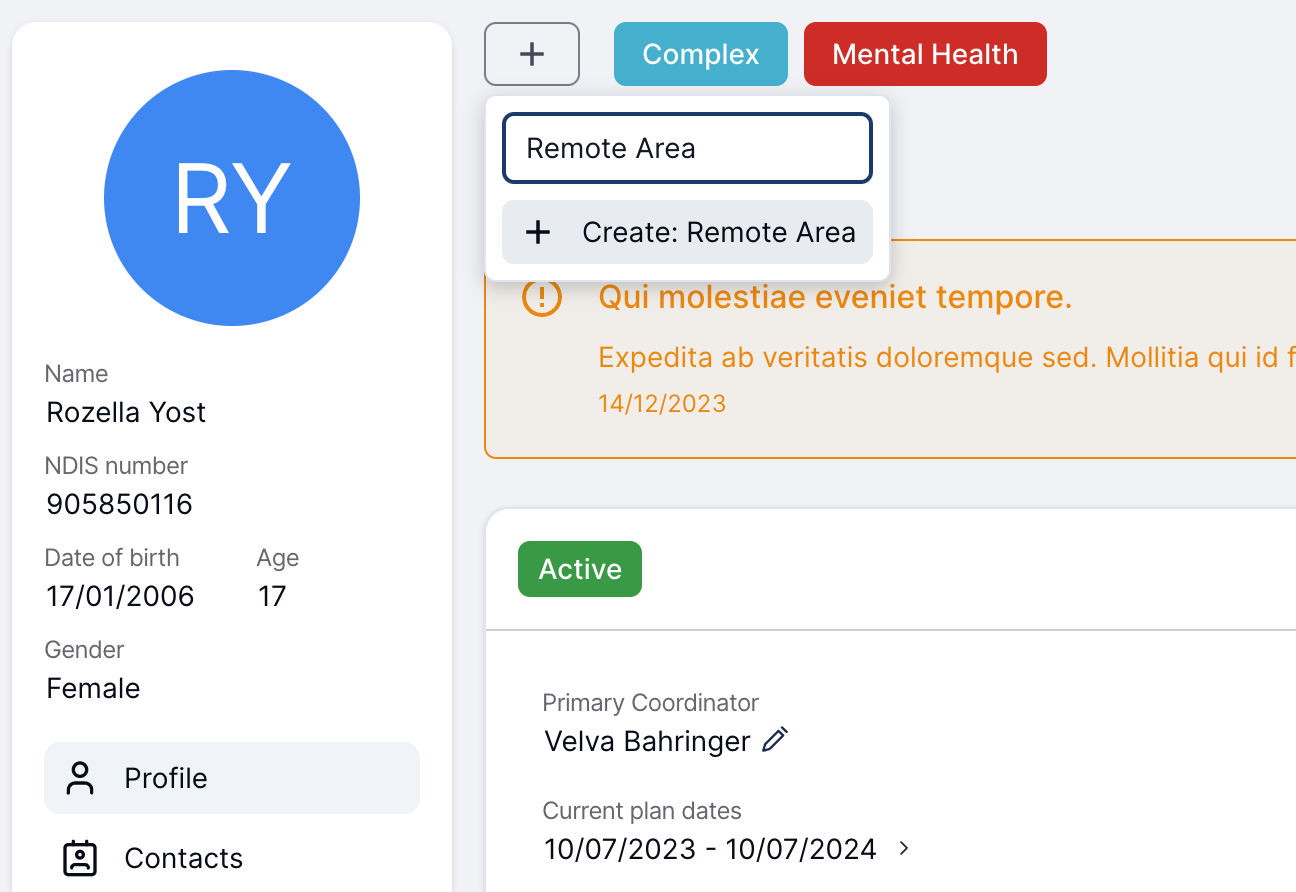
When searching for a Tag, if the Tag does not exist yet, you will be prompted to Create it instead. When you see the "Create: " prompt, simply click it or hit Enter on your keyboard to open up the Tag manager.
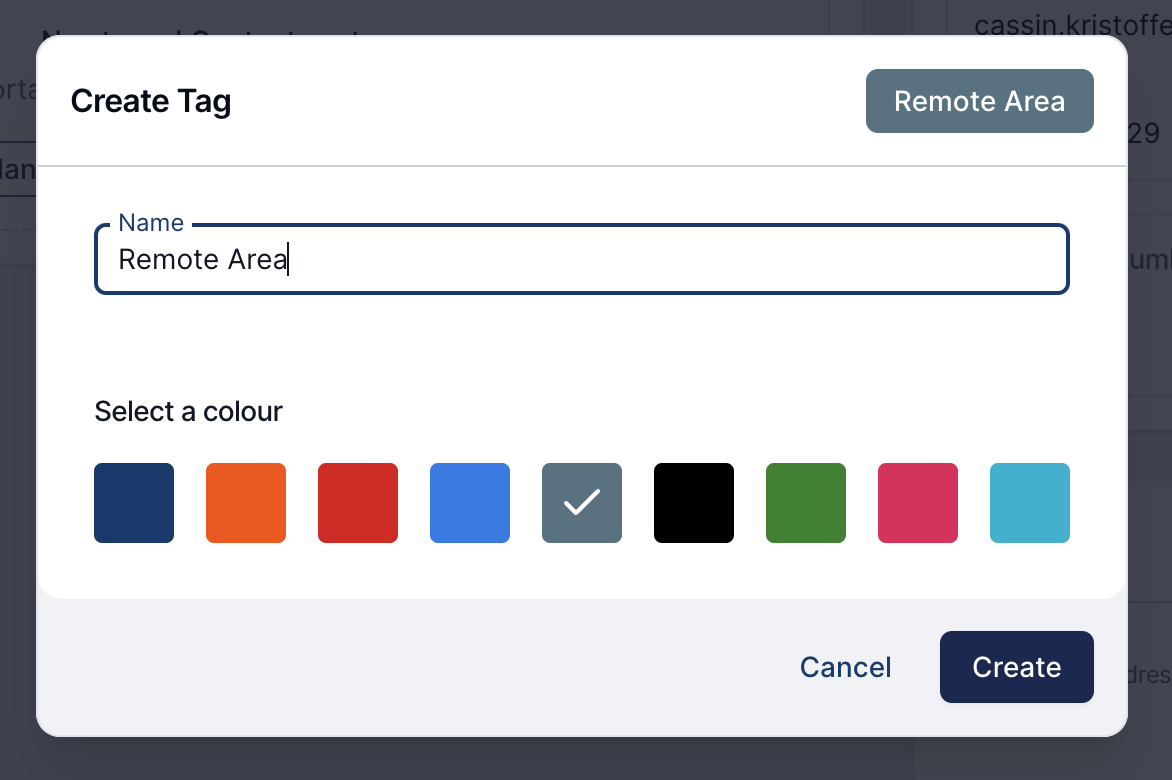
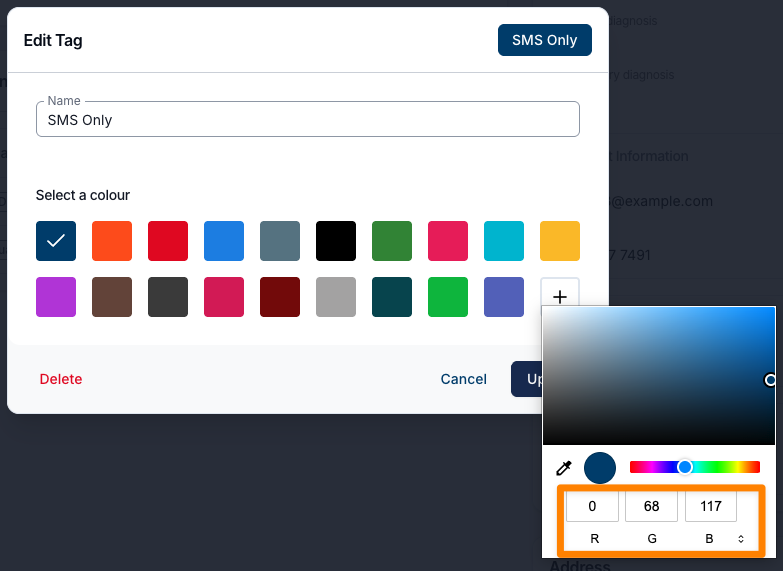
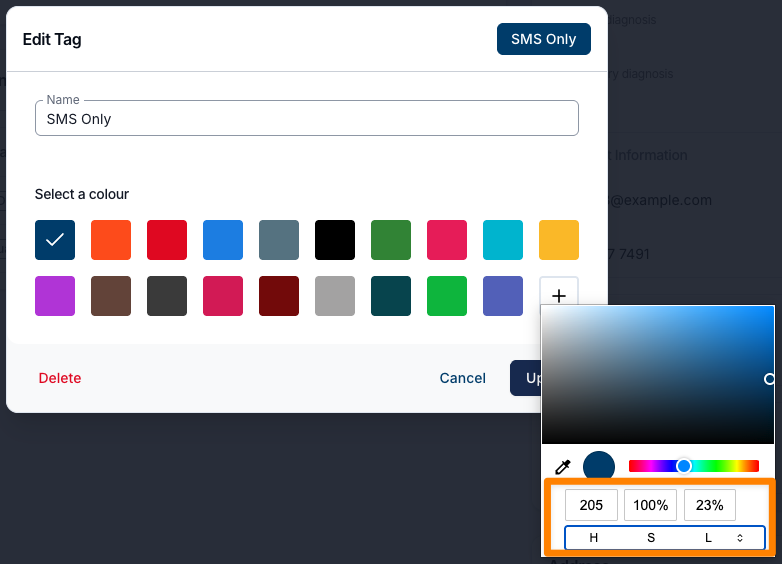
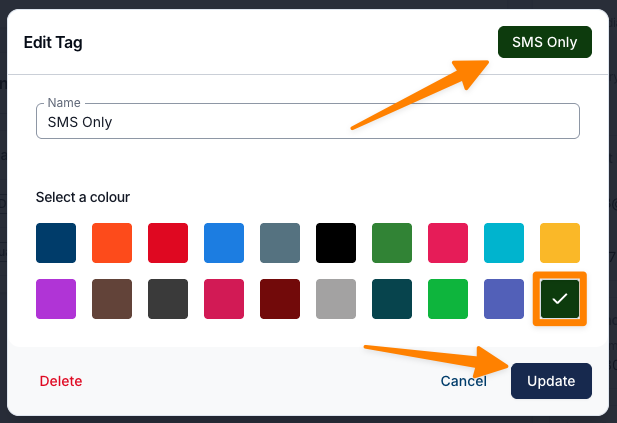
You can also choose custom colours for Tags. Select the + icon to add a new colour, then pick your preferred format: RGB, HSL, or HEX. Enter the appropriate colour code, and click outside the colour selector to apply it to the Tag. Select Update to save your changes.

Updating a Tag
To update an existing Tag you can find the Tag you want to update in the Tag list and click on the edit icon. This will upon the Tag manager where you can then edit the Tag.

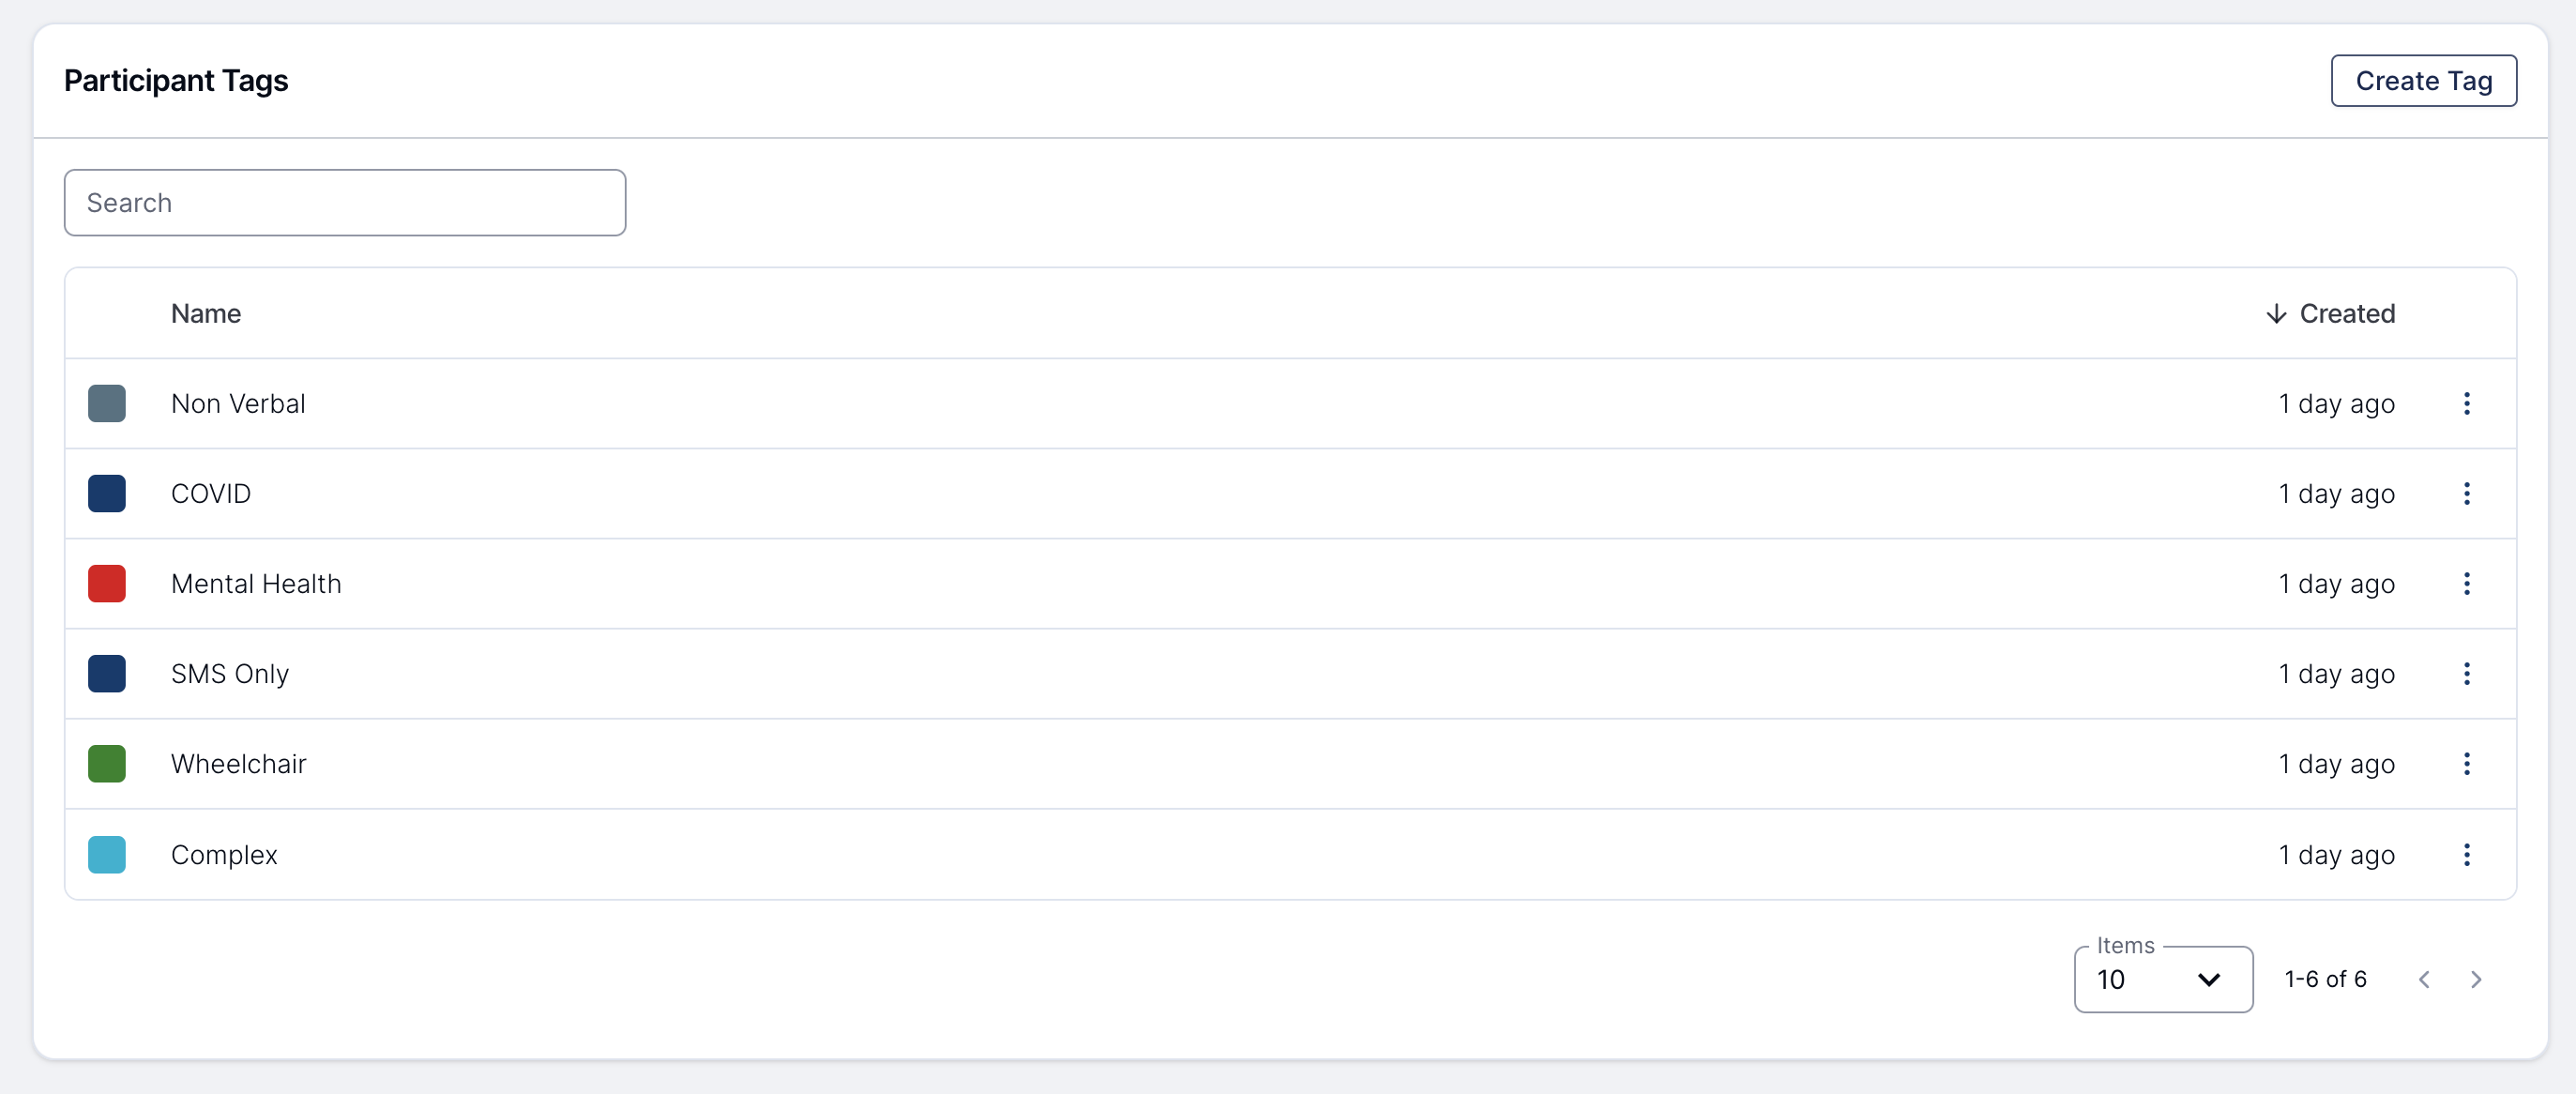
Managing all Tags
For those that have the admin role, Participant tags can also be managed from the Participant Settings page.