- Day-to-Day
- Creating Tasks and Cloning Tasks
Creating Tasks and Cloning Tasks
You can easily create a Task from the Task Board — the only required field is the Task name but it is recommended to attach the Participant from the beginning if the Task is for a Participant.
Select Participant
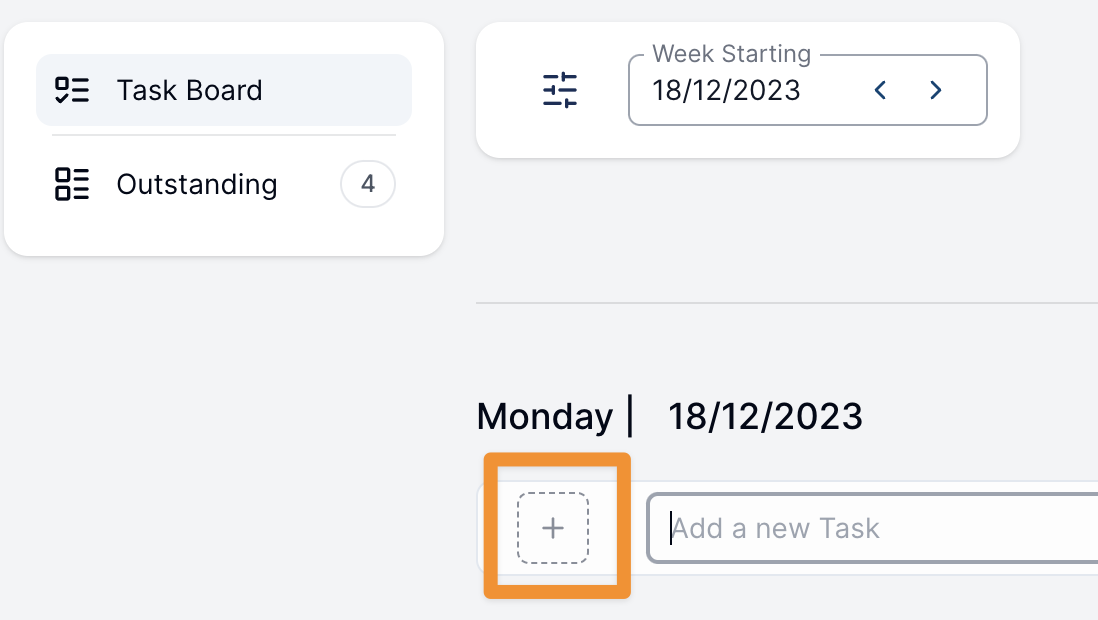
To assign a Participant to a Task, click on the "+" icon in the first column.
You may need to search by name
Astalty limits the number of Participants we show in the dropdown to 25 — if the Participant you are looking for is not in this list, you can simply start typing their name to search for them.
Telling duplicate profiles apart
If you use Participant Duplication, two profiles can share the same name. When this happens, the picker shows each duplicate profile's External ID beneath the name so you can select the correct one.
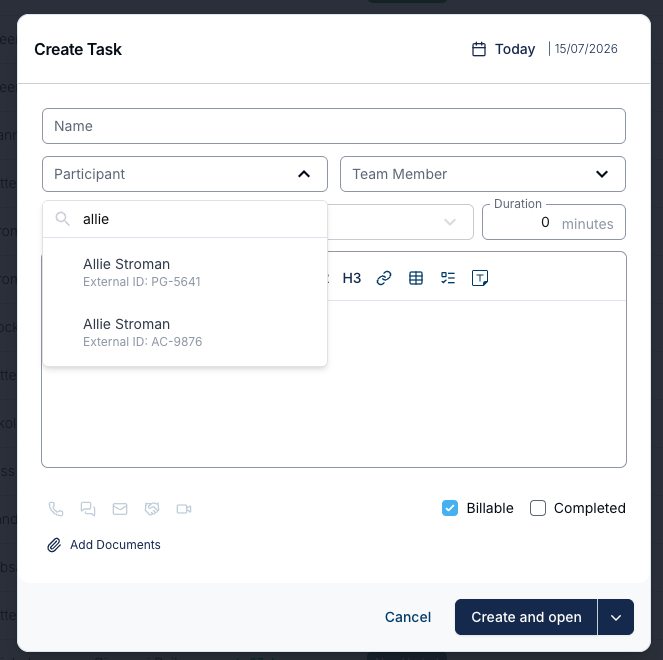
This descriptor only appears for profiles marked as duplicates that have an External ID set — all other Participant options look the same as usual. For it to be useful, give each duplicate profile a different External ID; see Participant Duplication for how to add one.
Create the Task
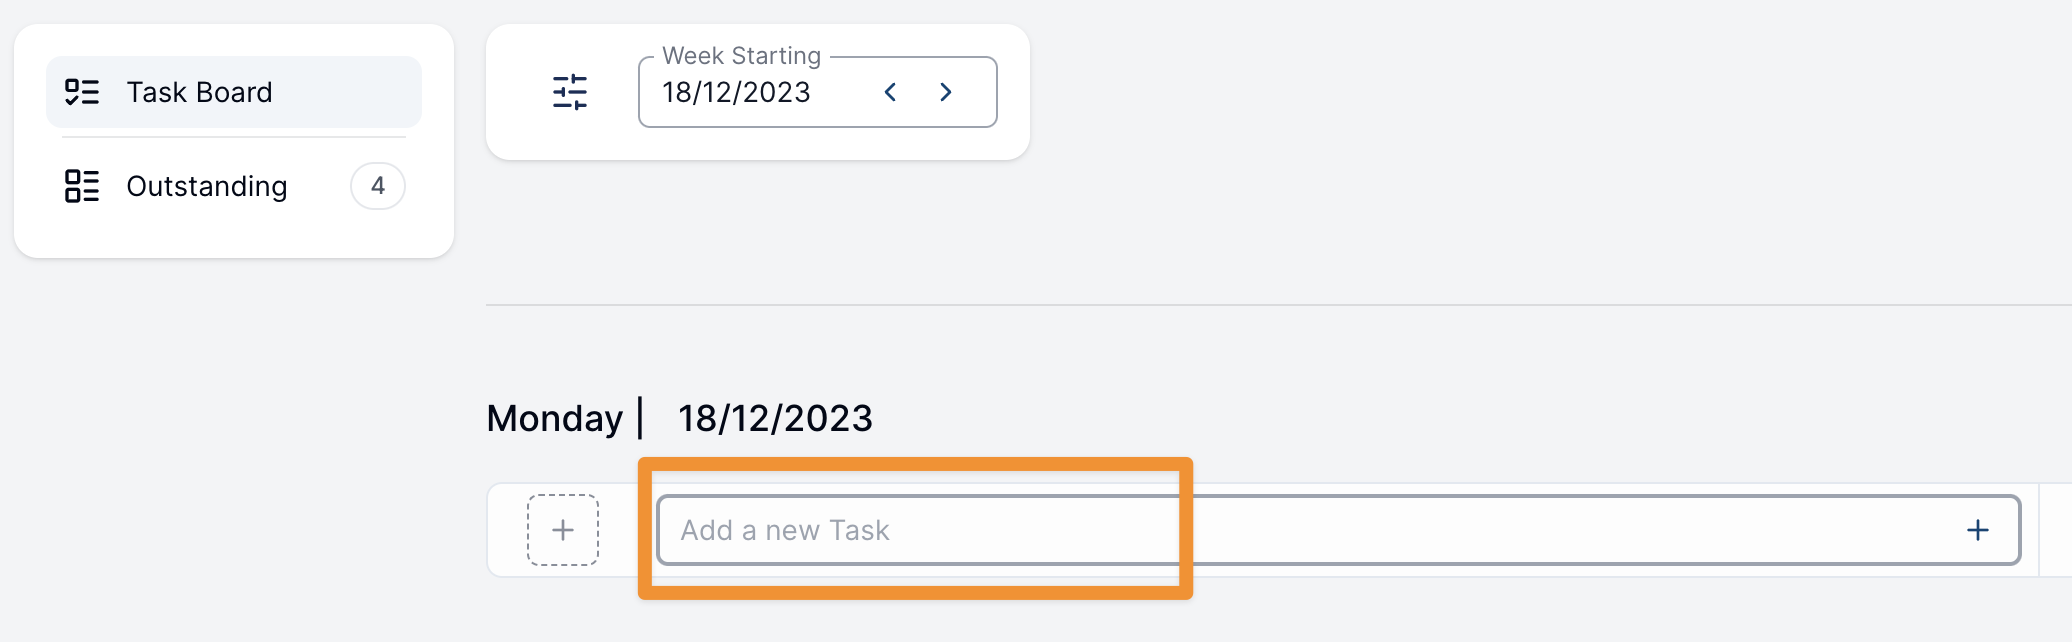
Click on the Add a New Task input and type in the Task name.
This should be something short that reflects the name of the task and the work that is being done.
After writing the description, you can hit enter to create the task. Alternatively, you can click on the + icon at the right end of the task.
Primary Charge Item
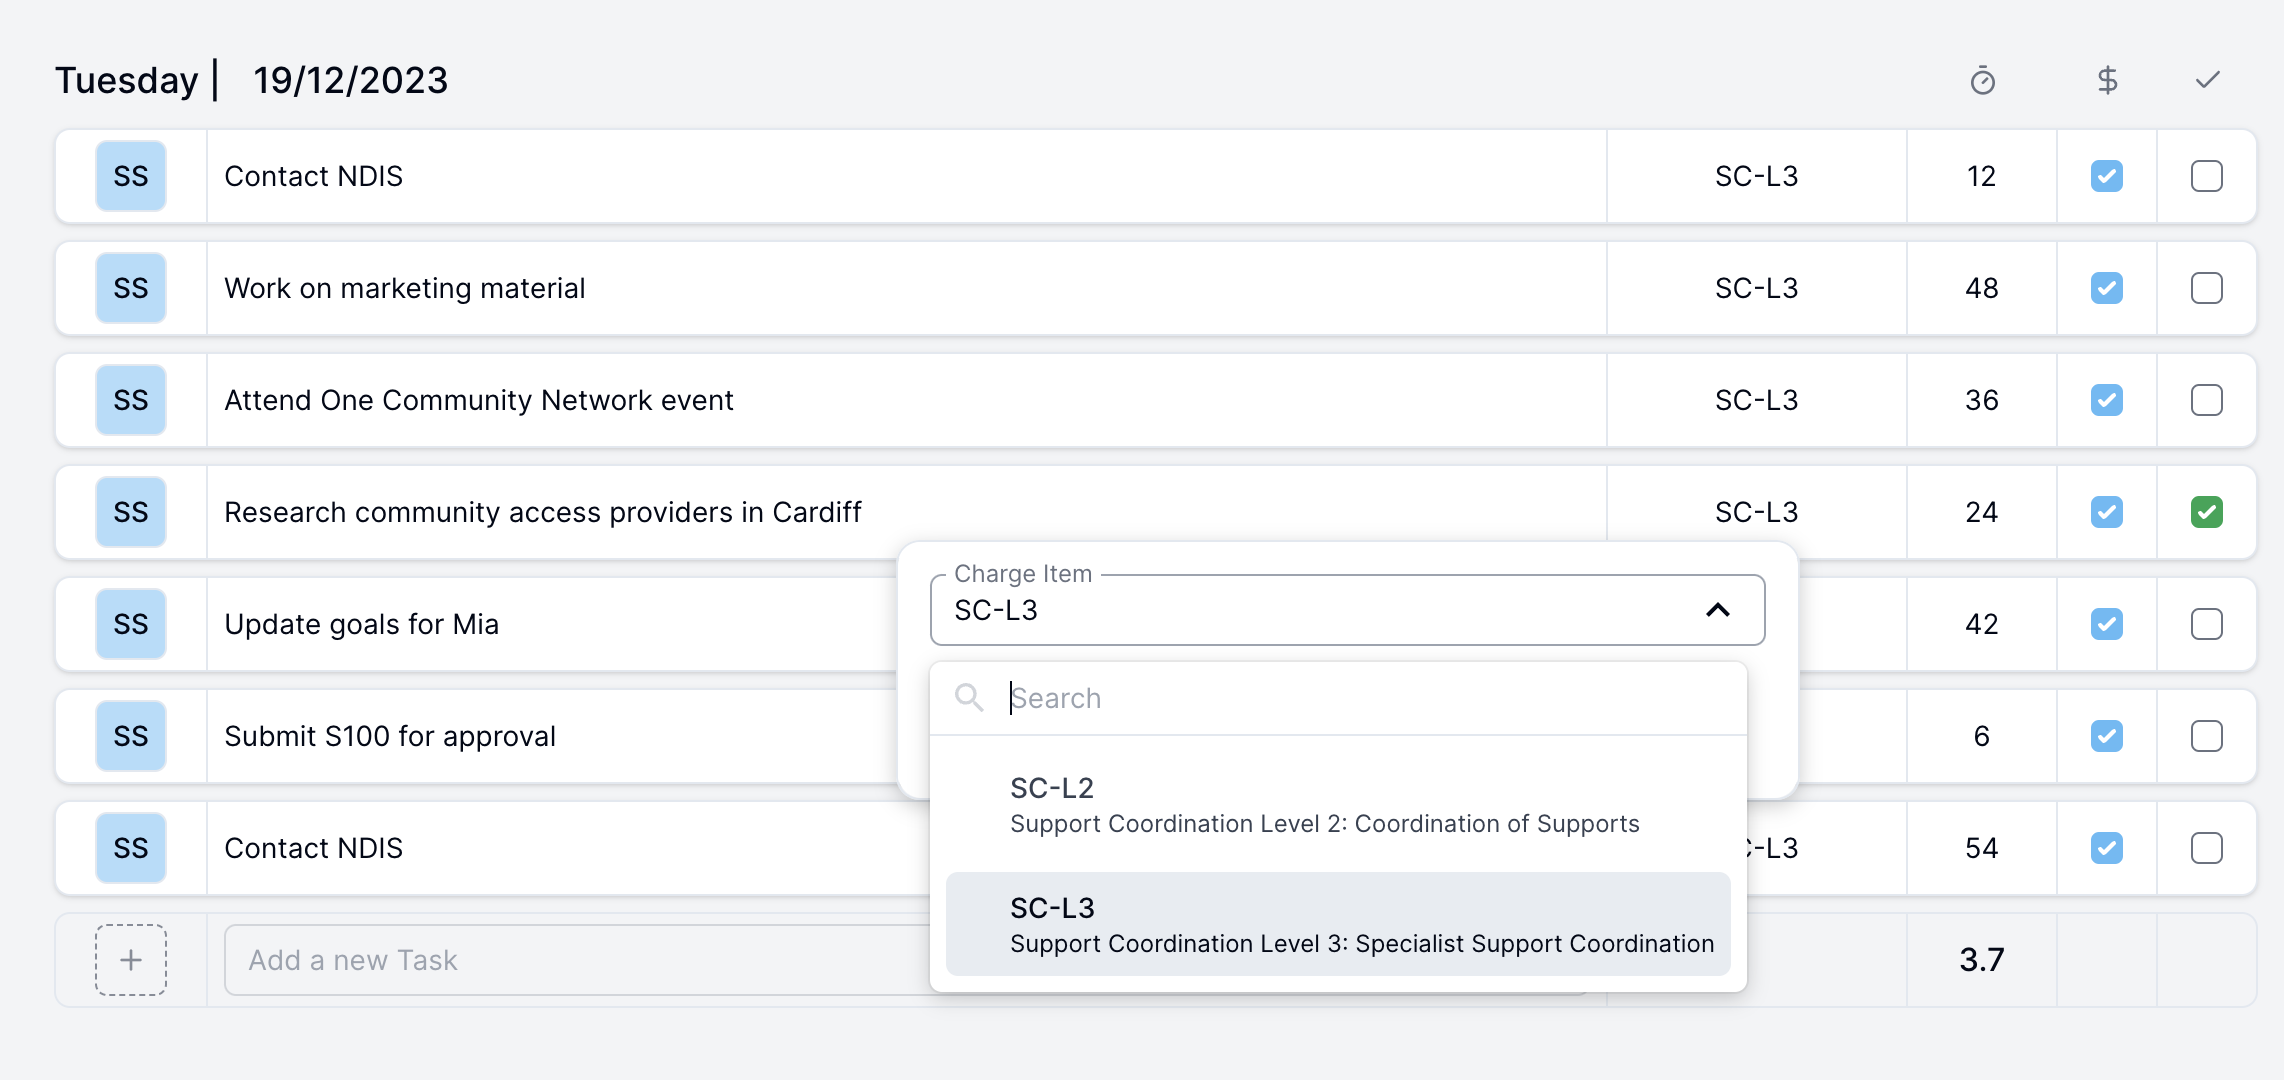
If you have already set up multiple Charge Items, you can go ahead and change the Charge Item if you need to, by simply clicking on it and selecting a new one. The Charge Item that you see on this page is the Primary Charge Item for this Task.
Can't see the Charge Item you need?
If you can't see the Charge Item you need, it means that the Charge Item is not correctly configured for the Participant or the Charge Item you're looking for is not an hourly Charge Item. If the Charge Item you need is not billed by the hour (for example kilometres), you will need to click into the Task and add it from the Finance tab instead.
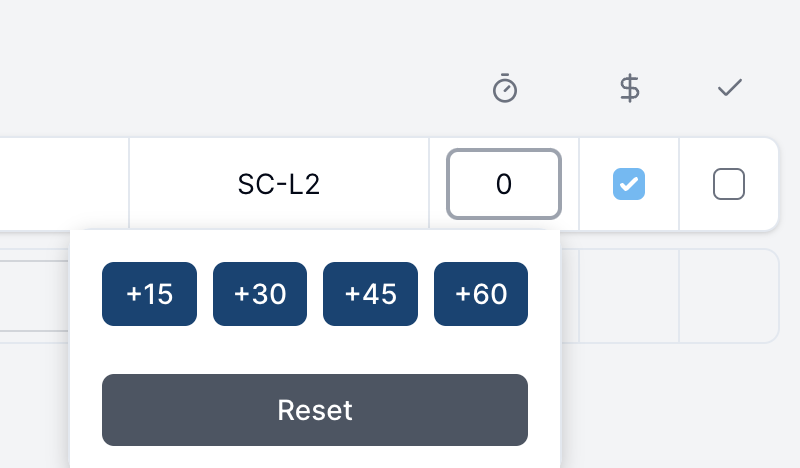
Adding Billable Time
You can add billable time to the task using the Billable Time input. Click on the Billable Time, and the quick-select input will open. Here you can click on the different time intervals to quickly add time to a Task. You can customise these charge intervals here.
You can also type in the number of minutes spent on a Task.
Billable Checkbox
You can mark a Task as non-billable by checking or unchecking the checkbox in the Billable column.
Completed
Once you have completed a task, you can mark it as being completed by checking the checkbox on the right of the screen.
Cloning Tasks
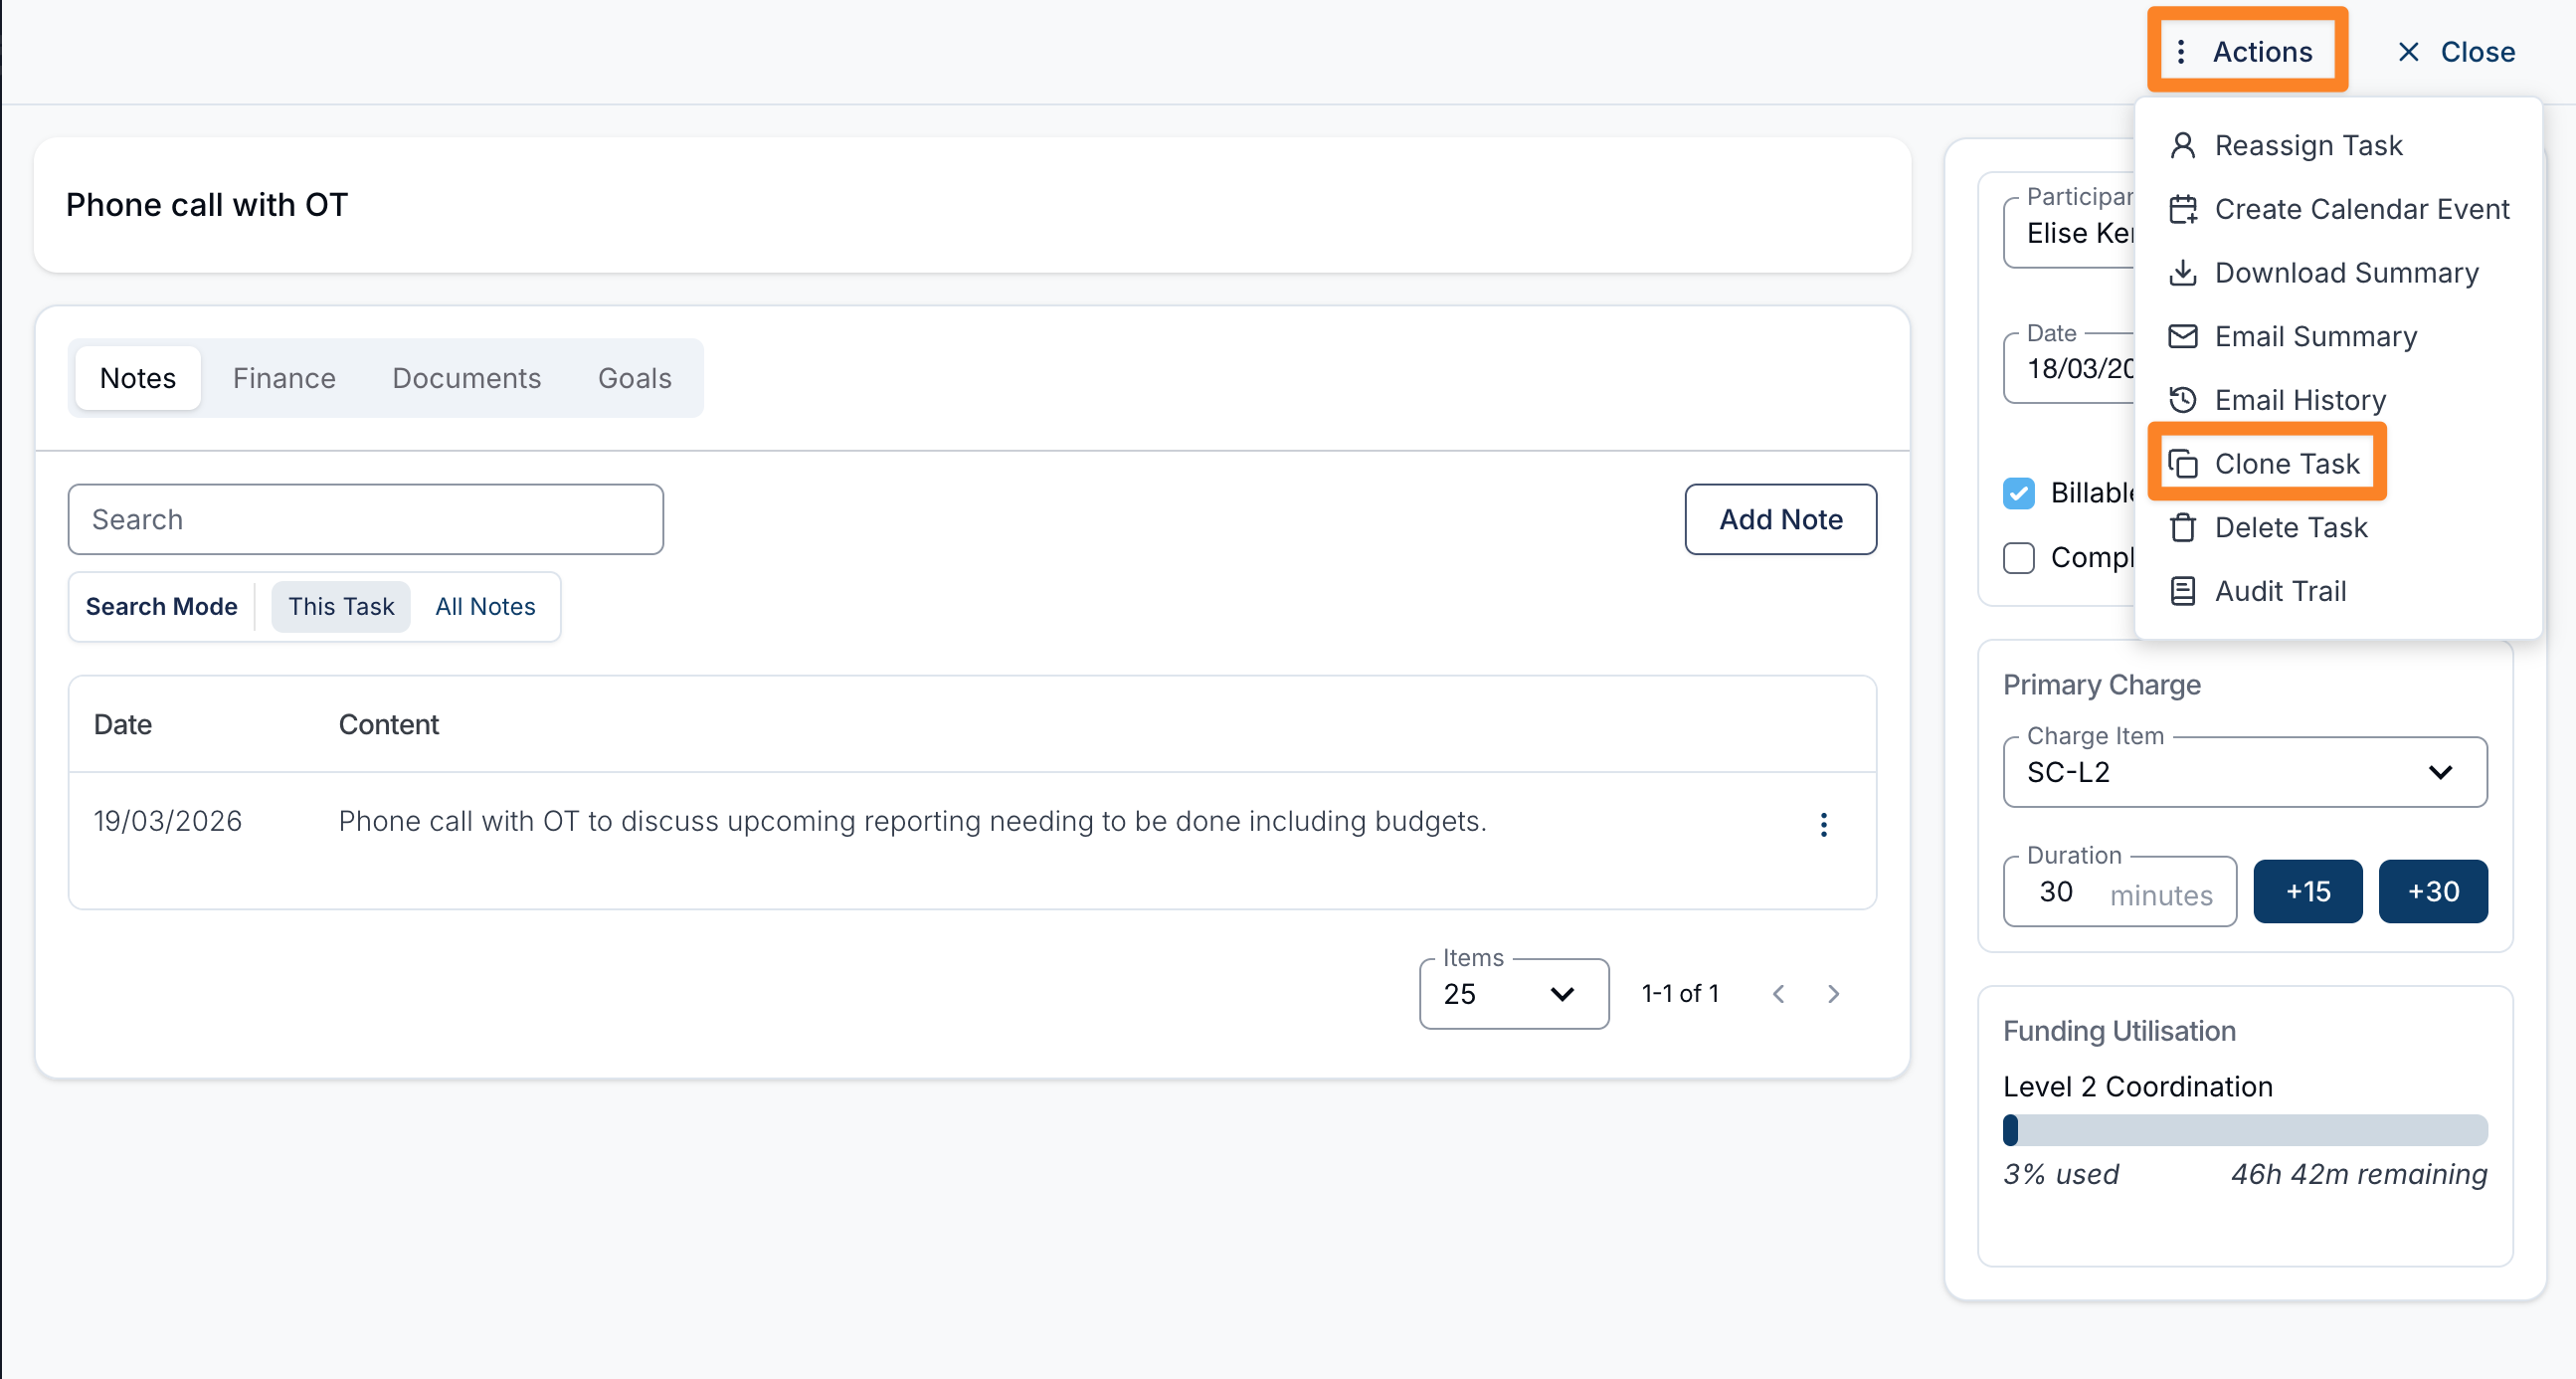
Tasks can also be cloned to quickly create a new task using the details of an existing one.
To clone a task, select the Clone Task option on an existing task. This will open the Create Task form with the original task’s details pre-filled, allowing you to make any adjustments before saving.
What is cloned?
When cloning a task, the following details are copied into the new task:
- Task name
- Participant
- Charge Item(s)
This can save time when creating similar or repeat tasks.
What is not cloned?
The following items are not currently copied when cloning a task:
- Notes
- Attached documents
These will need to be added manually after creating the new task.