- Administration
- Settings
- Invoice
Invoice
Overview
This guide explains how to set up your Invoice Settings.
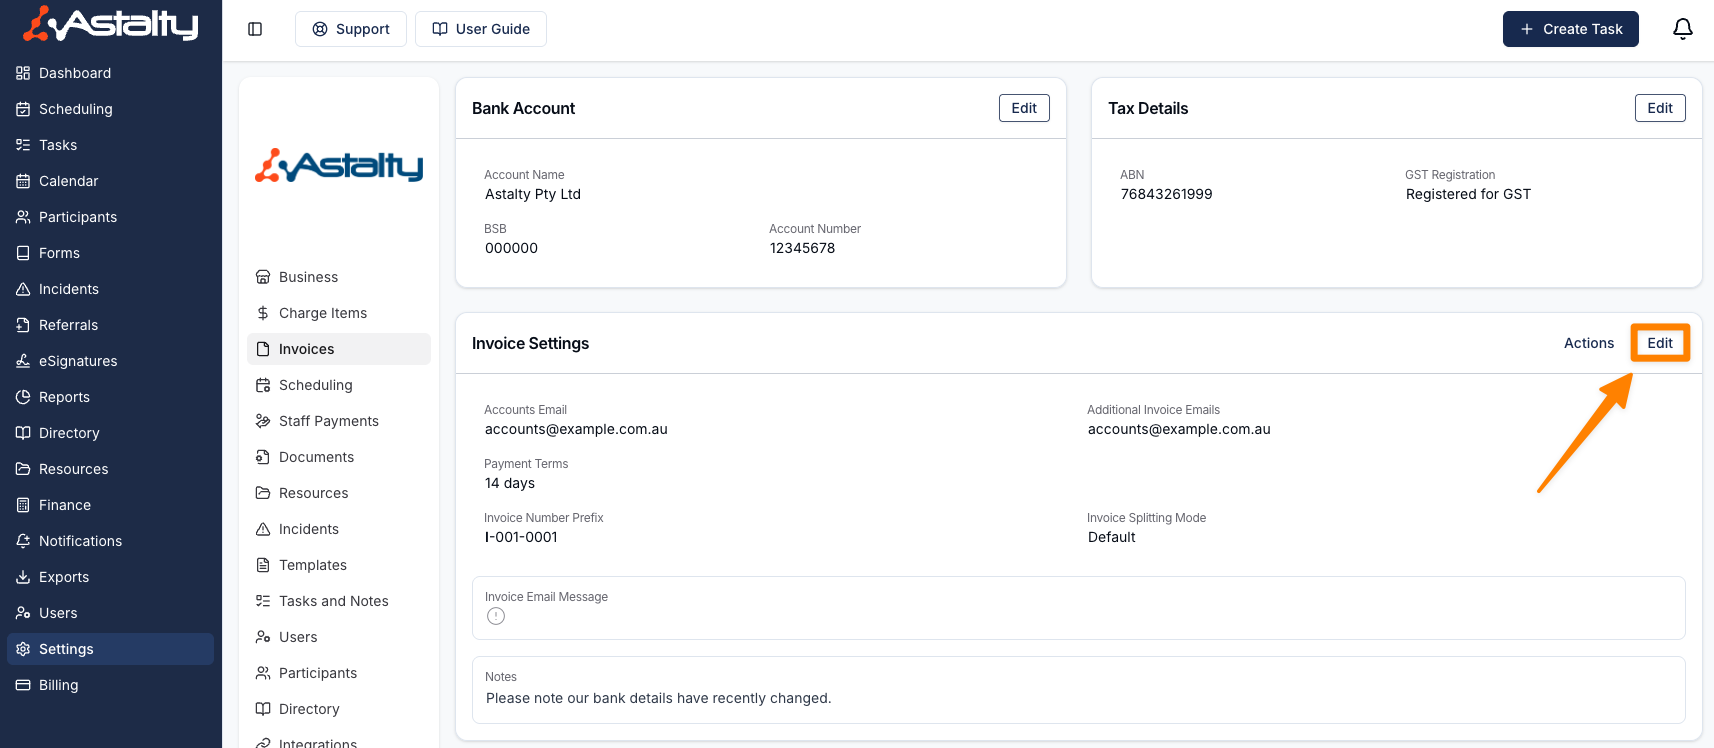
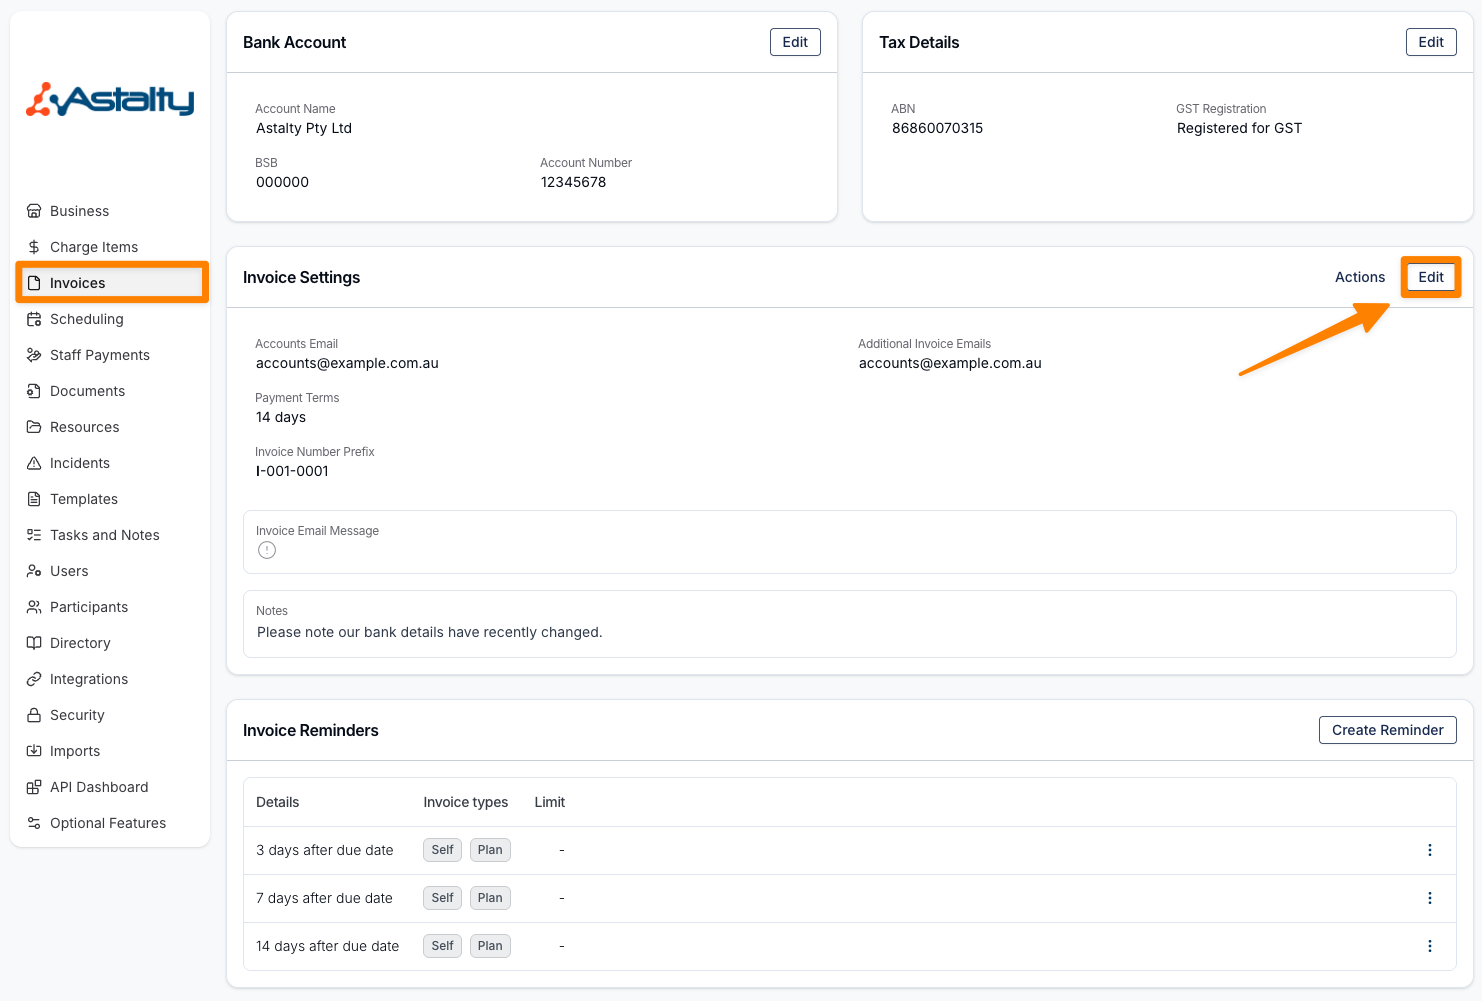
To access these settings, select Settings from the main menu, then choose Invoices from the submenu. Alternatively, you can click here to go directly to the page.
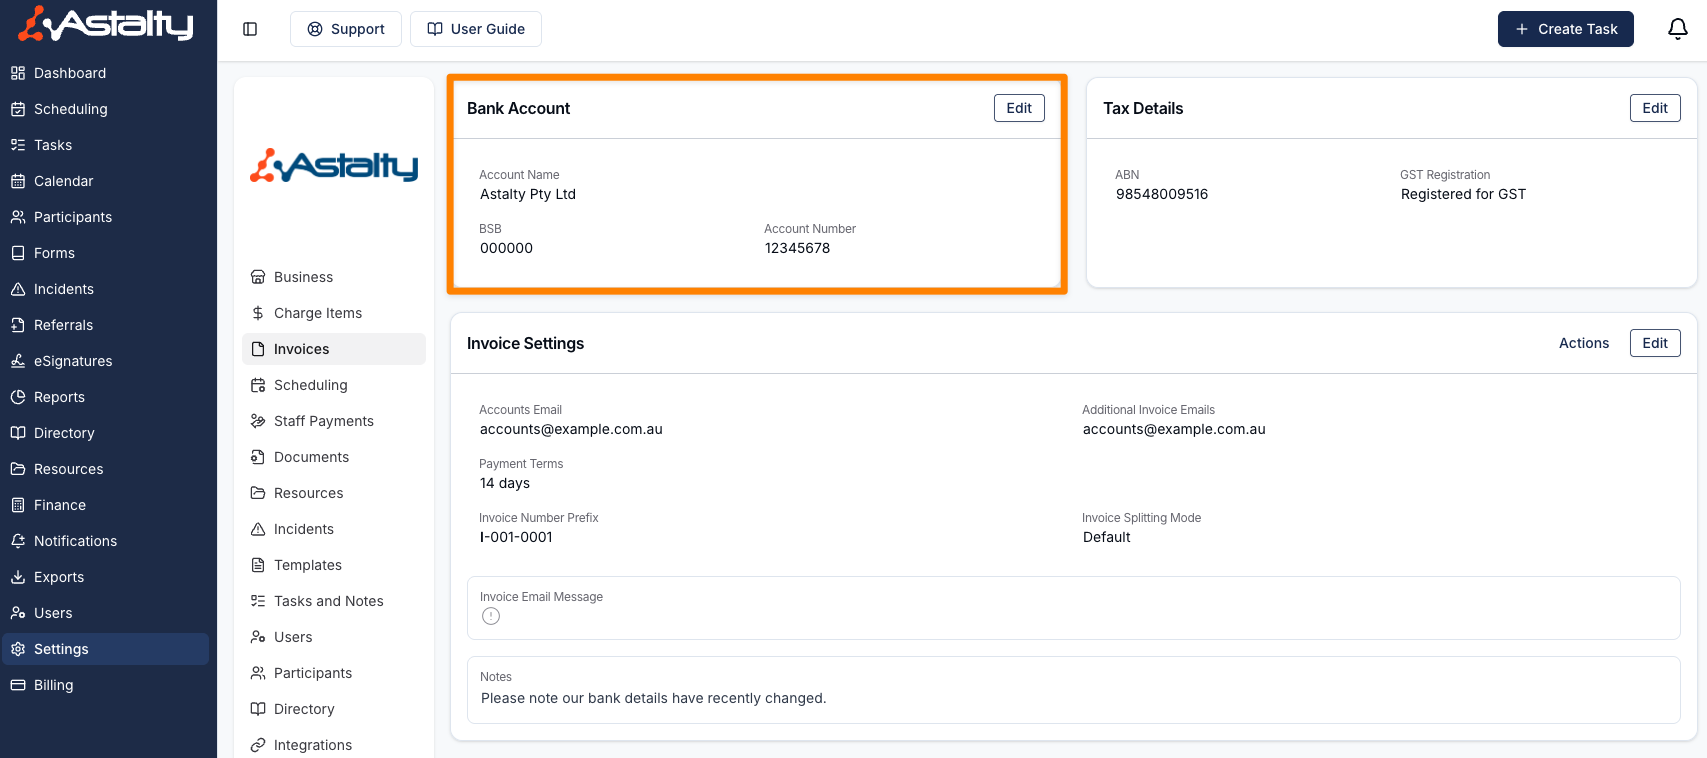
Bank Account
In this section, add your organisation's bank details. These details will be shown on each invoice and will be used for self and plan-managed participants to make payments for services delivered.
Notifications
If, for any reason, your bank details change within the software, the account owner will receive a notification.
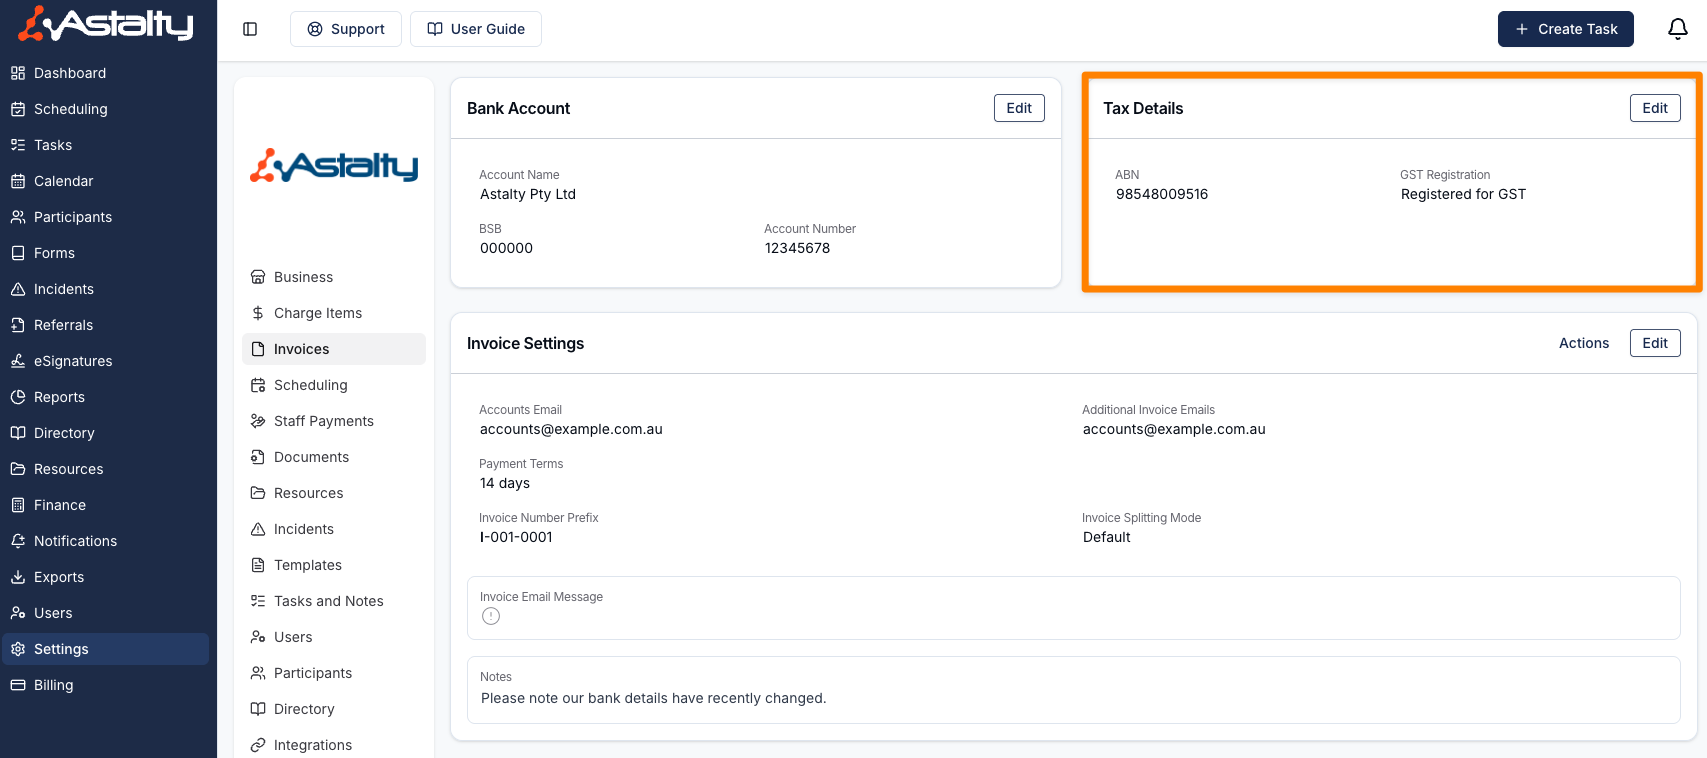
Tax Details
In this section, you can edit the following;
ABN
Your Australian Business Number is used for tax purposes.
GST Registration
Indicates whether you are registered for the Goods and Services Tax.
Invoice Settings
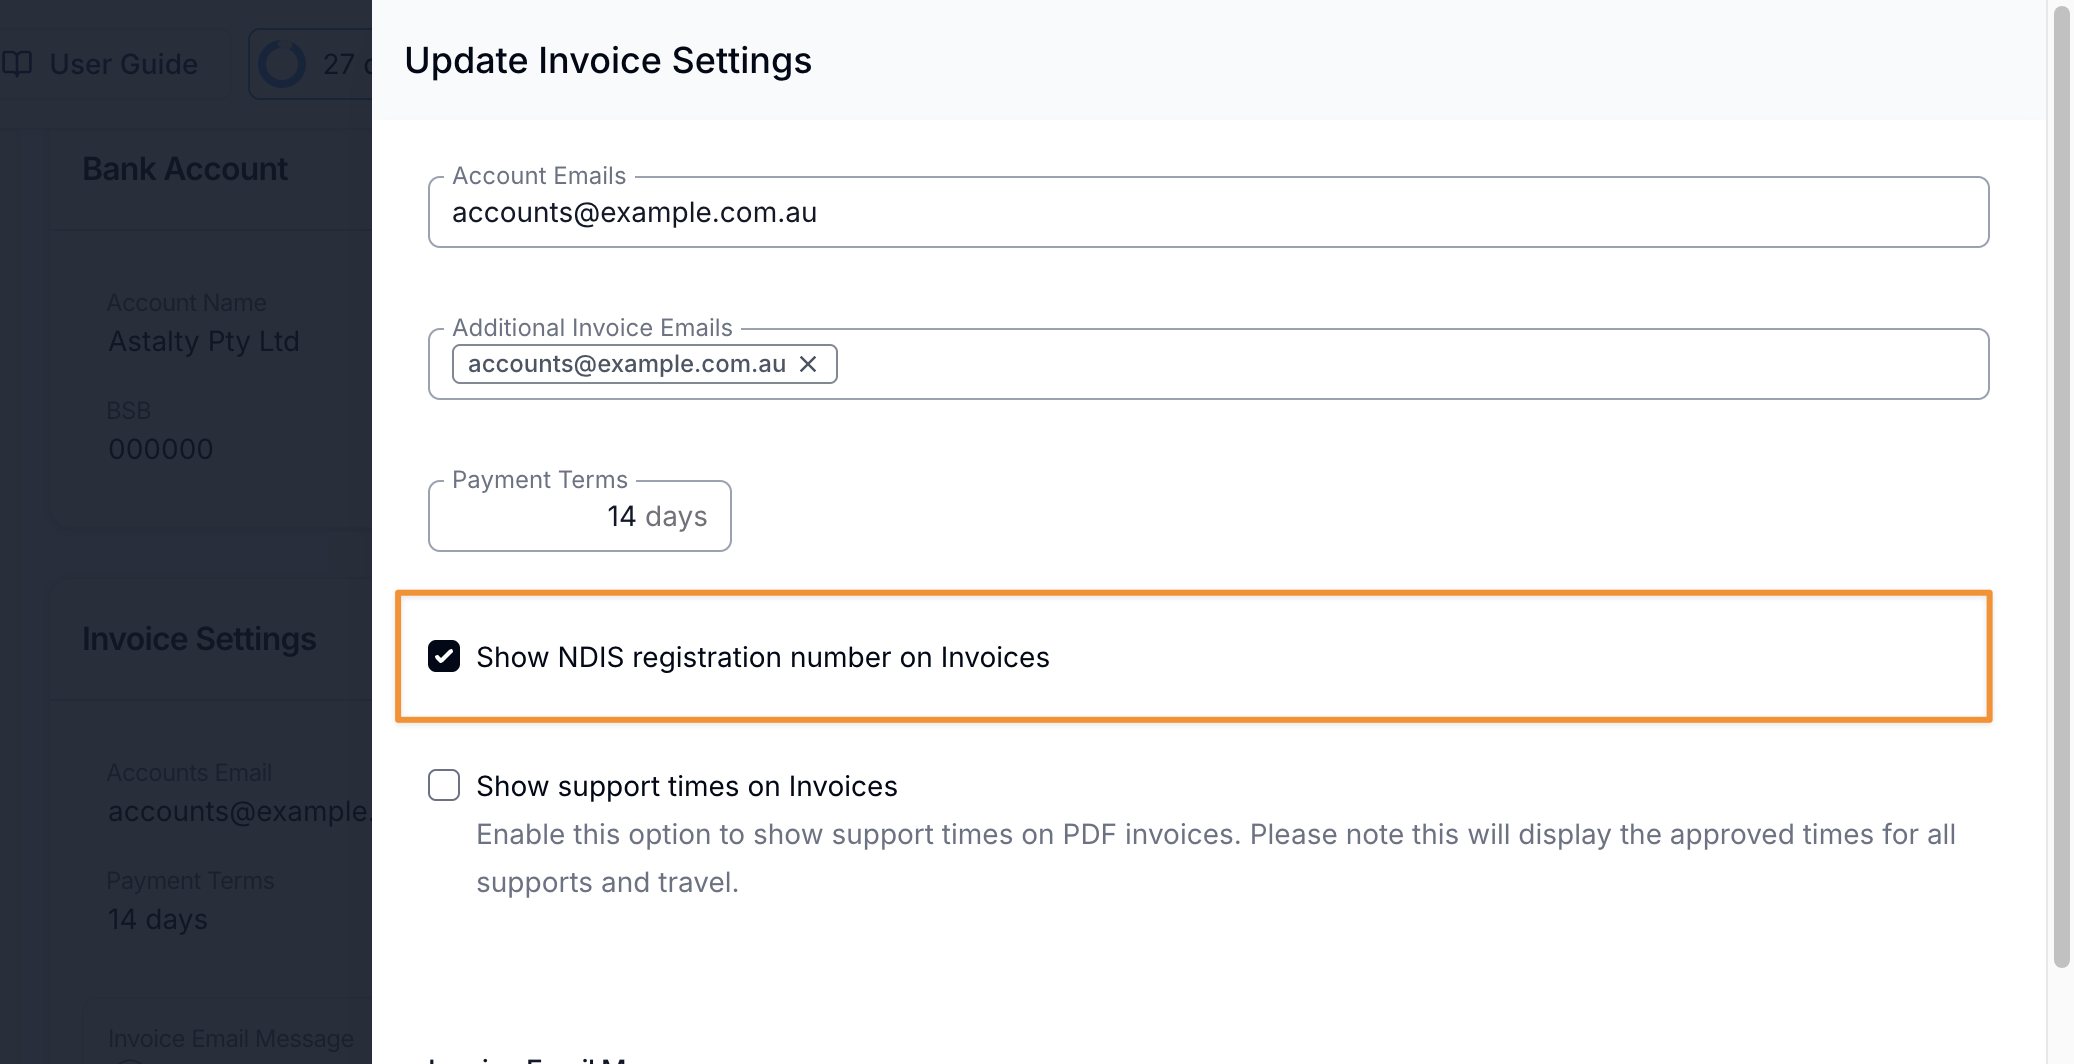
To update your Invoice Settings, select Edit. From here, you can modify the following options:
- Accounts Email
- Additional Invoice Emails
- Payment Terms
- Invoice Number Prefix
- Show NDIS Registration Number on Invoices
- Show Support Times on Invoices
- Show Calendar Task Times on Invoices
- Invoice Email Message
- Notes
- Plan Managed Invoices (including adding Claim References to invoices)
- Invoice Splitting
- Additional Information
Once you've made any necessary changes, make sure to click Update.
Accounts Email
This email address will be listed at the top of the PDF invoices generated by Astalty.
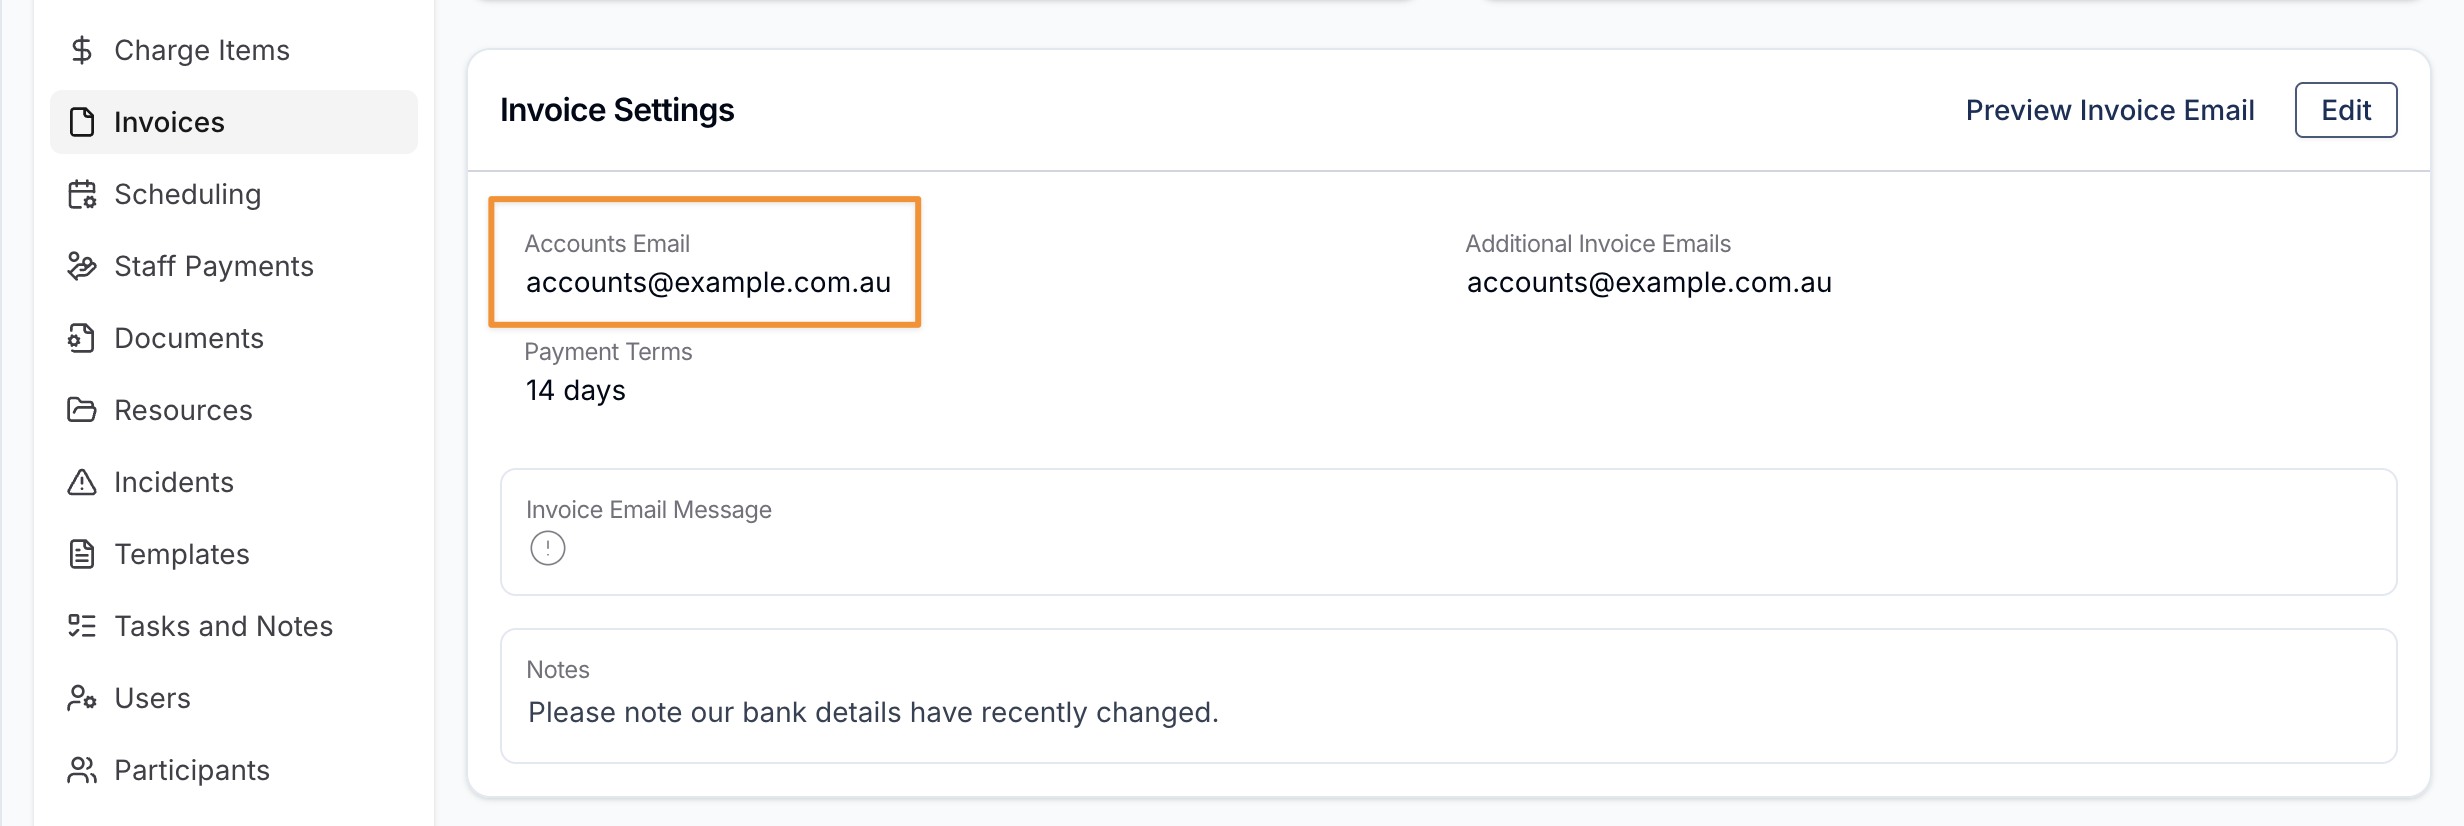
Additional Invoice Emails
Should you require a copy of all invoices to be sent to other team members, such as your accounts team, you can add those emails in this section. For example, accounts@astalty.com.au can be set to receive a copy of all outgoing invoices.
Payment Terms
This section allows you to set the default payment terms for your invoices. Astalty will showcase this at the bottom of your invoices and use it to calculate the due date. For instance, a 14-day payment term is set to ensure timely payments.
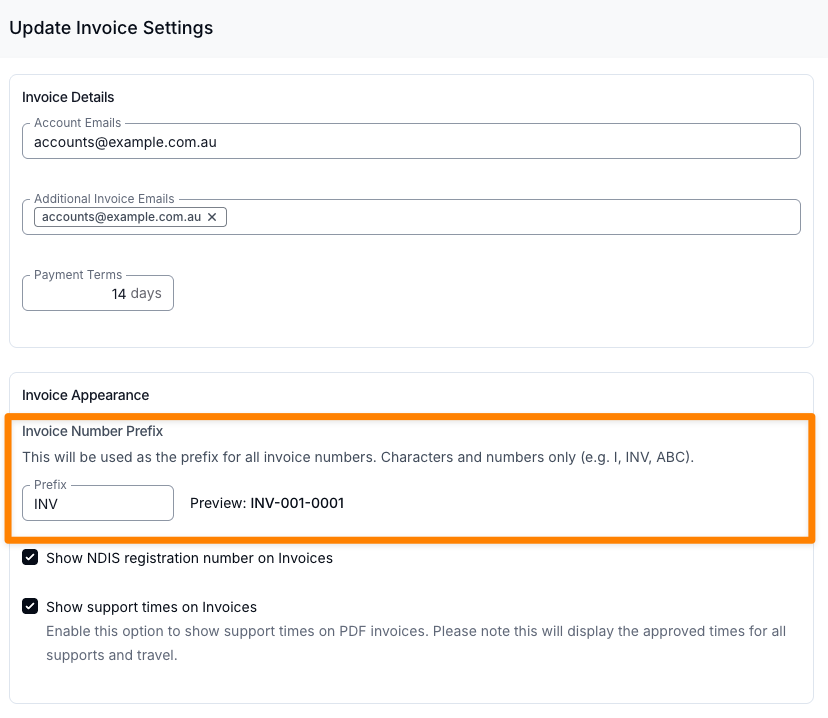
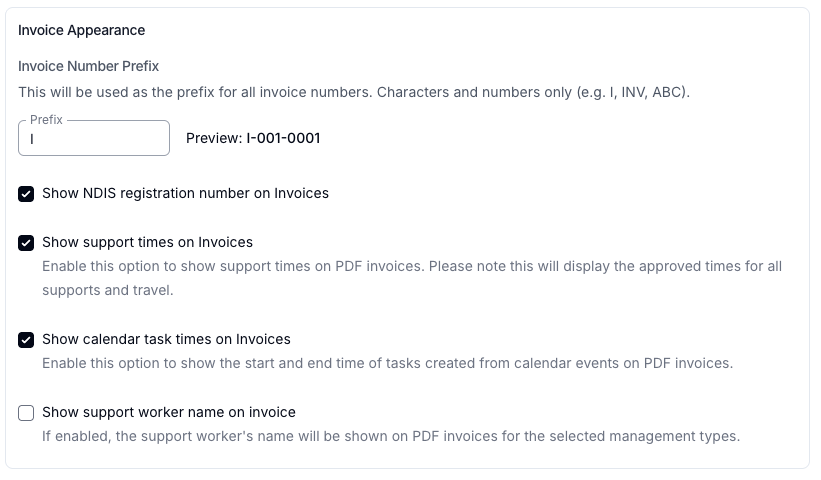
Invoice Number Prefix
You can update the invoice prefix to align with your organisation’s preferences. This is particularly useful if you operate multiple Astalty instances connected to the same Xero account.
To update the prefix:
- Enter your preferred prefix in the text box (alphanumeric characters only).
- A preview of the invoice number will appear next to the text box.
- Scroll to the bottom of the page and click Update to save your changes.
All future invoices will use your selected prefix.
Show NDIS registration number on Invoices
Enable this option to show your NDIS Registration Number on PDF invoices.
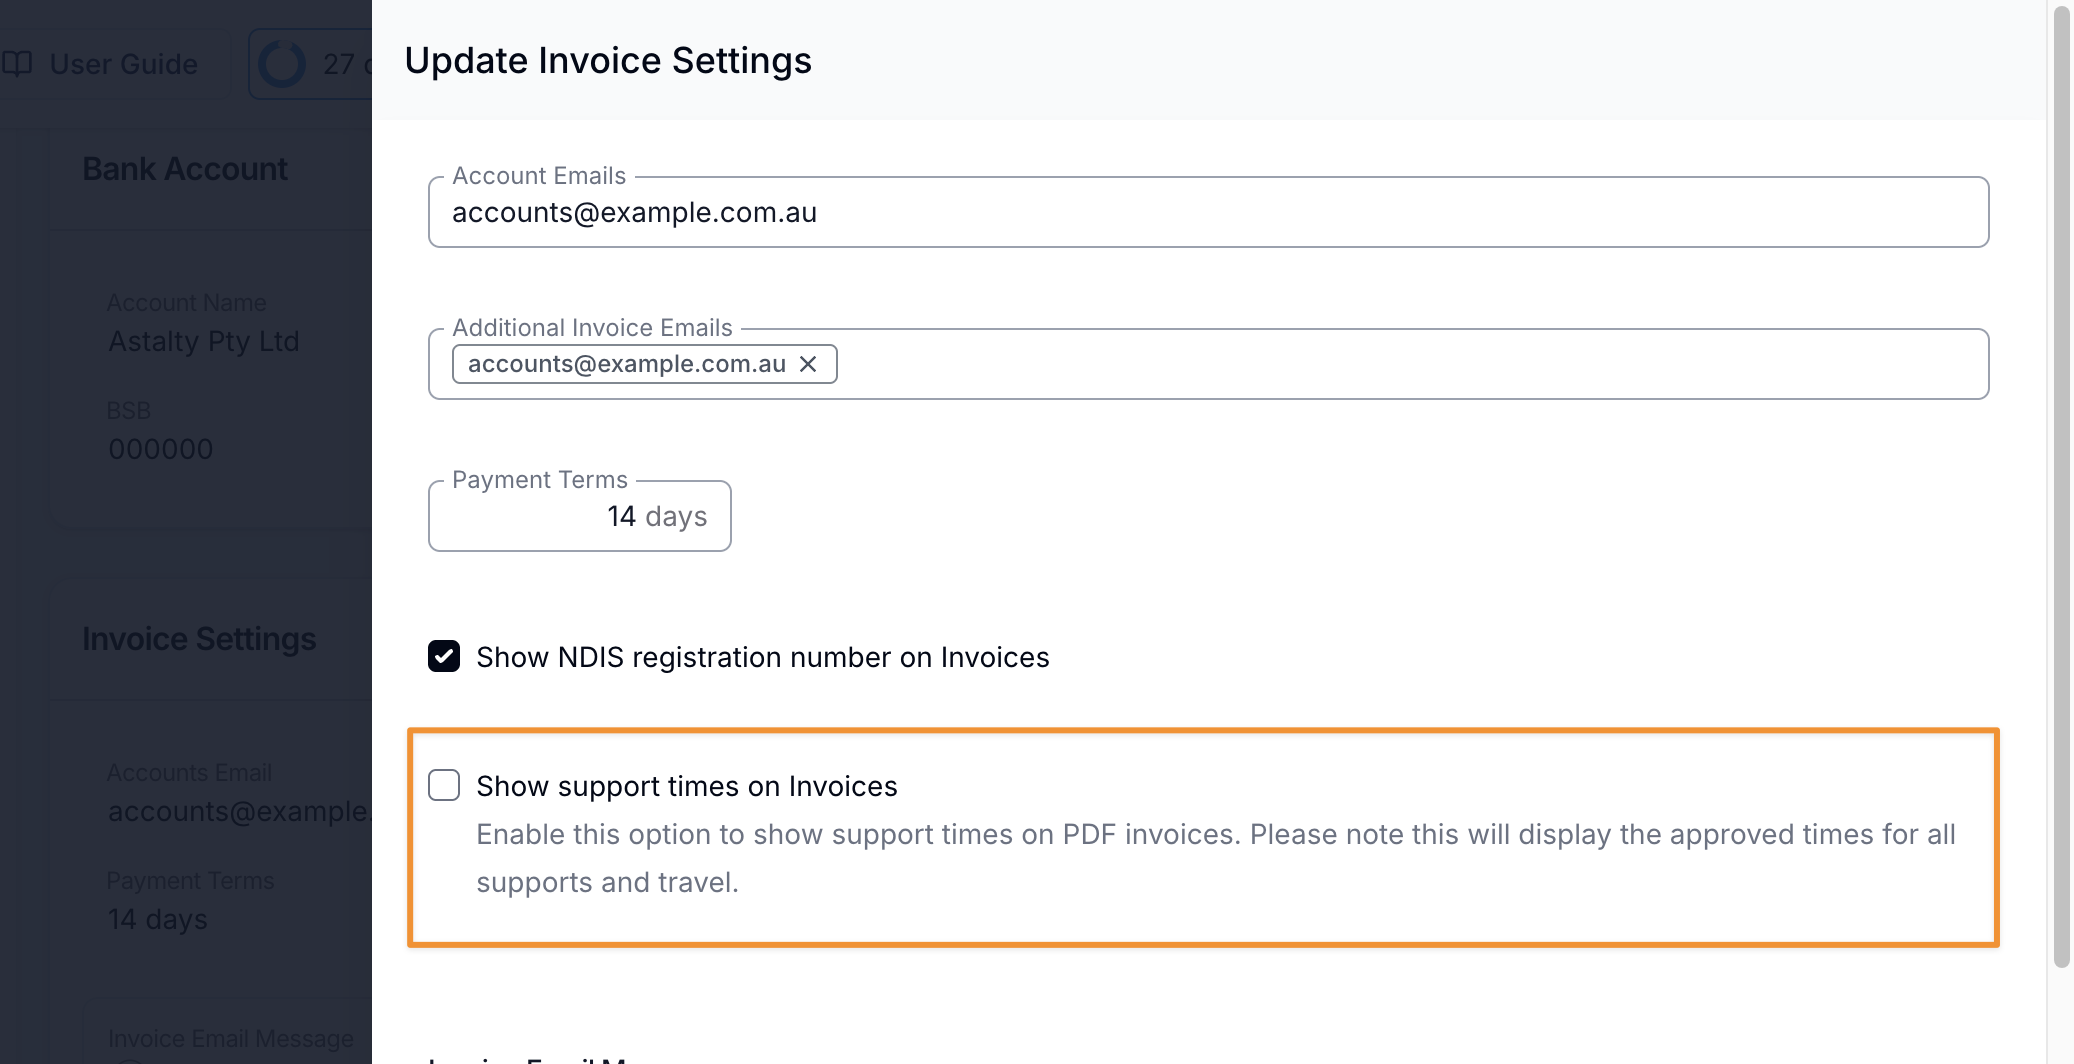
Show support times on Invoices
Enable this option to show Scheduled support times on PDF invoices. Please note this will display the approved times for all supports and travel.
Show calendar task times on Invoices
Enable this option to show the start and end time of tasks created from calendar events on PDF invoices. The time appears next to the date for each of those charges — for example, 26/06/2026 (10:00 - 12:00).
This option is off by default, so nothing changes on your invoices until you turn it on.

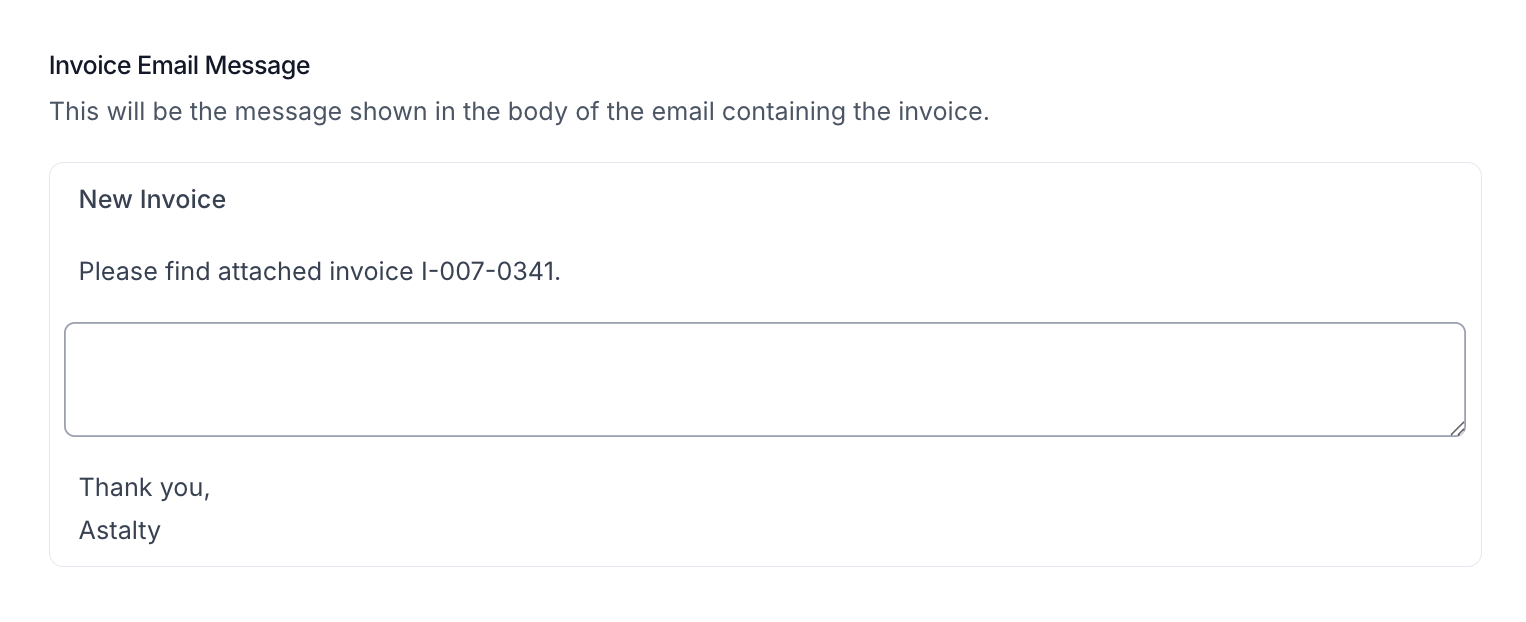
Invoice Email Message
Customize the message that accompanies your invoice emails. This is a great opportunity to communicate any pertinent details or personal touches with your invoice.
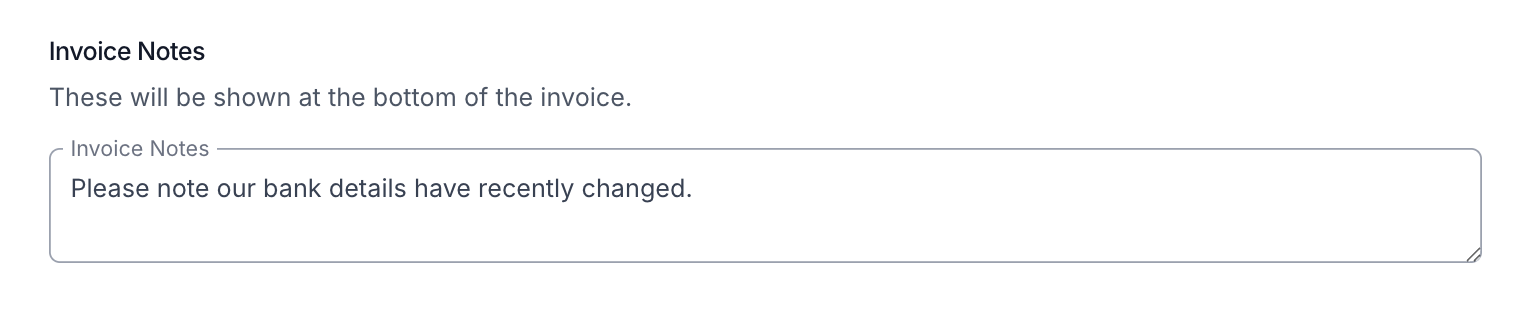
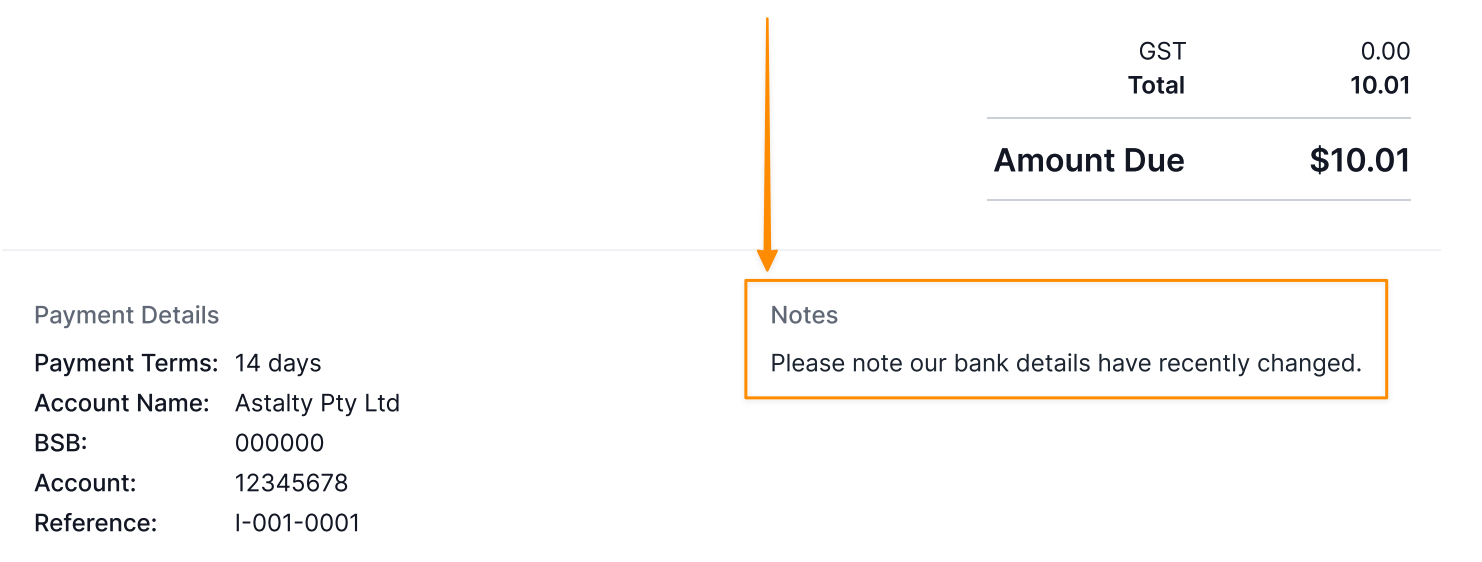
Notes
The notes section is critical for communicating important information. For example, a note here mentions, "Please note our bank details have recently changed." This will be displayed at the bottom of every invoice, ensuring your clients are always informed.
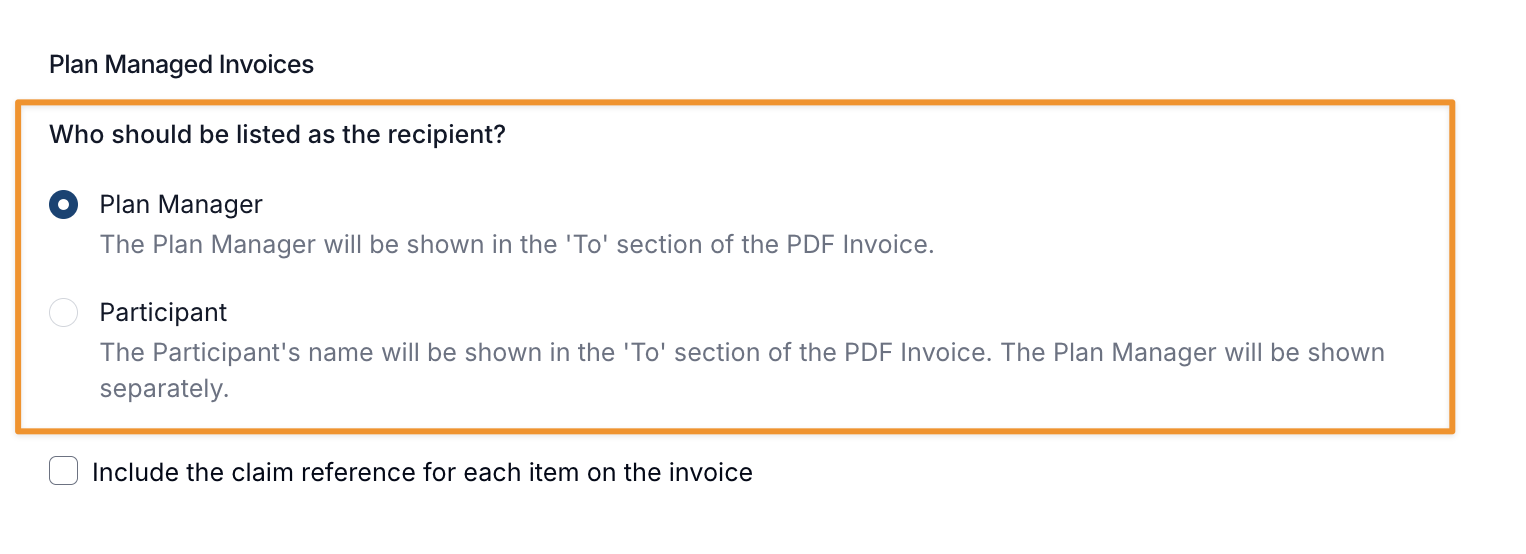
Plan Managed Invoices
Determine who should be listed as the recipient, whether it be the Plan Manager or the Participant.
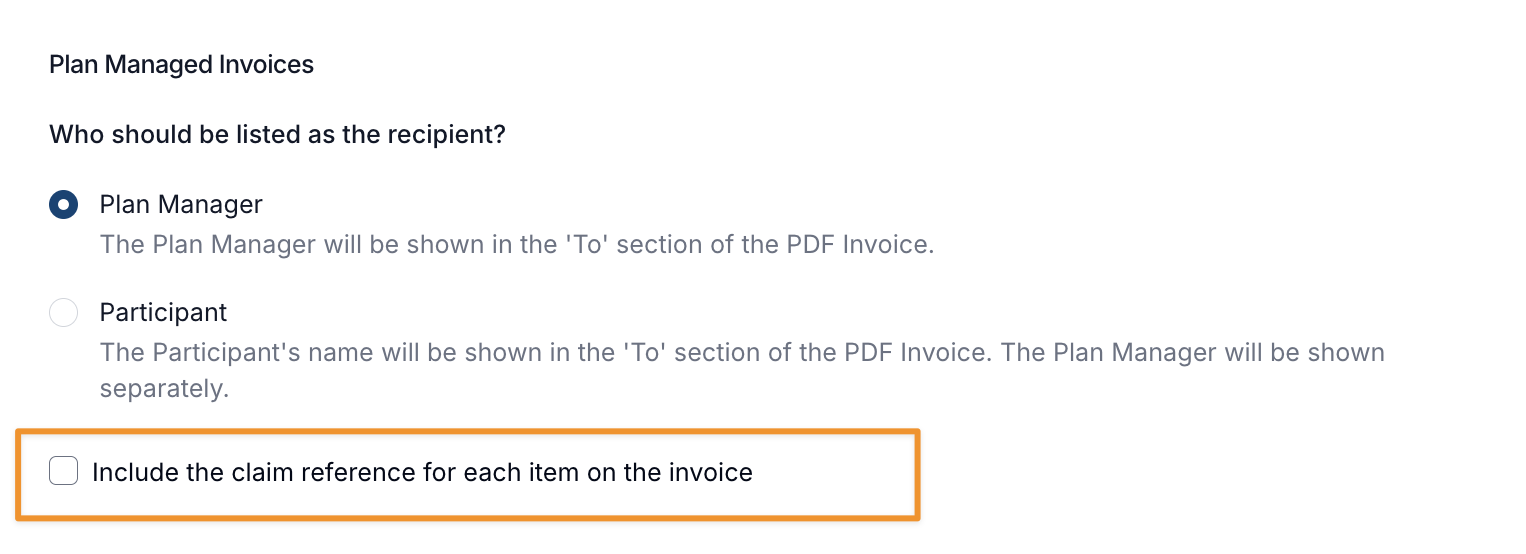
Adding Claim References to Invoices
When billing for tasks, it's common for tasks to have the same billable time and line item code. This can make them hard to distinguish on the invoice, leading plan managers to sometimes mistake these charges for errors or duplicate charges.
To address this issue, Astalty has created a setting that allows you to add a unique 'claim reference' to each item on the invoice. This helps differentiate between similar-looking charges, making the invoice clearer and reducing the likelihood of misunderstandings. For more information click here for the dedicated user guide article.
Invoice Splitting
This setting allows Providers to automatically separate invoices where charges span different plan dates or funding period boundaries, removing the need for manual invoice batch separation.
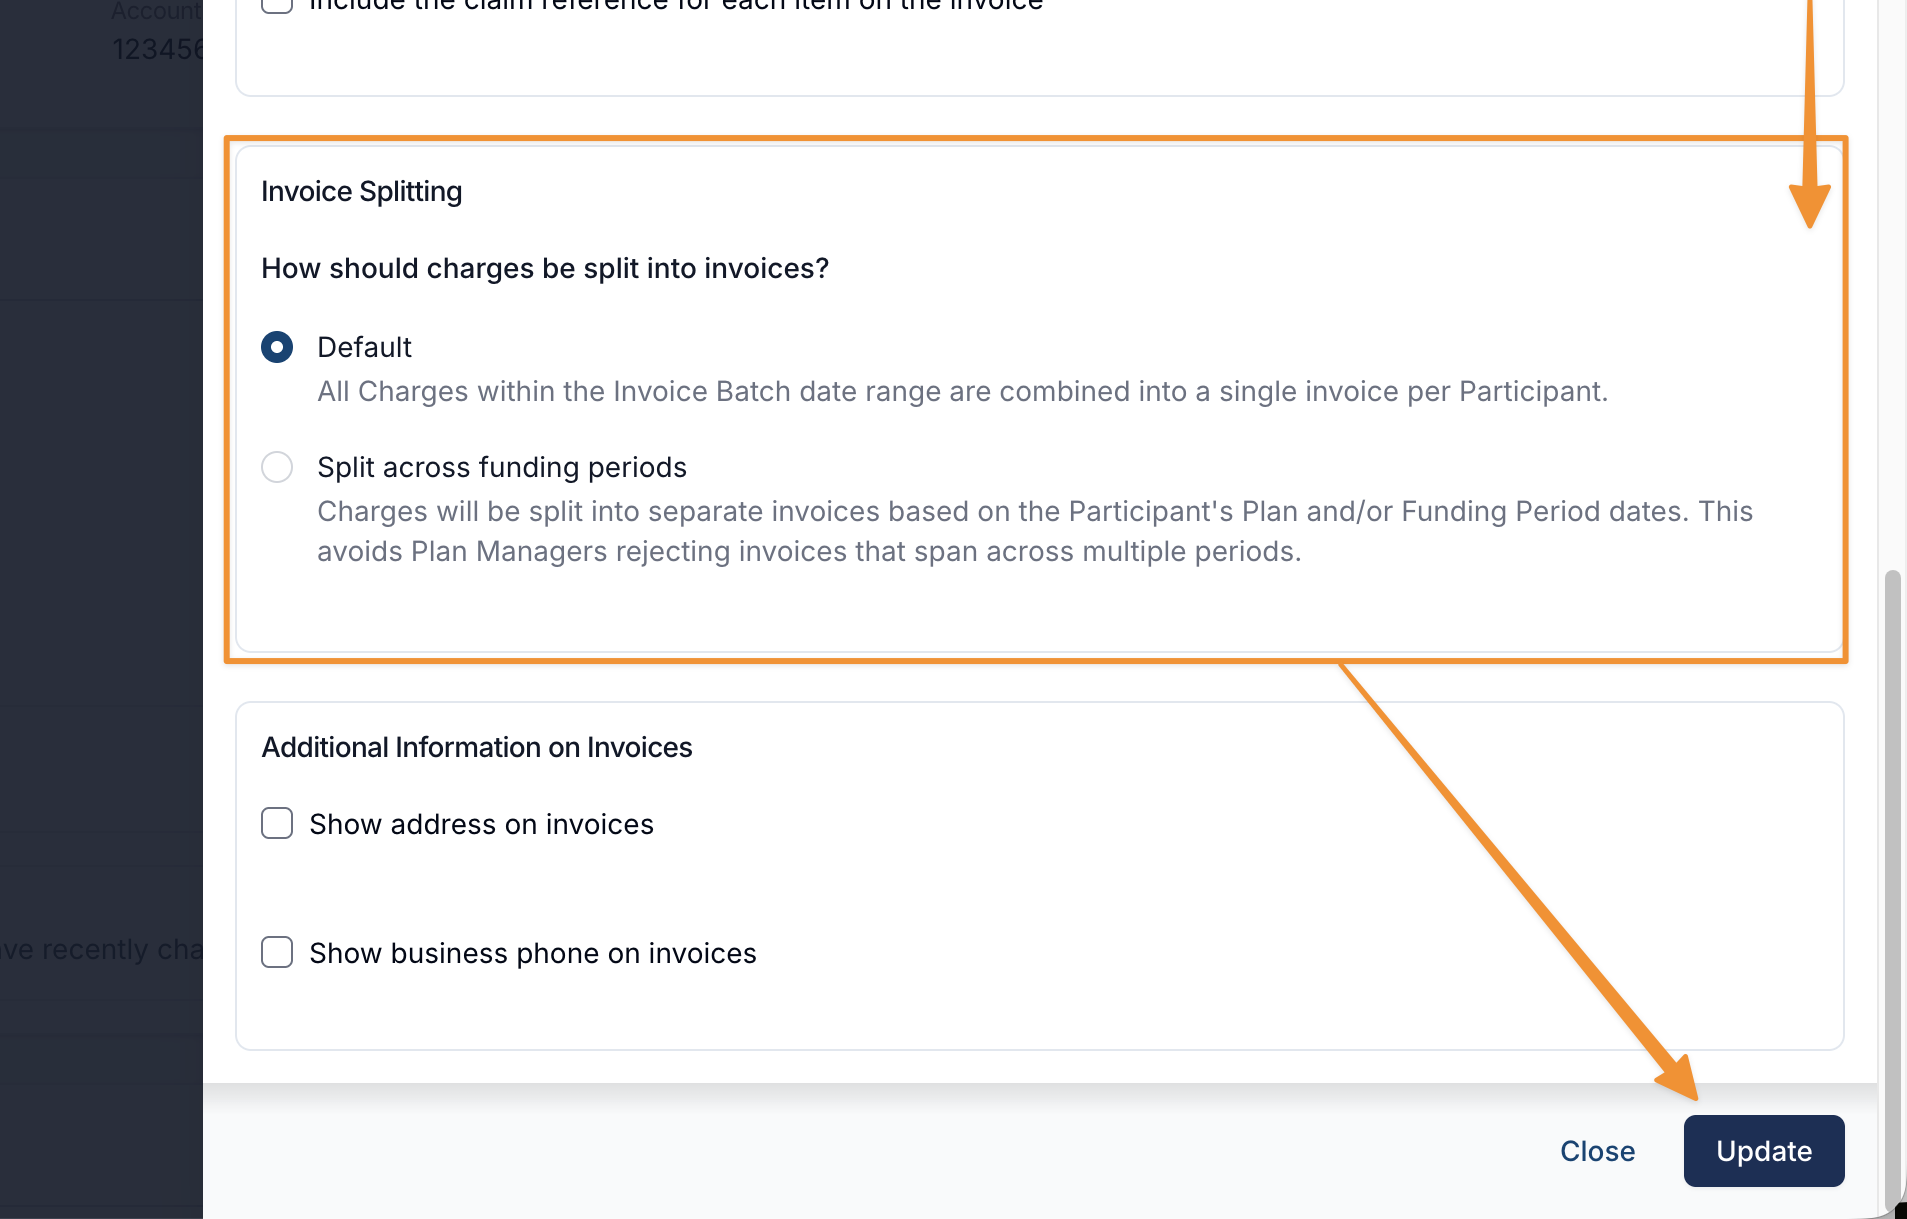
Default Behaviour
By default, Astalty generates one invoice per management type per Participant when an Invoice Batch is finalised.
Example:
Participant: John Doe
- Plan 1: 01/01/2025 – 31/12/2025
- Plan 2: 01/01/2026 – 31/12/2026
If an Invoice Batch is created for the period:
- 29/12/2025 – 11/01/2026
The generated invoice will include charges that fall under both Plan 1 and Plan 2. As a result, John’s Plan Manager (PM) will receive a single invoice covering charges across two different plan periods.
Split Across Funding Periods
With the Split across funding periods option enabled, Astalty will automatically separate invoices based on plan or funding period boundaries.
Using the example above, two invoices would be generated automatically removing the need to manually create separate invoice batches:
- One invoice for charges under Plan 1
- One invoice for charges under Plan 2
This setting also applies to NDIS Plan Funding Periods within a single Plan. If selected, Astalty will automatically generate:
- One invoice for charges within Funding Period 1
- One invoice for charges within Funding Period 2
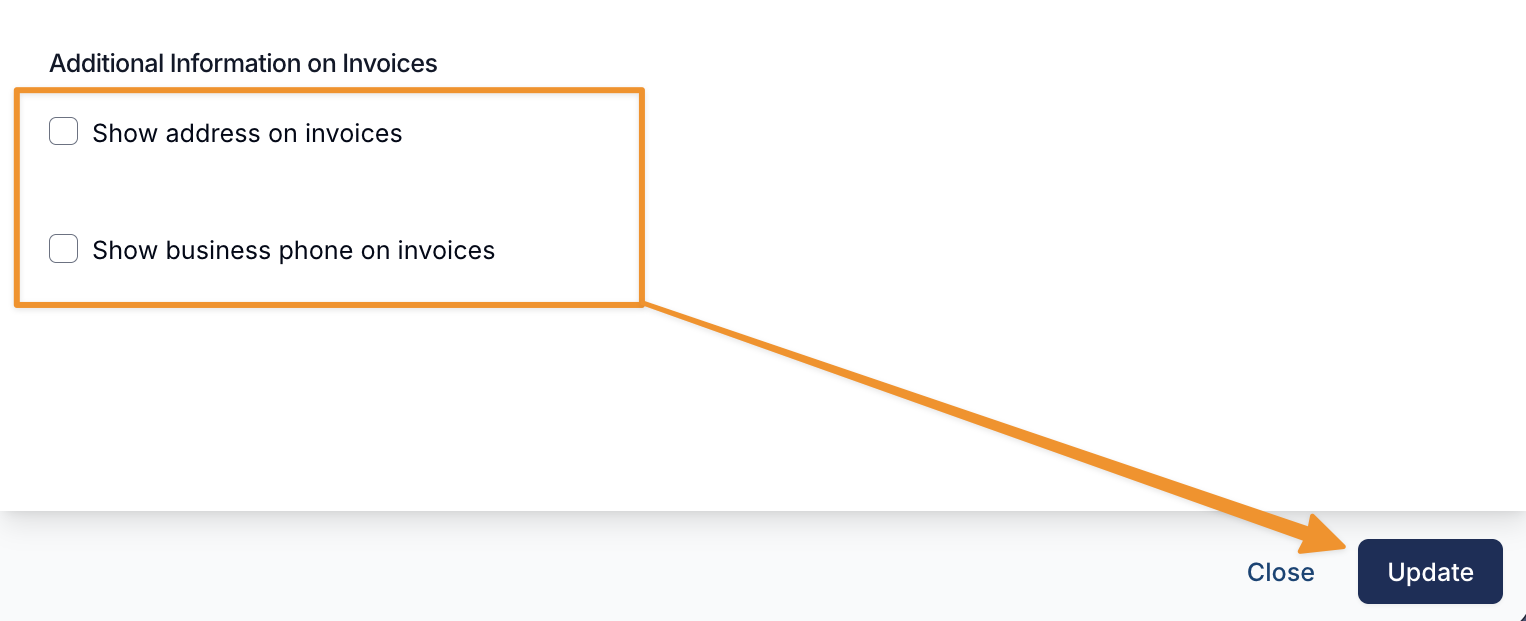
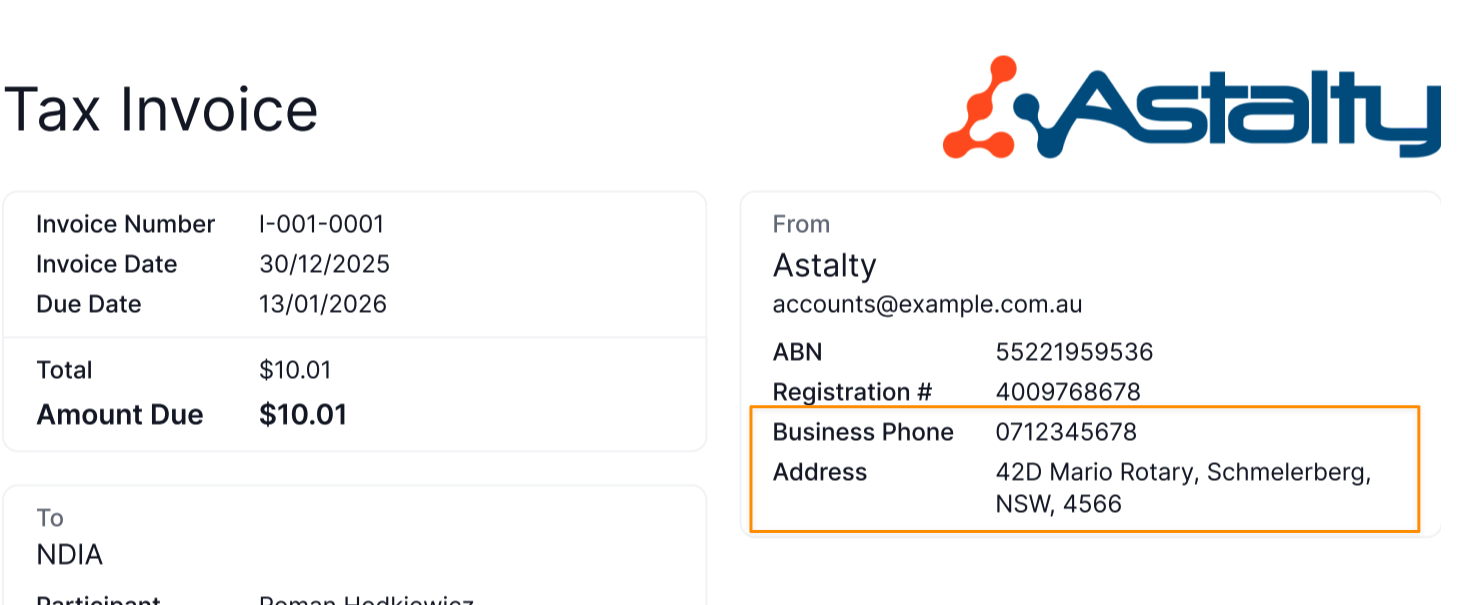
Additional Information on Invoices
Some invoice recipients may require your business address or phone to be included on invoices before processing. if this is required, then use one or both of the following options:
- Show address on invoices, and
- Show business phone on invoices.
Other Invoice Settings
Adding Participant Address details to Invoice
You can now add participant home address to invoices. For more information on this process click here for the dedicated user guide article.
Updating Invoice Recipient Information
If your plan manager asks you for the participant to be the recipient of the invoice and not them, that is not a problem. In Astalty, changing the recipient of an invoice is as easy fix. For a guide through this process click here for the dedicated user guide article.
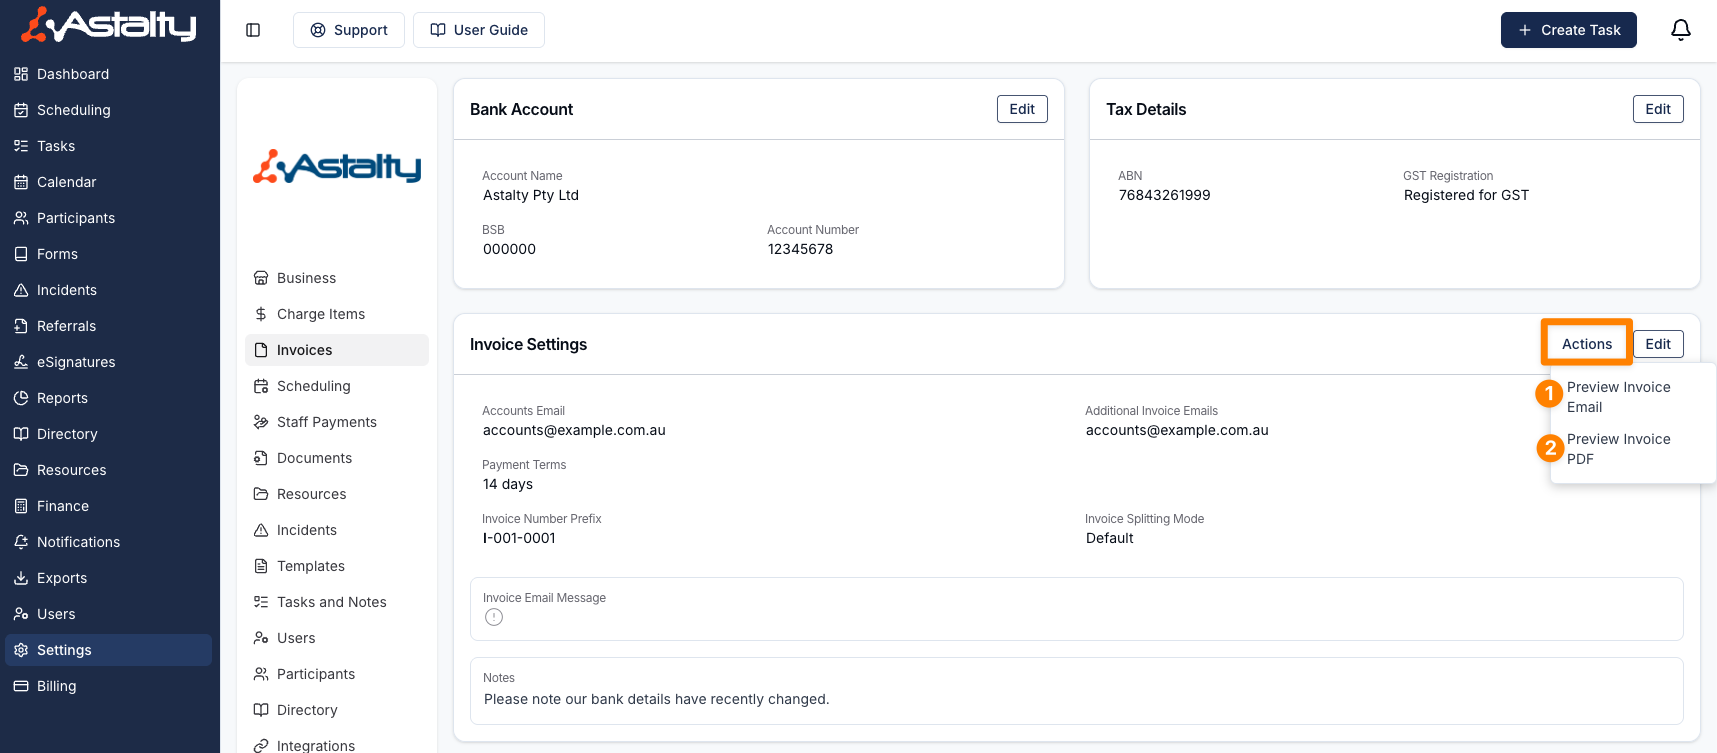
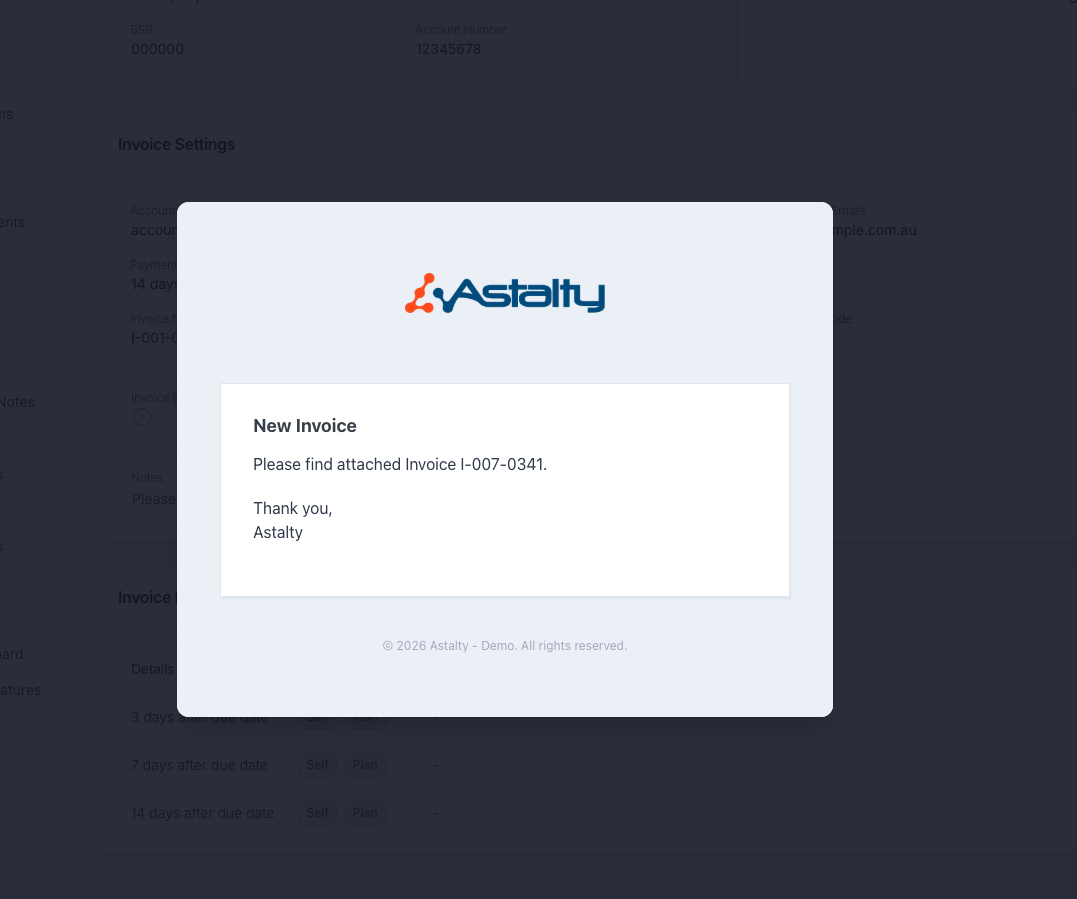
Preview Options
To preview how your invoices and invoice email will appear.
- Select Actions
- Click on the relevant preview option.
This allows you to review both the invoice layout and the email content before sending.