- Users
- Inviting Users
Inviting Users
Overview
This user guide article outlines the process of inviting a new user and defining different user types. This can be done from the Users menu by an Admin user.
User Types: Standard Users vs Support Worker Users
Astalty supports different user types depending on how staff interact with the platform.
Standard Users
Standard users access Astalty via the web-based platform.
This includes roles such as:
- Support Coordinators
- Allied Health staff
- Administration staff
- Rostering Coordinators
Standard users have broader access to features such as scheduling, tasks, participant records, and reporting.
Support Worker Users
Support worker users primarily access Astalty via the mobile app.
They use the app to:
- View their assigned shifts
- Clock in and out of support shifts
- Record case notes and shift information
Support worker users have limited access compared to standard users, with permissions focused on completing their assigned support work.
Inviting a New User
To add a New User, head to the left-hand side menu and then head to the 'Users' section, which is toward the bottom of the menu.
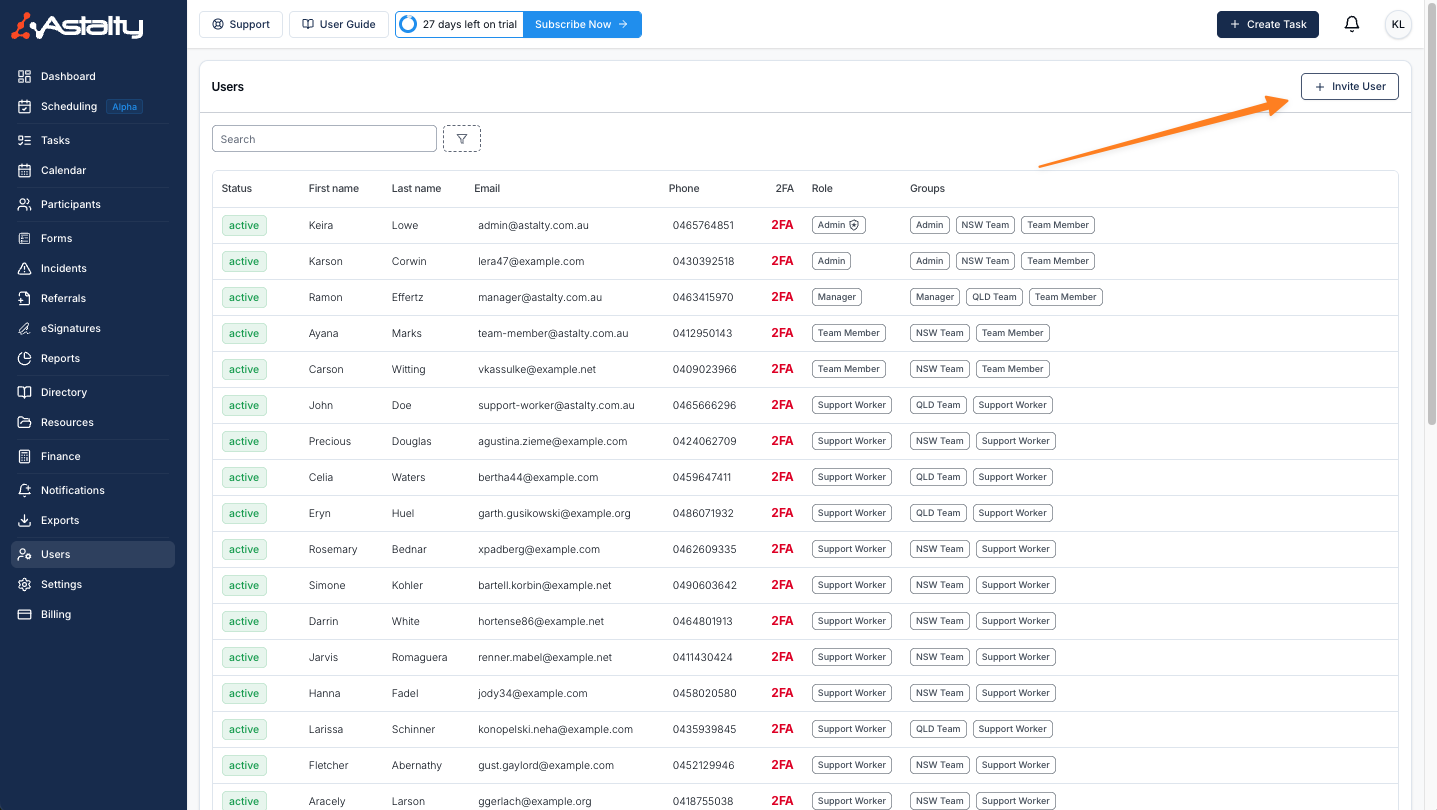
Once you're in the User section, follow these steps to invite a new user:
- Invite User Button: Click on the 'Invite User' button. This will open a form to enter the new user's details.
- Required fields: You must add the following in order for a User to be created; including;
- First name
- Last name
Other Fields
The following fields are optional.
External ID
You can use this field to store an external reference to your User. For example, they may have a reference or ID in your HR software or from your previous system. Astalty does not use this field internally, but it can be included in User-related exports.
Mobile
Currently, the mobile number is for your own storage purposes; however, in the future, when Astalty supports SMS notifications, this will be the phone number we use to notify Users.
Billable Target
This is the number of hours that this User should be billing each week - Astalty uses this in all KPI reporting.
Invitation Link
Once you have filled in the required fields, the User will receive an invitation link to your organisation.
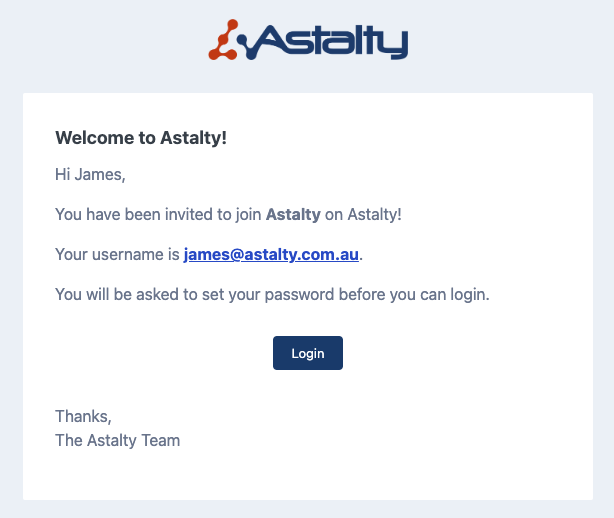
Logging In
Once a User is invited and clicks on the Login button in the email, they'll be taken to a page where they can set their password. They will then automatically be logged in.
Expired or Lost Invitation Links
If the invitation link has expired, the User did not receive or has lost their invitation link, you can resend the invite link by clicking on their profile from the Users page and clicking on Resend Invite Link.
Default User Role
All new Users are automatically created as a Team Member. You can update their role once they have been created. You can learn more about User Groups and Roles here.
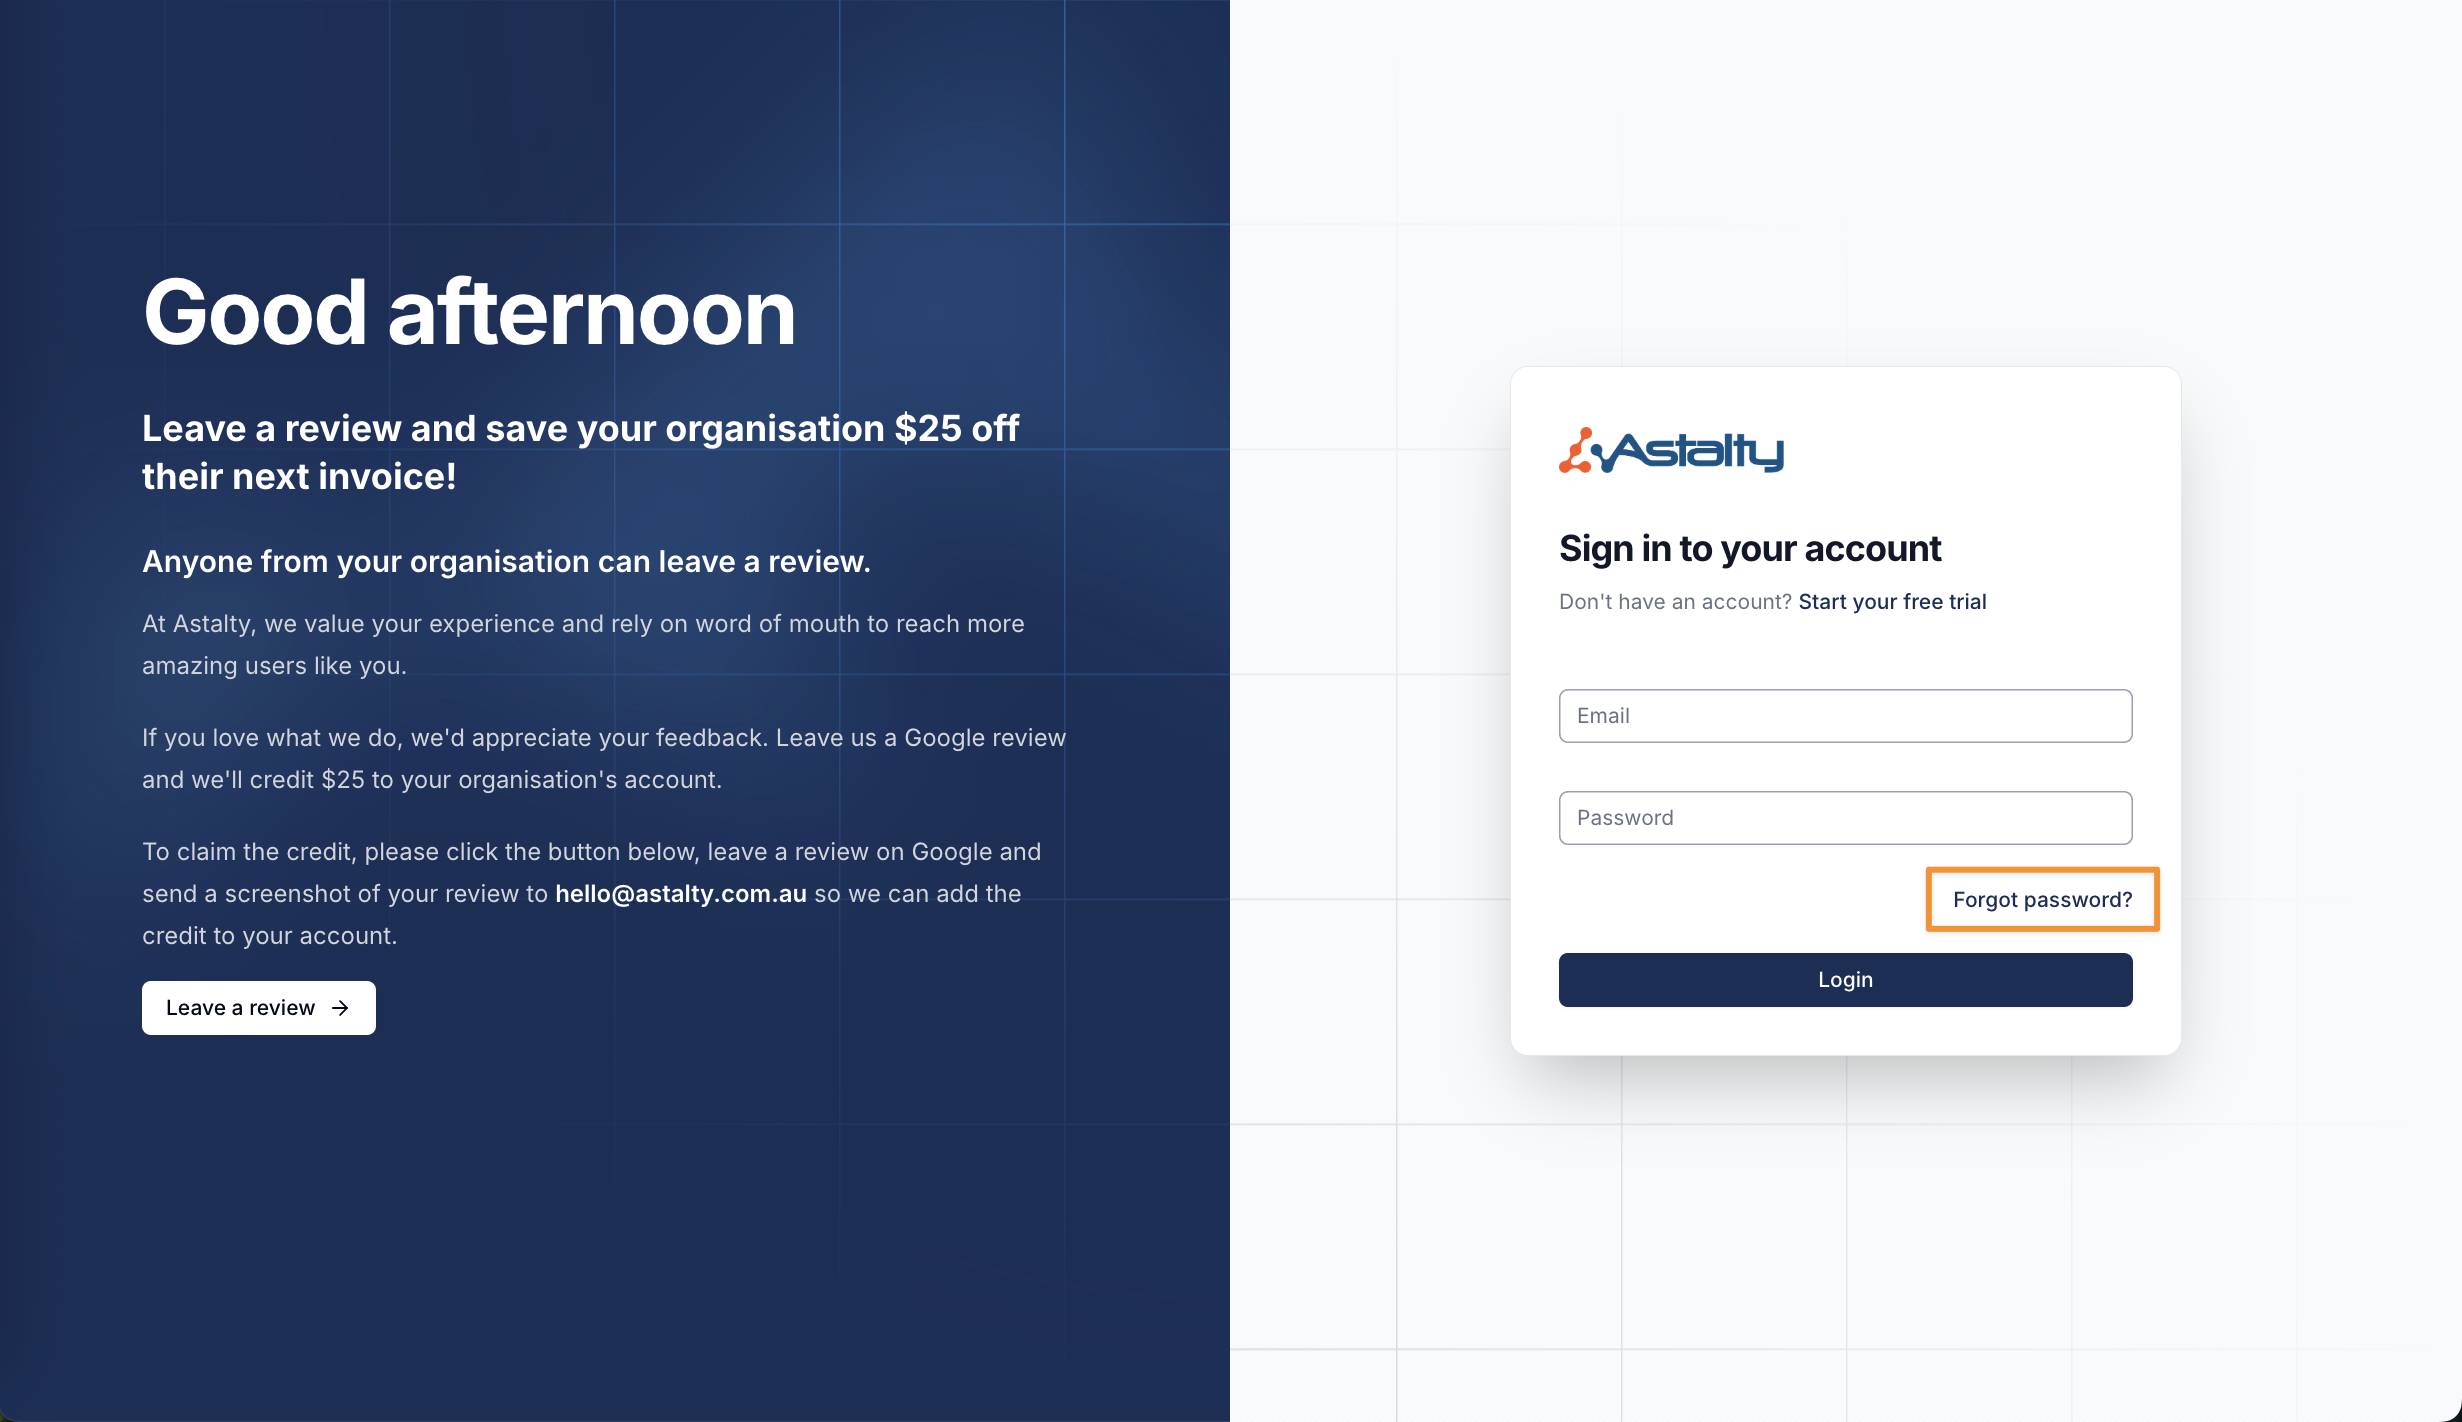
Locked Account?
If you get locked out of your account, you will need to reset your password to unlock your account. To do this click the Forgot Password? option on the log in screen (or click here) and follow the prompts to reset your password.
Auditor Access
If you need to grant an auditor access to your Astalty account, we’ve created a dedicated guide to help you manage the process. Click here to learn more.