- Administration
- Directory
- Plan Managers
Plan Managers
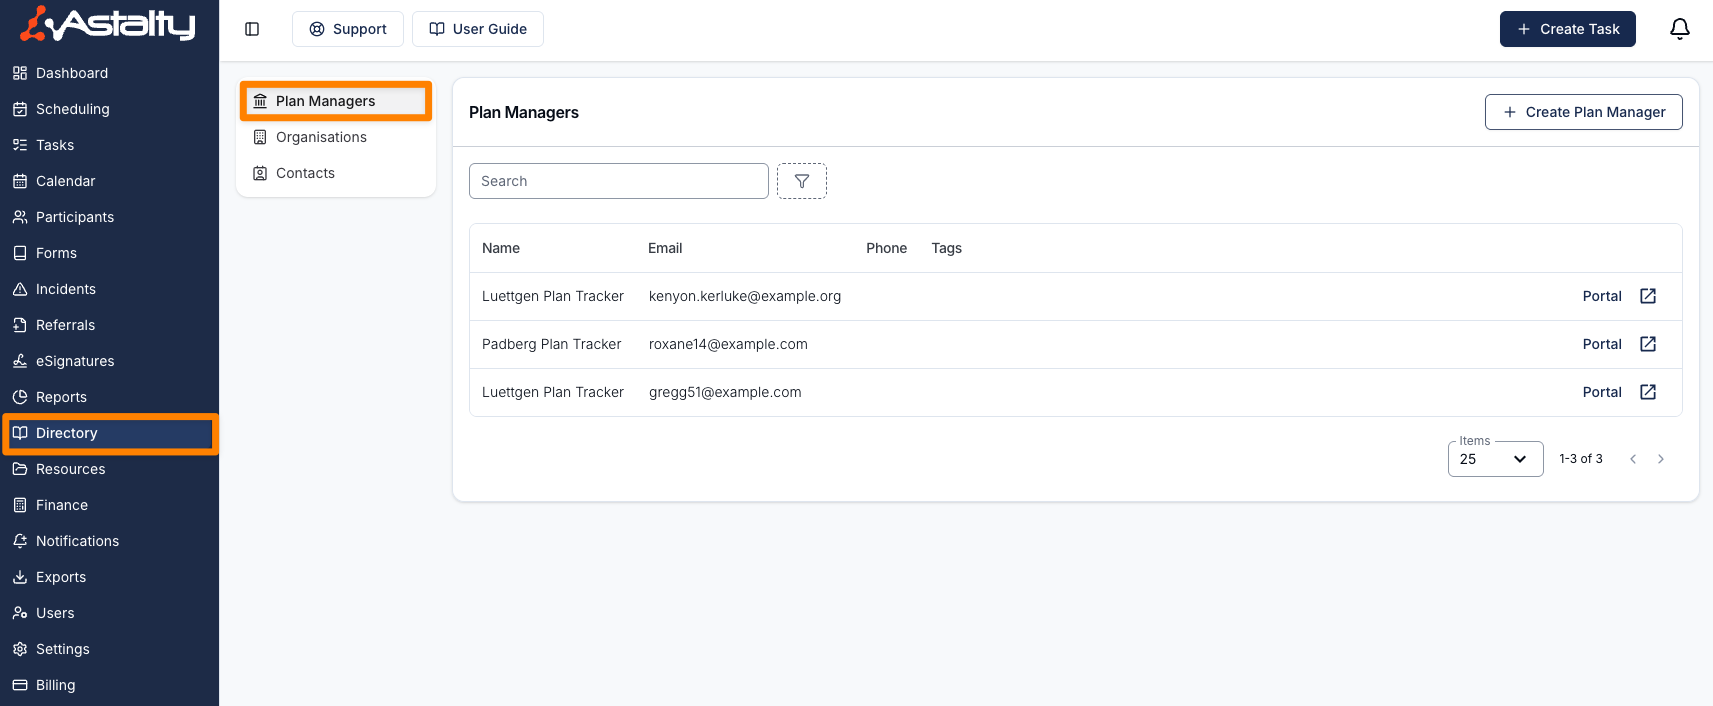
To manage Plan Managers, navigate to the Directory page within Astalty. By default, this Directory opens to Plan Managers, however, if you navigate to Contacts or Organisations, you can simply select Plan Managers from the sub-menu to return to this Directory.
Creating Plan Managers
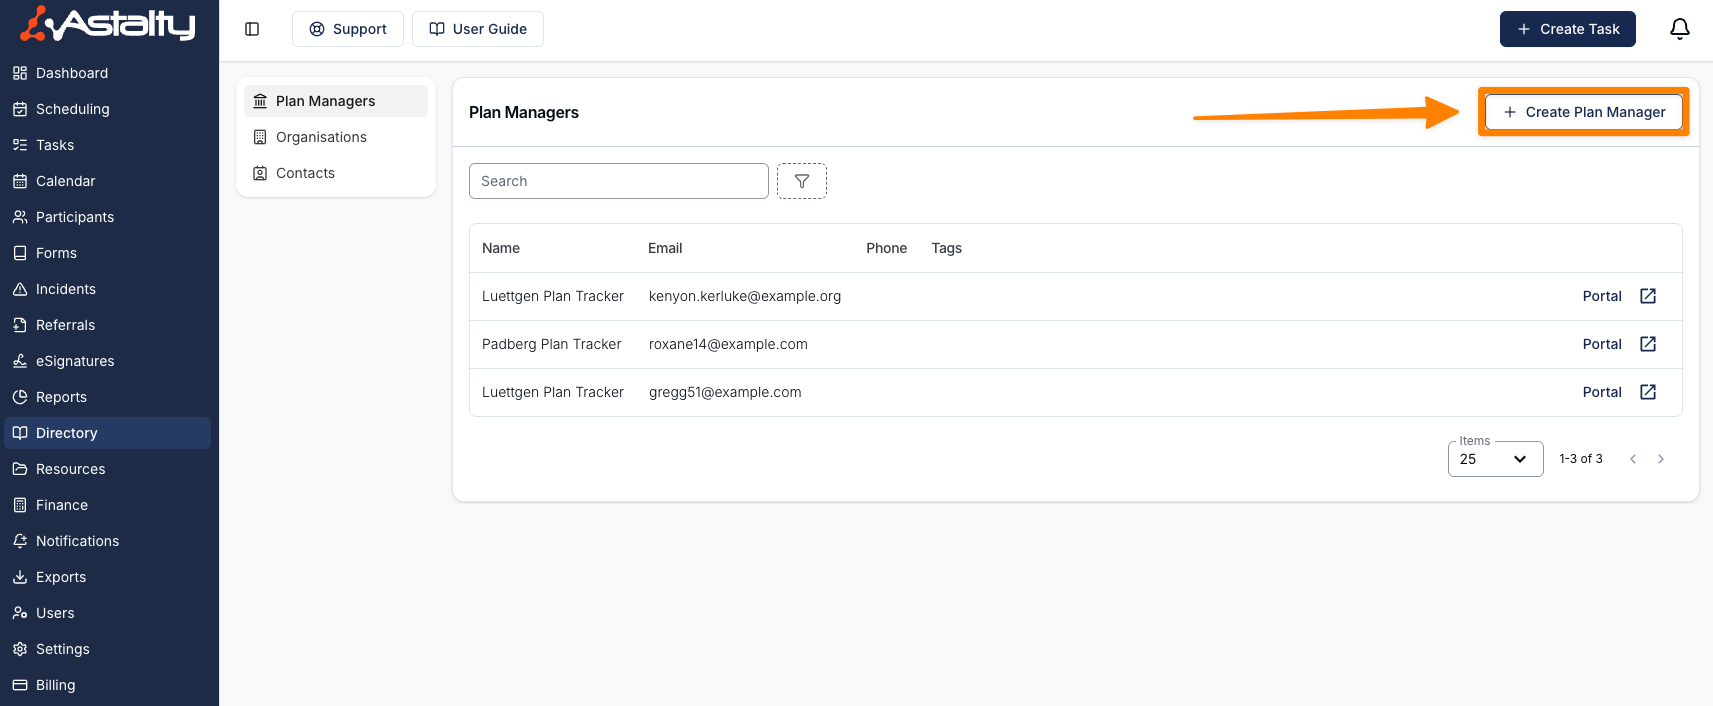
On the Plan Managers page within the Directory, click on the Create Plan Manager button.
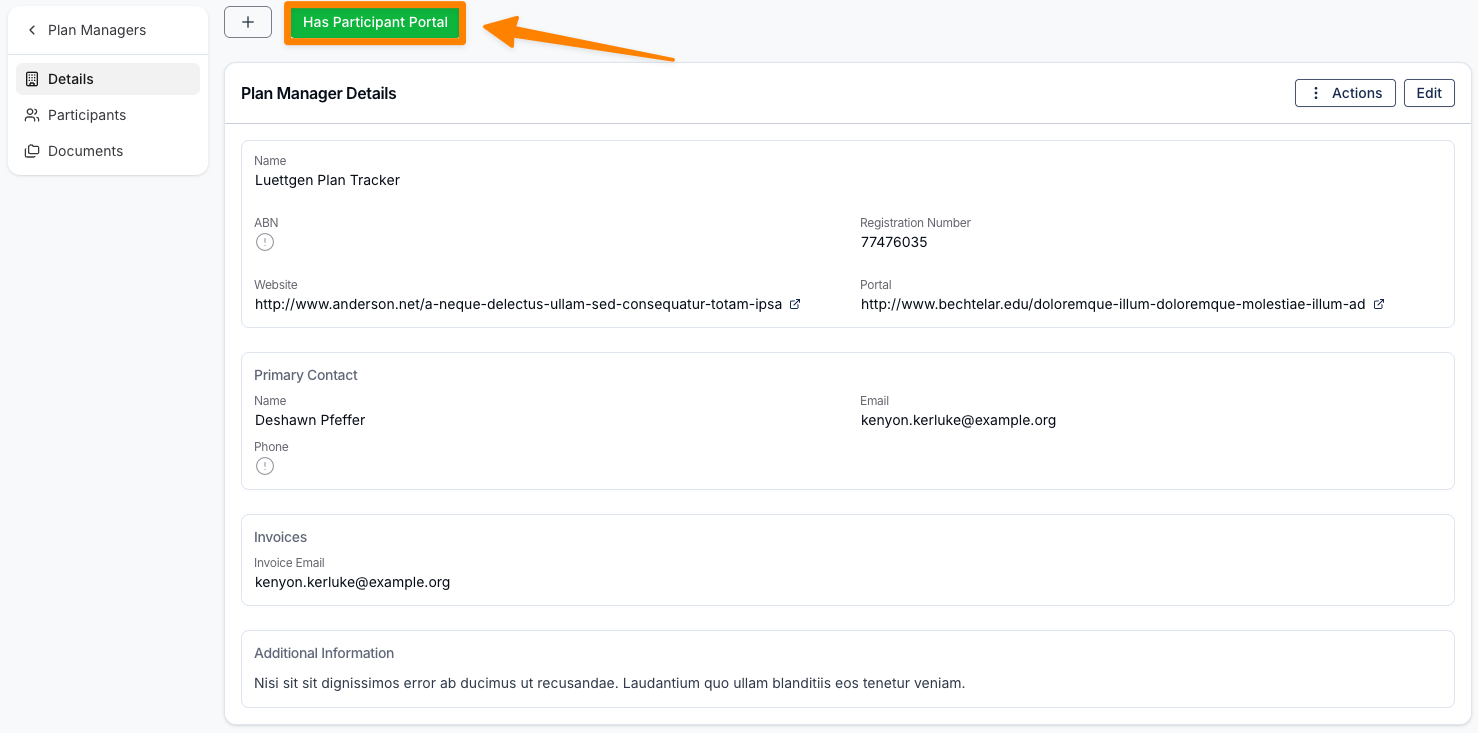
Plan Manager Details
Within the Plan Manager form, you should enter as much detail as possible however only 2 fields are required;
- Name
- Invoice email
All fields and their purpose are outlined below;
Name
The official name of the Plan Manager.
ABN
Australian Business Number.
Registration Number
The Plan Managers NDIS Registration Number.
Website
The Plan Manager's website (if available).
Portal link
The URL of the Plan Manager's login portal for easy access.
Primary Contact Details
Include the first name, last name, contact email, mobile, and phone number.
Invoice Details
Invoice Email
The email address where Astalty should send invoices for this Plan Manager.
Additional Invoice Emails
If there is another destination that should receive invoices for this Plan Manager, you can enter it in here.
Additional Information
Record any relevant information about the Plan Manager in this space.

Linking Plan Managers to Participants
You can associate Plan Managers to Participants within the Participant's Financial page. Click here to learn more about how to do this.
Email already exists error
If you try to create a Plan Manager and see the error "Another Plan Manager with this email already exists", you already have a Plan Manager with the same email. If you can't find the Plan Manager with the email you're trying to use, the Plan Manager may be archived. Refer to the section below about how to find archived Plan Managers and restore them.
Restoring Plan Managers
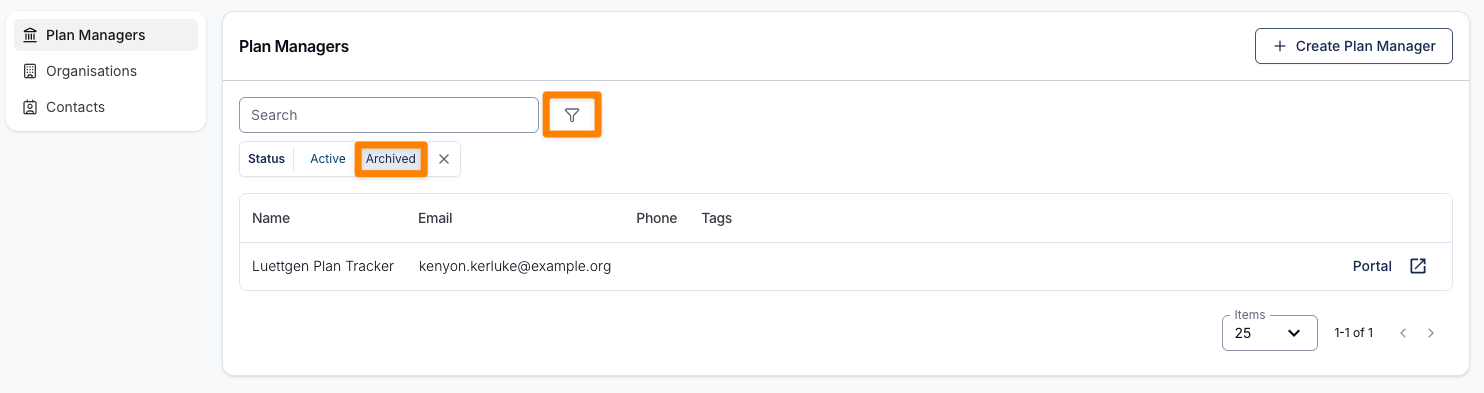
The first step when restoring a Plan Manager is to find them by adding a Status filter to the Plan Managers table as shown in the screenshot below.
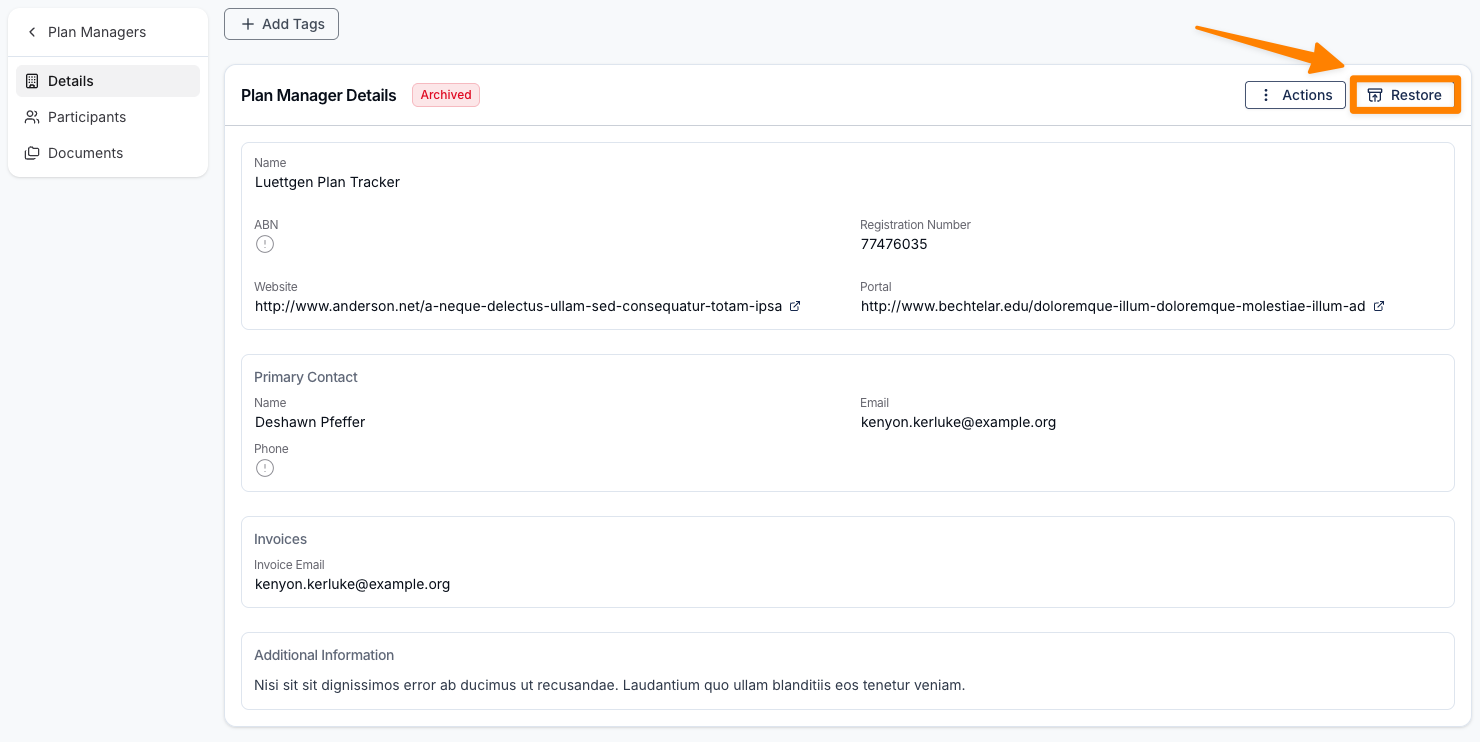
Once you have found them, click on the Plan Manager to open their profile, and click the Restore button.
Here is a video outlining this process:
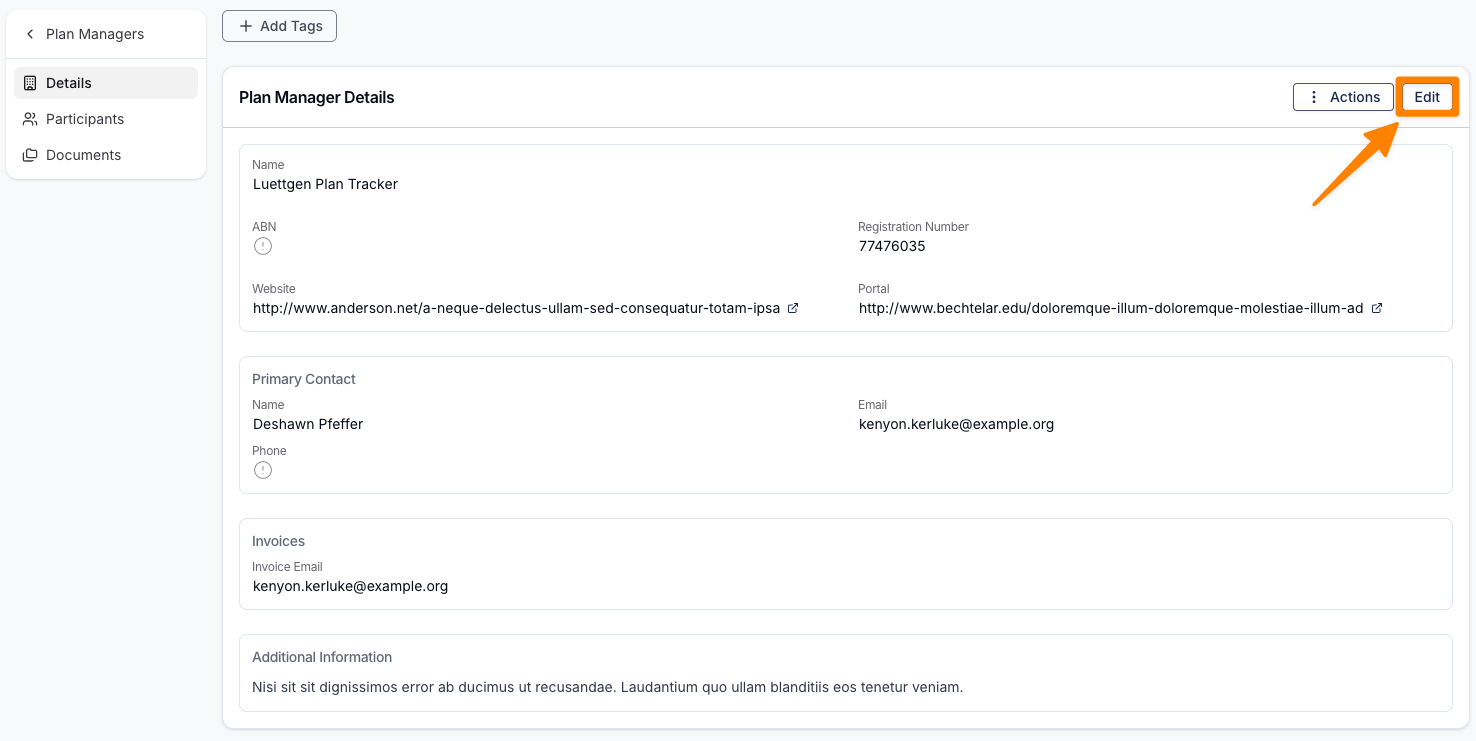
Editing a Plan Managers Details
To edit a Plan Managers details you will need to open the Plan Managers profile. Click on the Edit button to make changes.
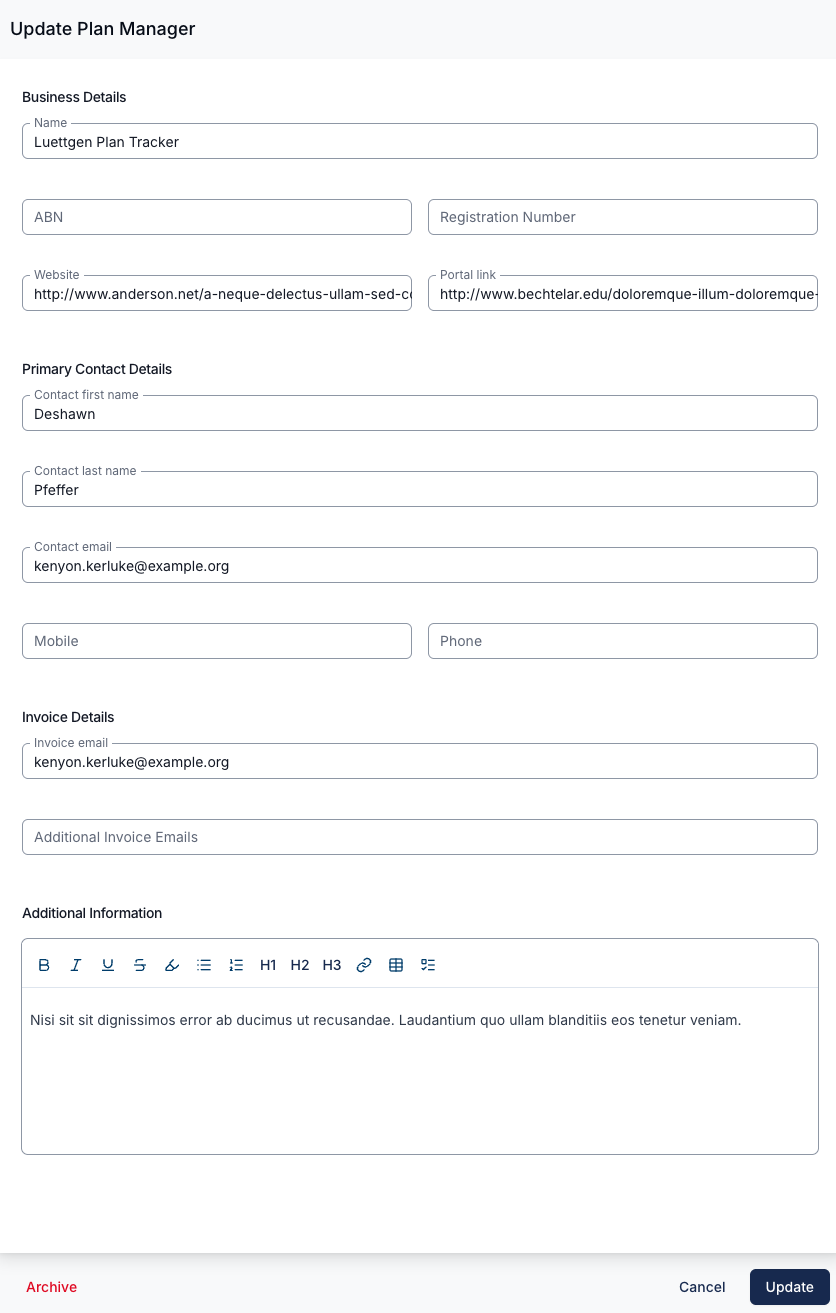
Once in this screen you can edit the following details;
- Business Details
- Primary Contact Details
- Invoice Details
- Additional Information
When changing a Plan Manager's details, you will now receive the prompt below confirming that you would like to continue with the change of details.

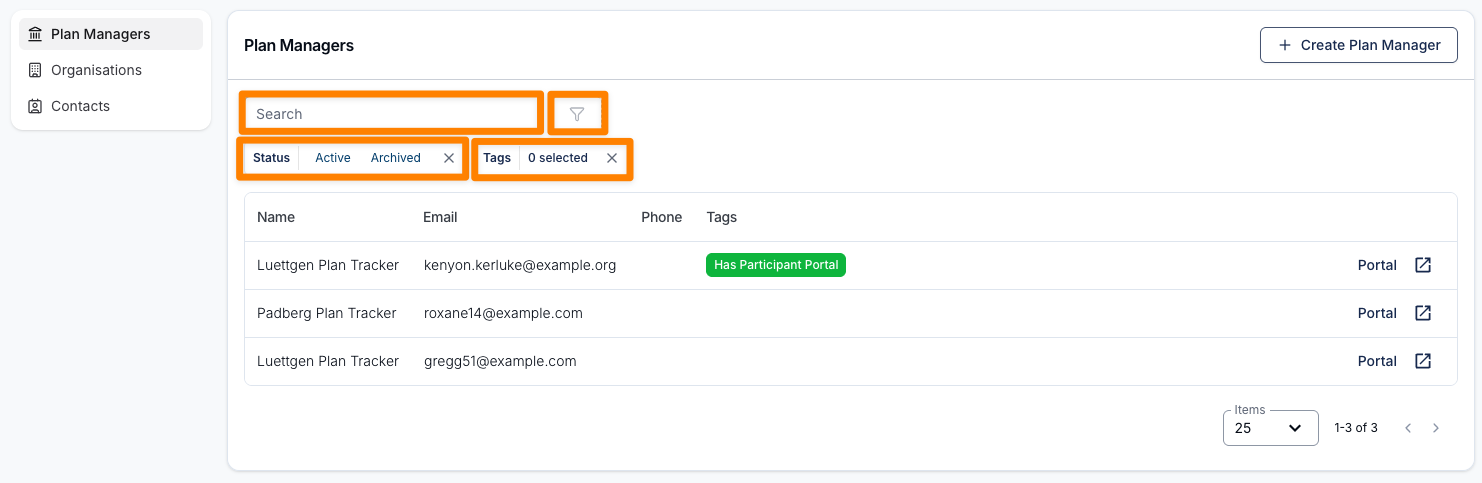
Searching for Plan Managers
There are several options to search for Plan Managers (in addition to the Status filter to find Archived Plan Managers).
Search Bar — Allows you to search by Plan Manager Name
Filters — Allows you to filter by Status (see Restoring Plan Managers above), and by Tags
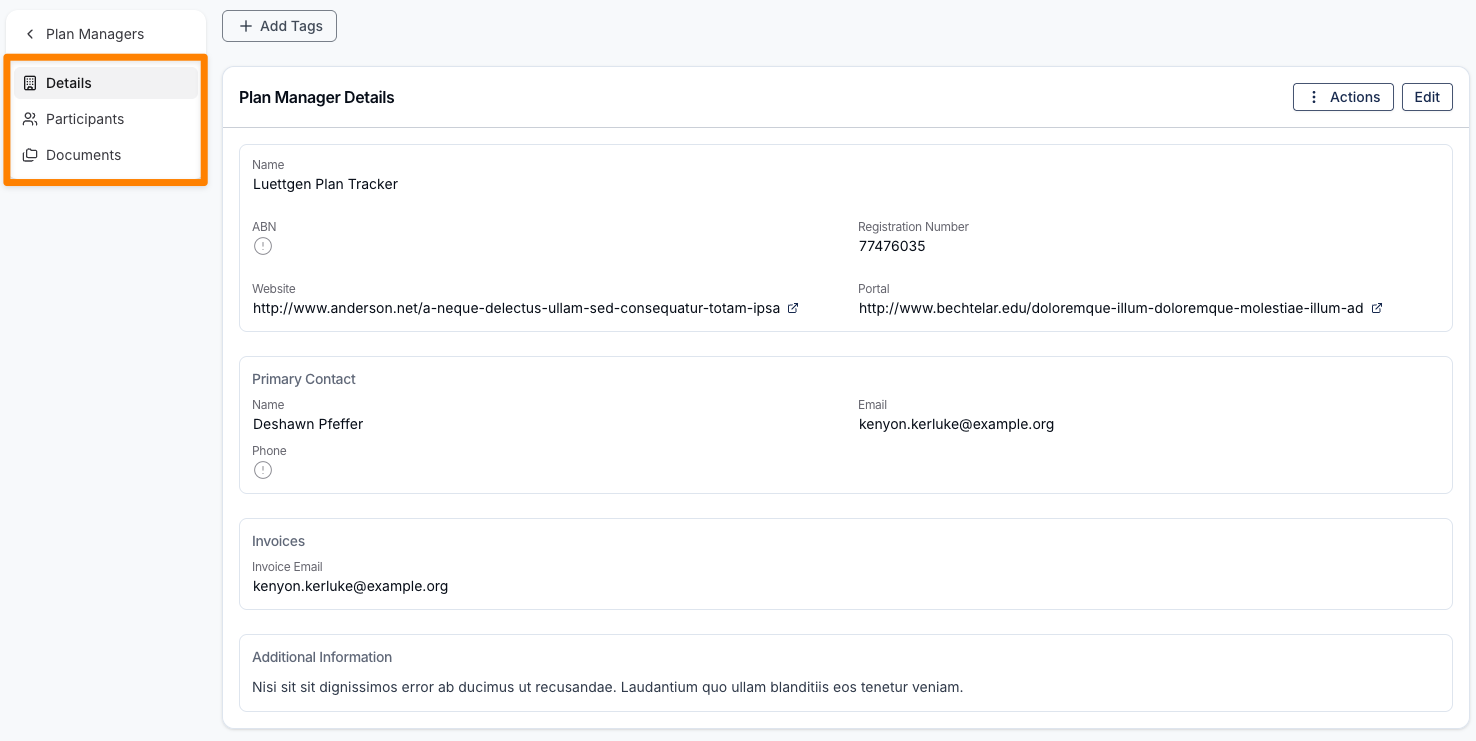
Additional Directory Functions
When you open a Plan Managers profile, you will notice there are several sub-menu options including Details (landing page), Participants, and Documents.
Details
In addition to the functions listed above, you can also add Tags to Plan Managers to assist with filtering (learn more about Plan Manager Tags here).
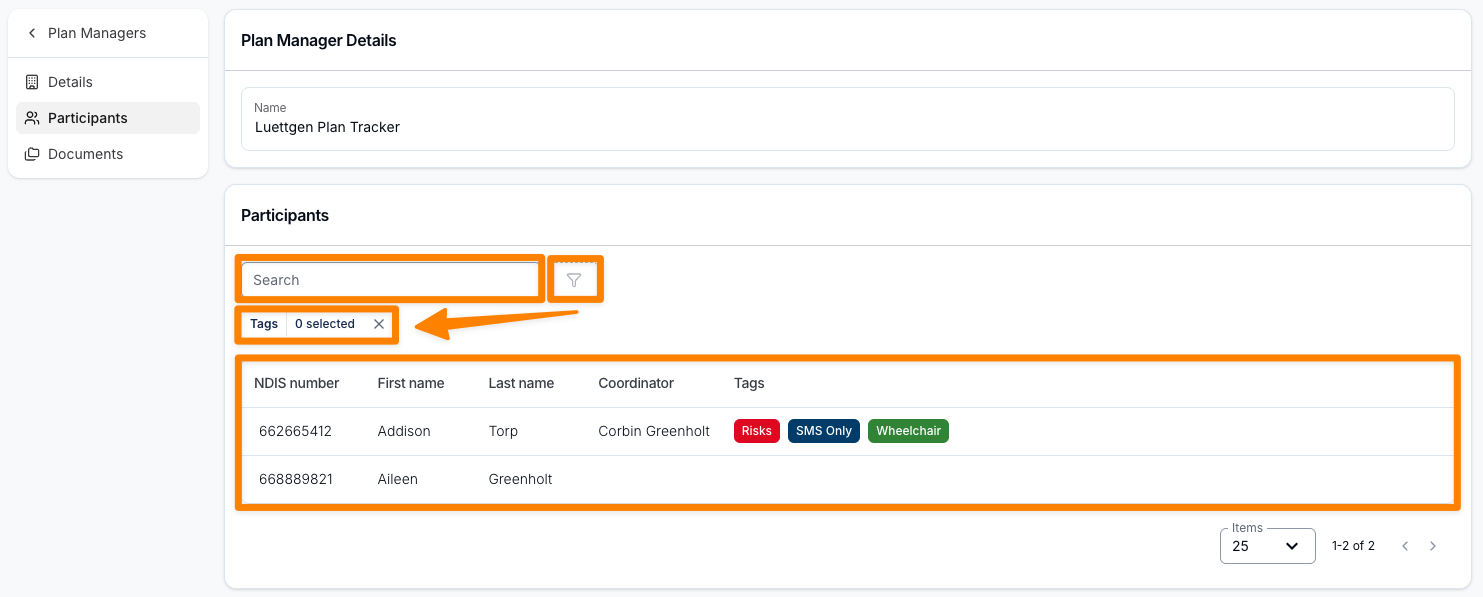
Participants
The Participants tab shows all Participants directly linked to the Plan Manager. For more information on linking Contacts to Plan Managers, click here. We also have a helpful video walk-through at the bottom of this guide that explains the steps to update a Participants Plan Manager.
You can search for Participants linked to the Plan Manager in the search bar, use the filter icon to narrow results to Tags, and you can open the Participant profile by selecting them from the list.
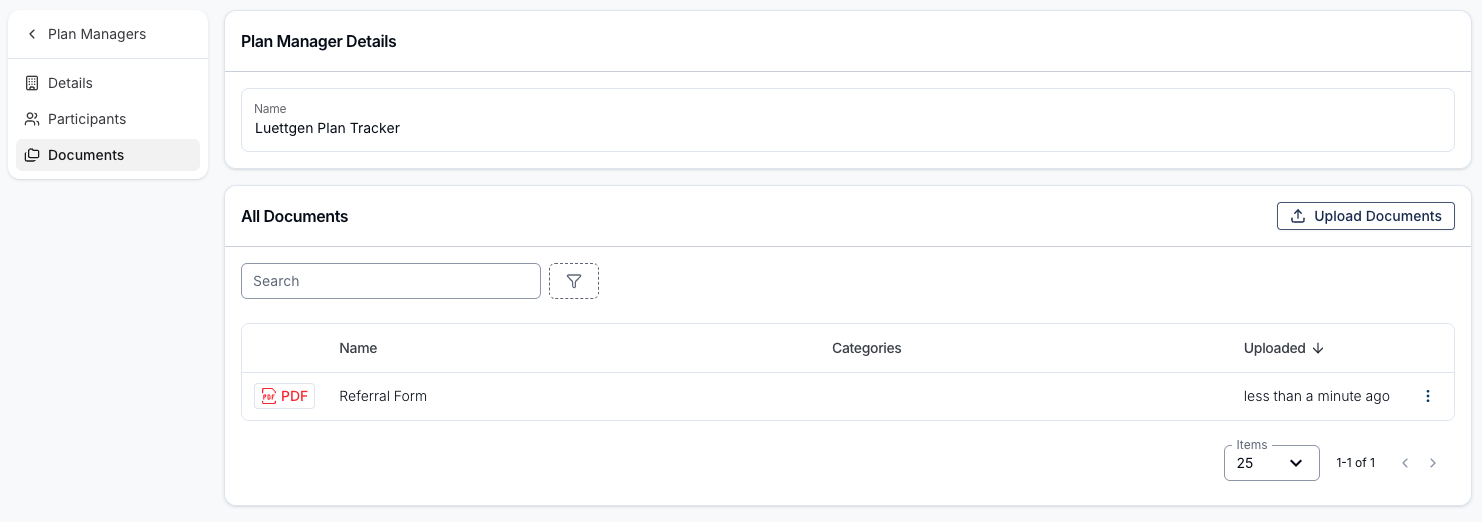
Documents
The Documents tab displays all documents uploaded to the Plan Manager. You can assign Categories to Documents — such as Flyers, Compliance, or *Referral Forms *— to help with filtering and organisation. There's more on Document Categories here.
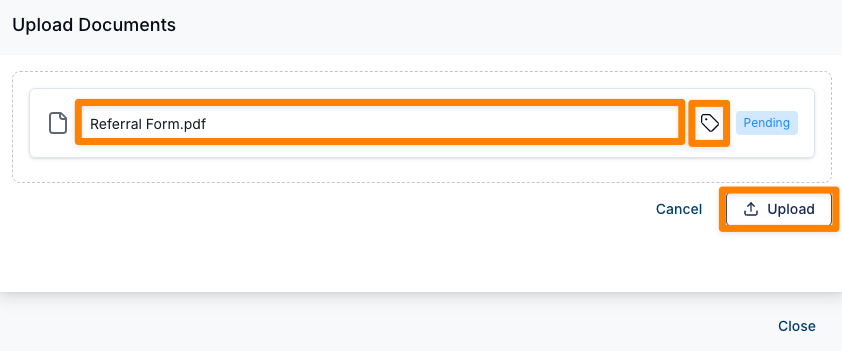
To upload a new document:
- Click Upload Documents.
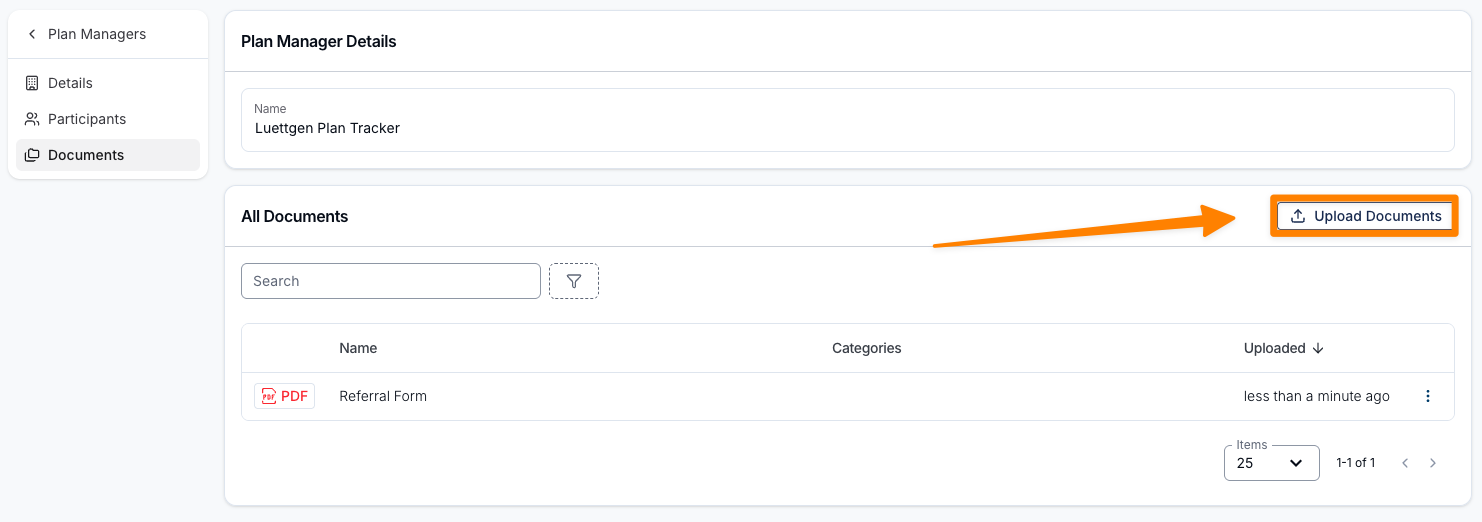
- Select the file and assign a Category (optional). Then click Upload.
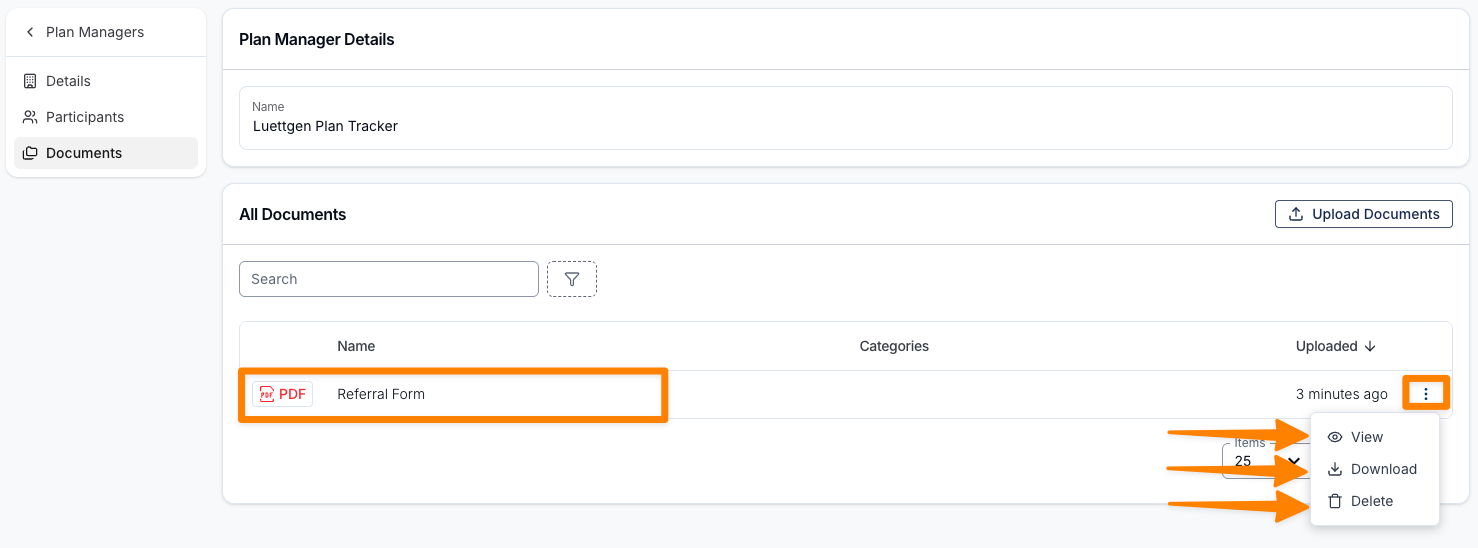
The uploaded Document will appear under All Documents. Use the three-dot menu to View, Download, or Delete the Document.
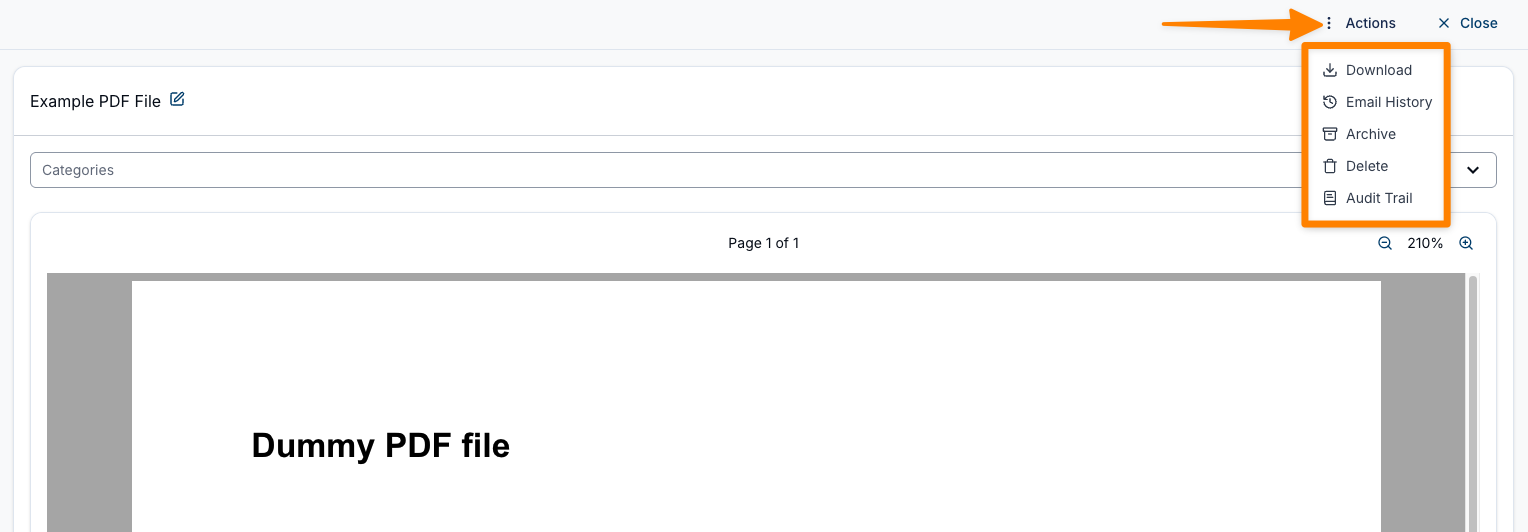
Clicking anywhere on the Document row will open it for viewing. Within the Document view, you can edit the file name, assign a Category, or select Actions for additional options:
- Downlaod
- Email History
- Archive
- Delete
- Audit Trail
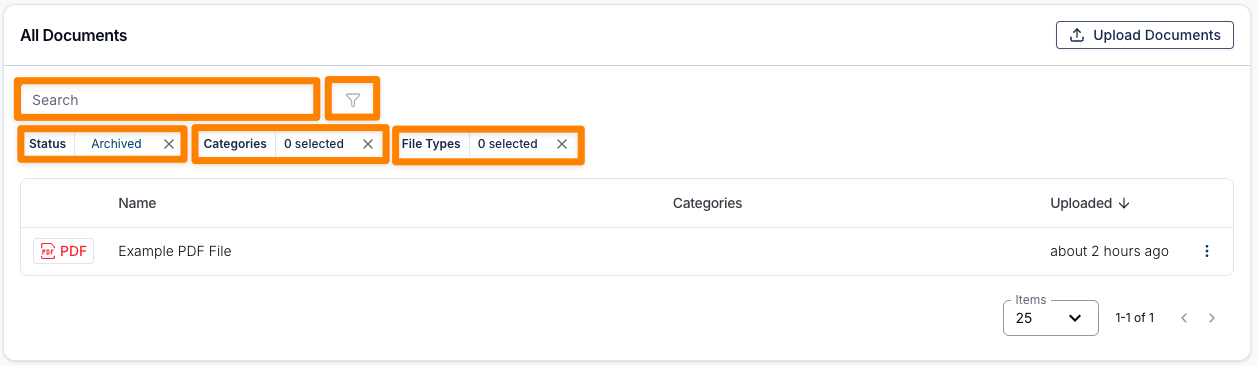
Use the search bar or the filter icon on the Documents page to locate Documents by Status (e.g., Archived), Categories, or File Type.
Updating a Participants Plan Manager
We have created a video guide on the process of how to update a participants plan manager.