- Scheduling
- Support Worker App Overview
Support Worker App Overview
Overview
This guide gives you a sense of the Support Worker App and the features within. It is intended as supplementary information to our other guide articles. Start with the video walkthrough below, then explore each feature.
Downloading the App
Support Workers install Astalty from the Apple App Store (iPhone/iPad) or Google Play (Android). Use these links when someone needs to install the app for the first time, or reinstall it after resetting access:
- Apple App Store - iPhone and iPad
- Google Play - Android
Search for Astalty in either store if you prefer not to use the links. The publisher should be Astalty Pty Ltd.
App Availability
App Store and Google Play availability depends on the country or region of the device's store account. If the store links do not offer the app, contact support@astalty.com.au to confirm availability for that region.
The browser version has separate access requirements. See Can I access Astalty from outside Australia?.
Viewing Shifts
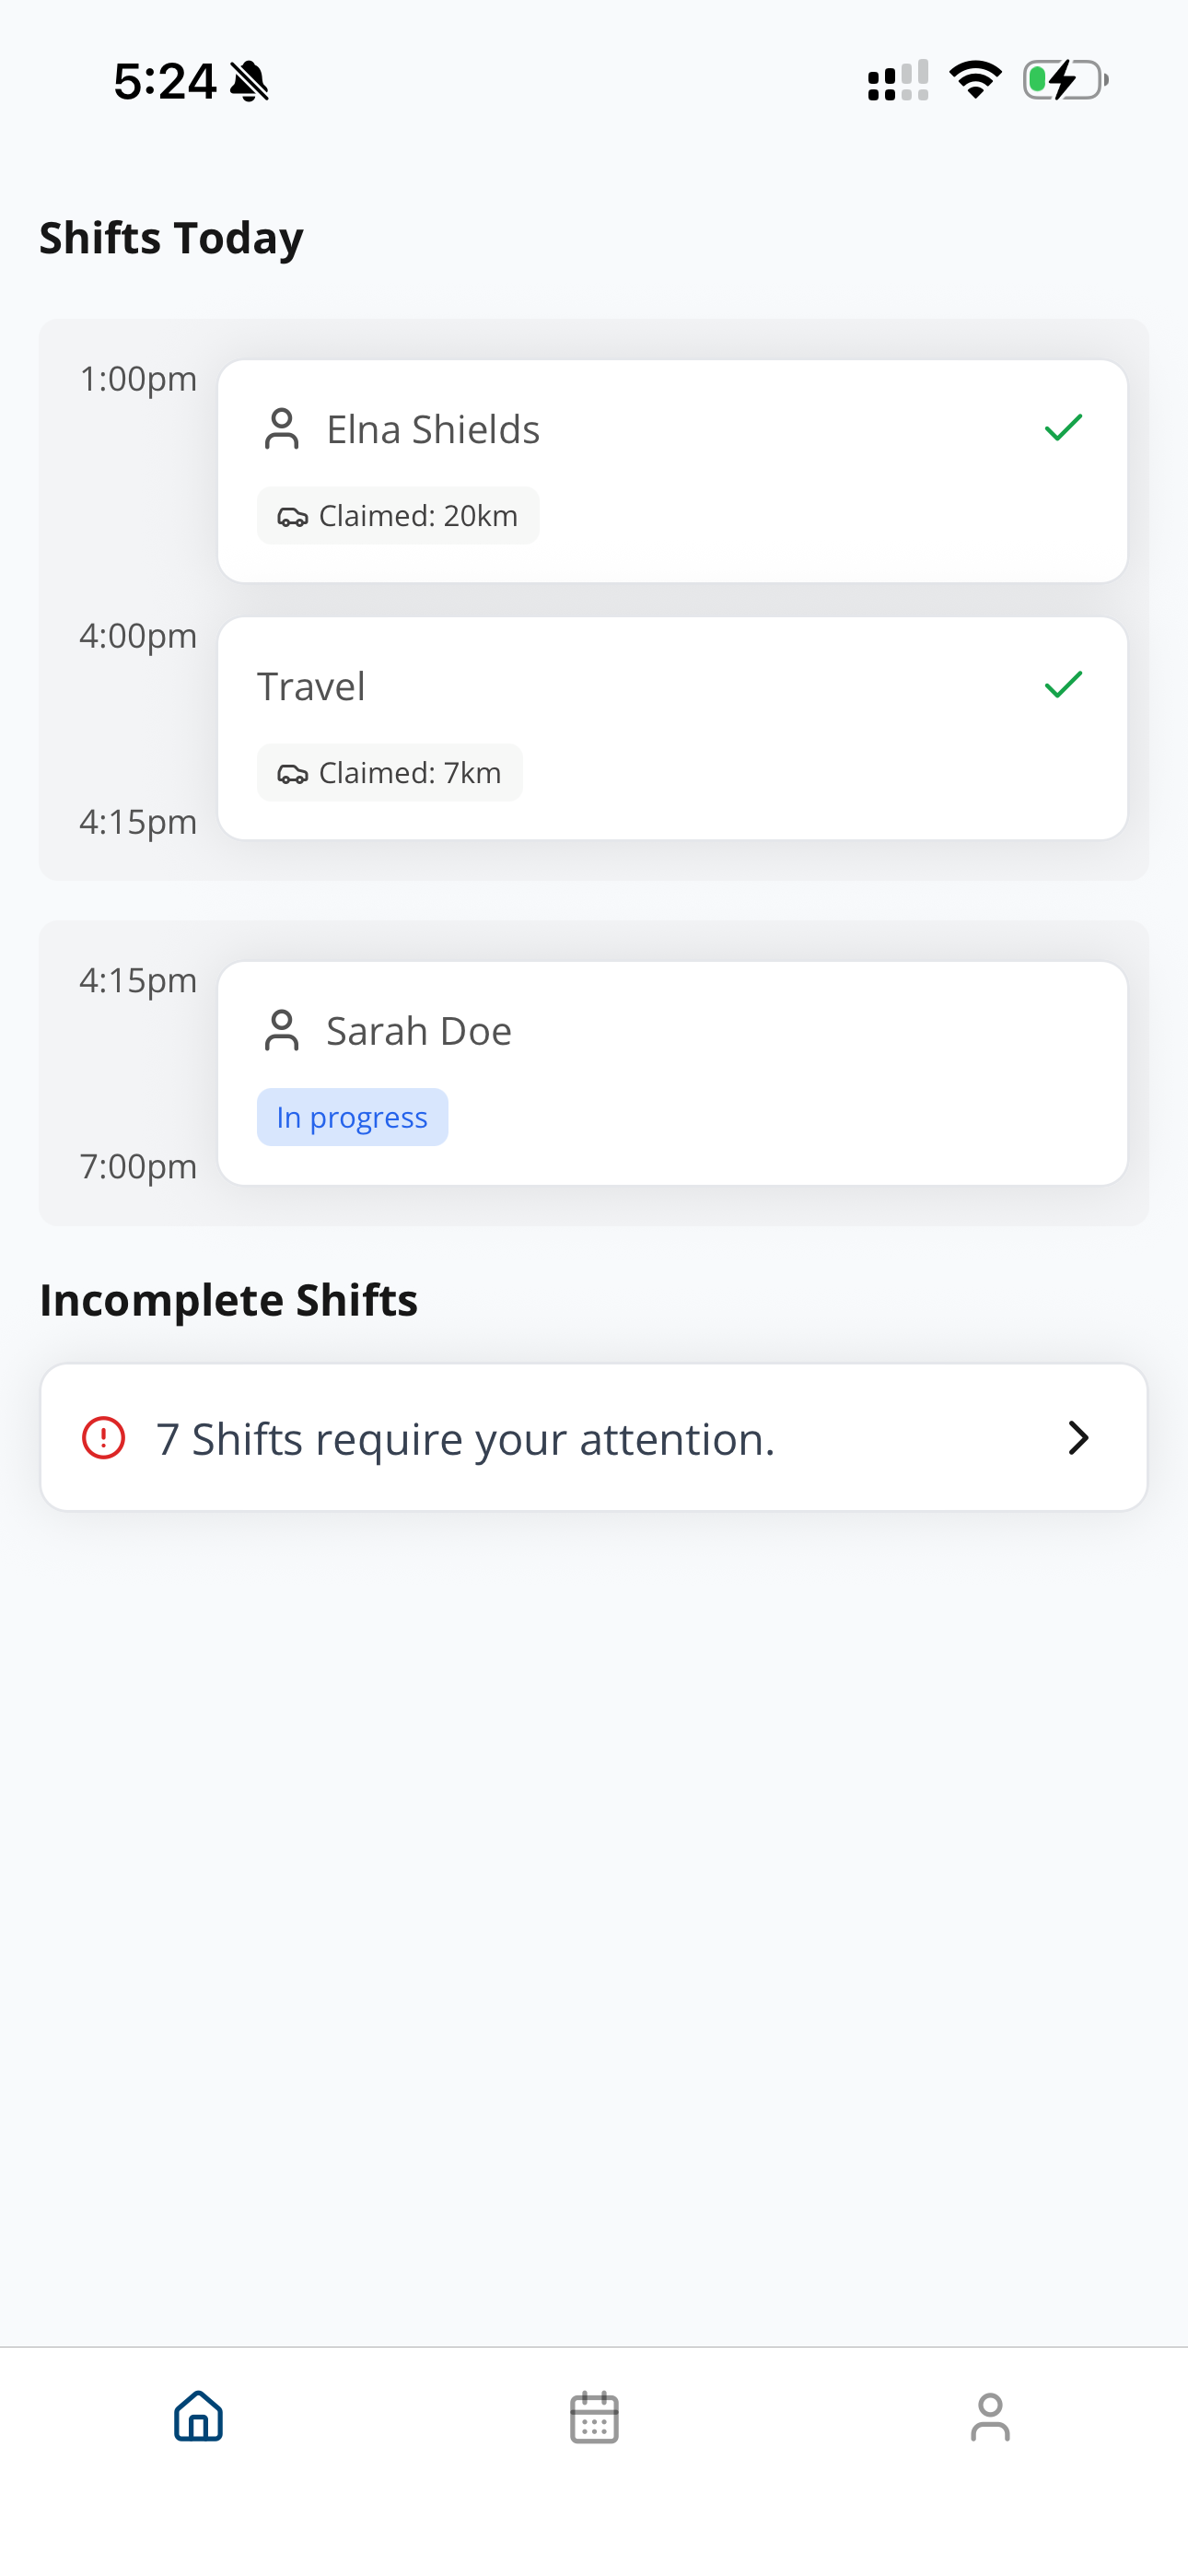
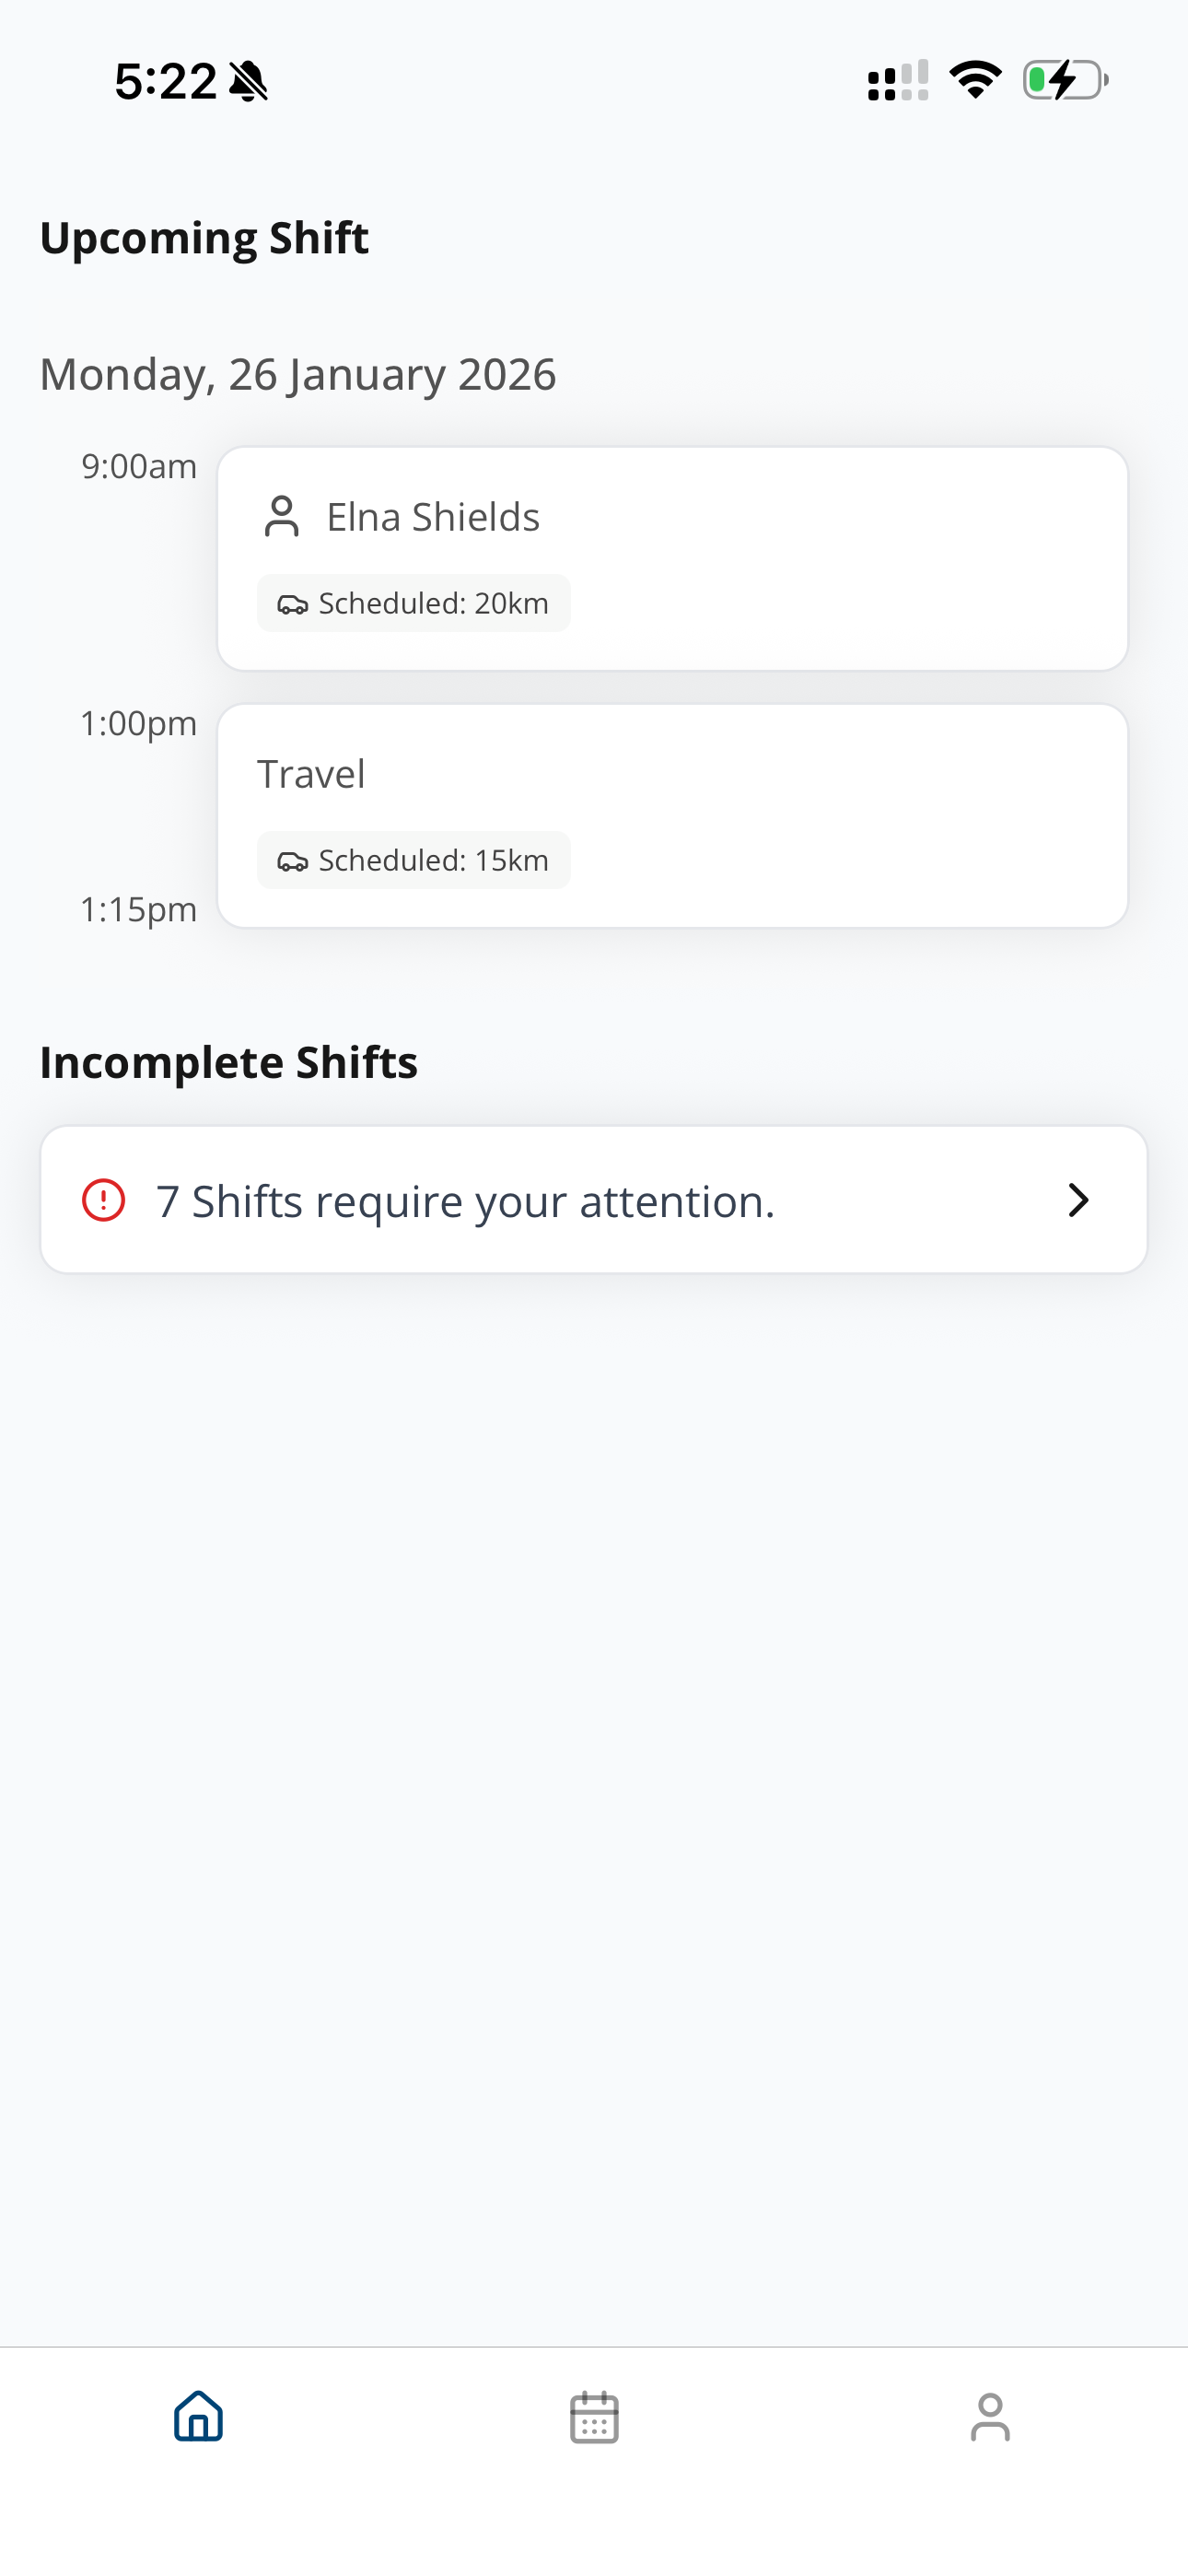
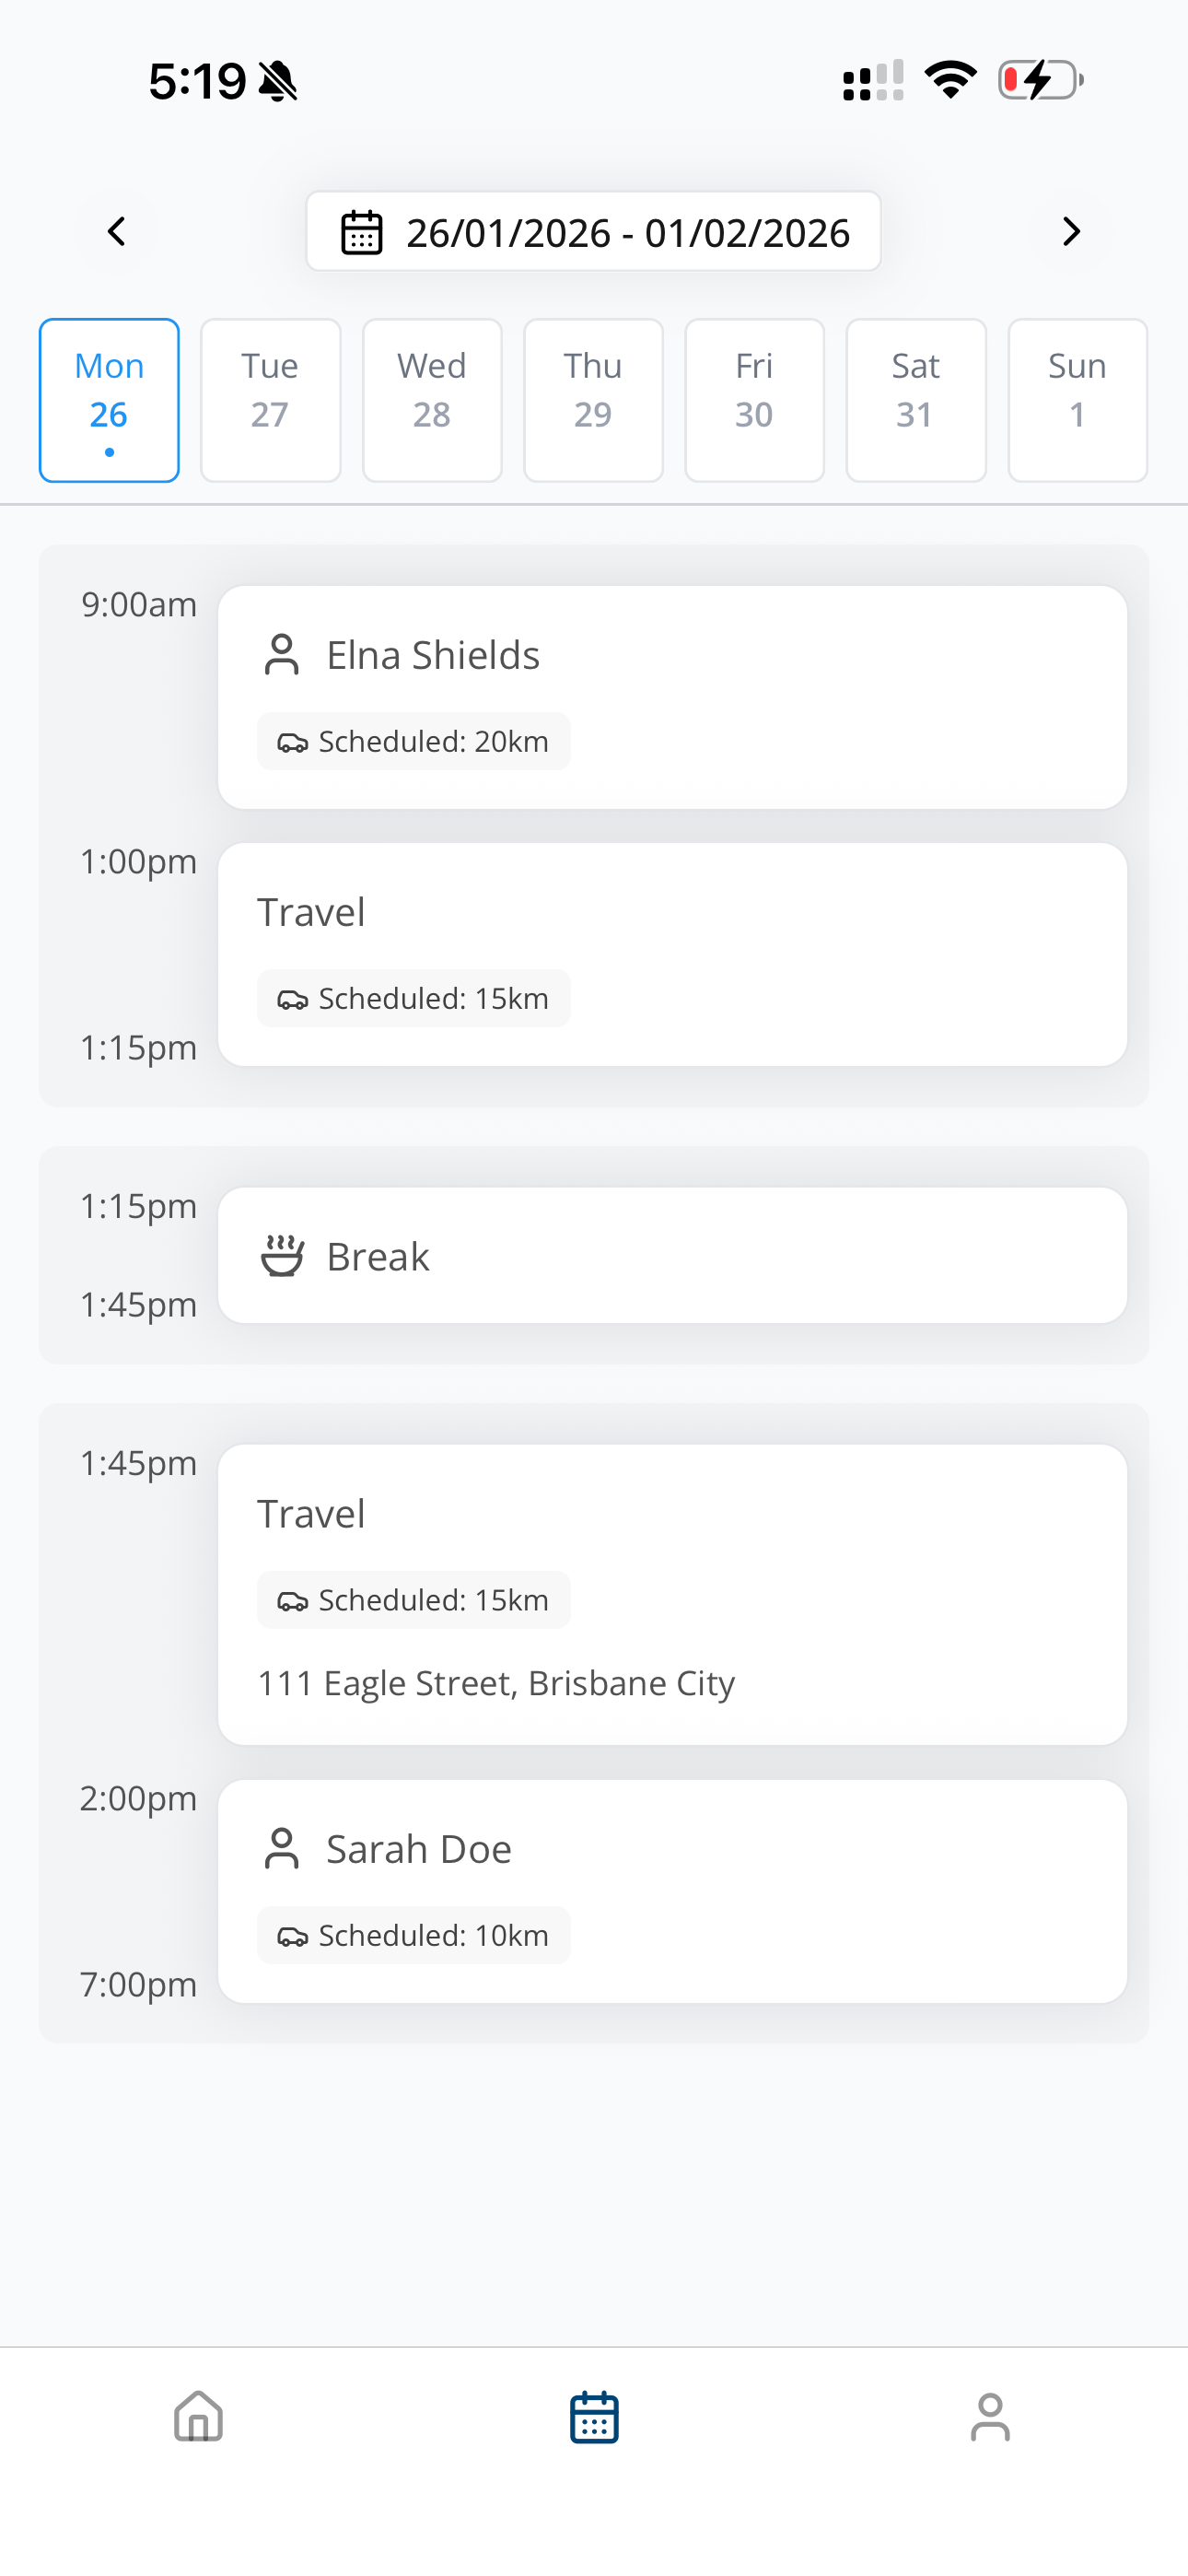
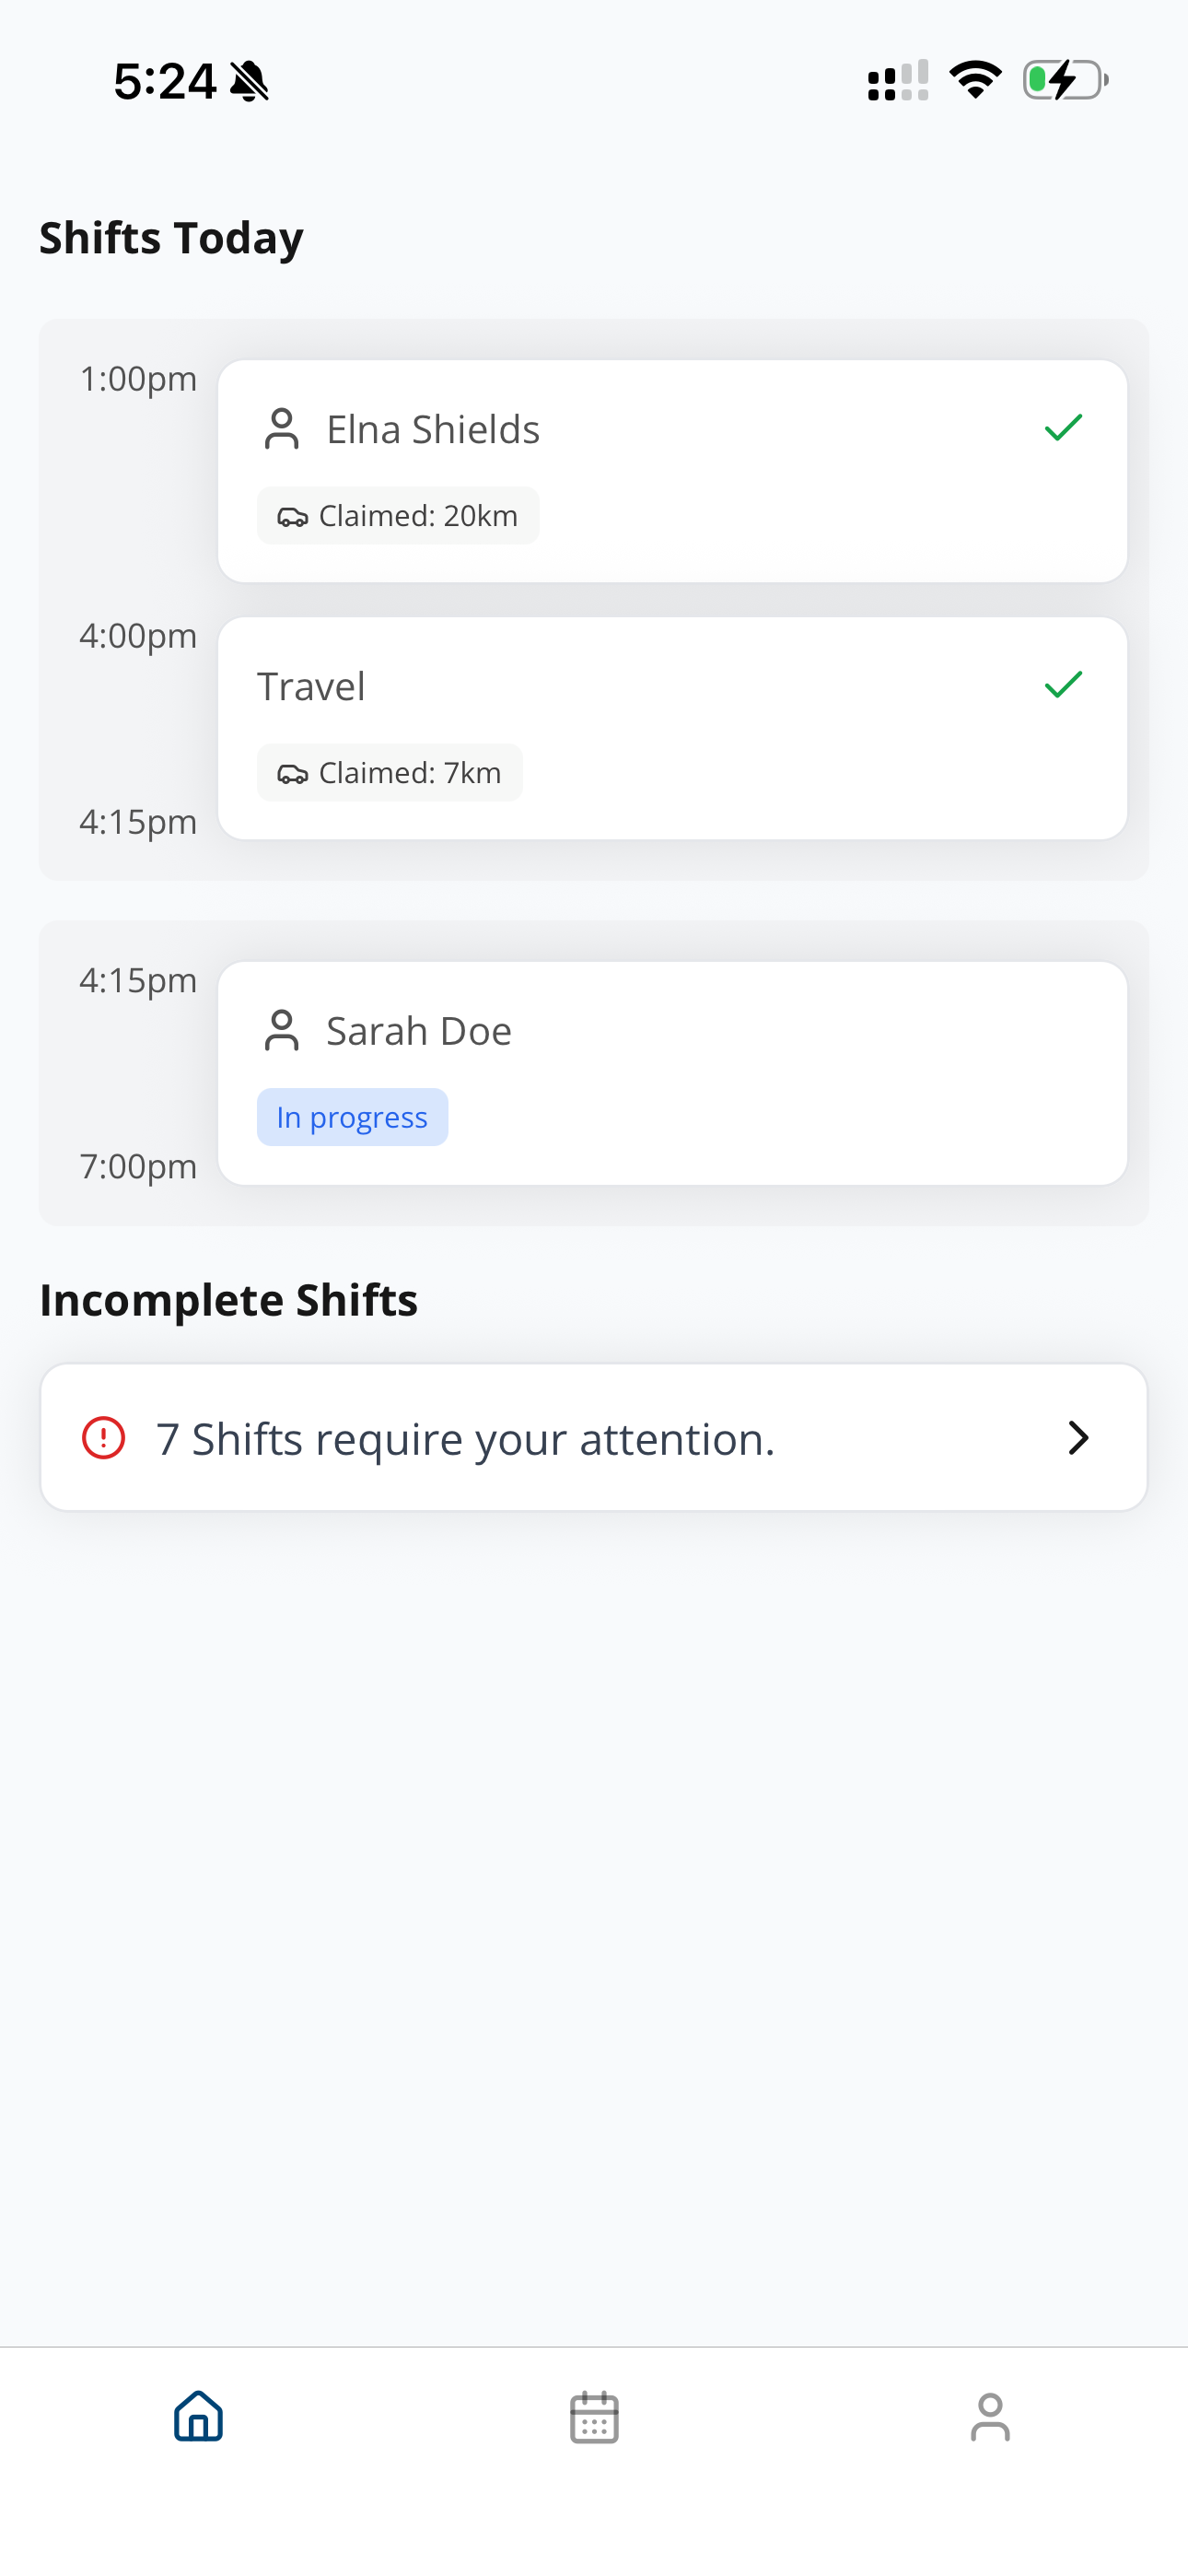
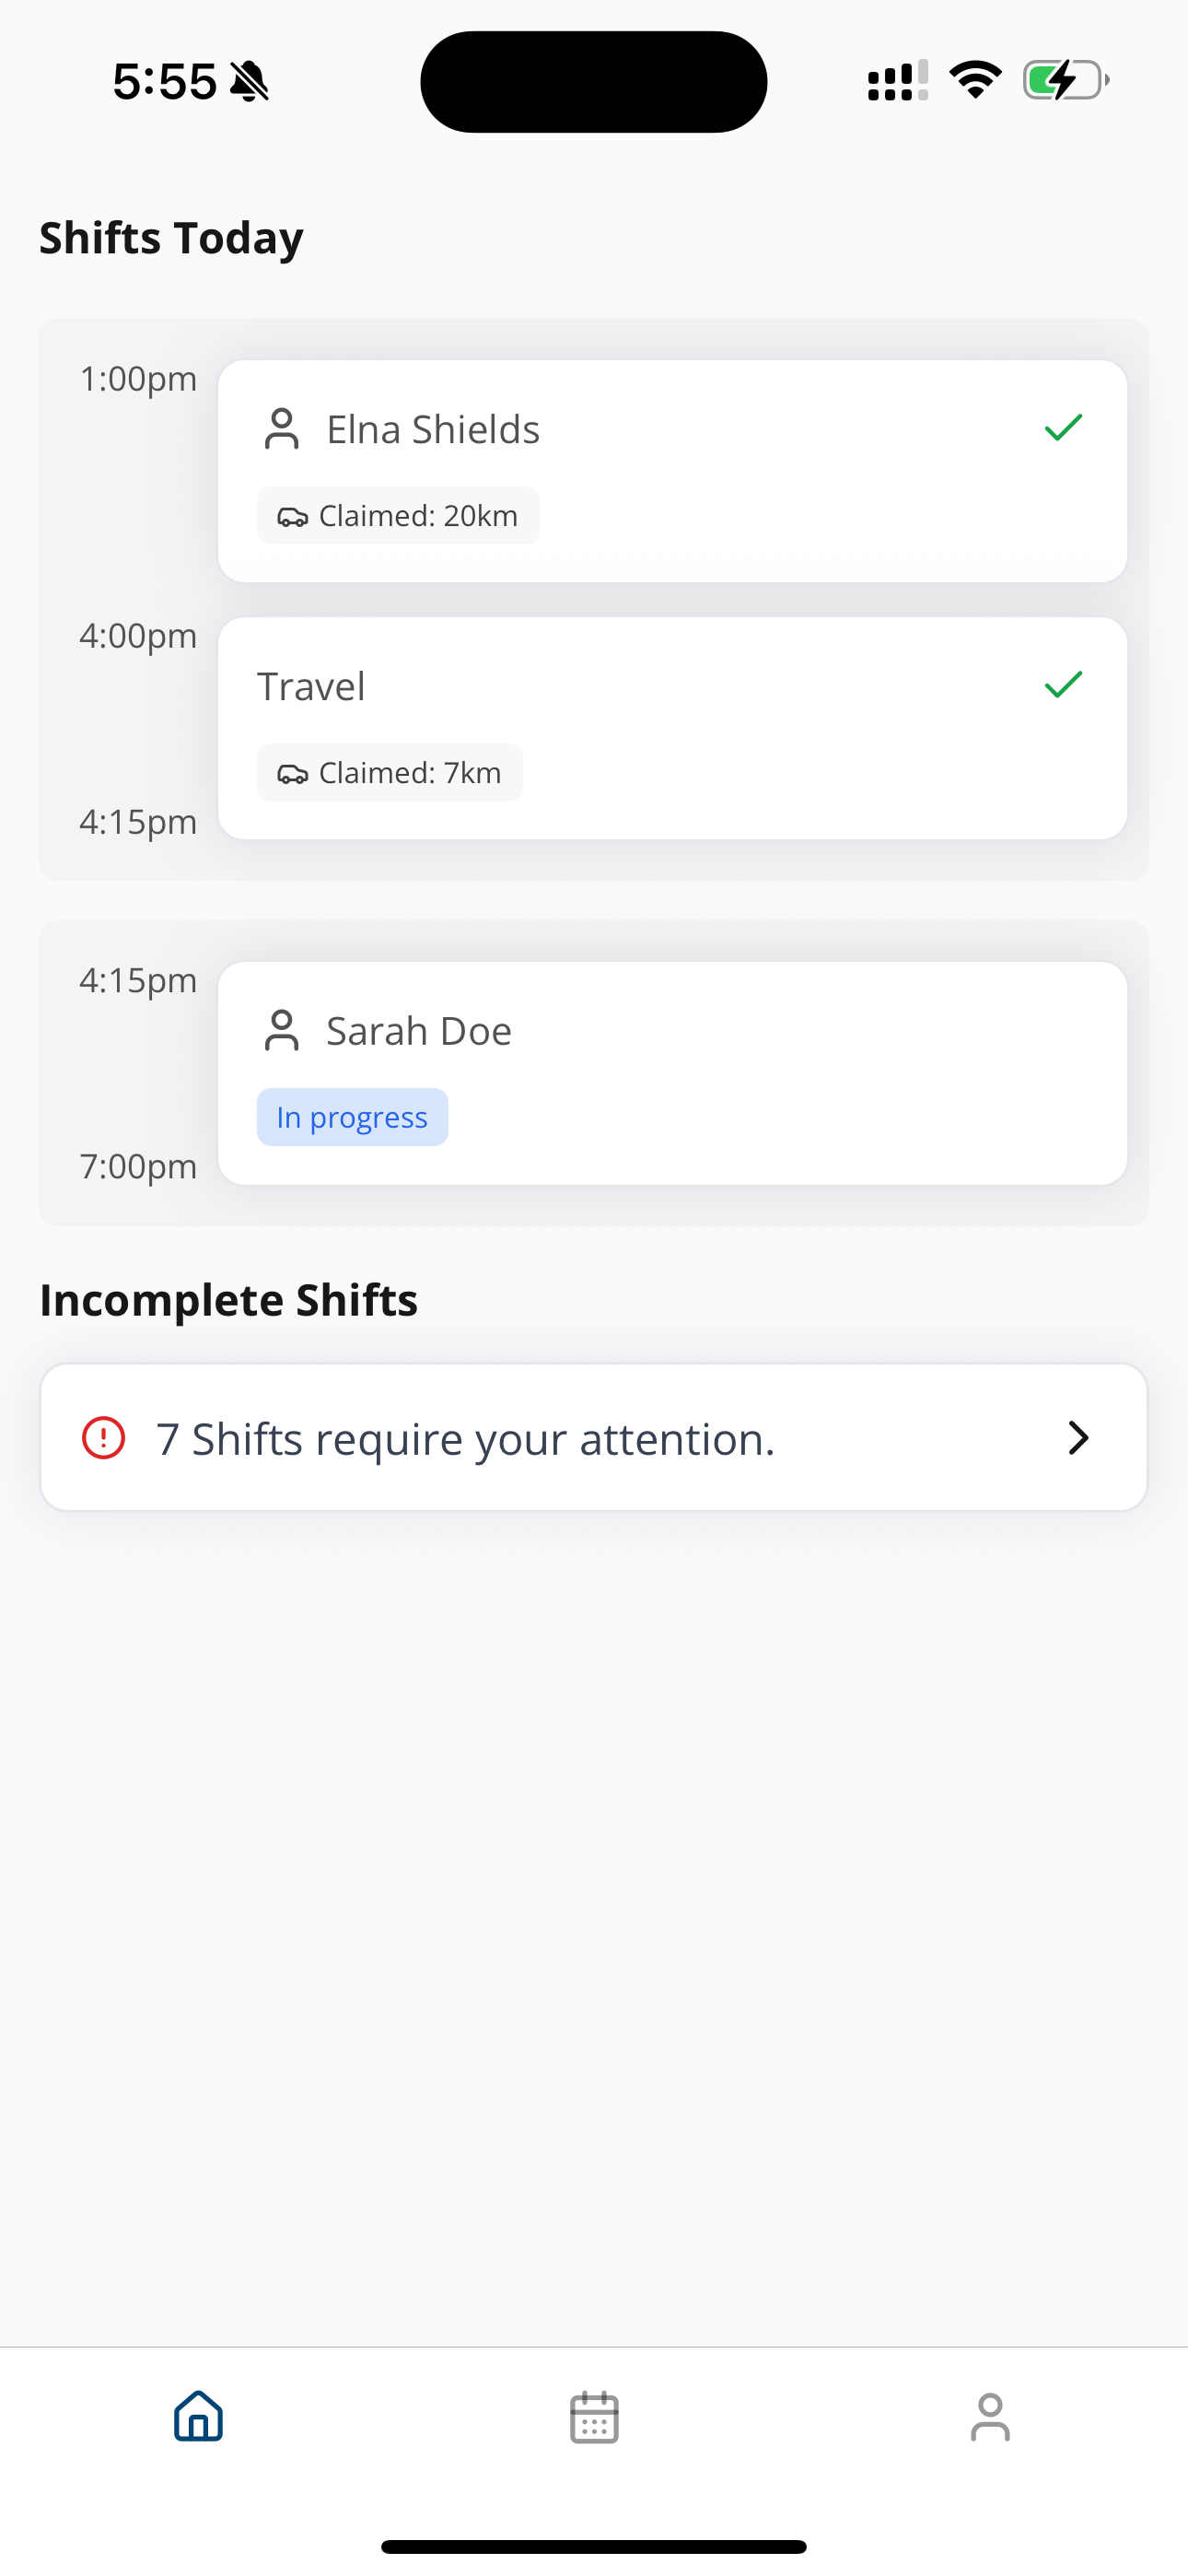
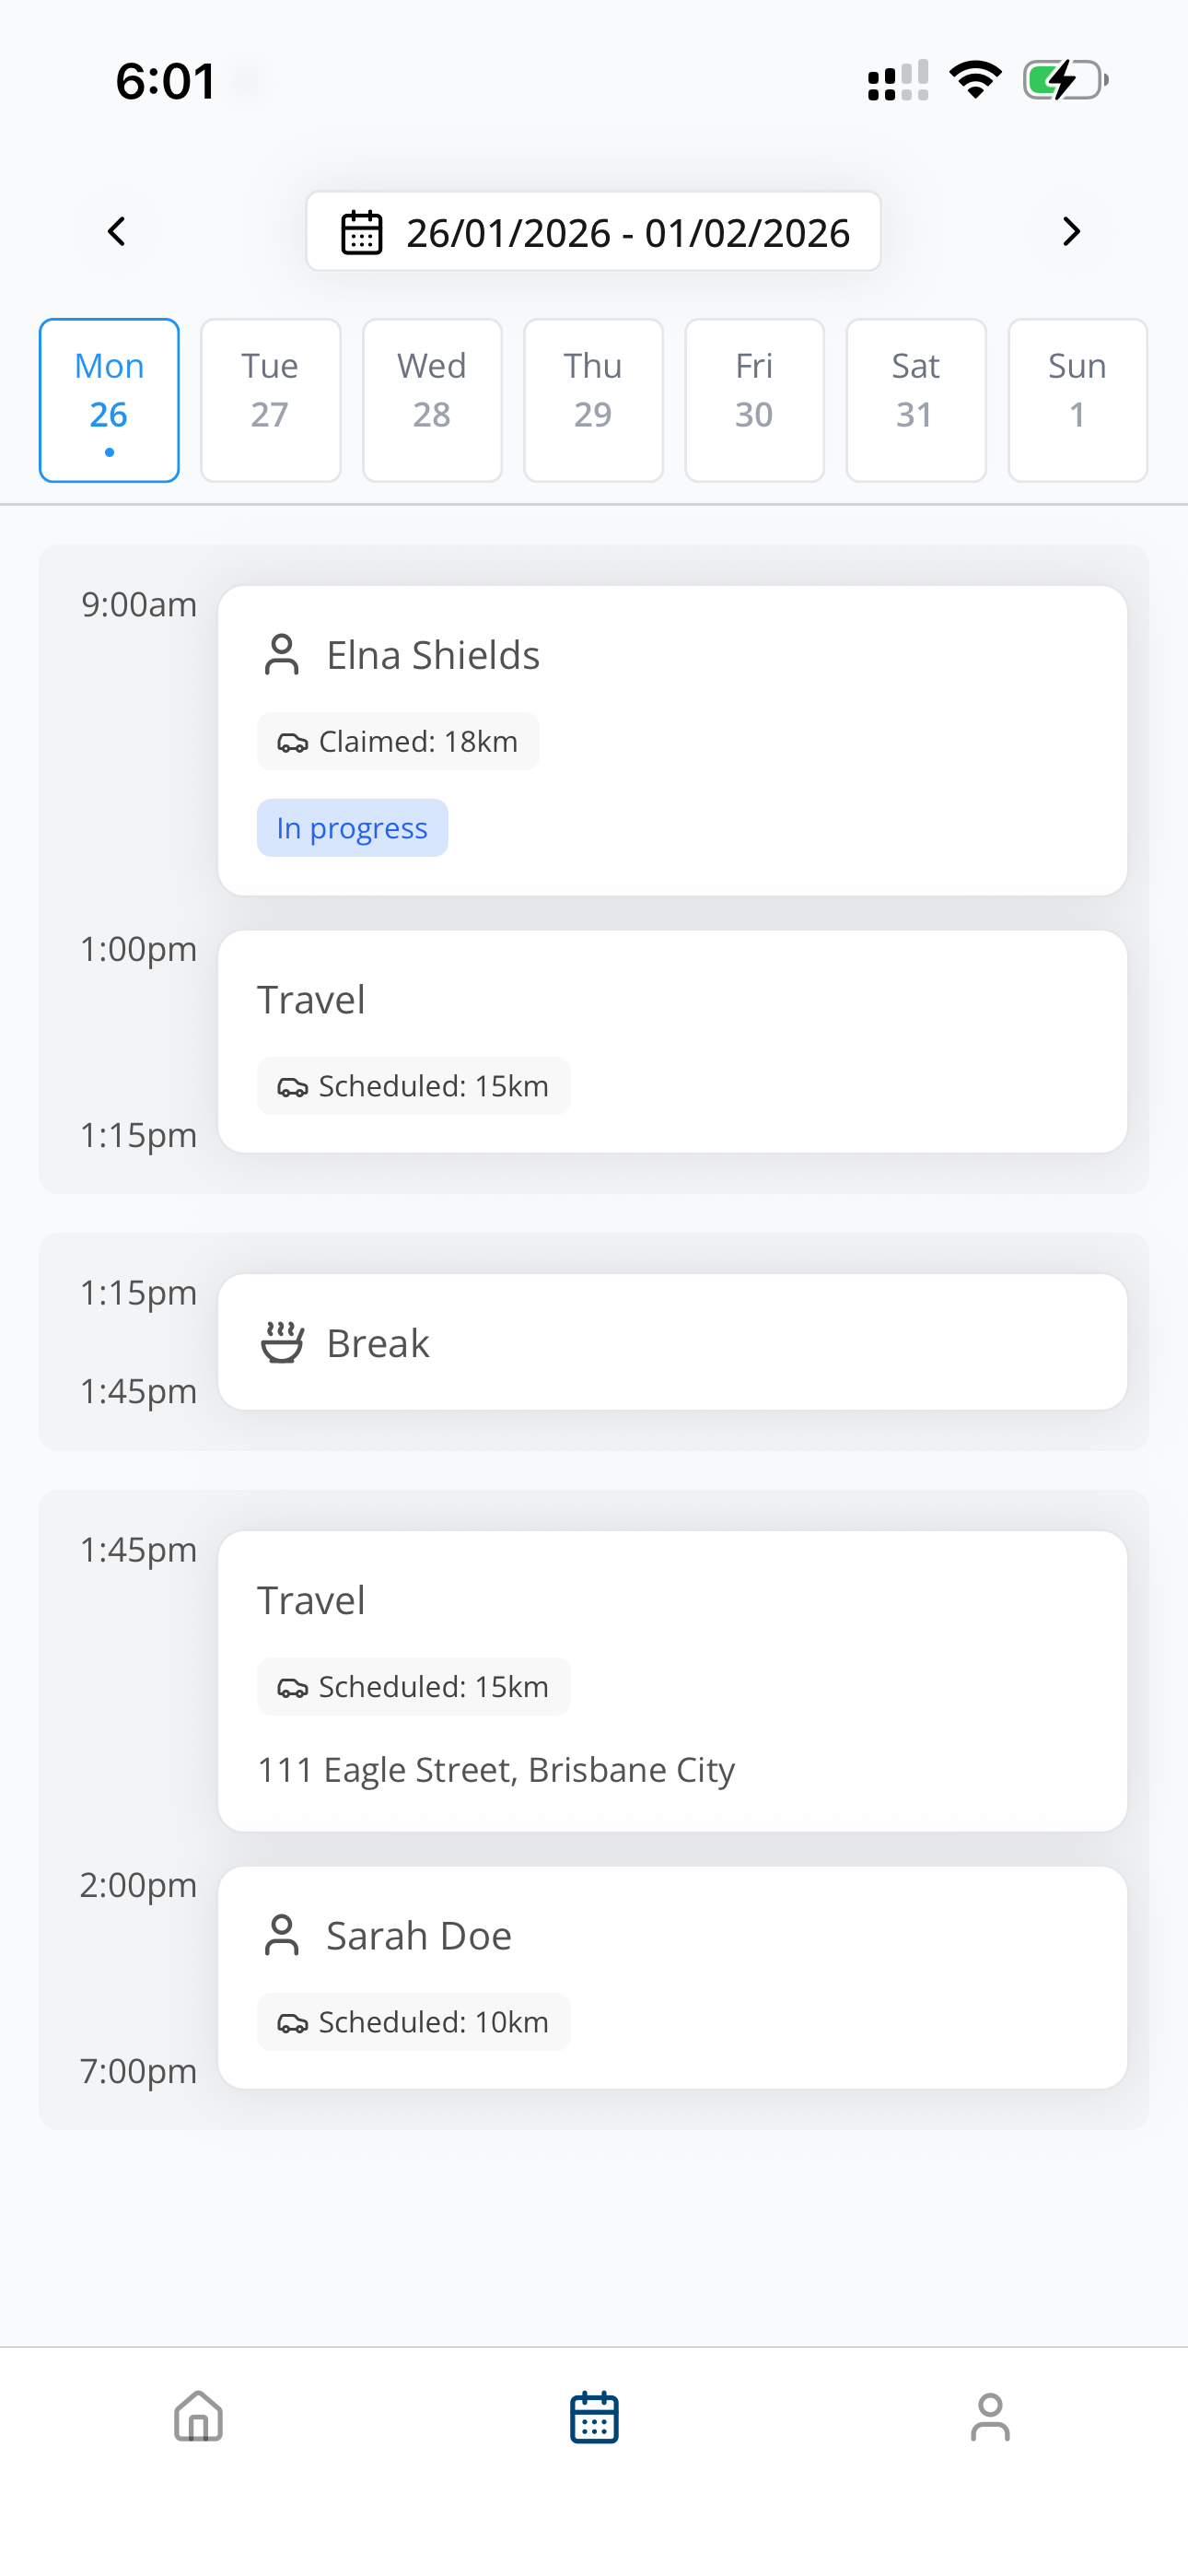
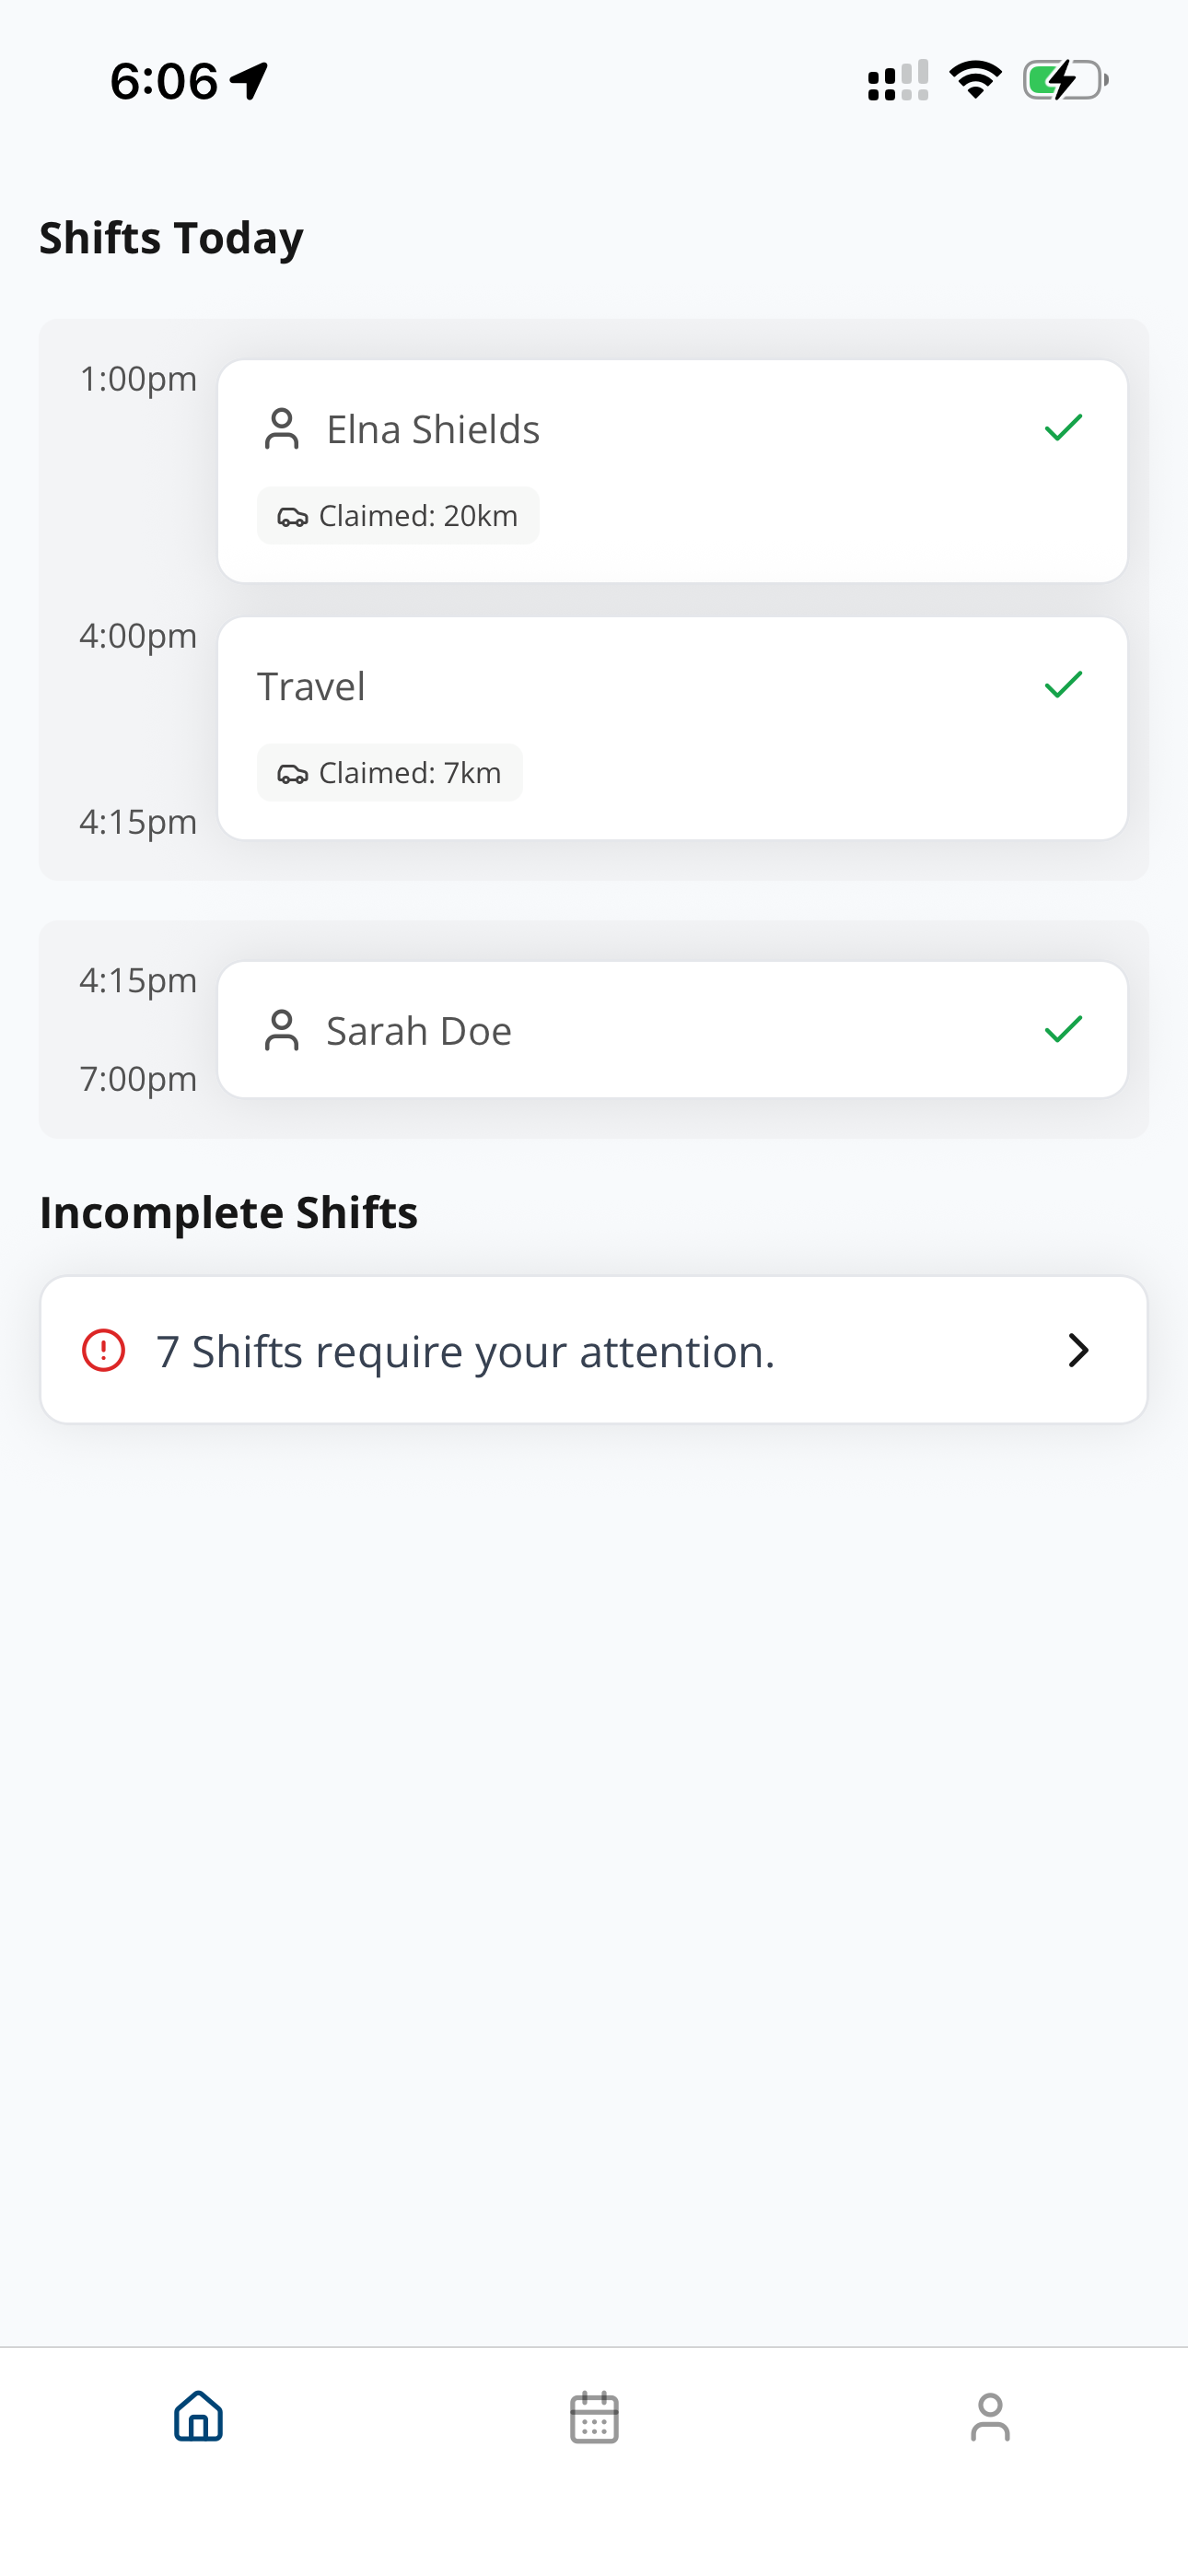
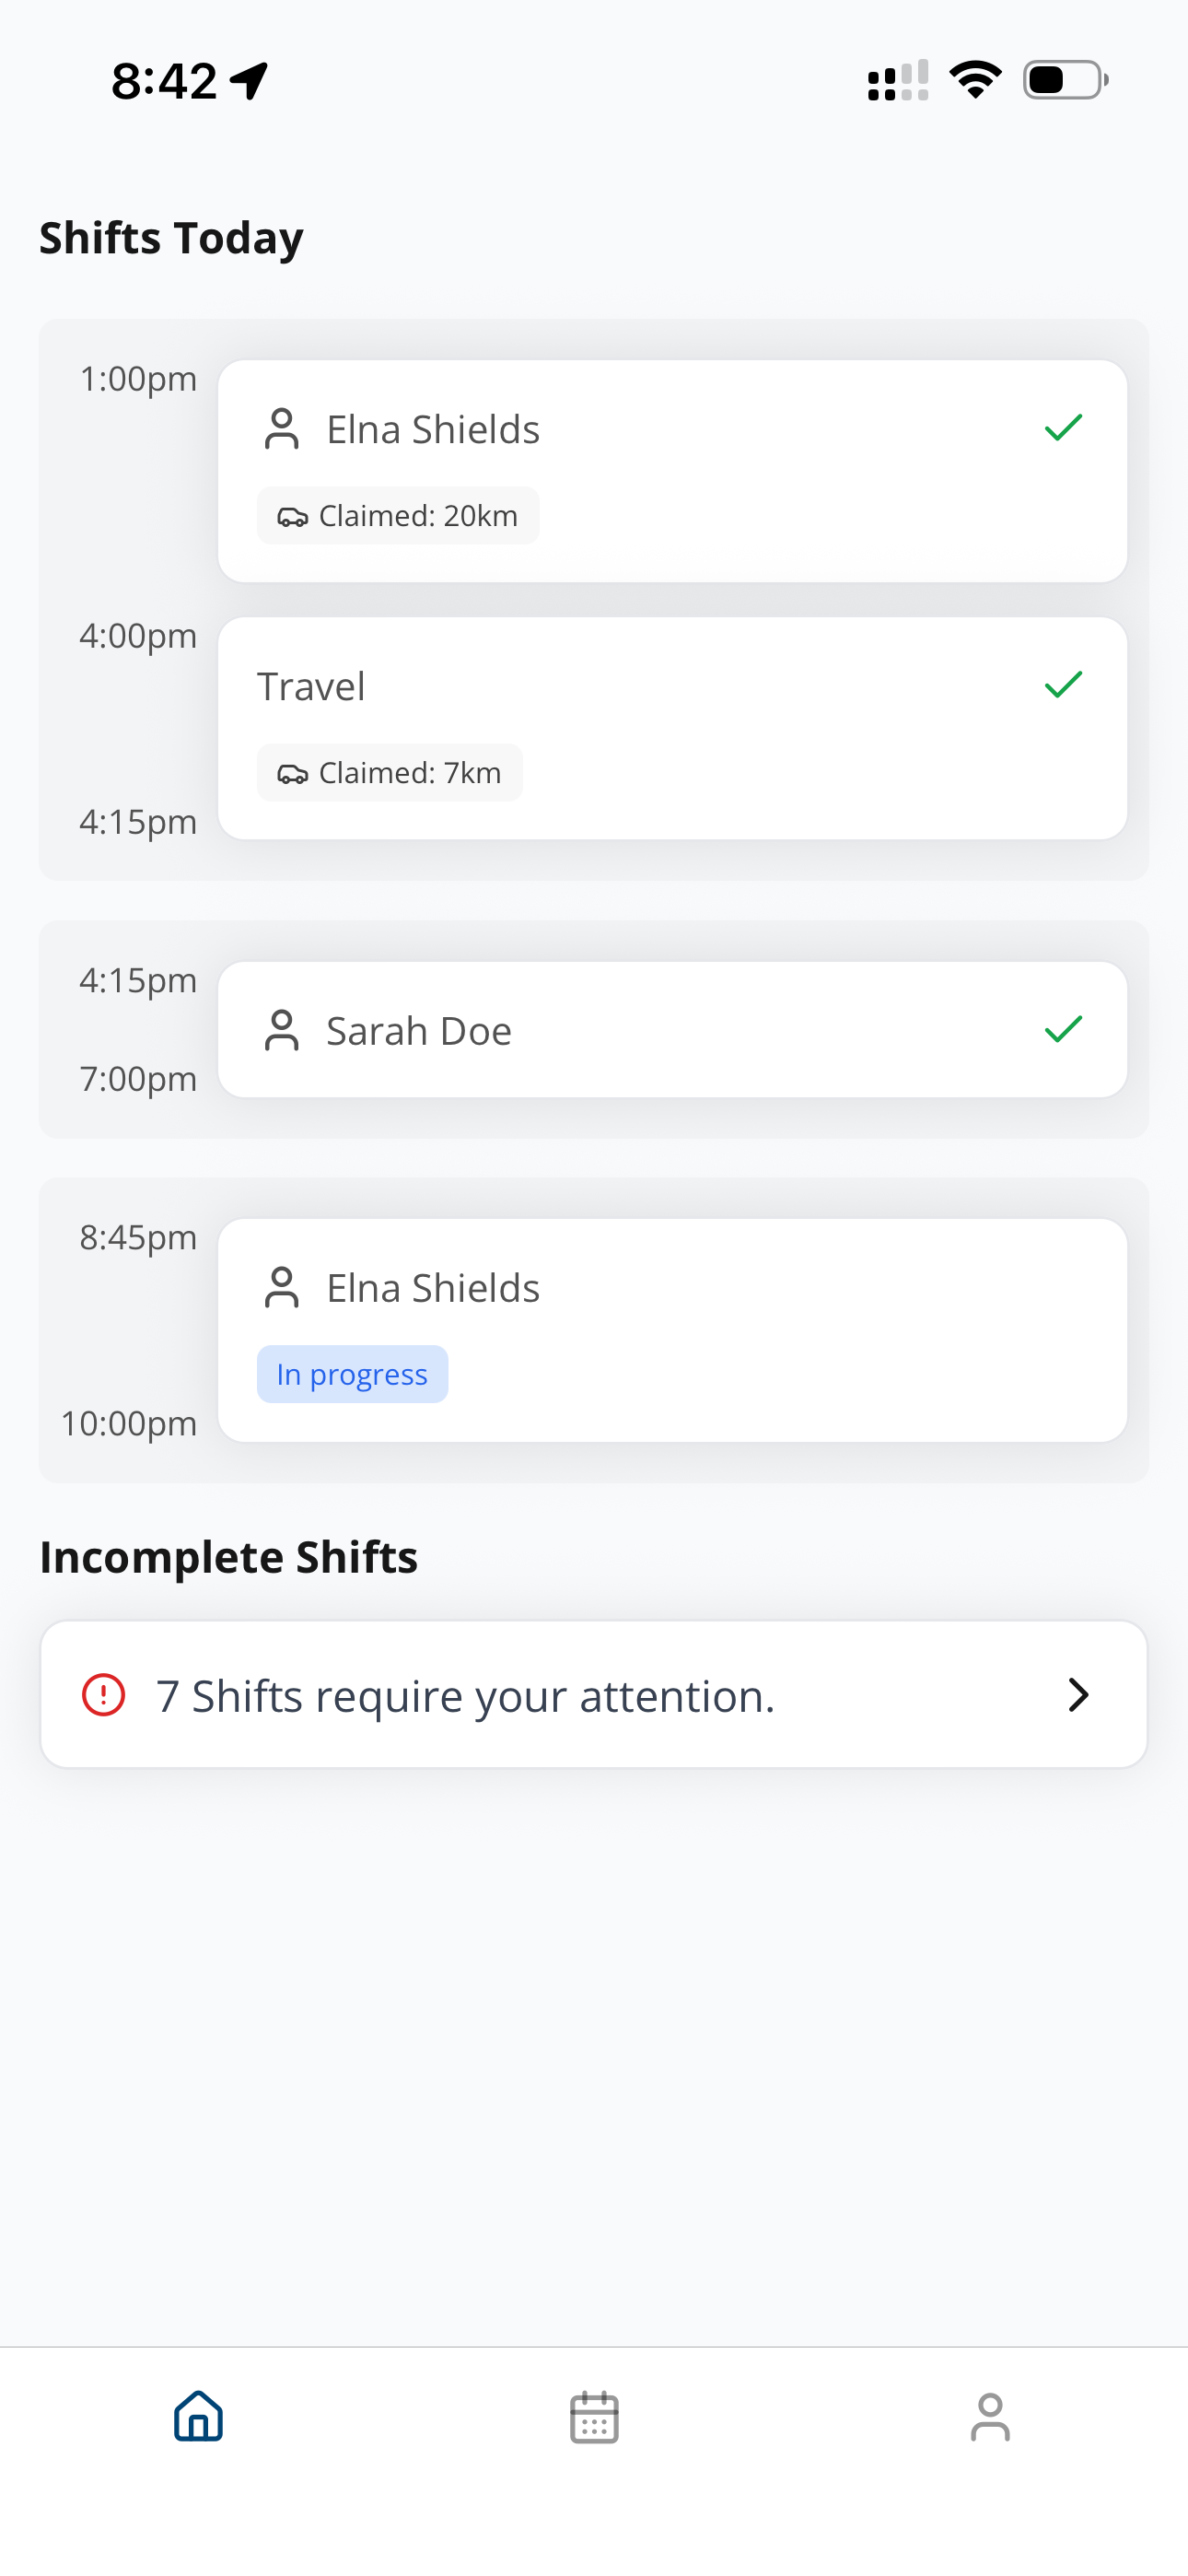
Support Workers can view their current shifts or upcoming shifts on the home page, or they can navigate between weeks using the calendar view.
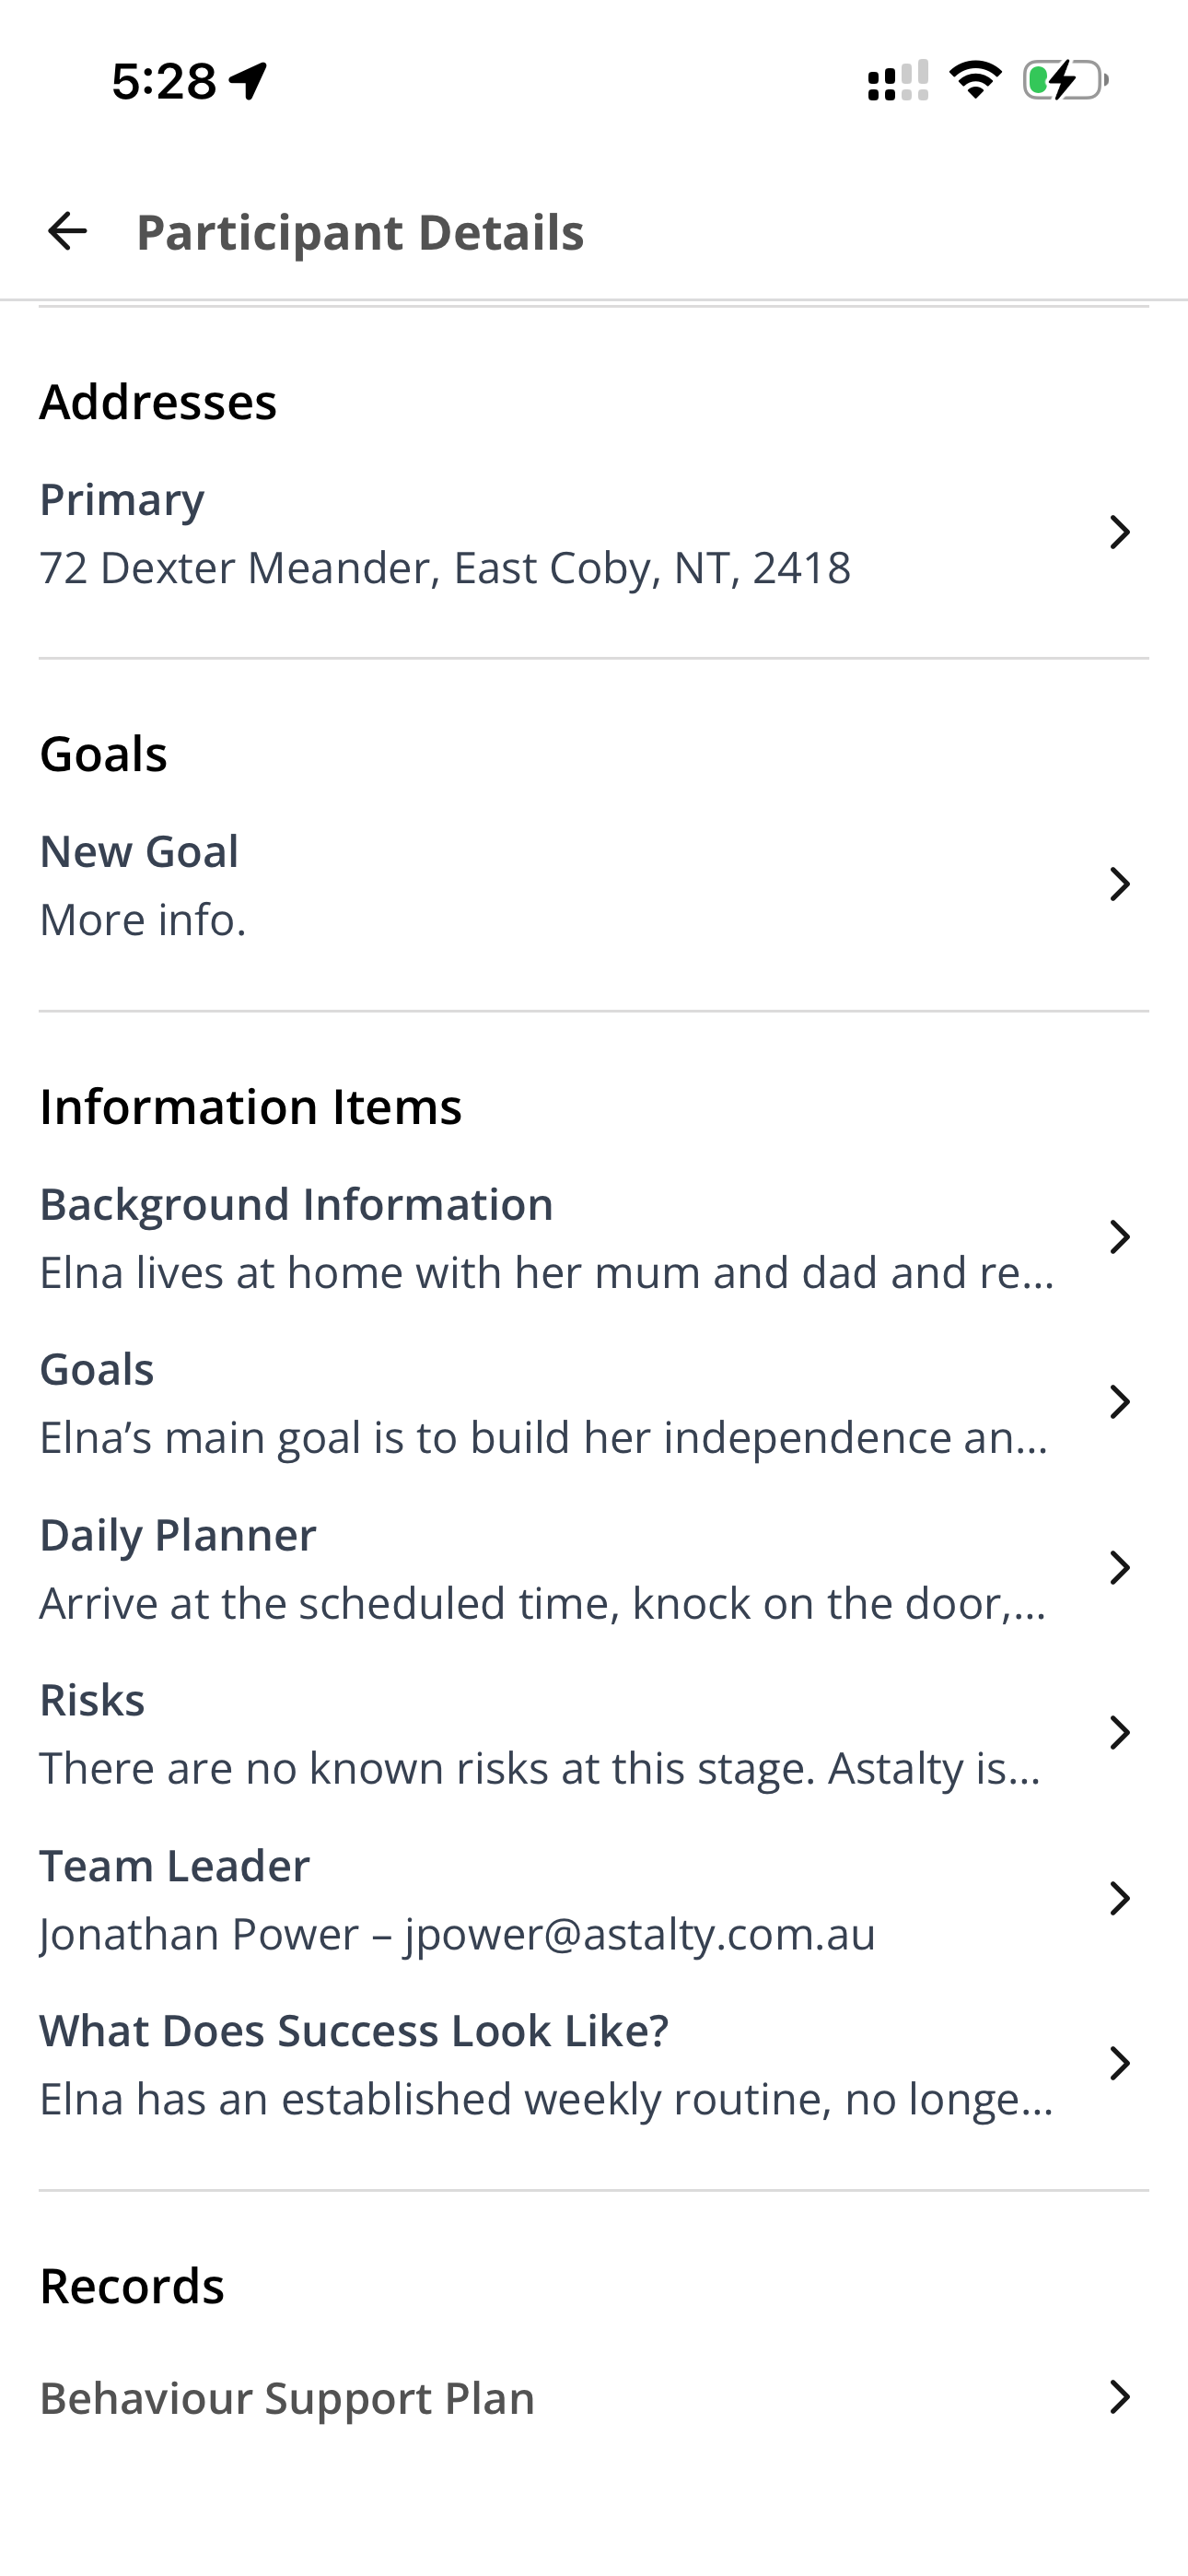
Viewing a Participant Profile
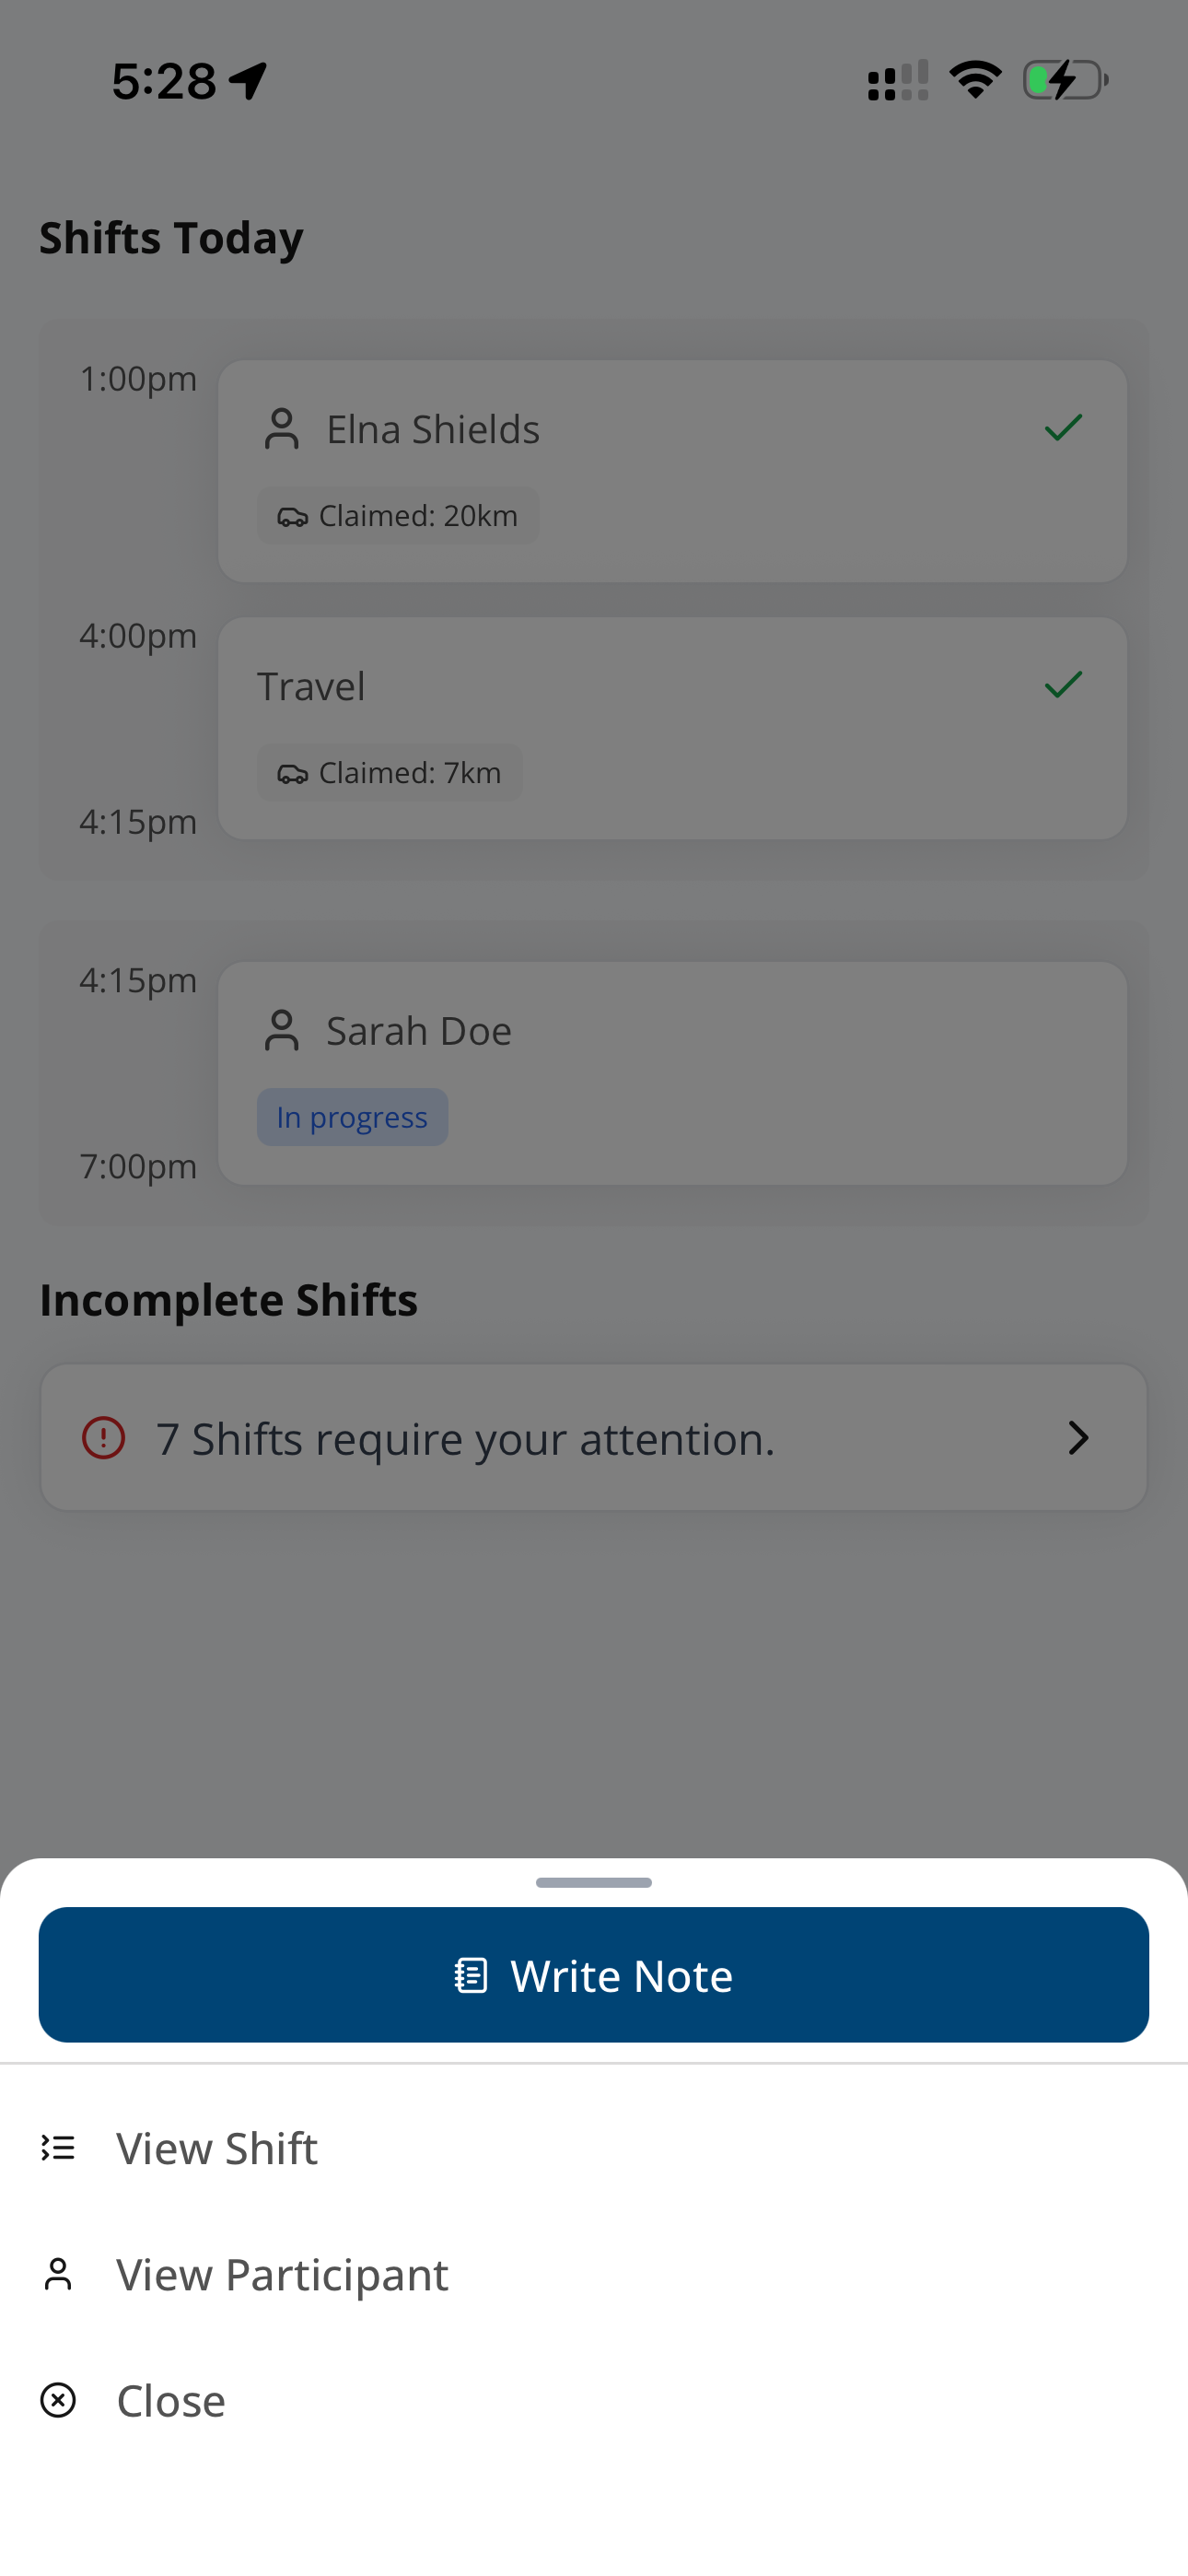
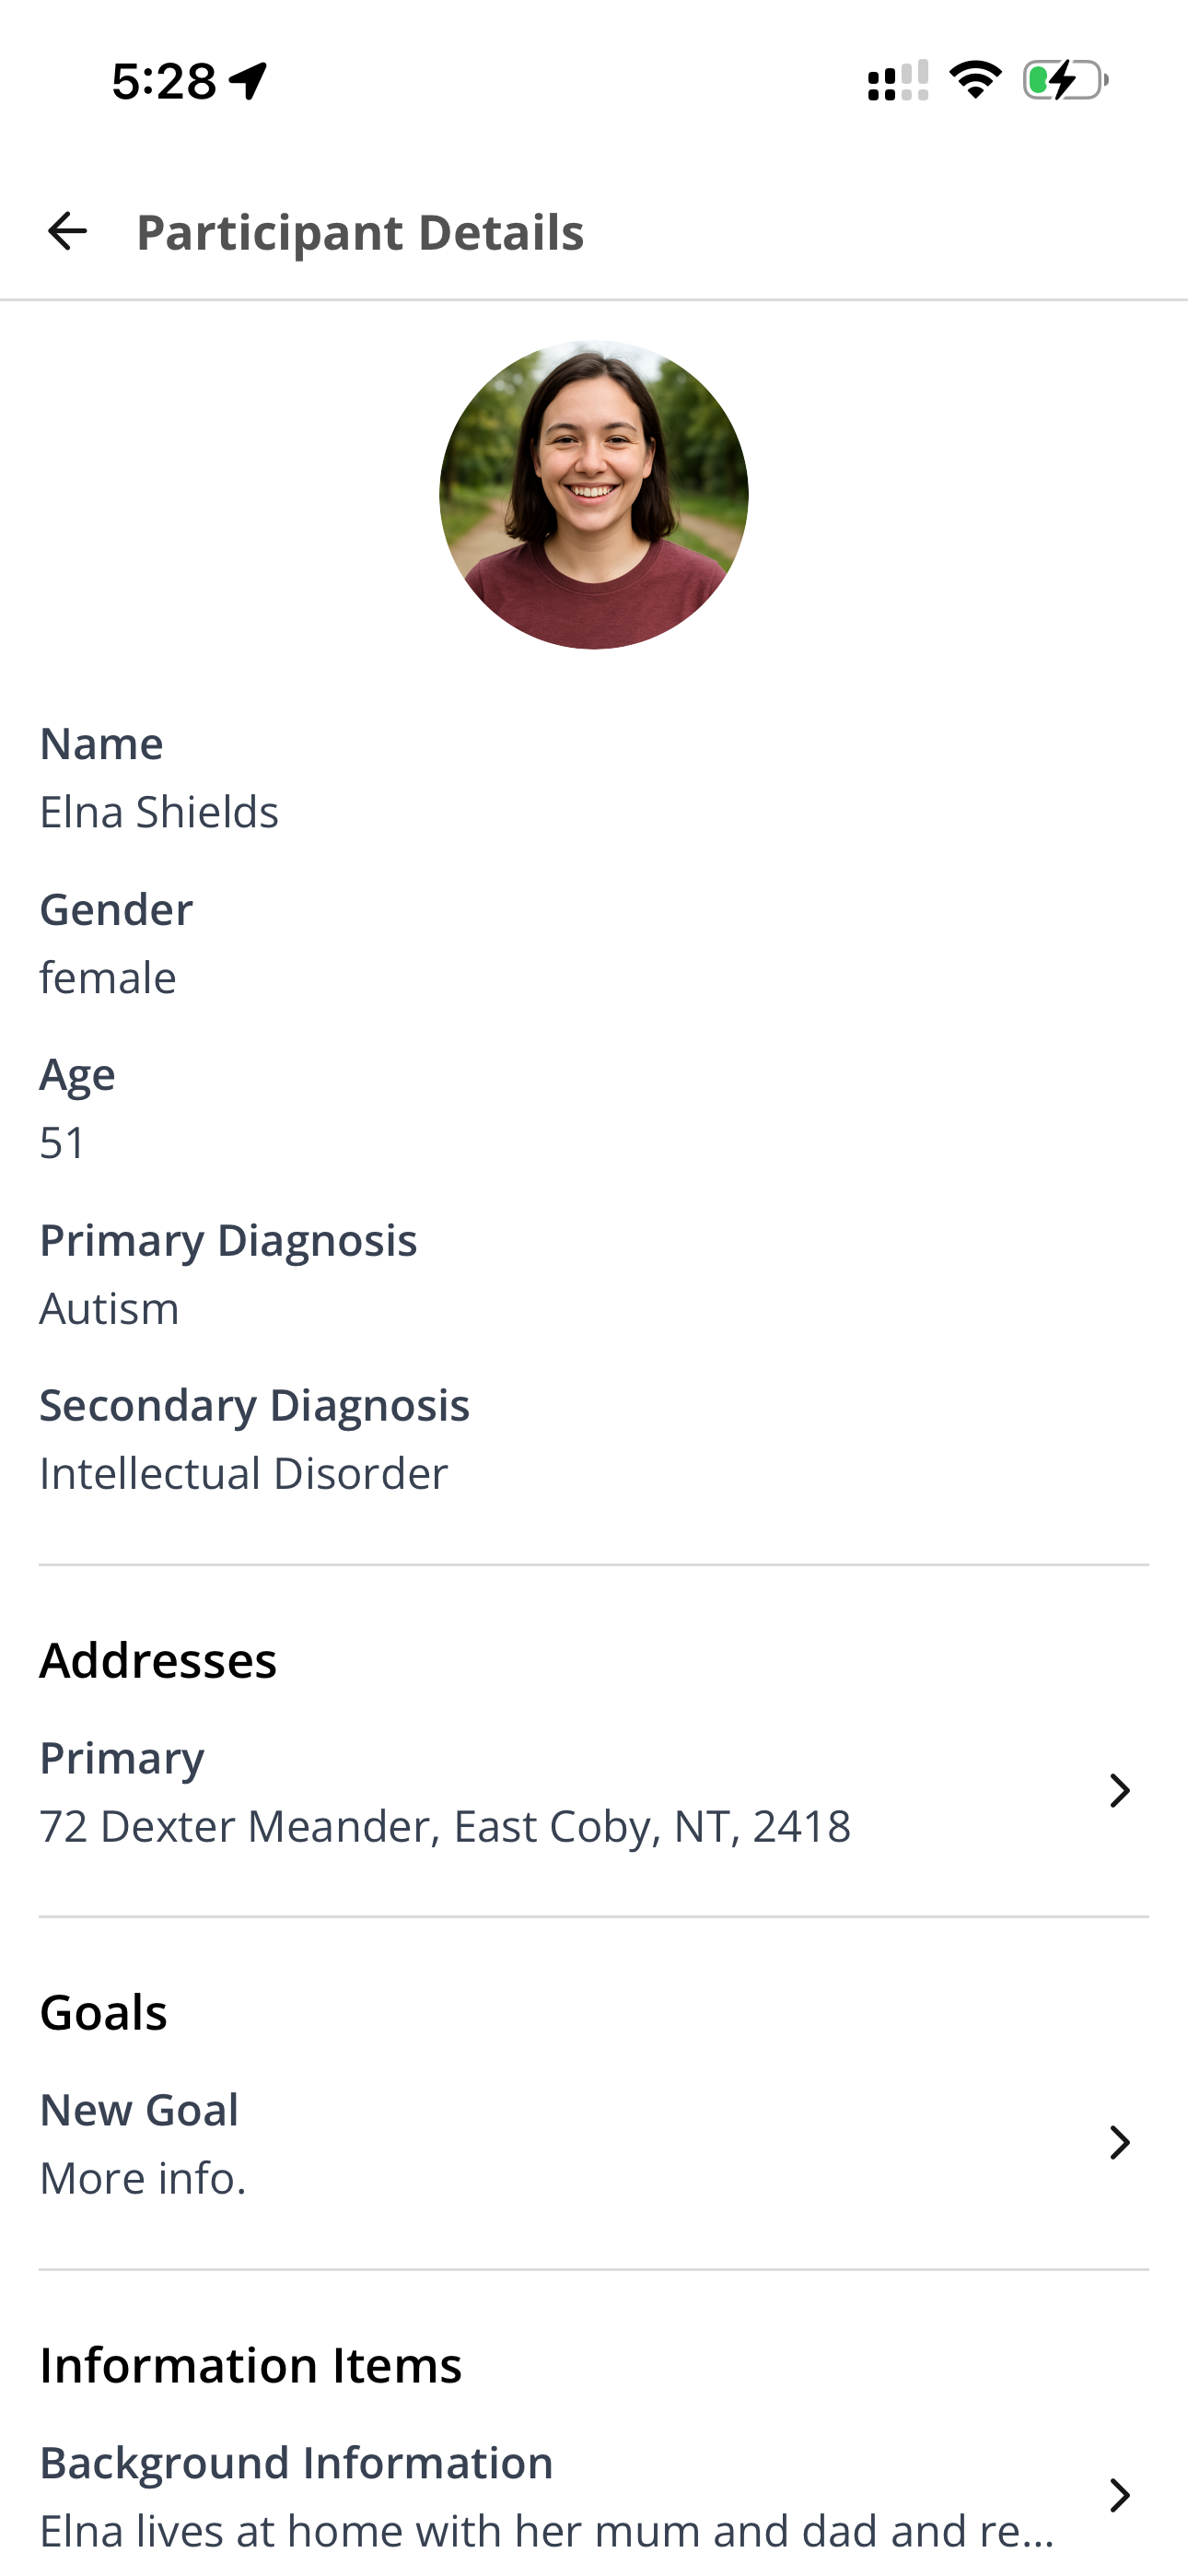
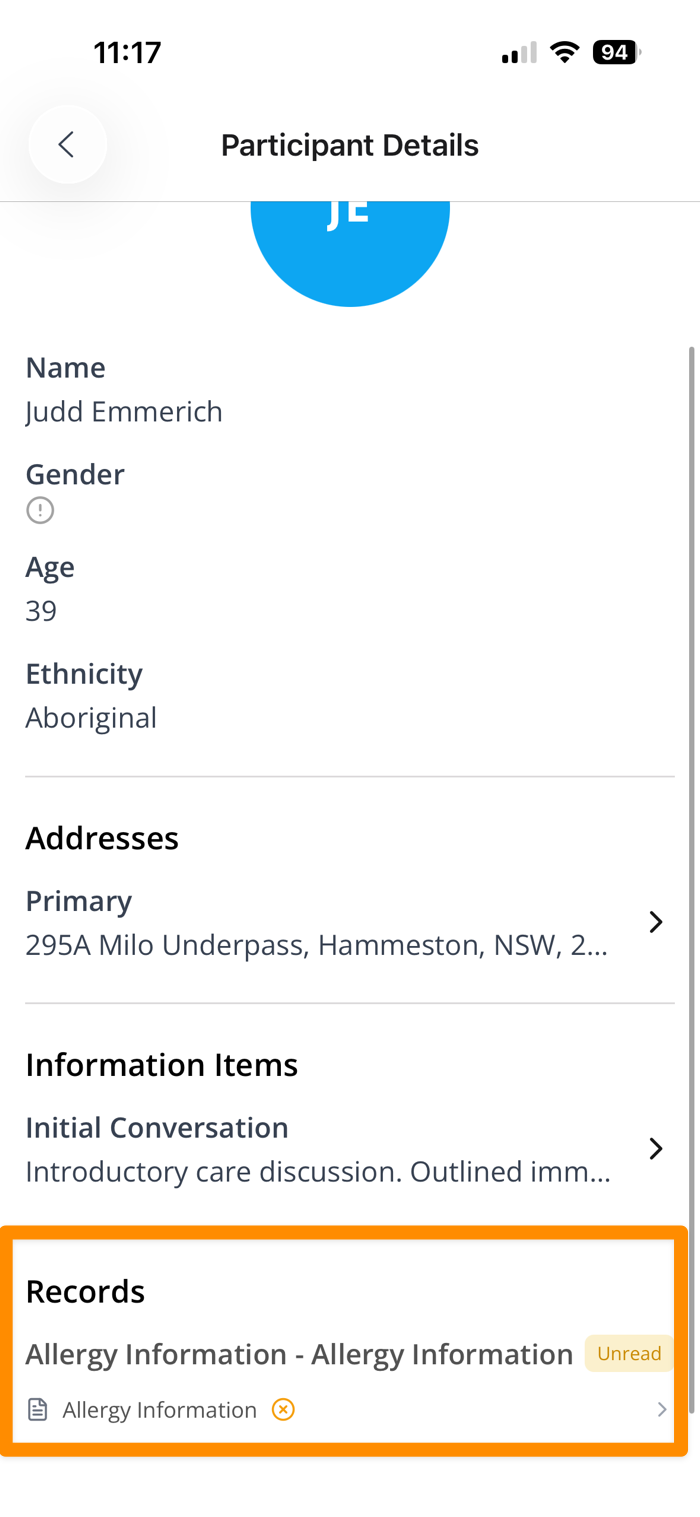
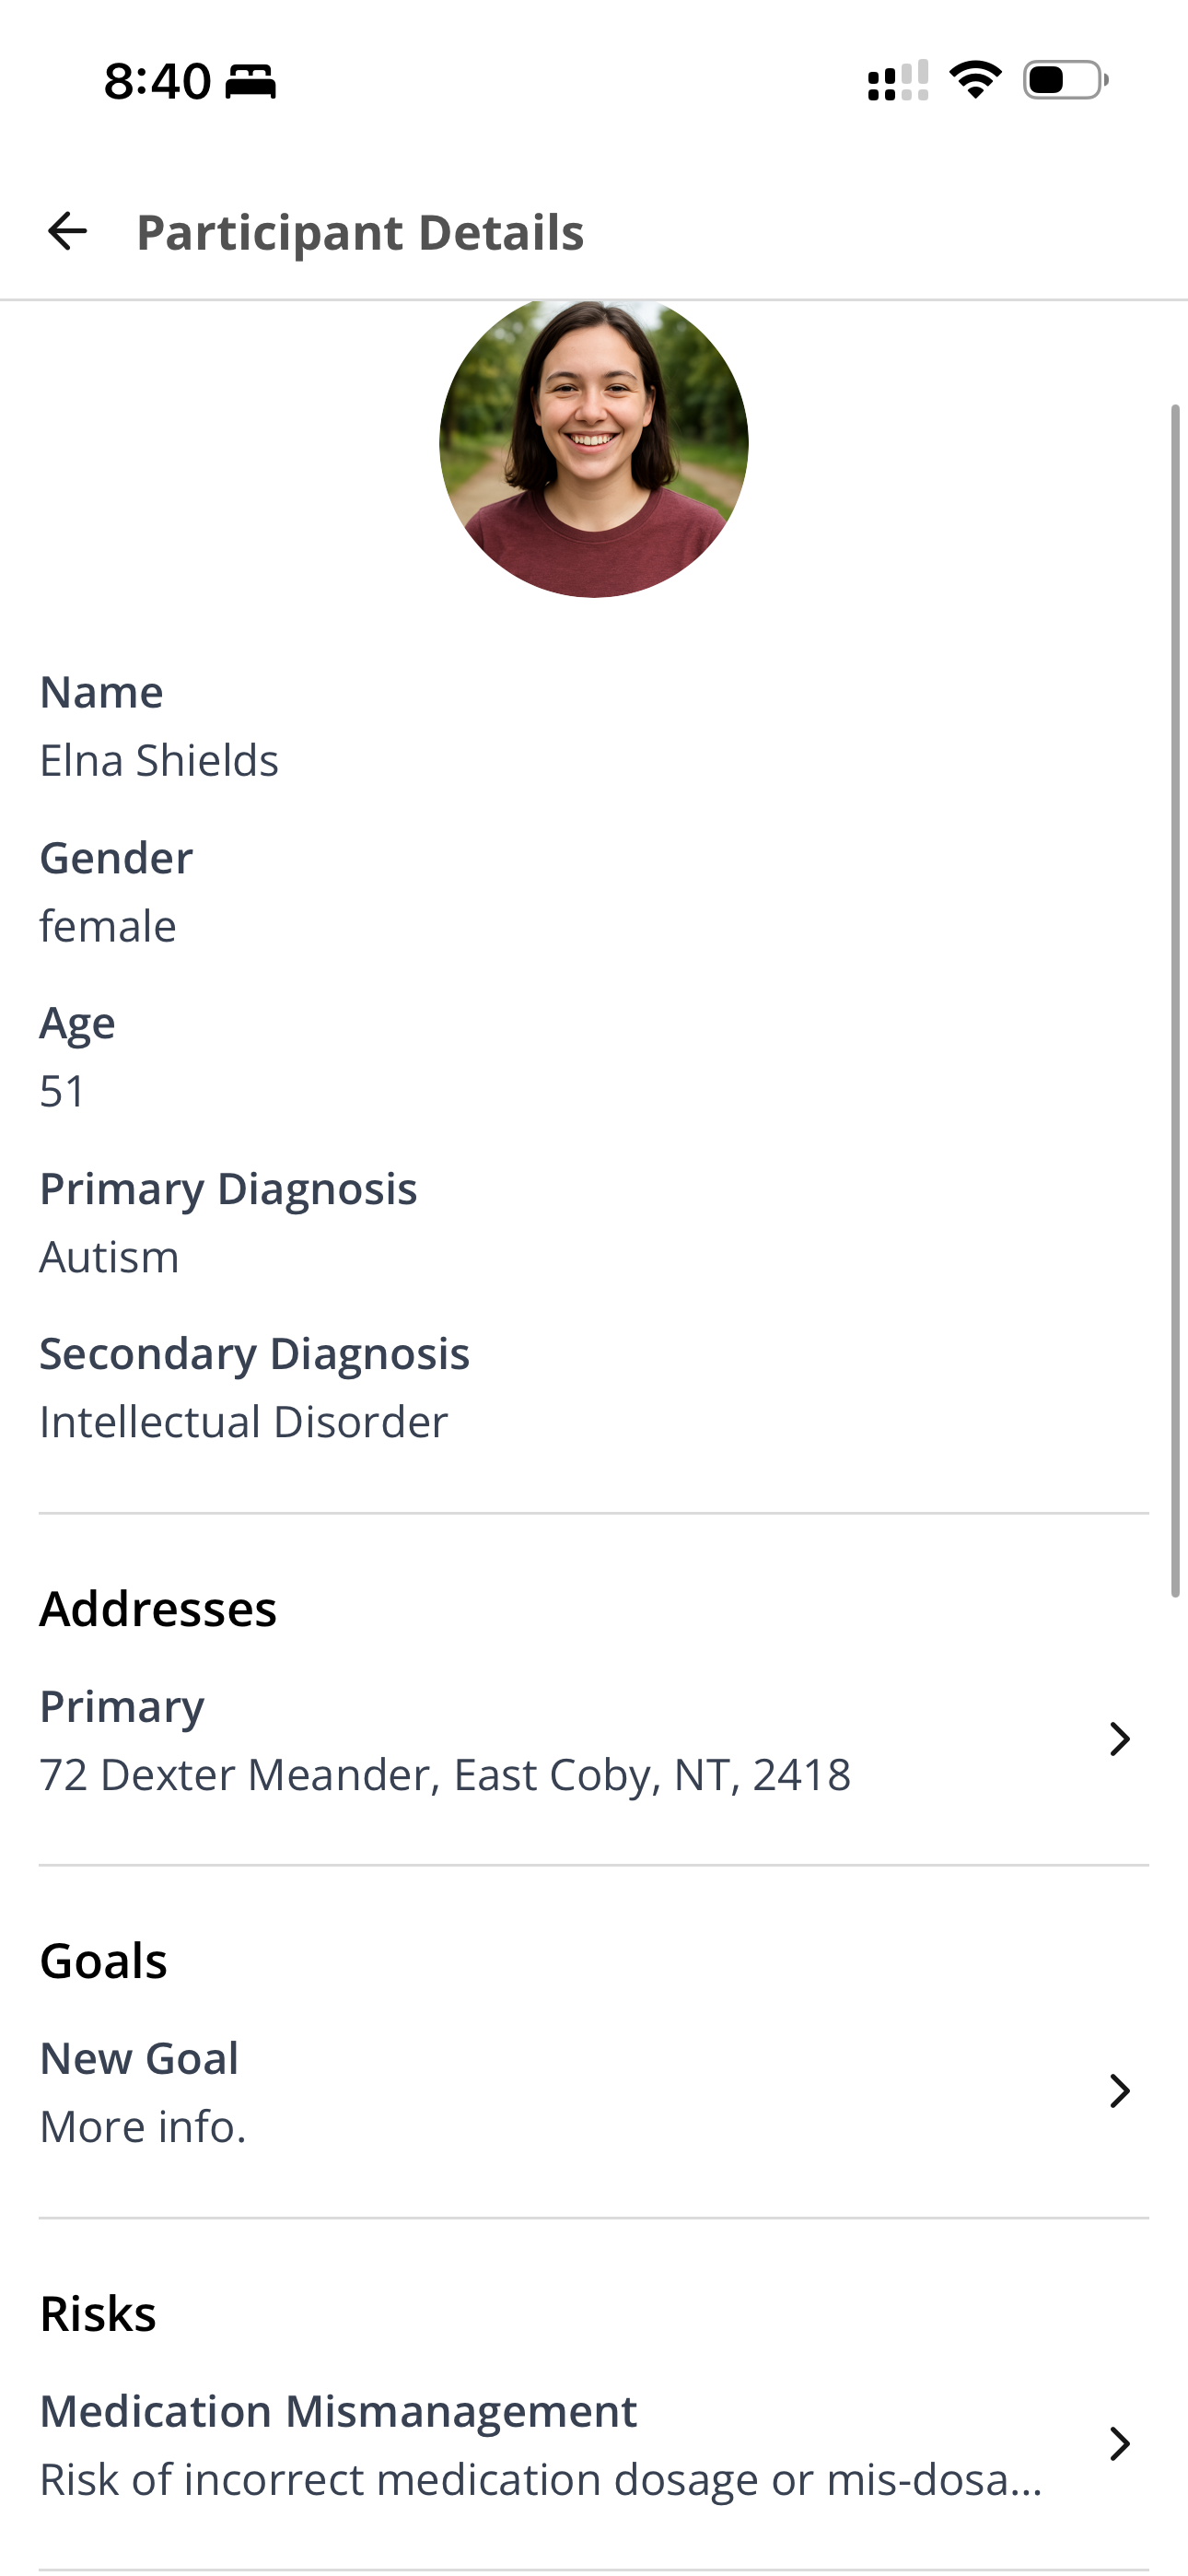
Tap a Participant's name on a shift to open their profile. What you can see there is controlled by the organisation's visibility settings, features, and your permissions.
See Participant Details App View for what each section holds and how it is configured.
Acknowledging Required Records
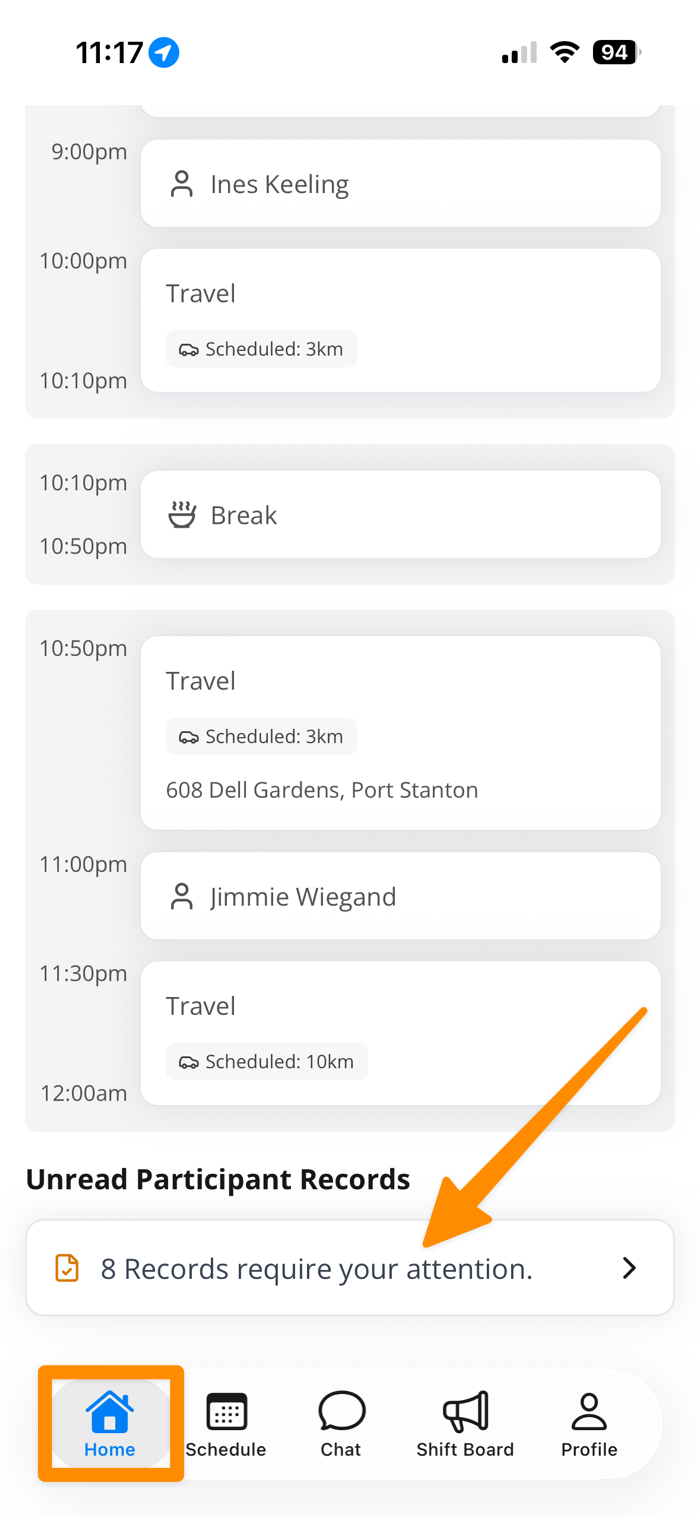
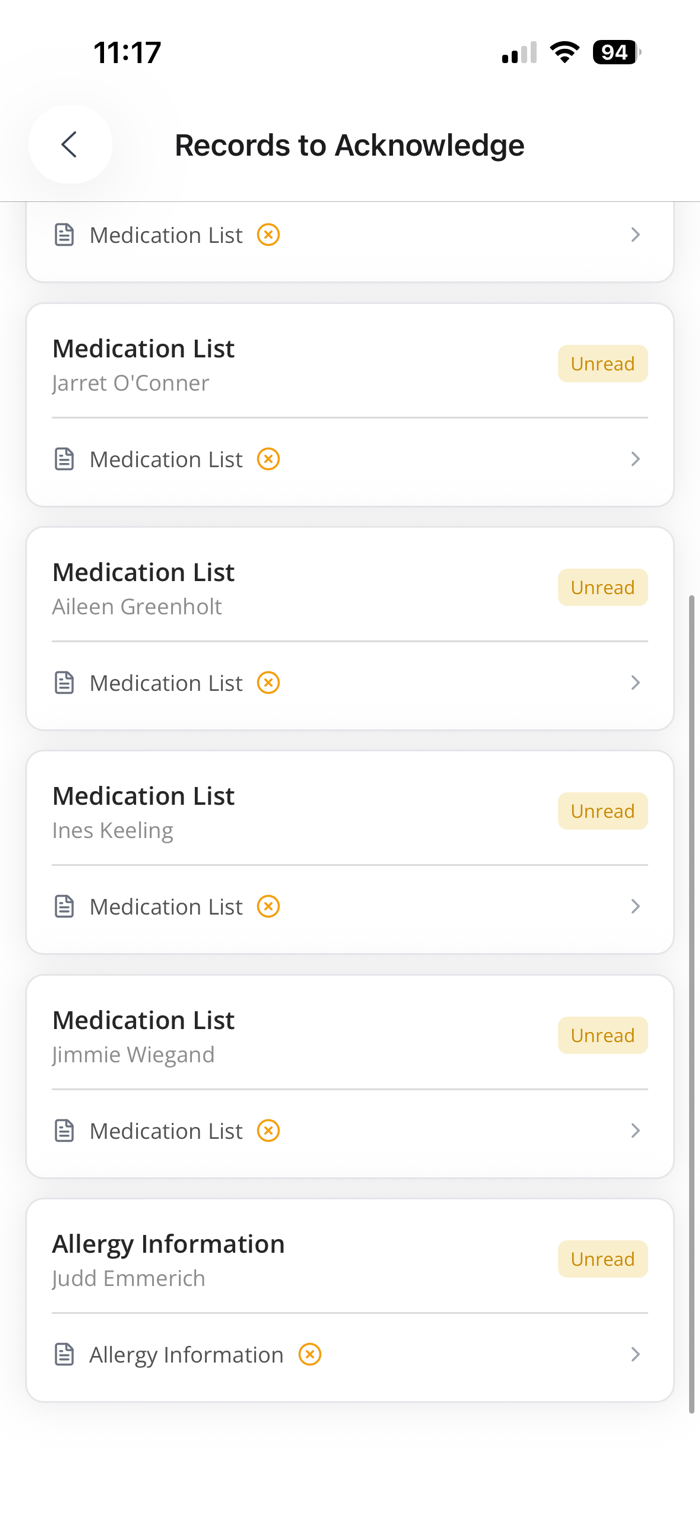
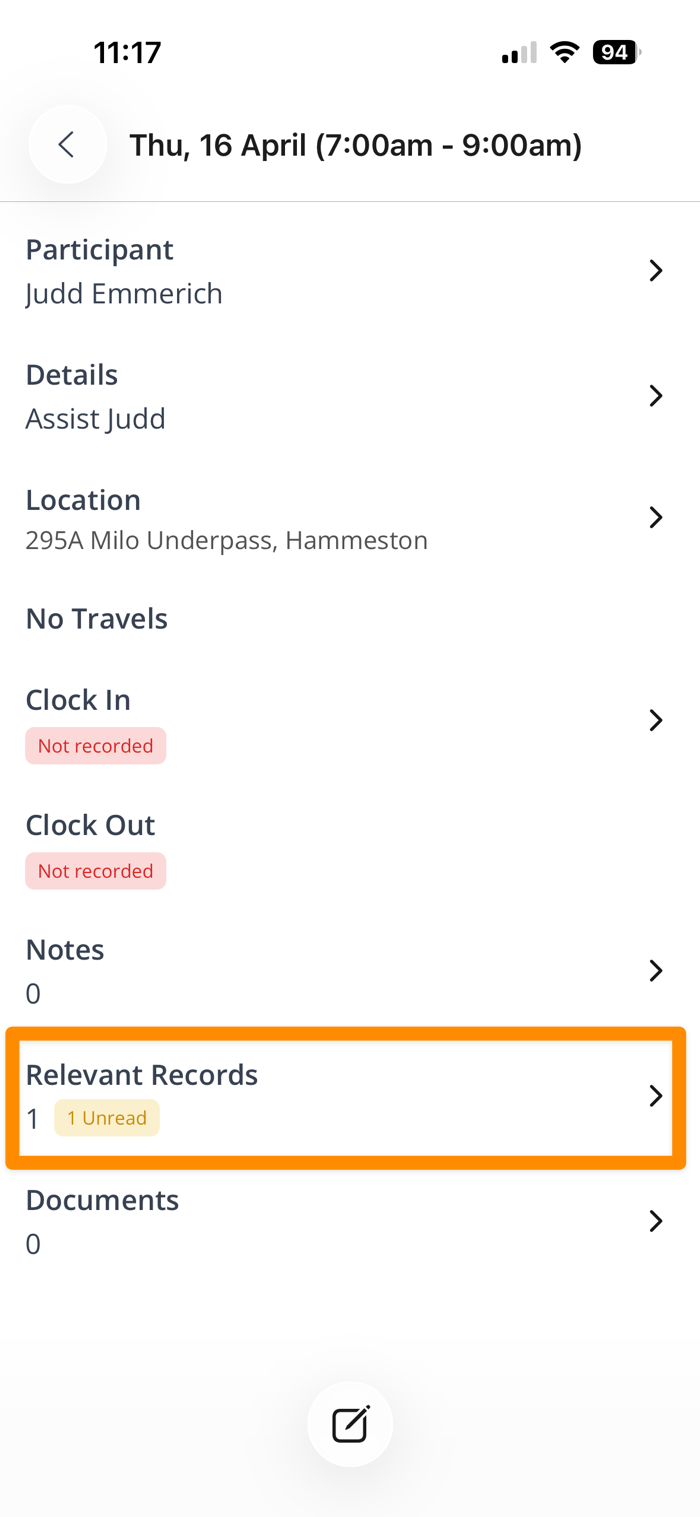
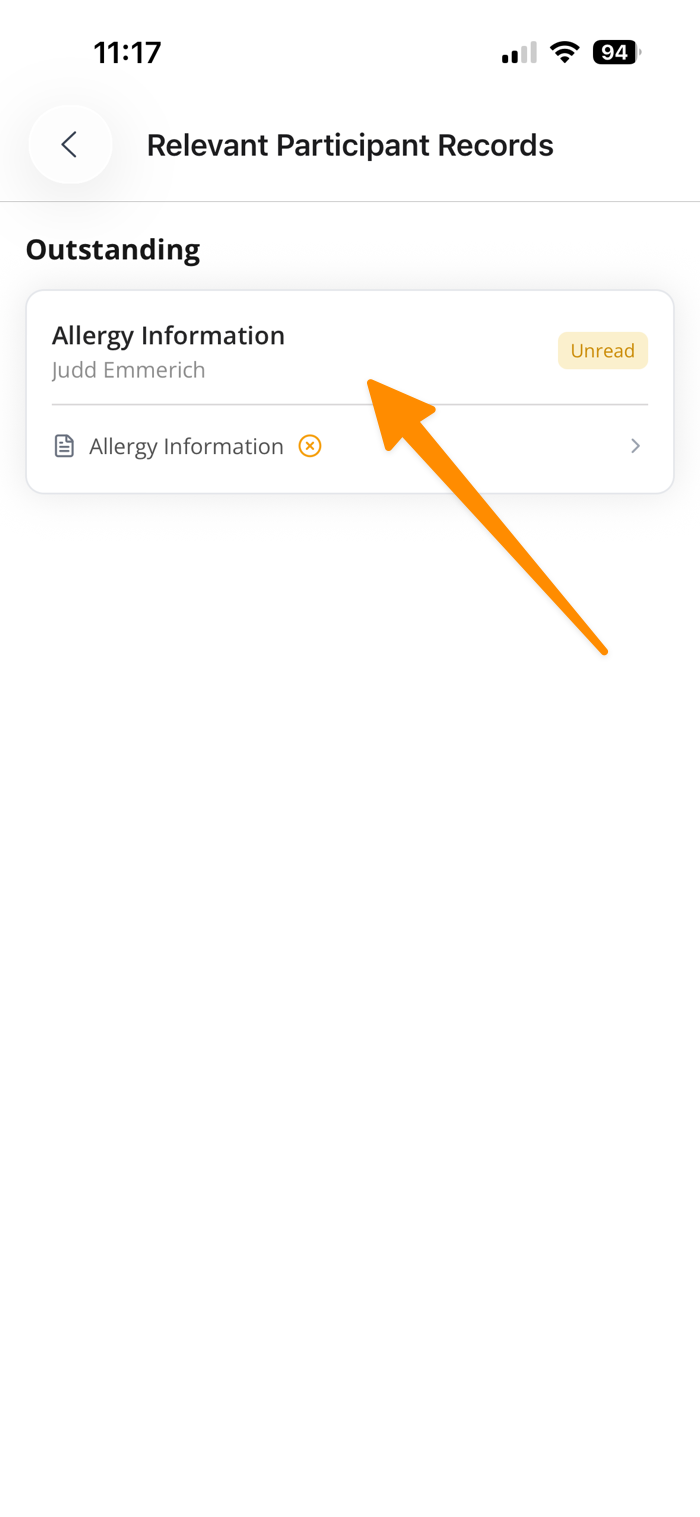
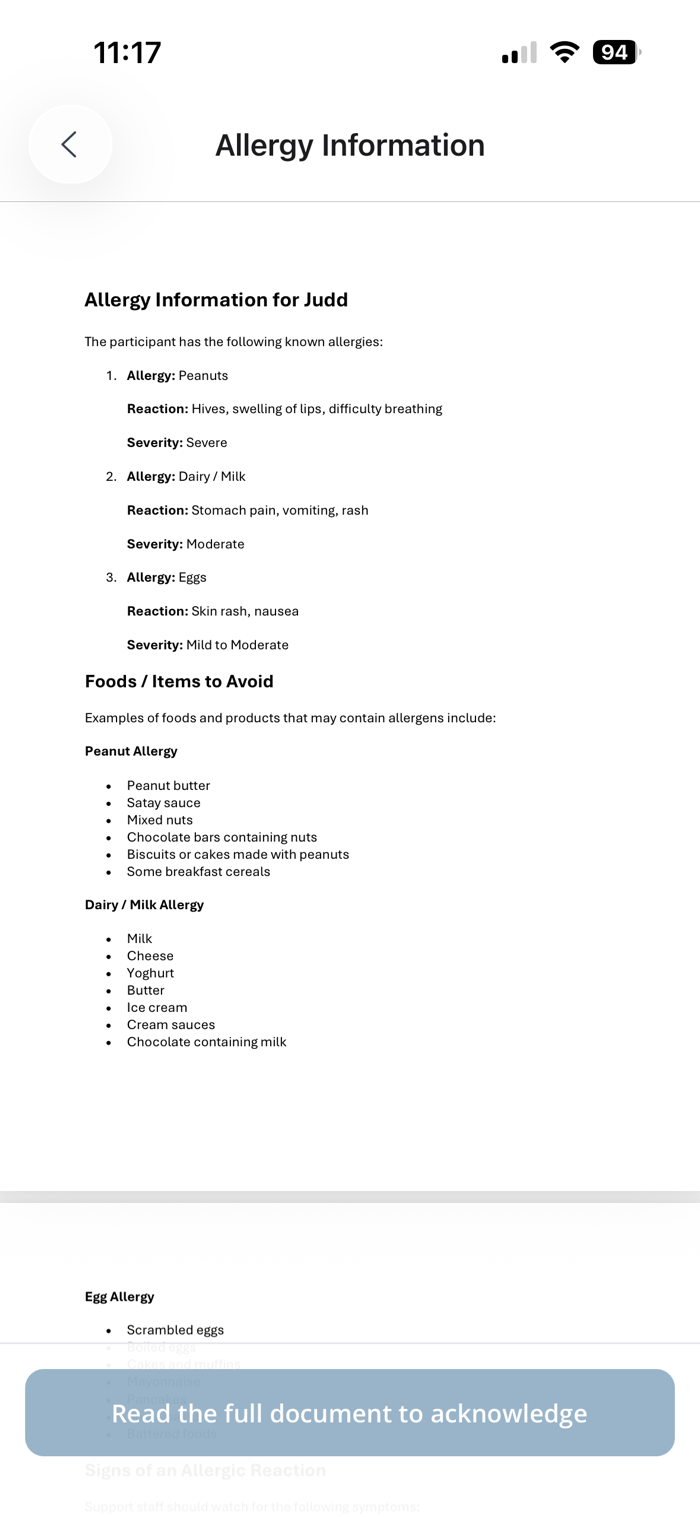
Where a record is marked as requiring acknowledgement, you are prompted to open it and confirm you have read it. The acknowledgement is recorded against your account, which is how your organisation evidences that the information reached the people supporting that Participant.
See Record Acknowledgement for how records are flagged and tracked.
Writing Notes
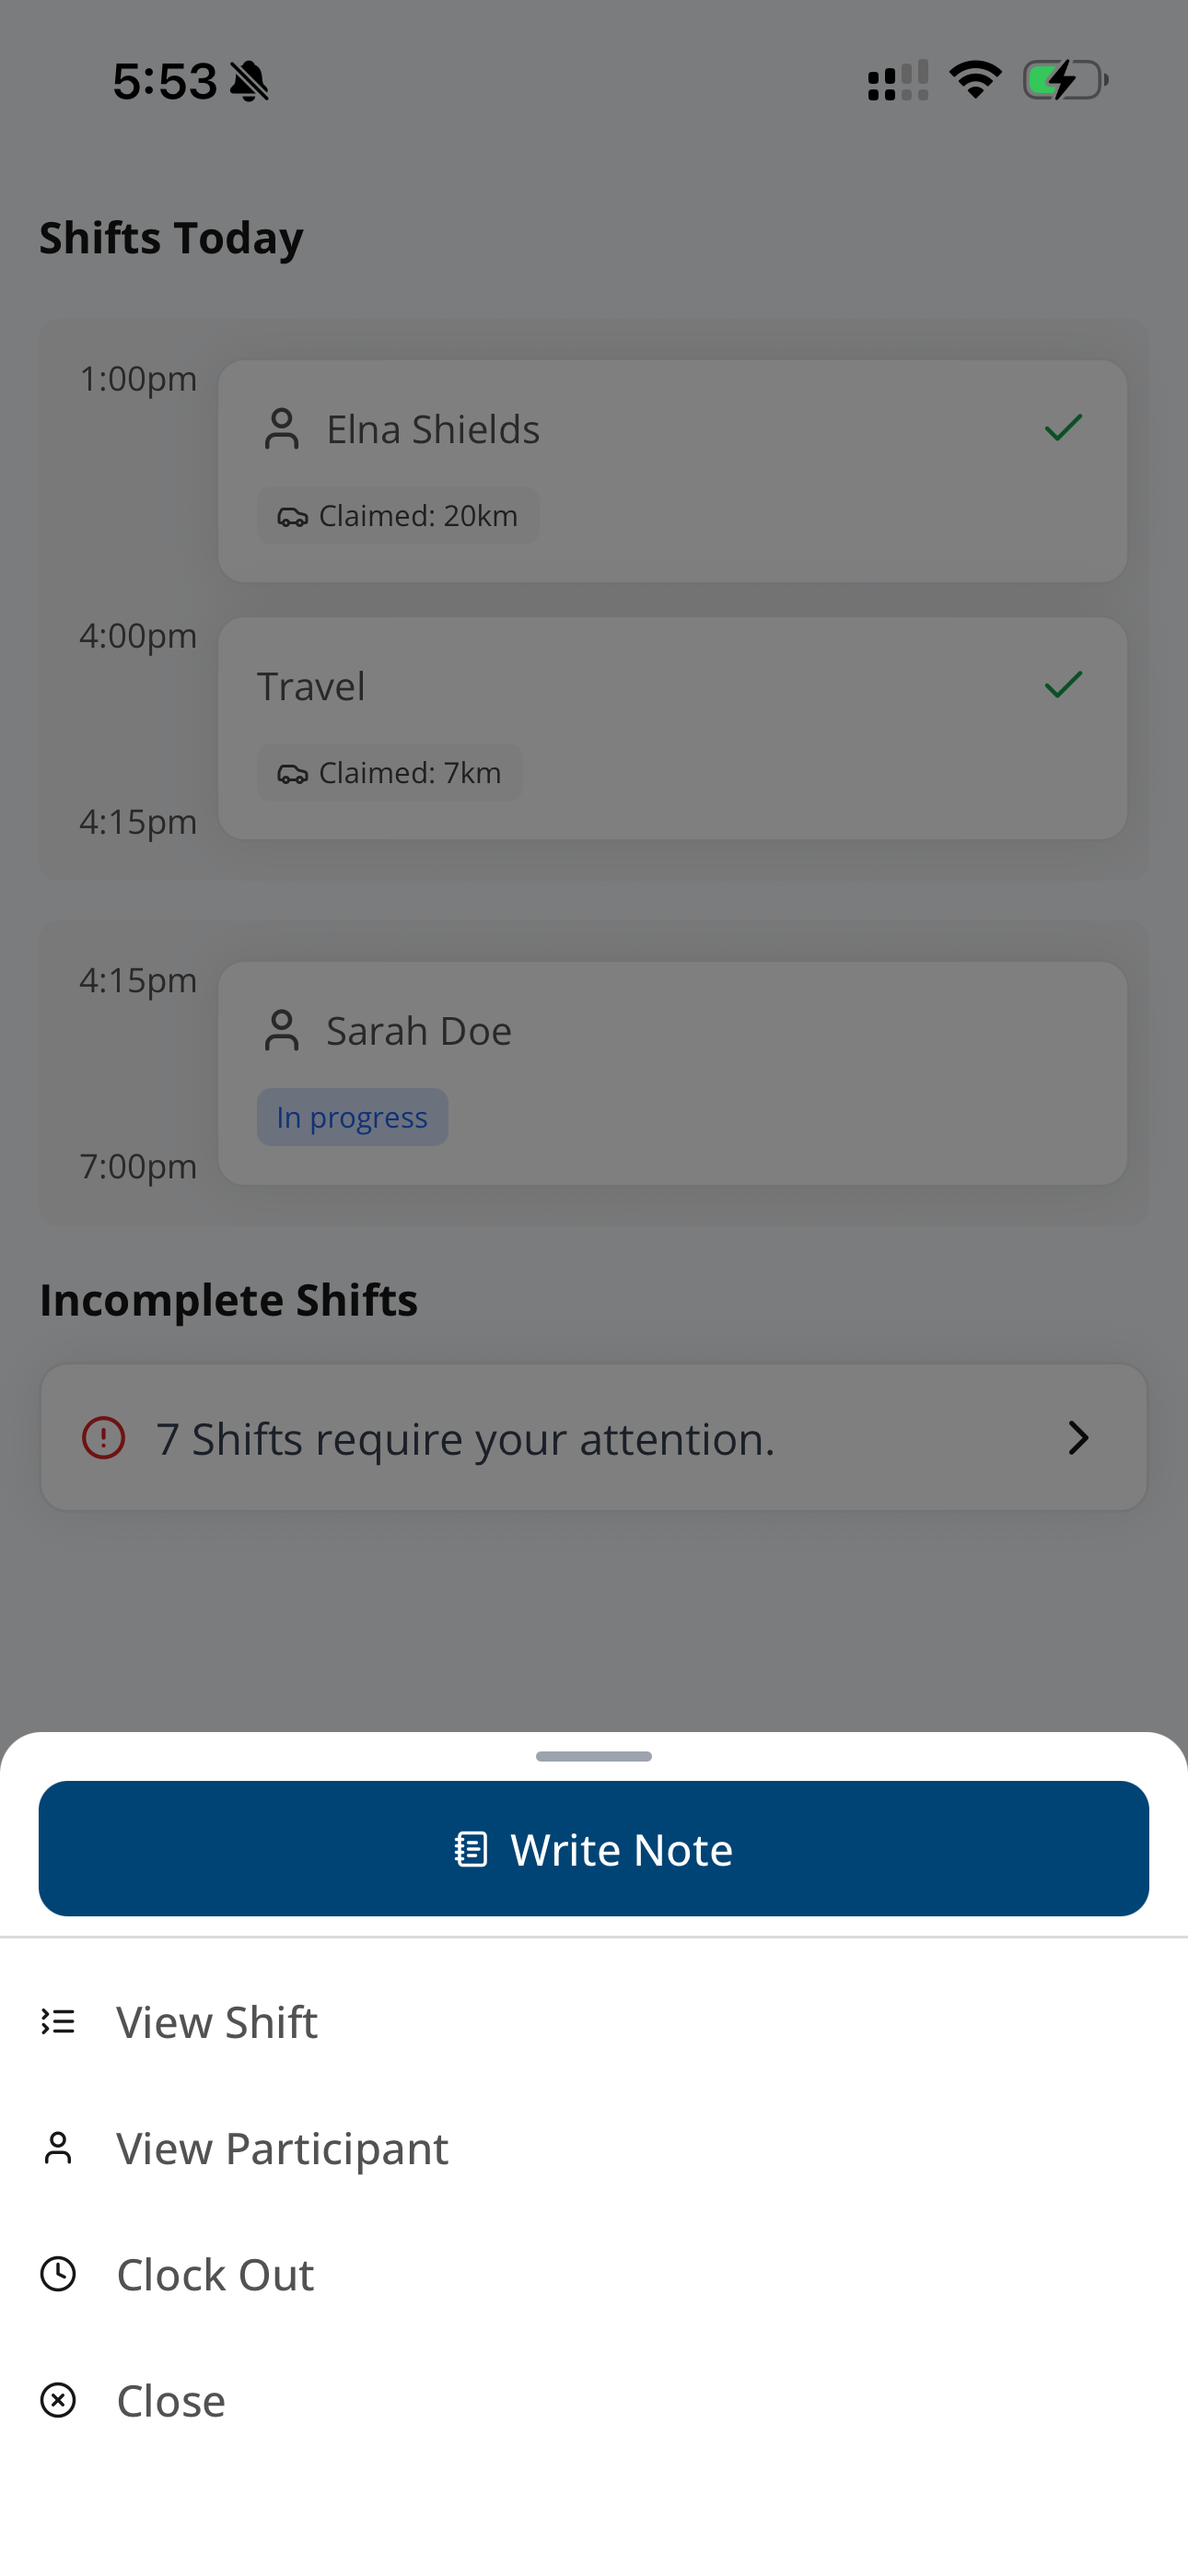
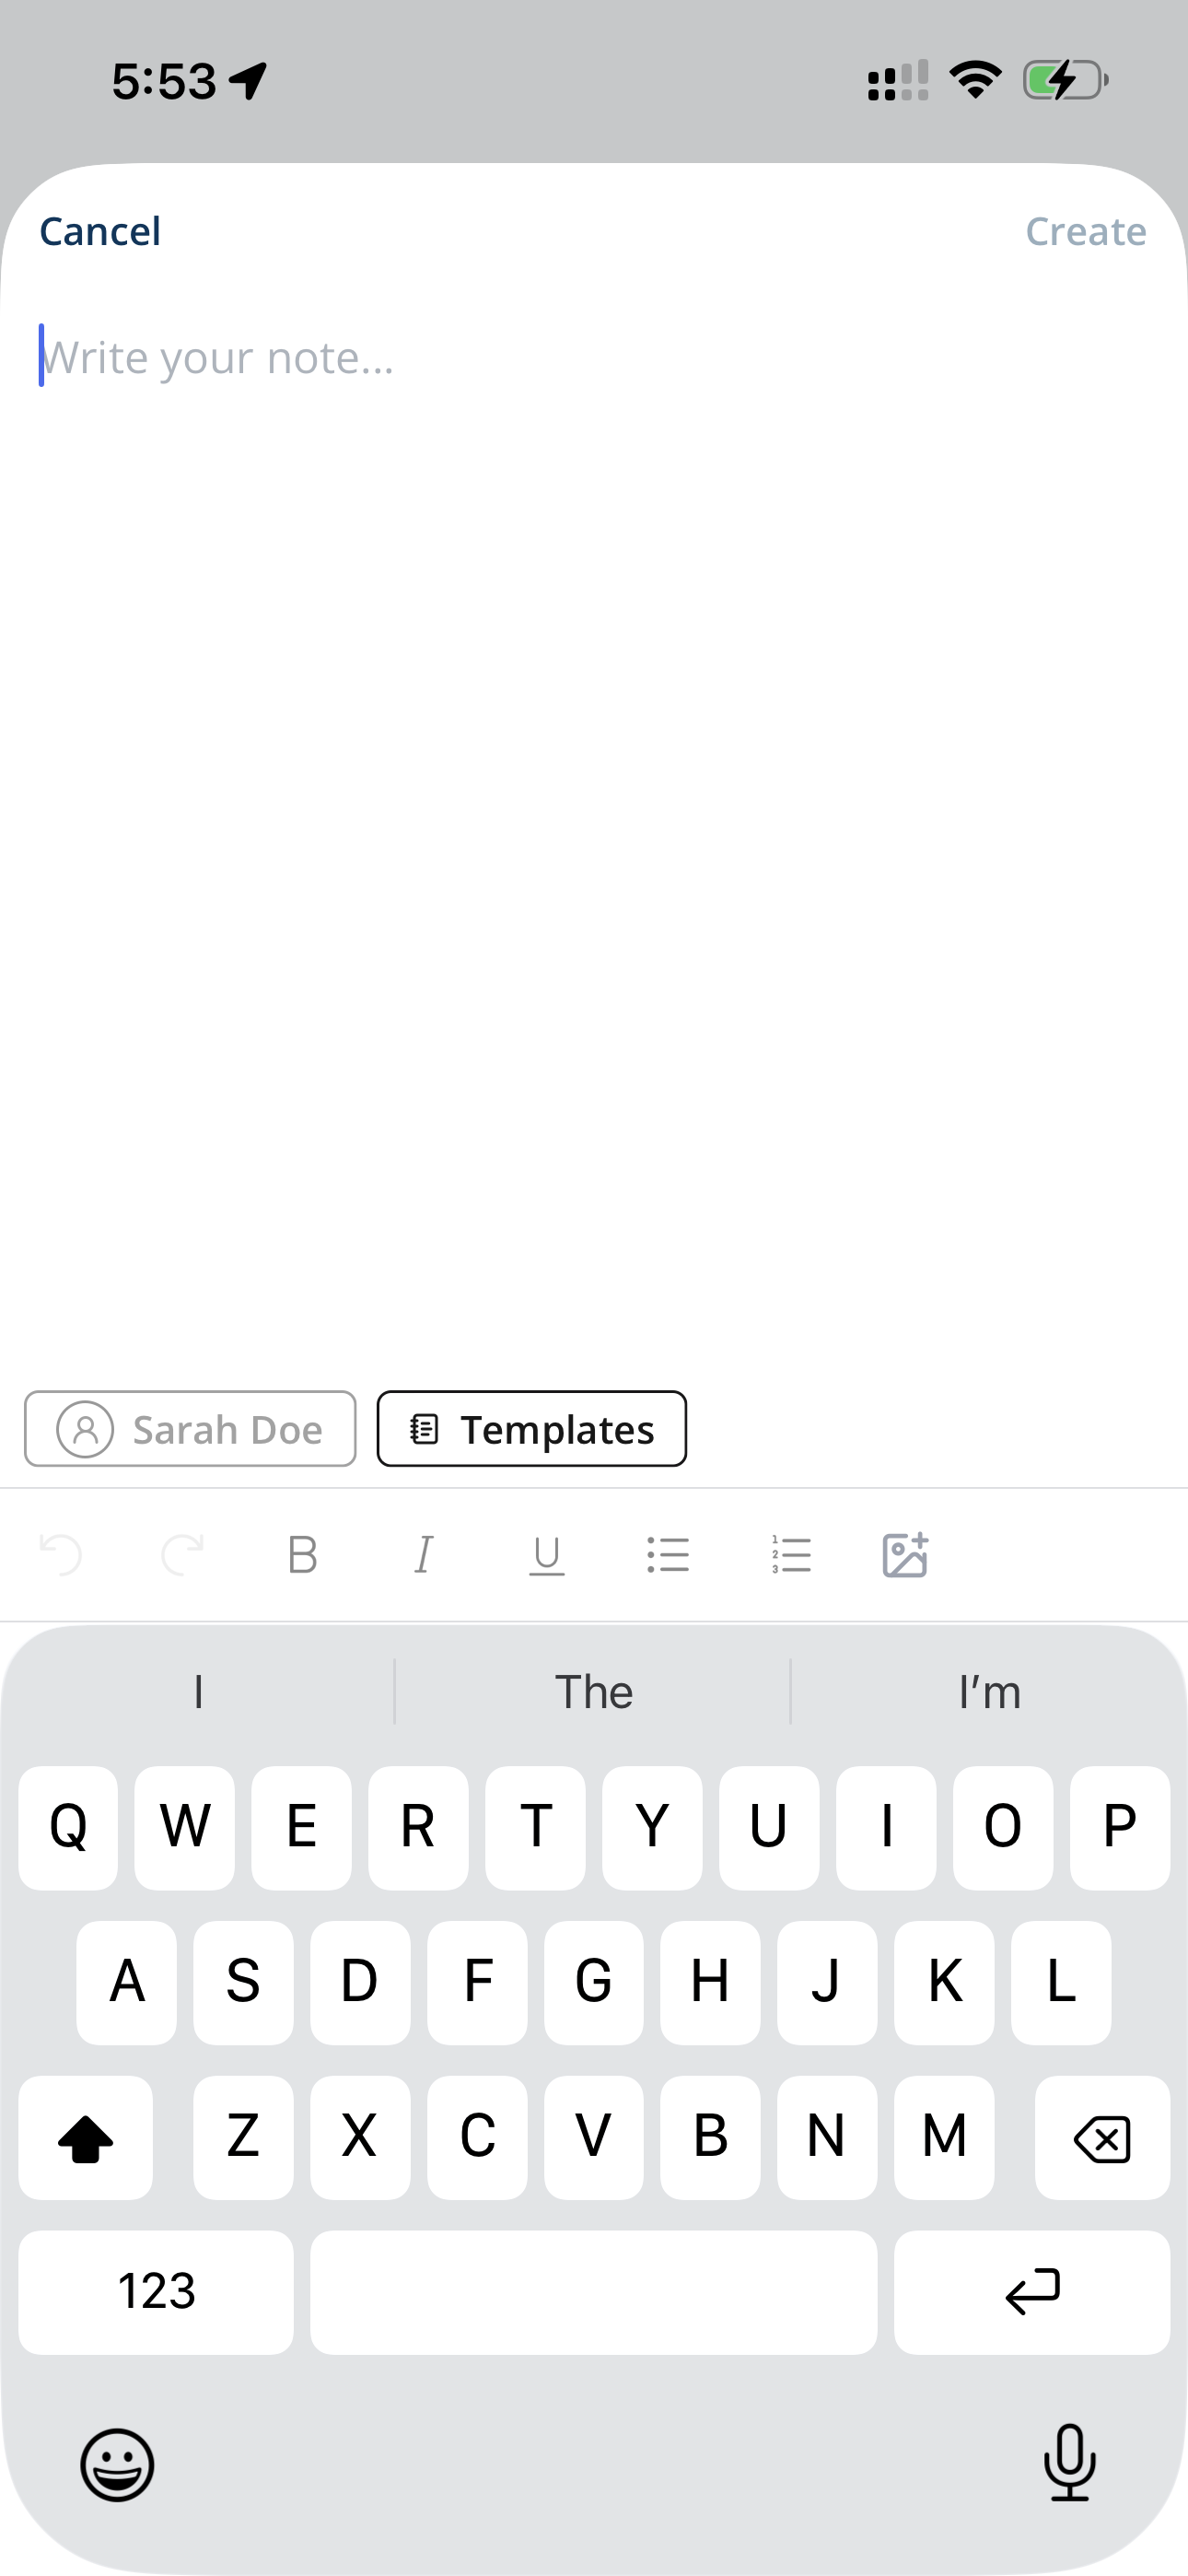
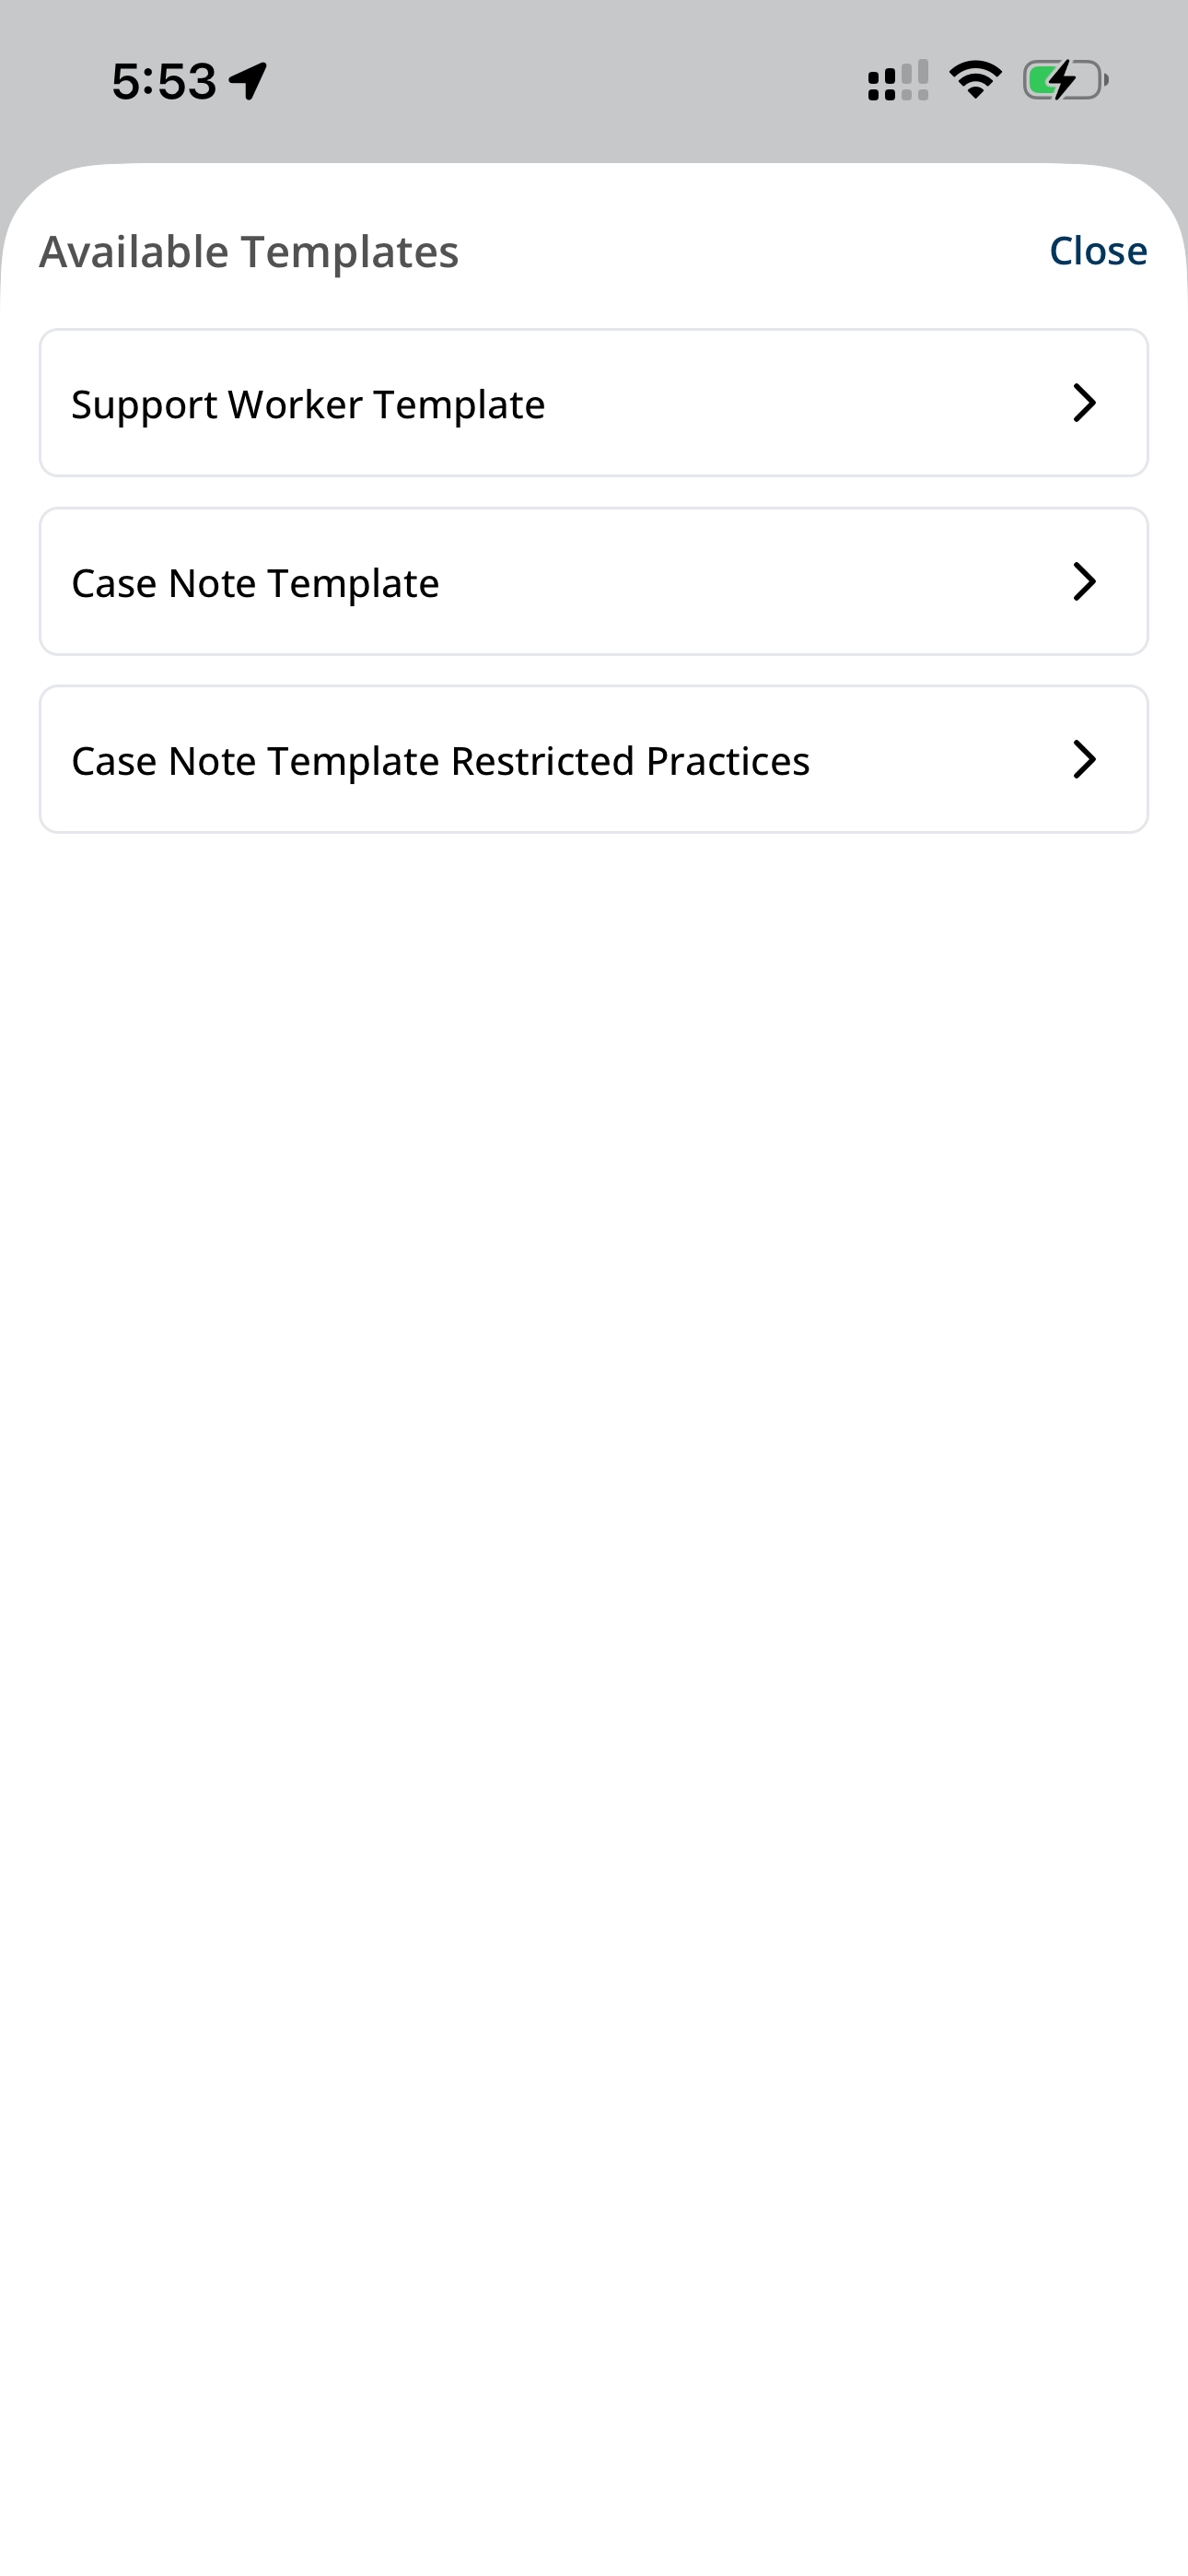
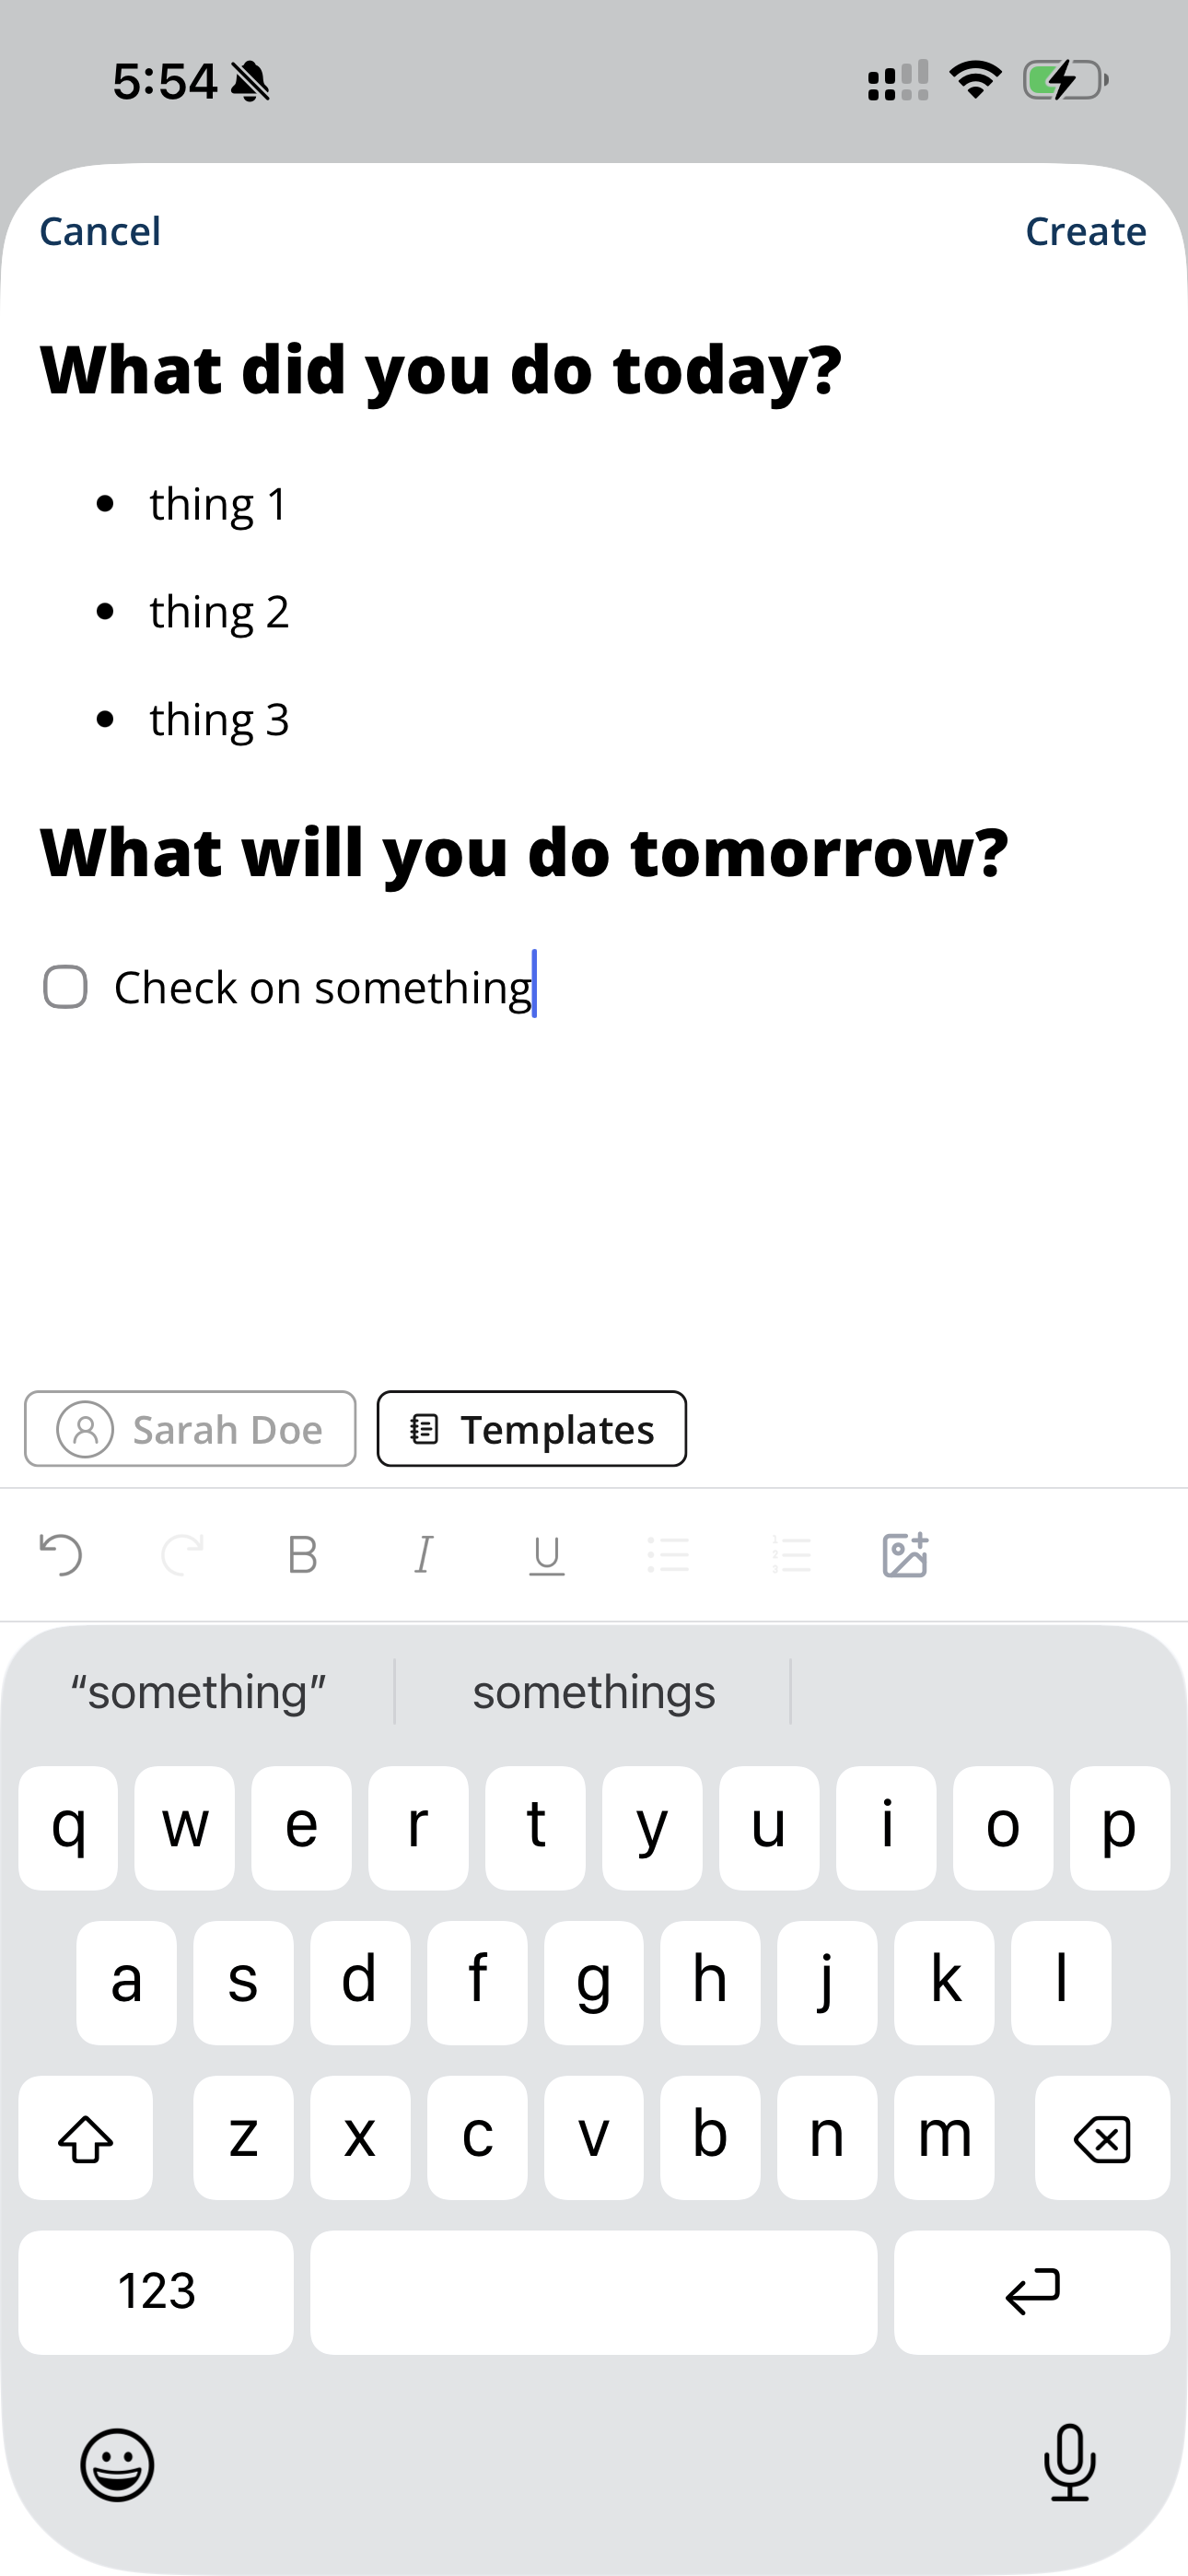
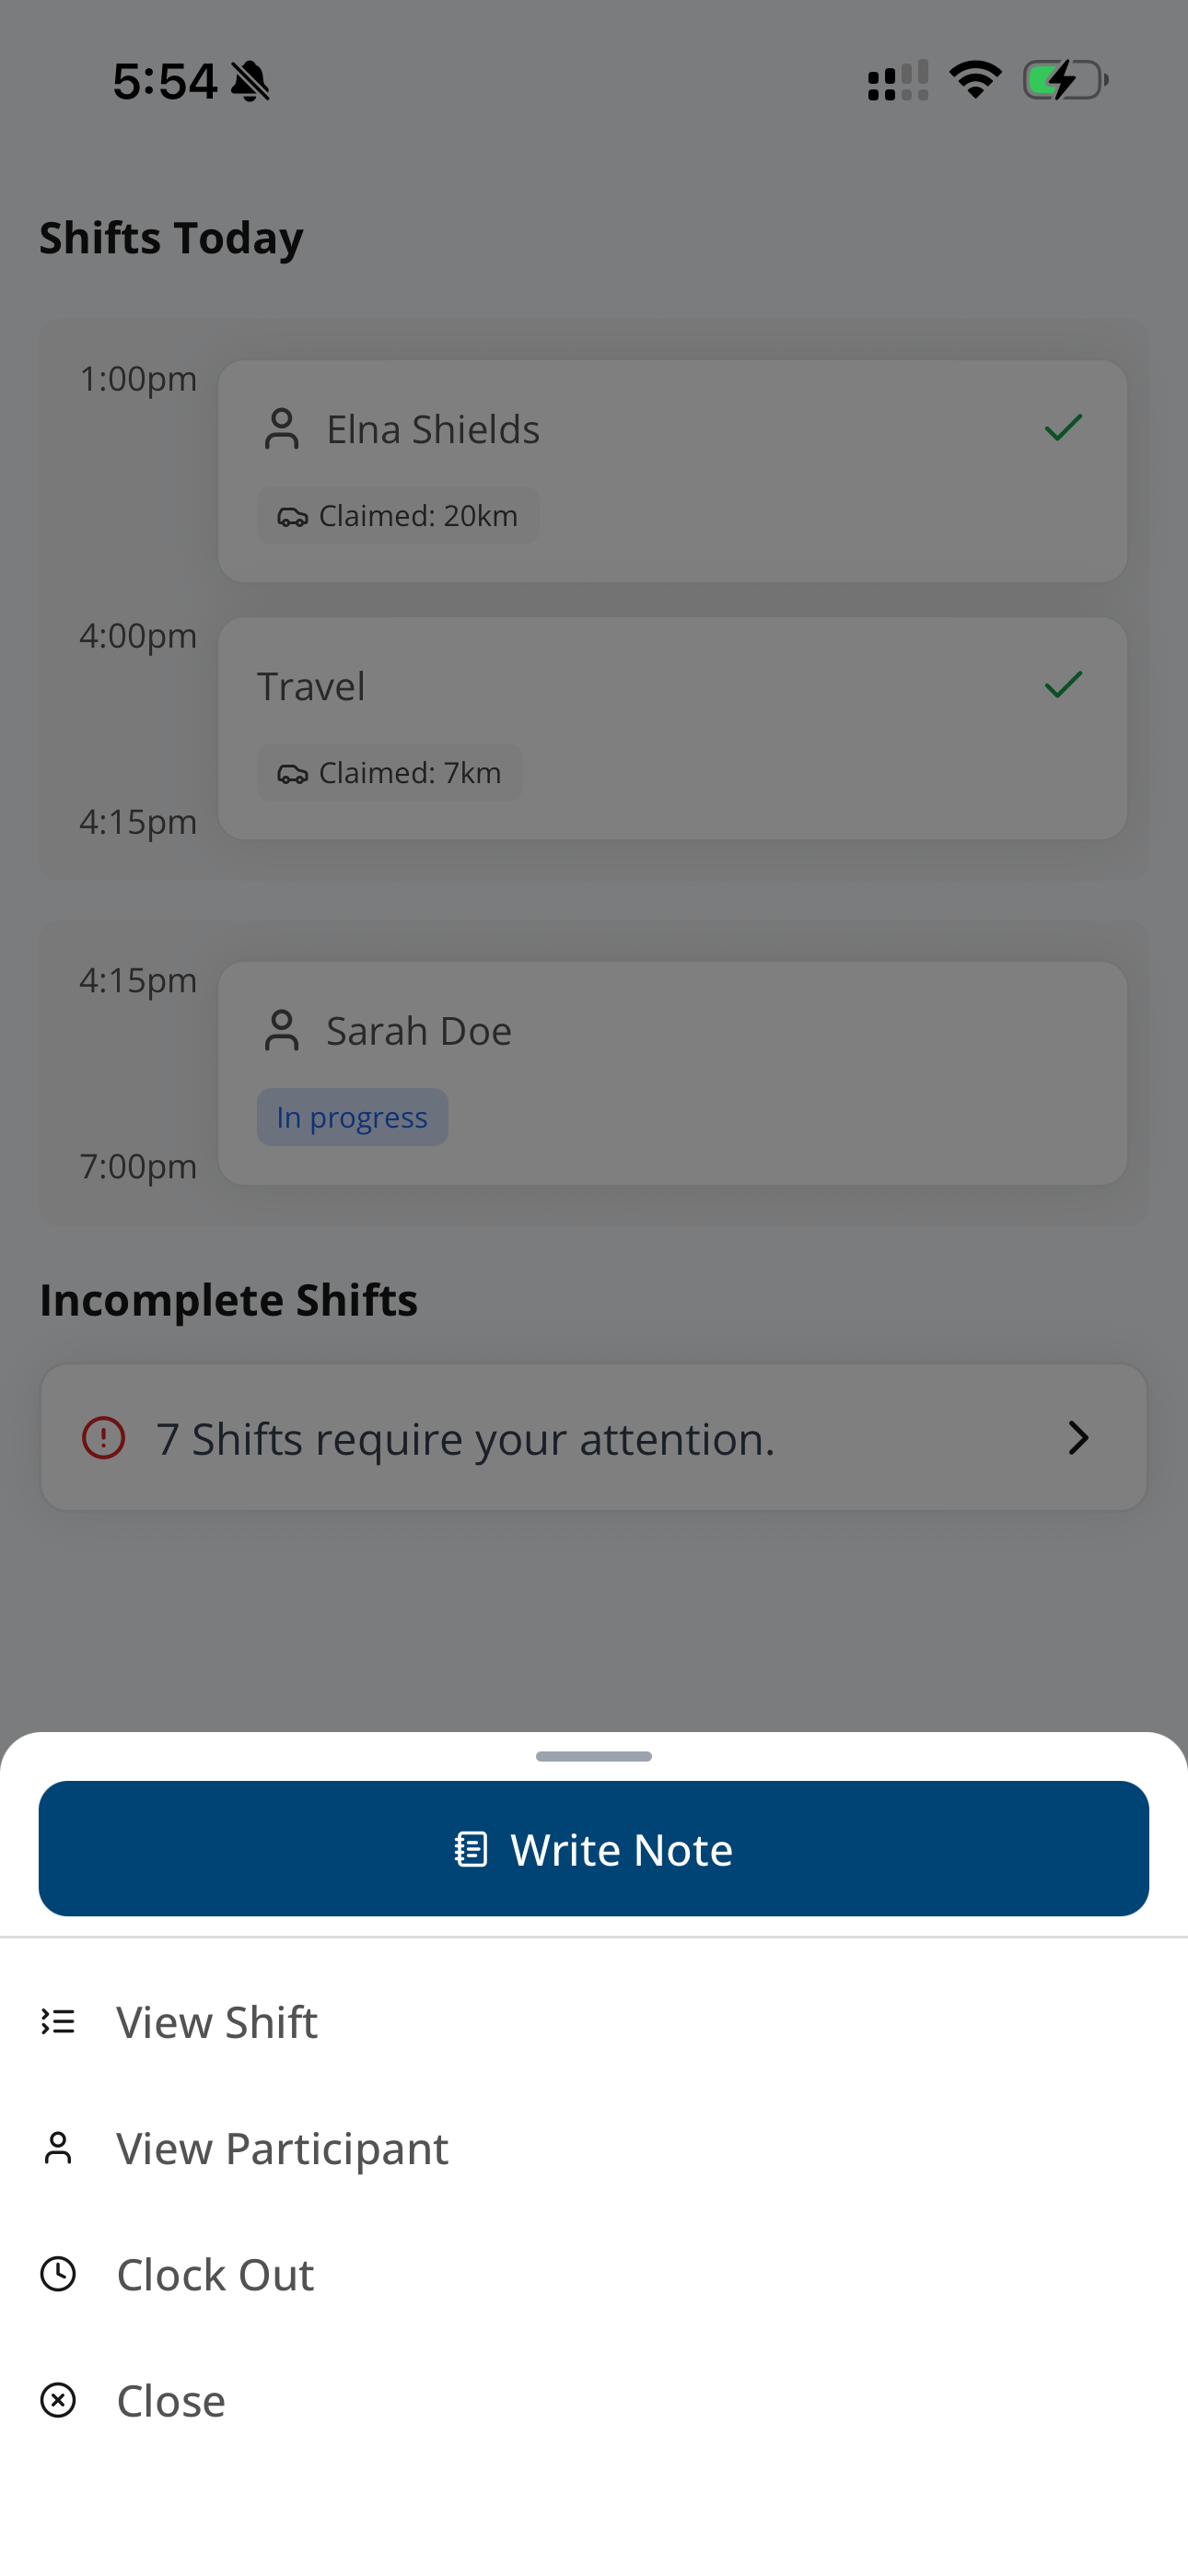
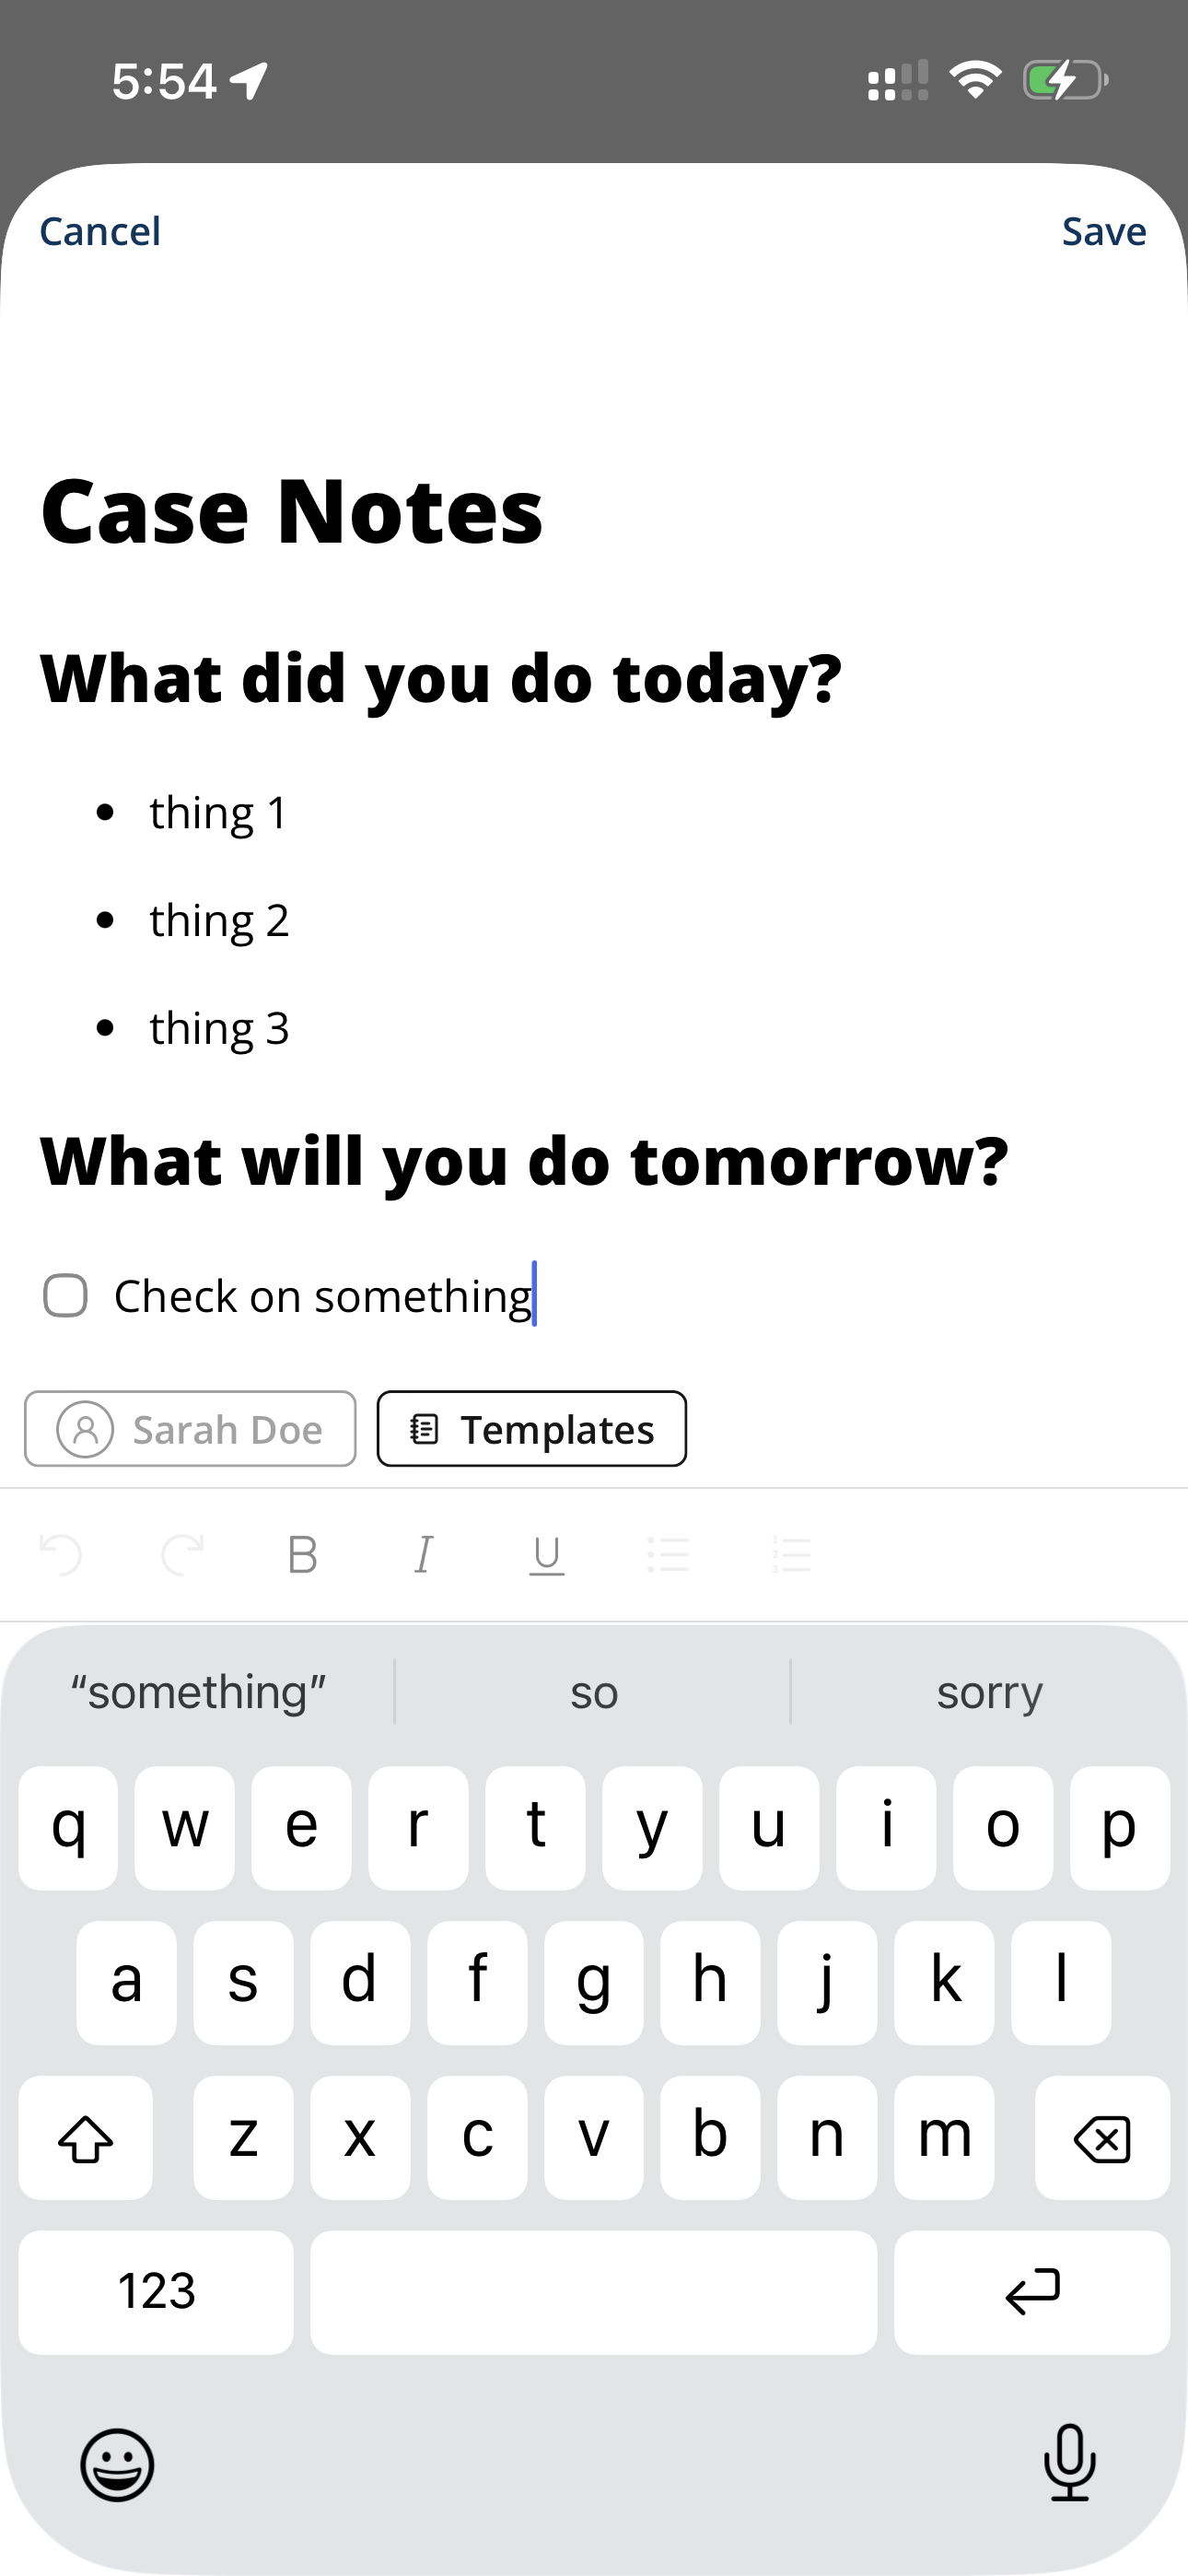
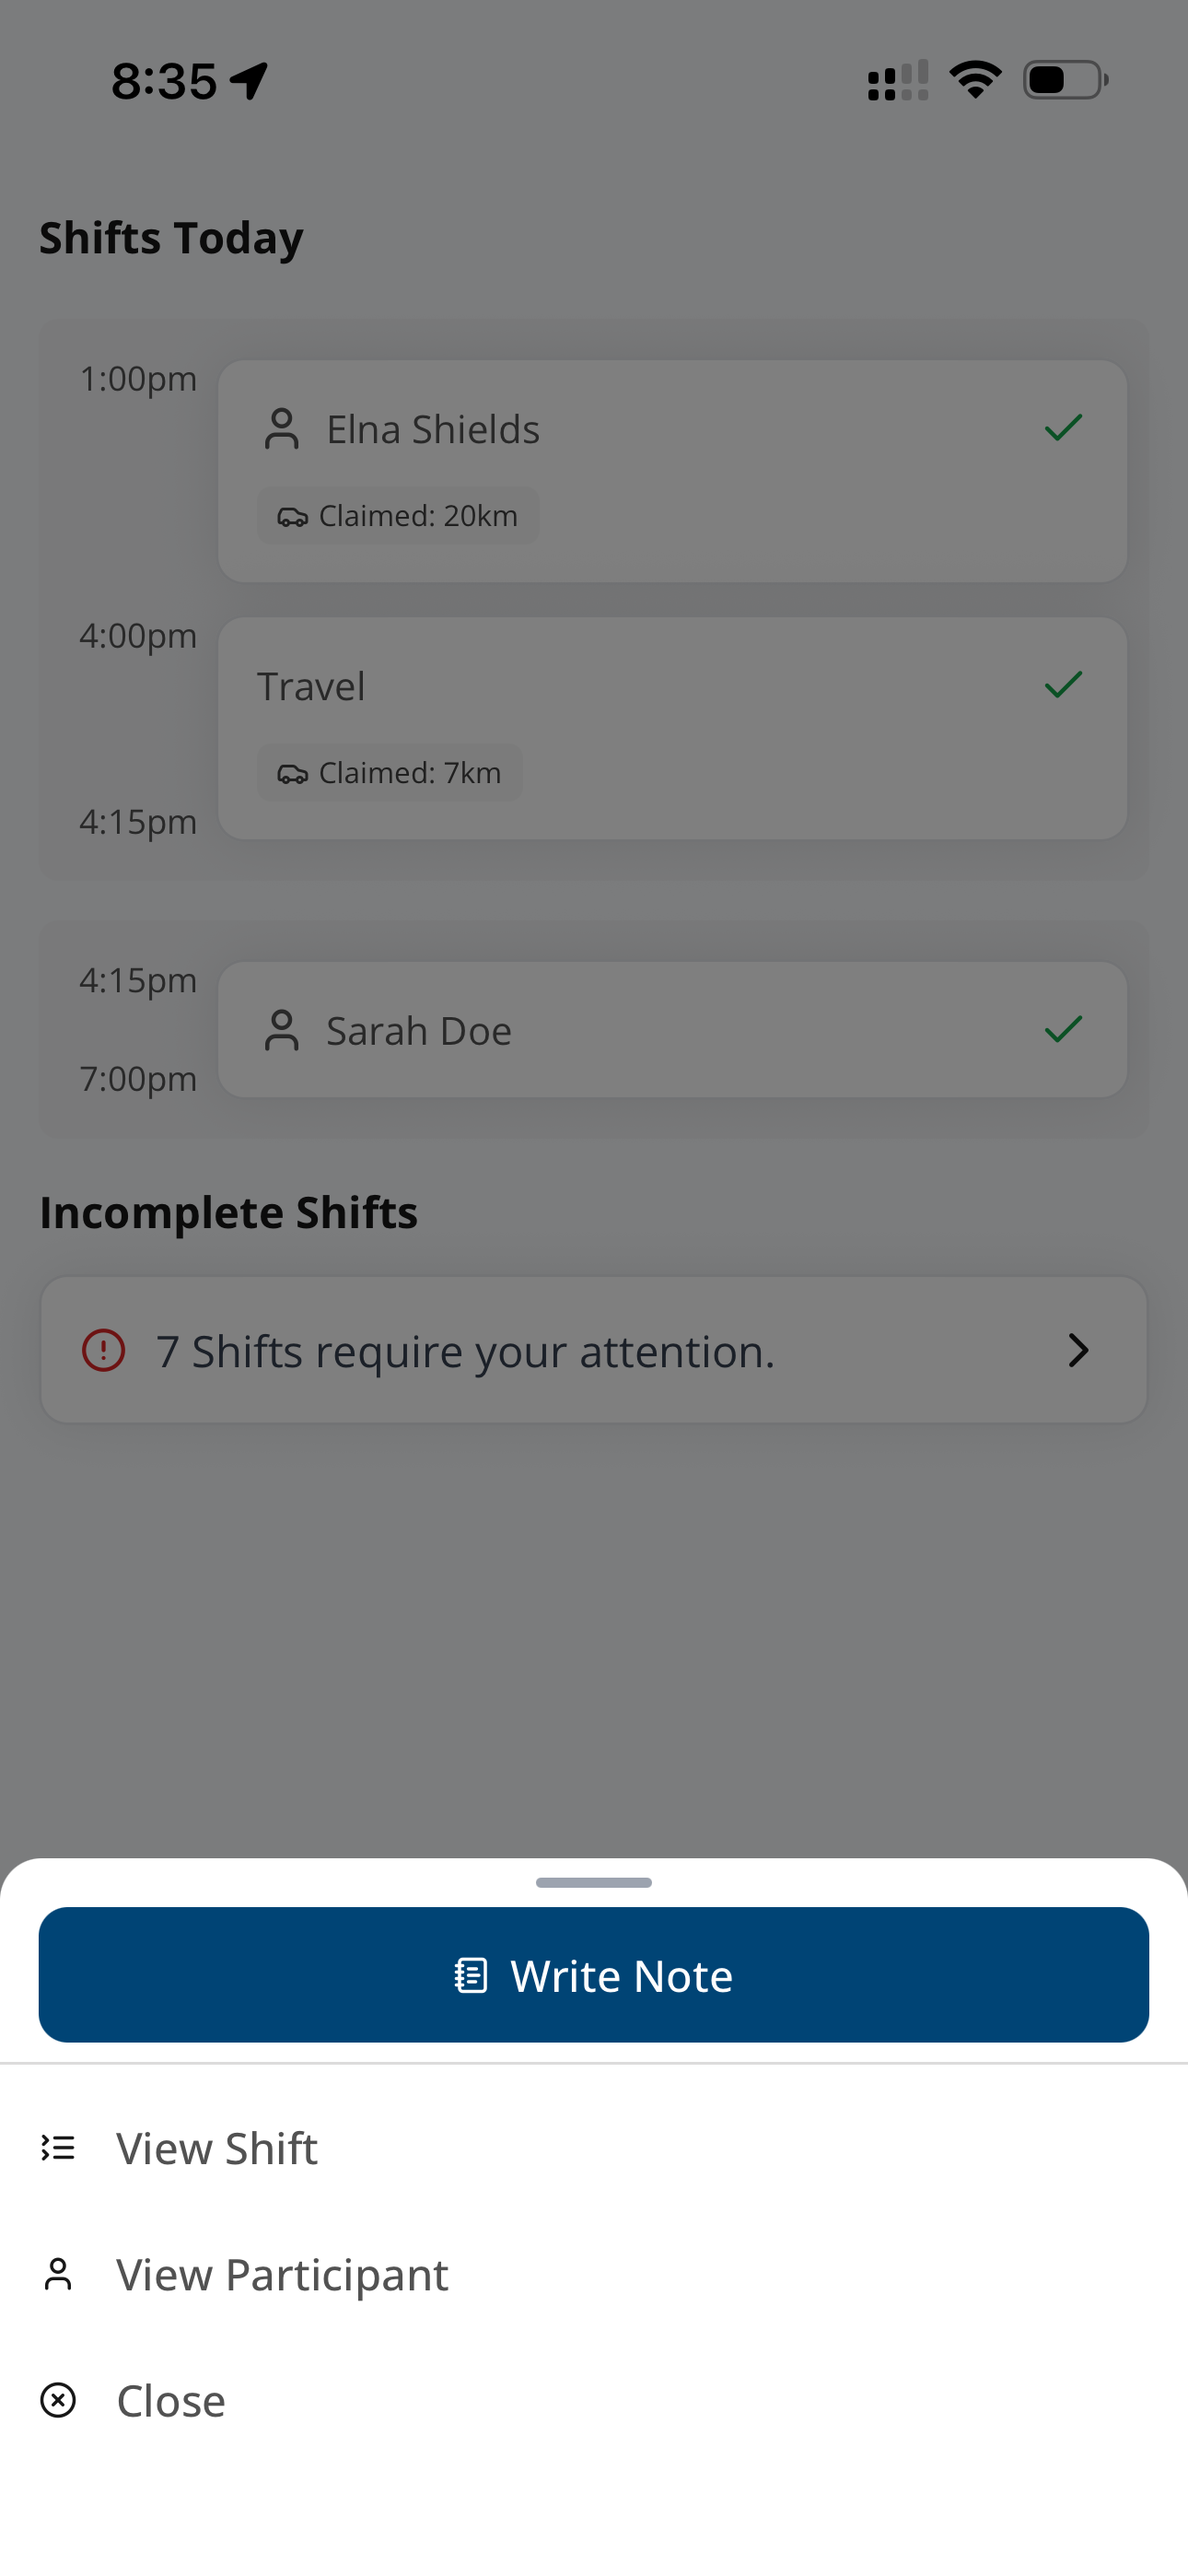
Open the support you are documenting, select Write Note, and enter the details. The note saves as you type. Select the tick in the top right when you are finished. A required note left unwritten appears under Incomplete Shifts.
See Case Noting in the App for the full walkthrough, including completing a note you missed.
Editing Notes
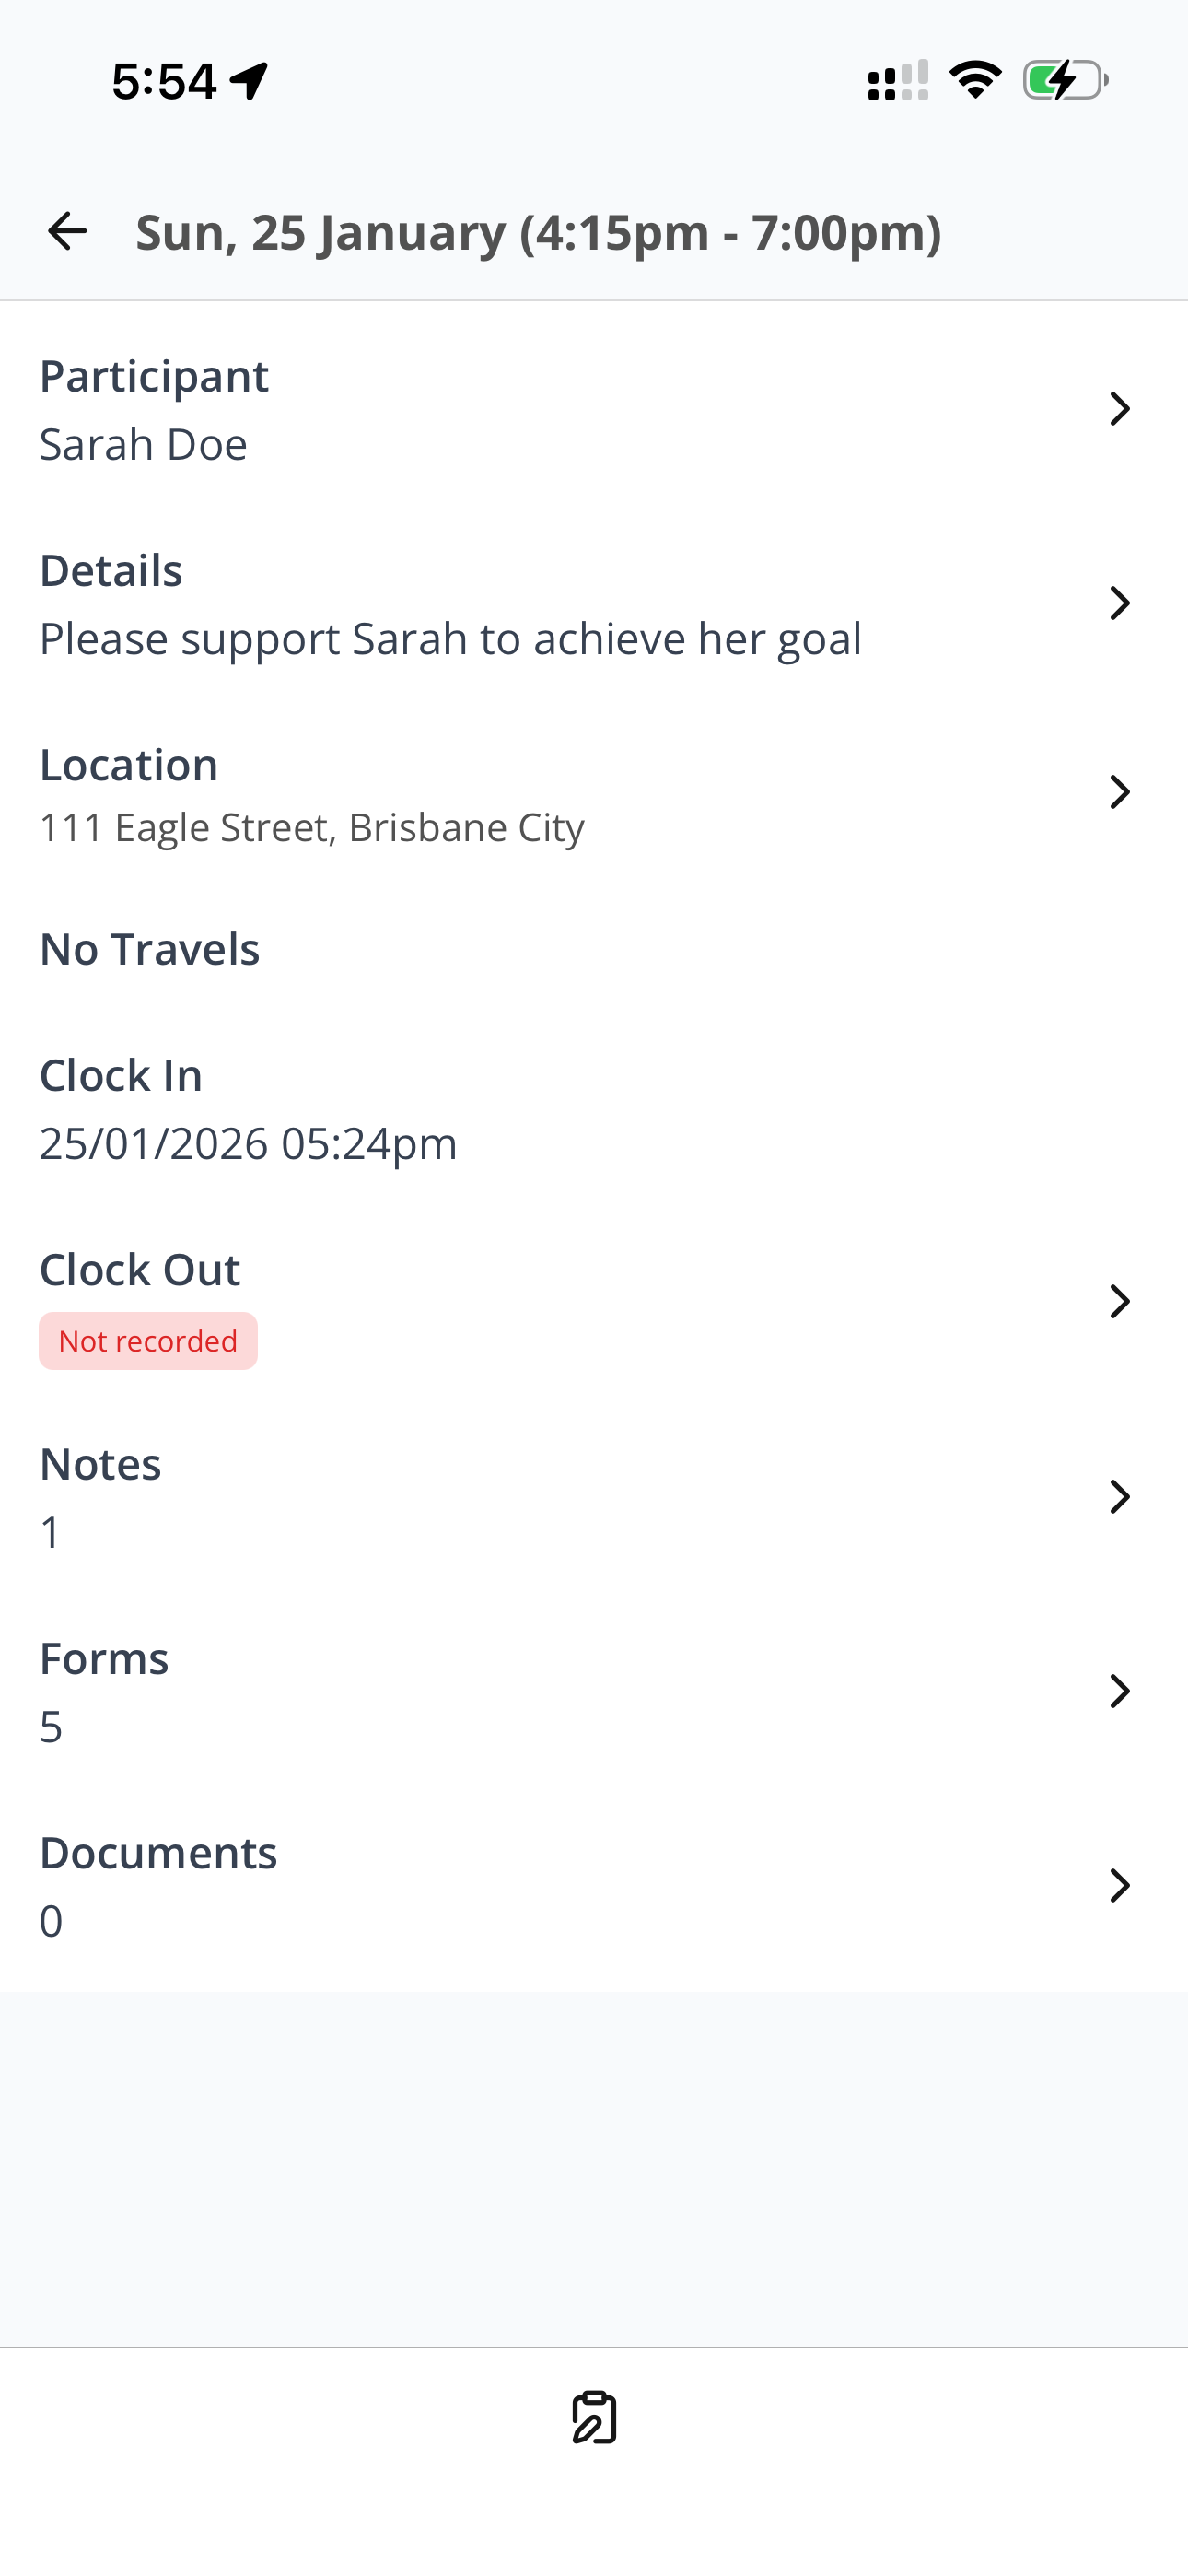
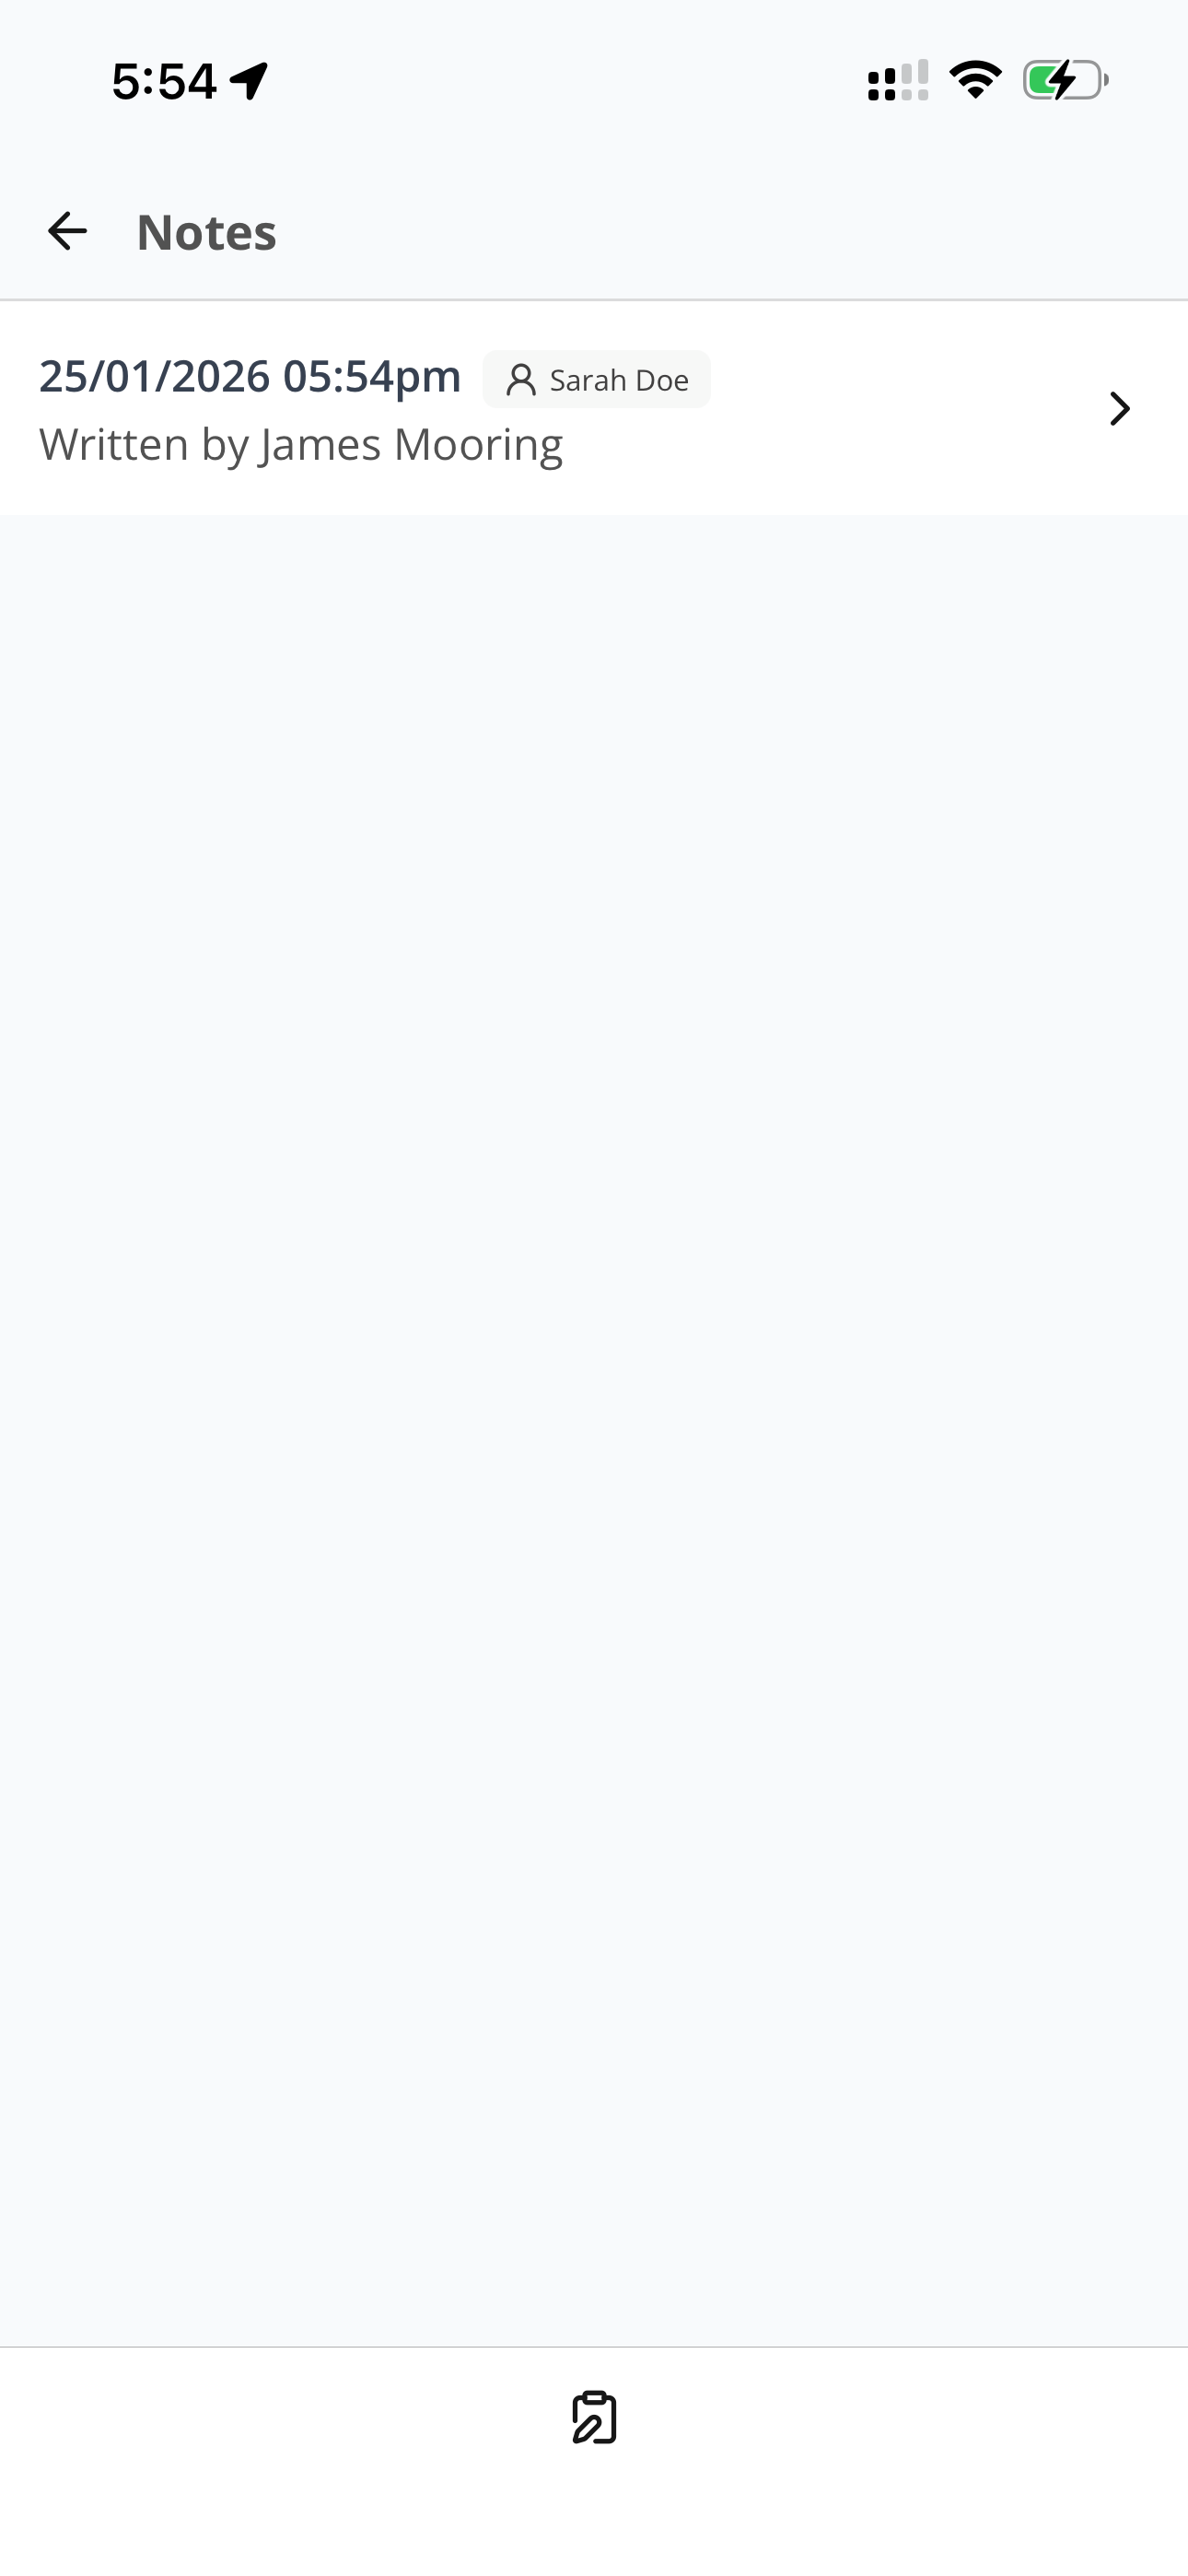
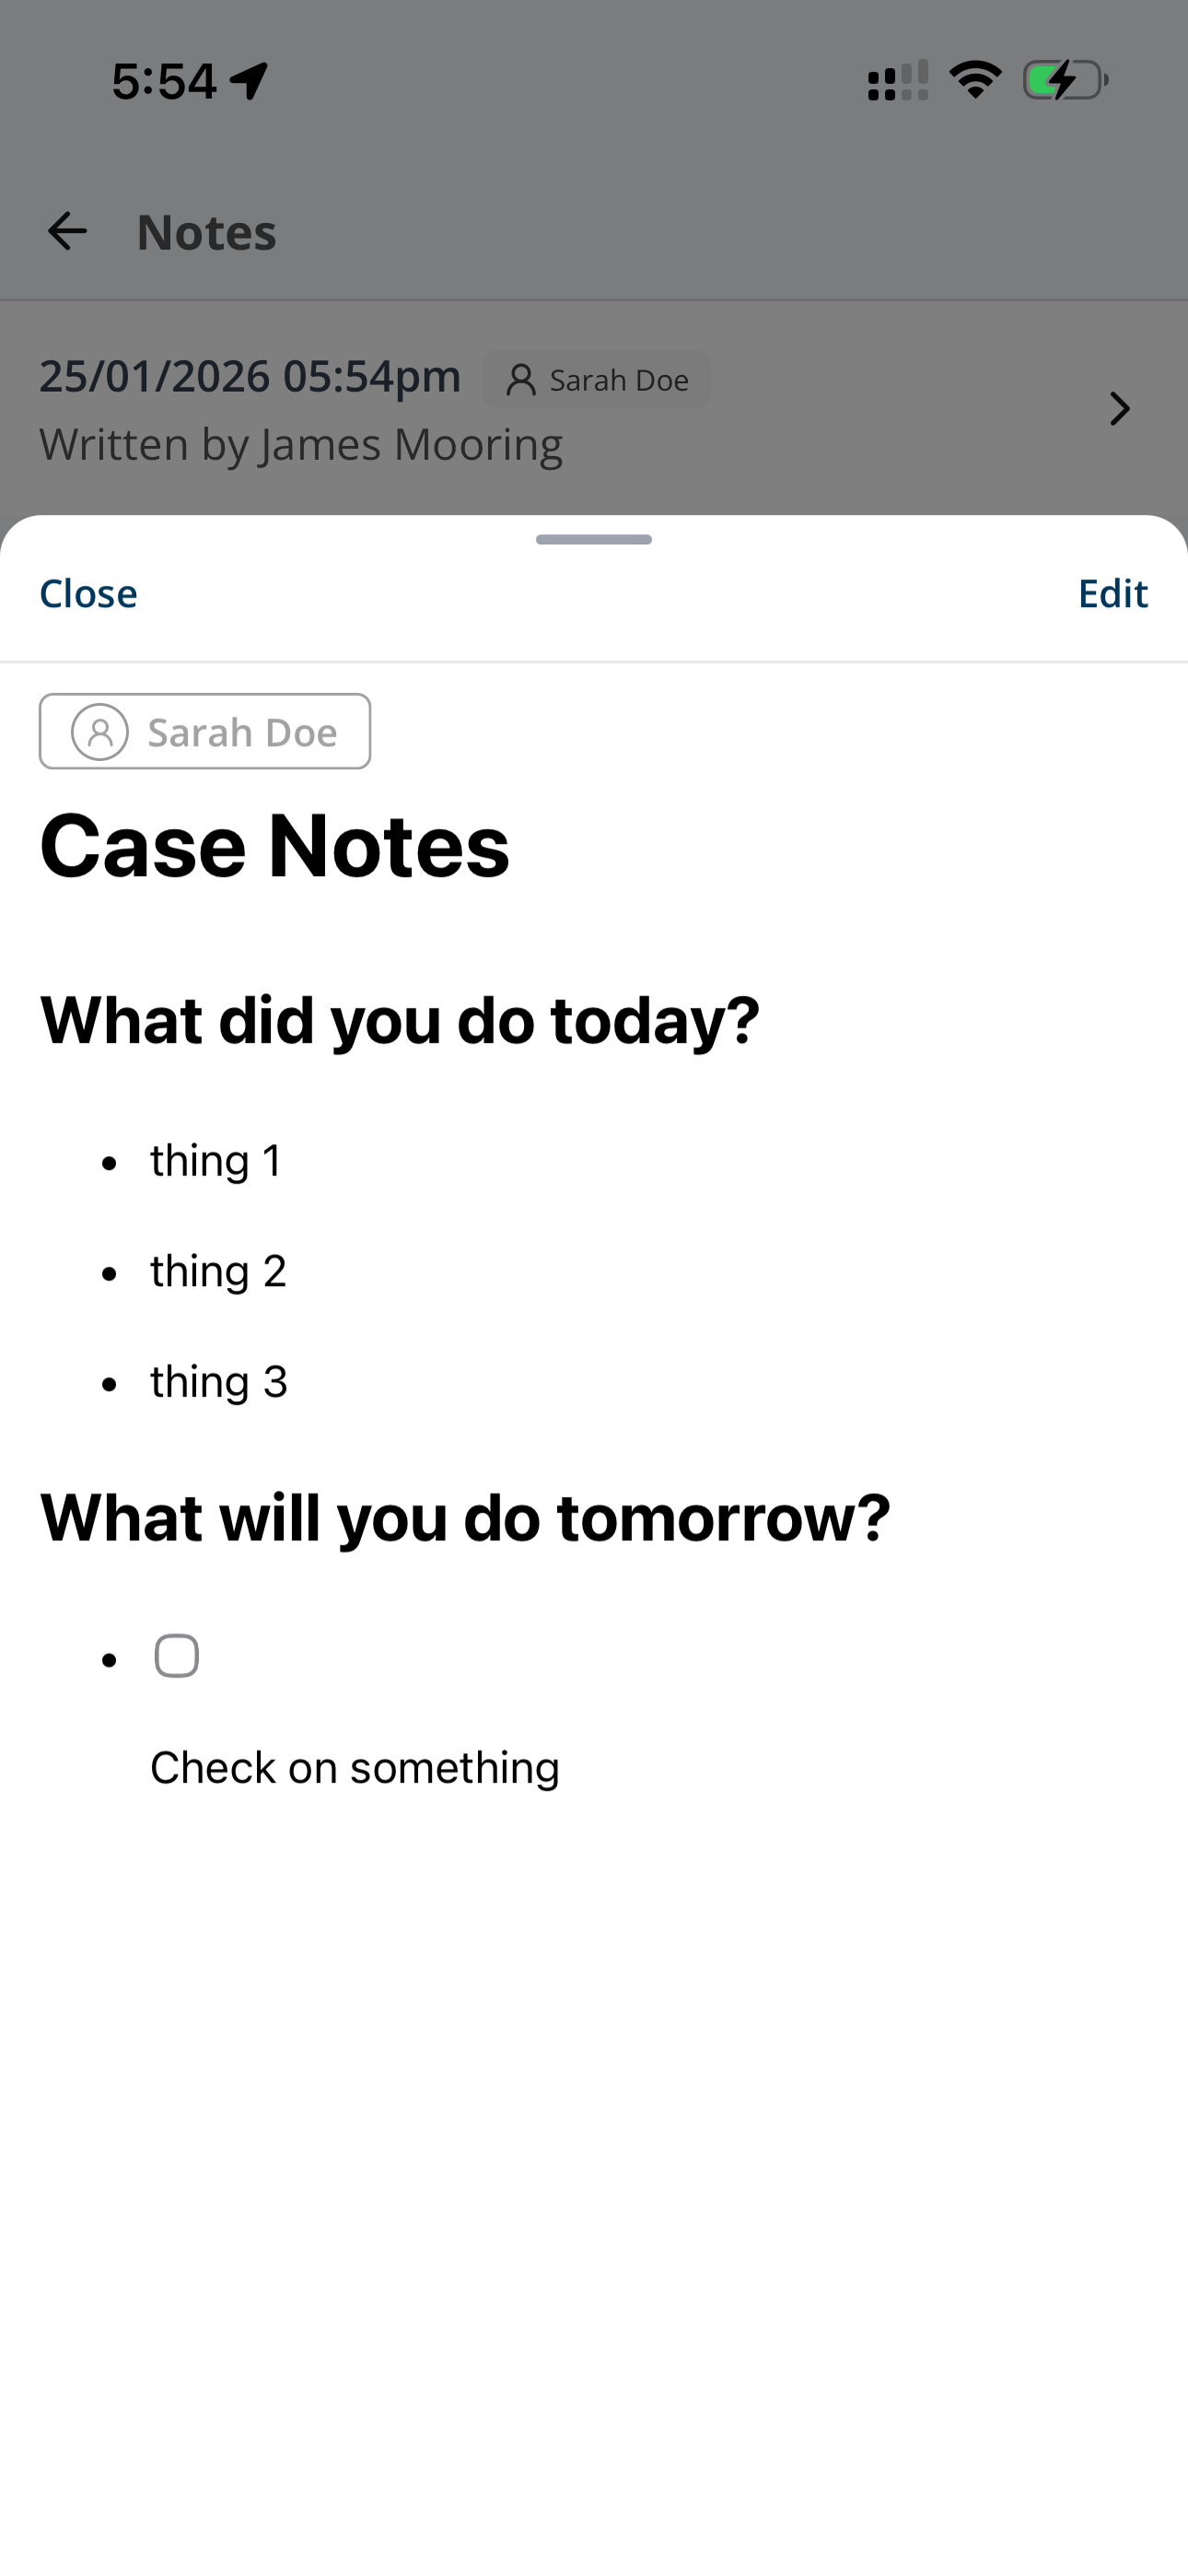
Open the shift and select Notes, tap the note you want to change, then select Edit.
See Editing a Case Note.
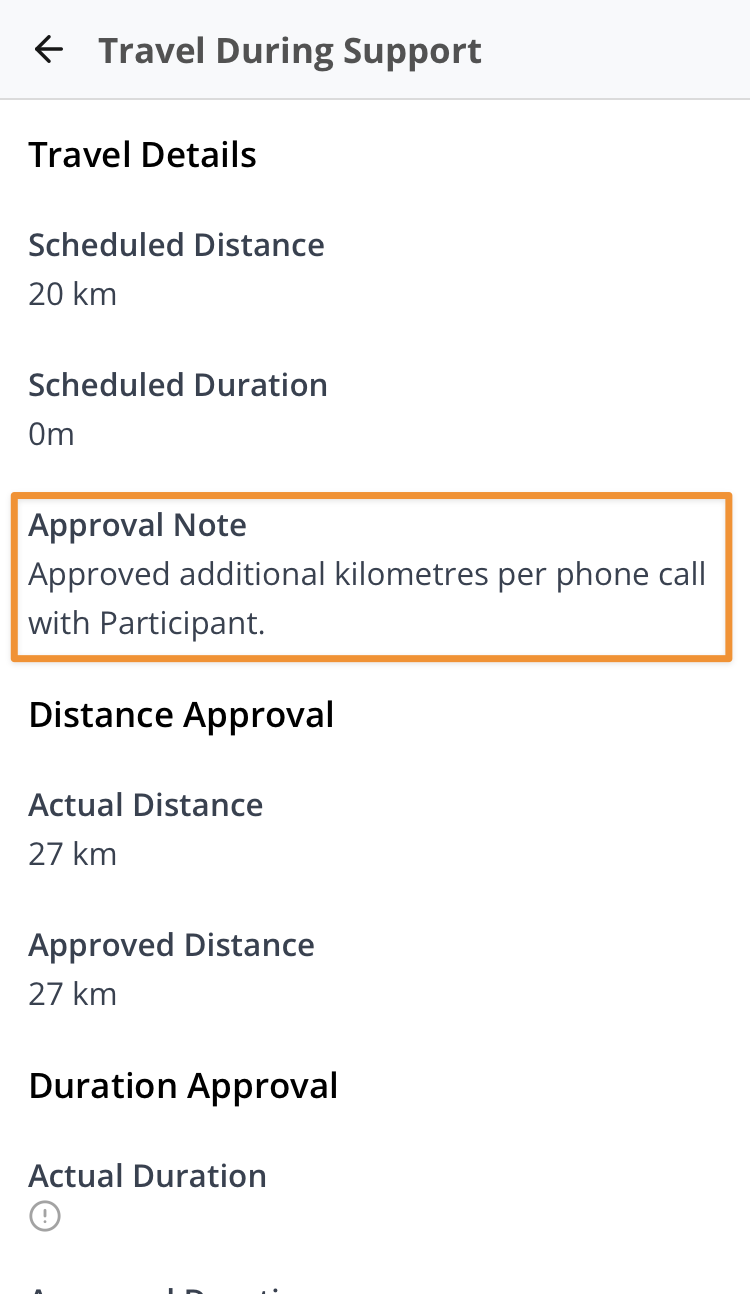
Travel During a Shift
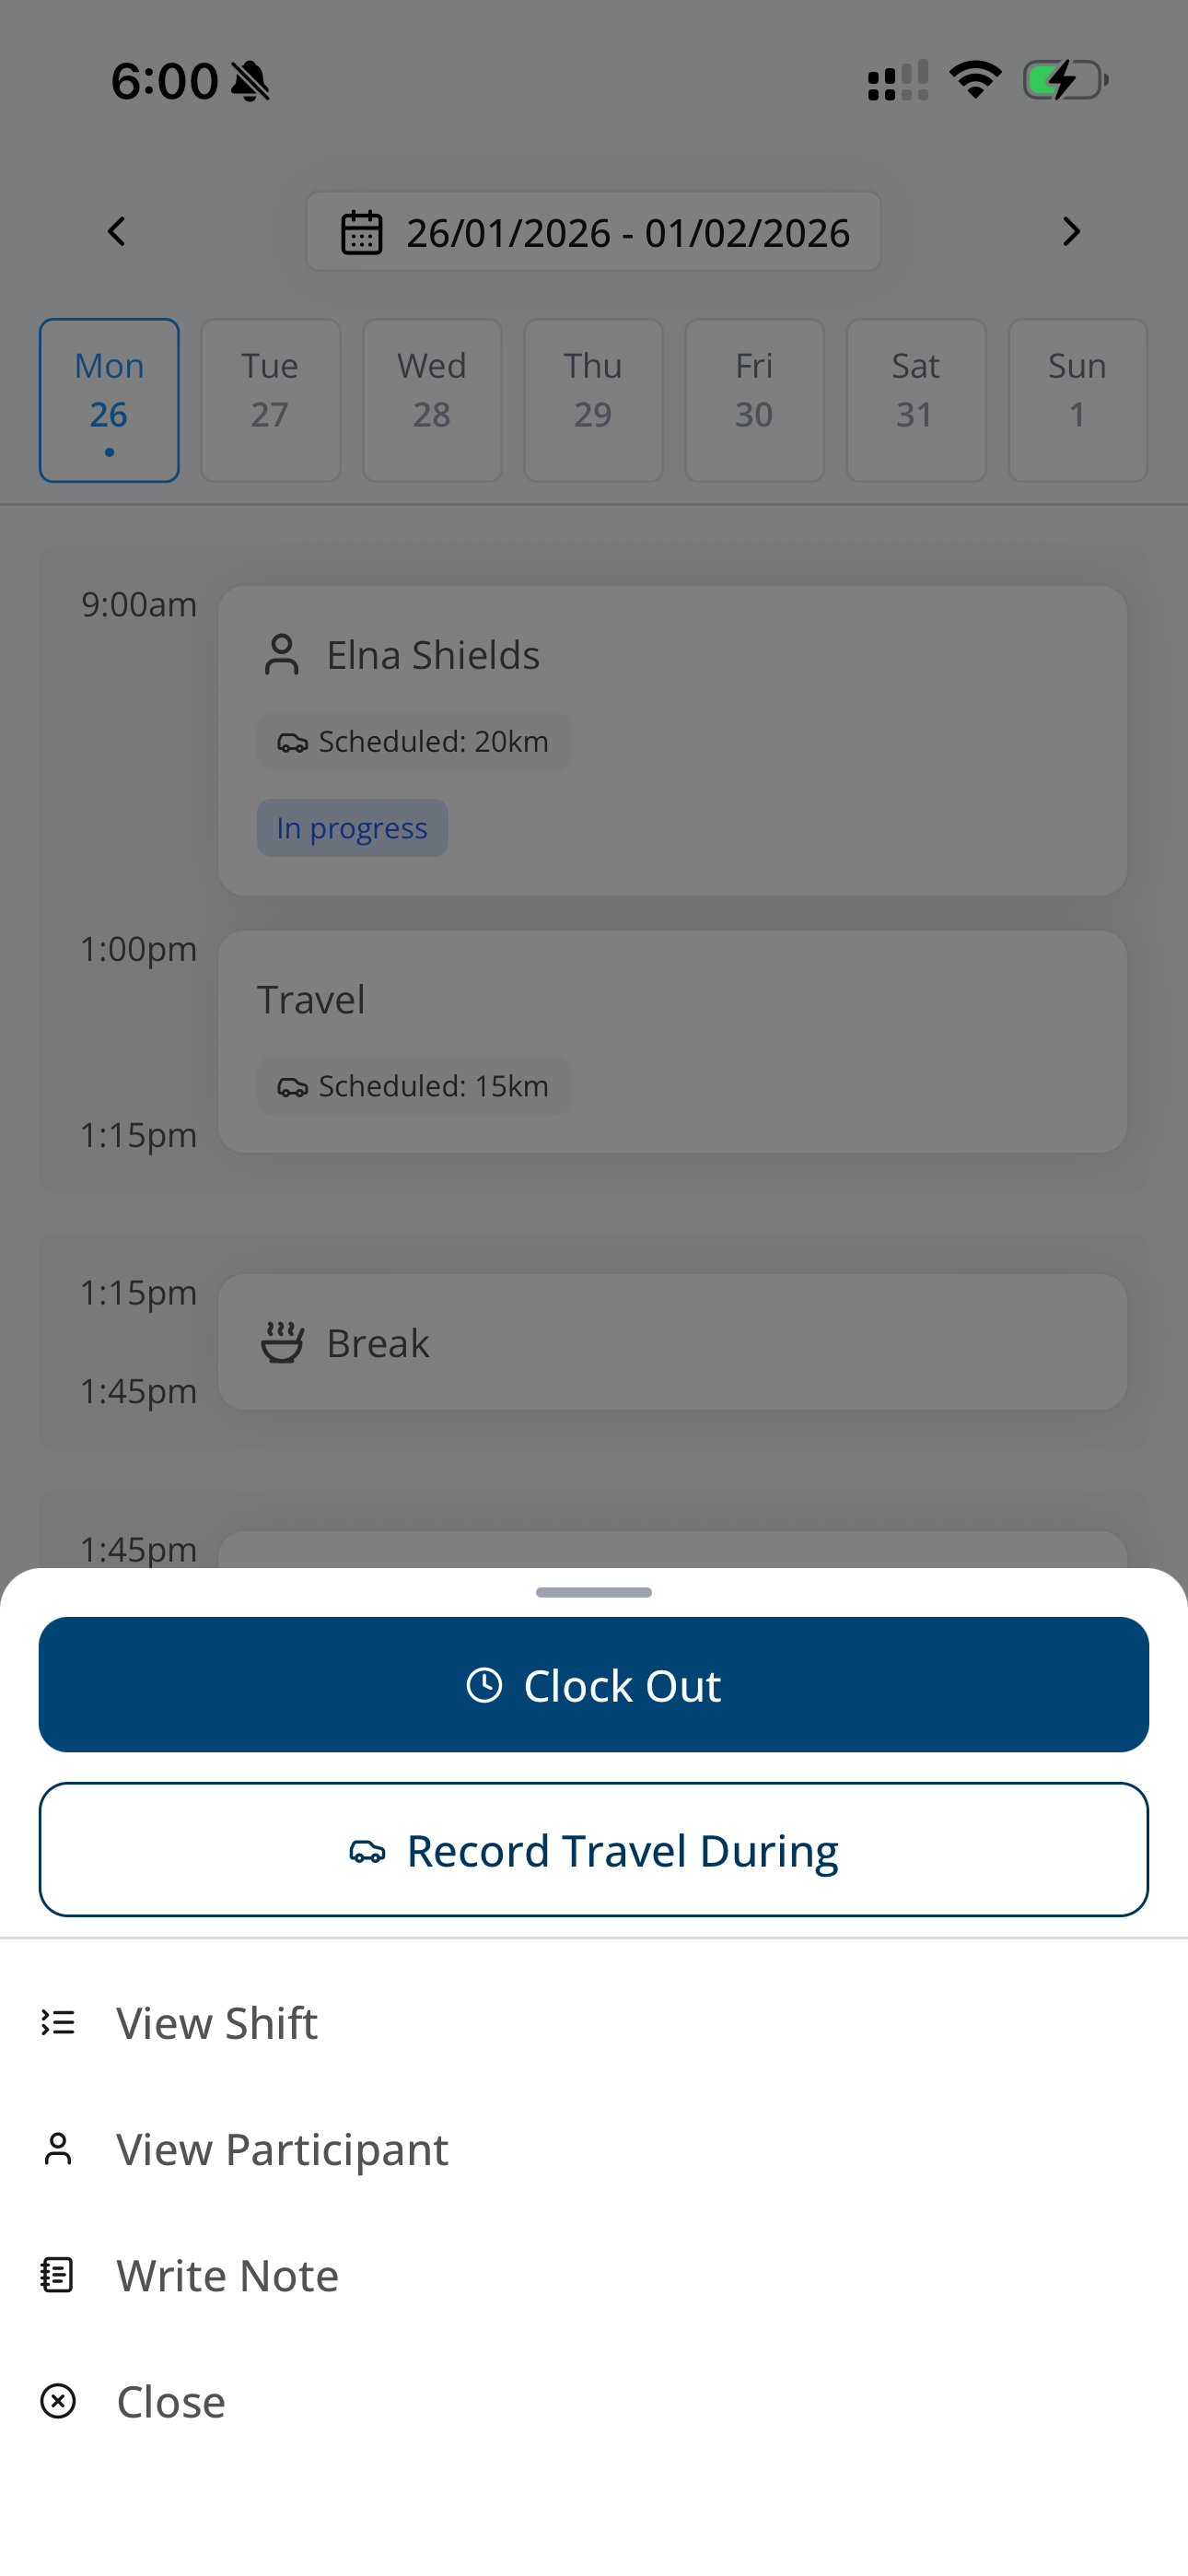
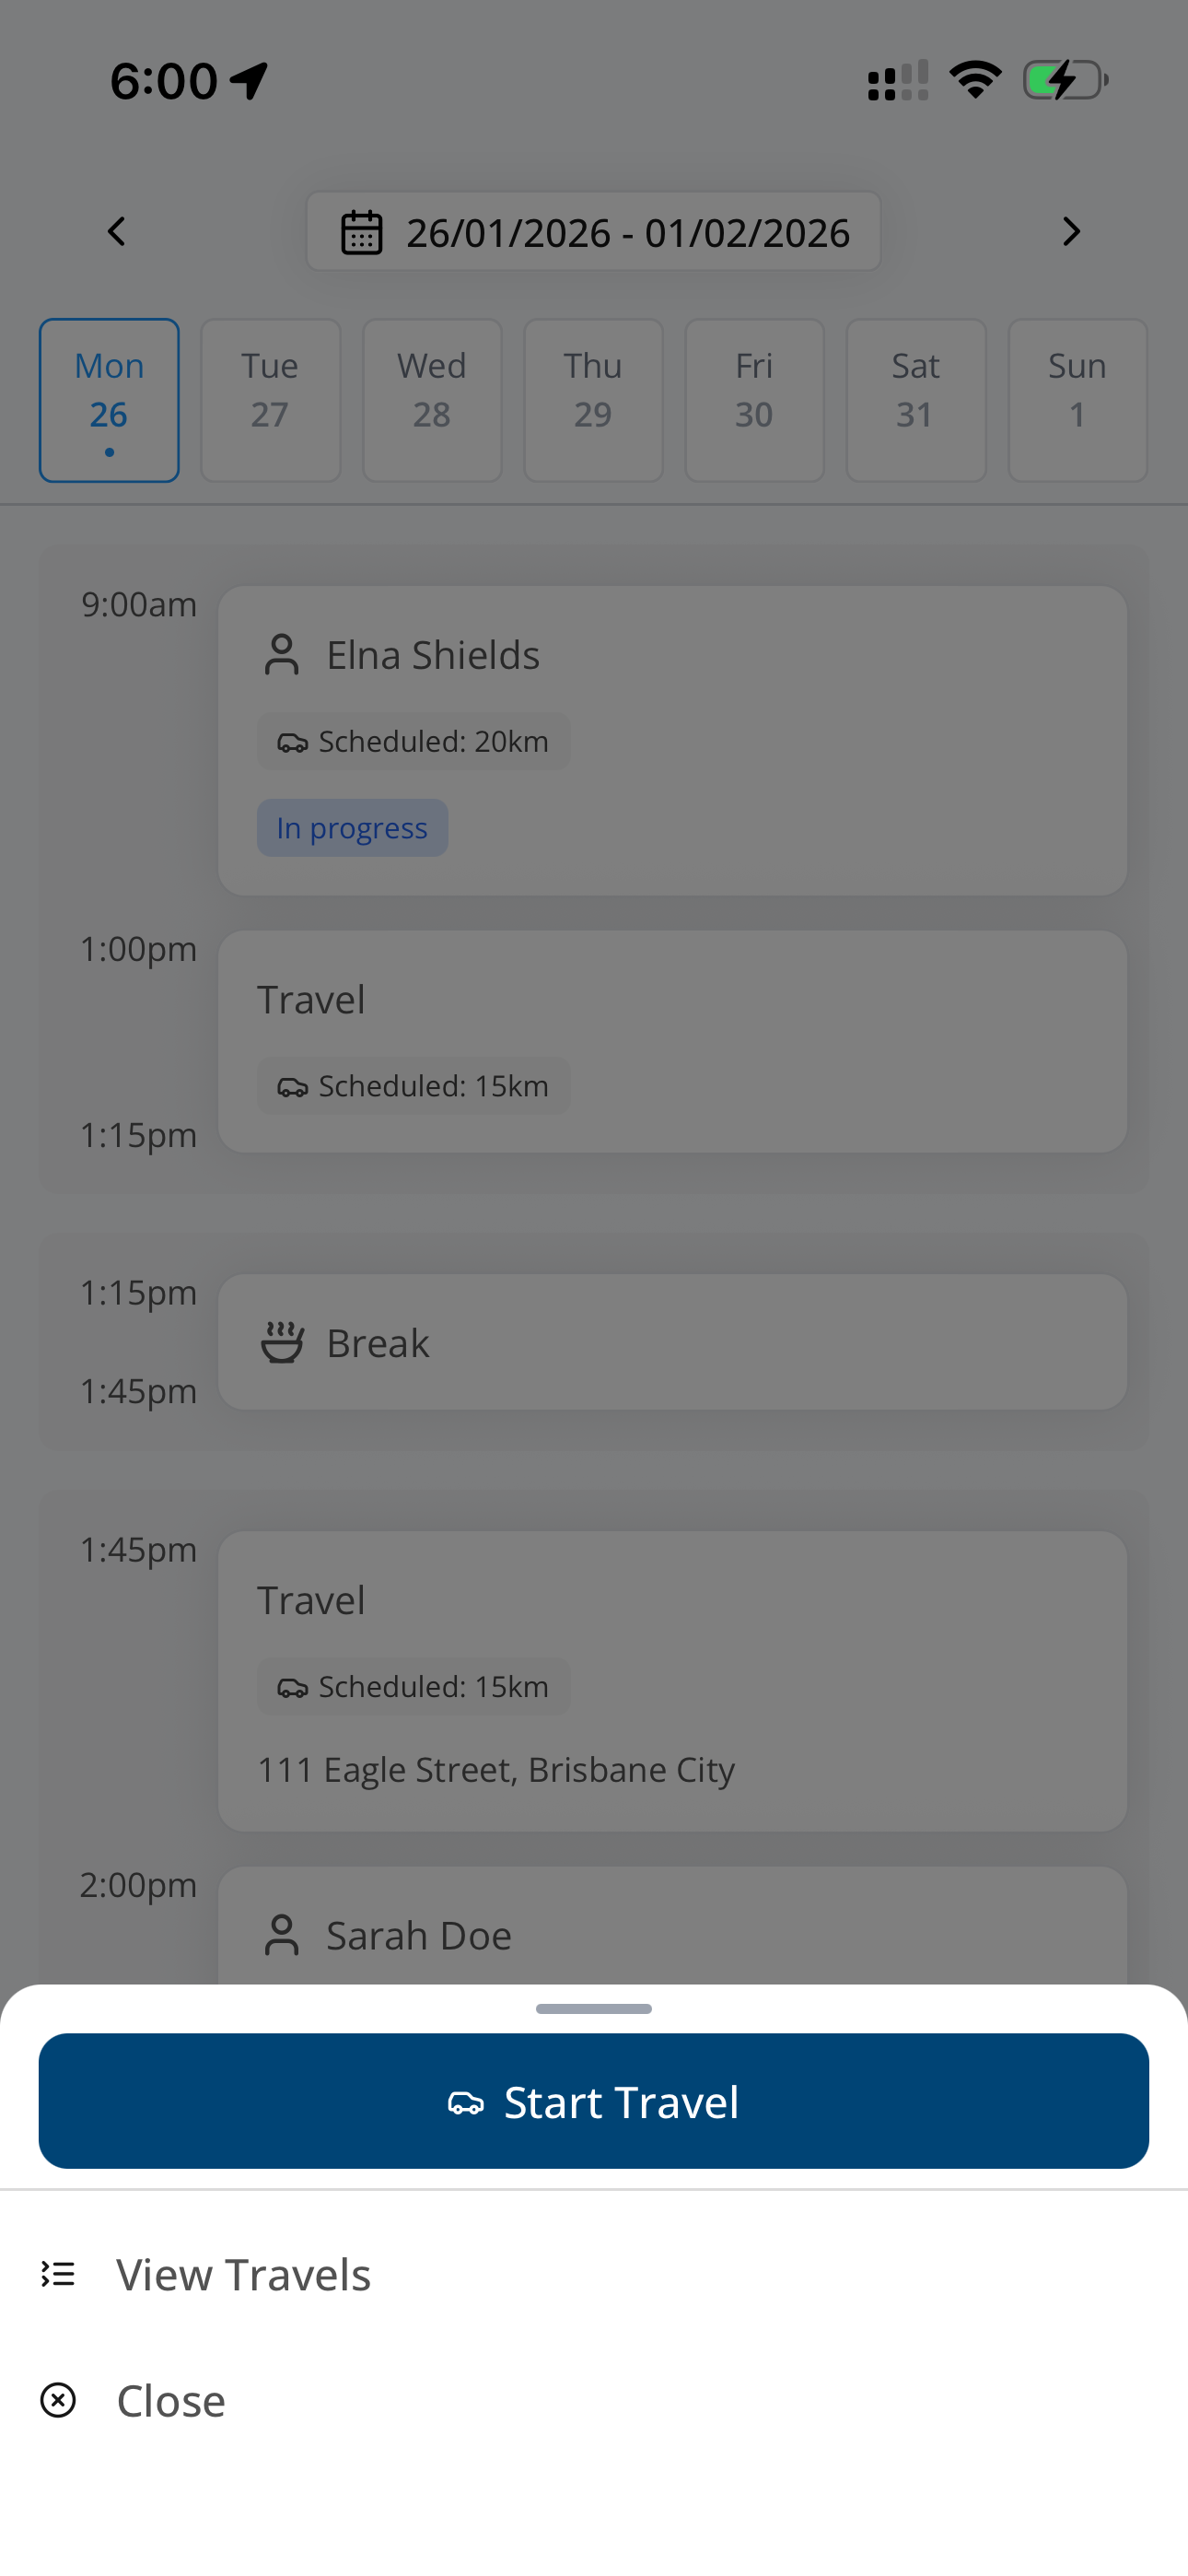
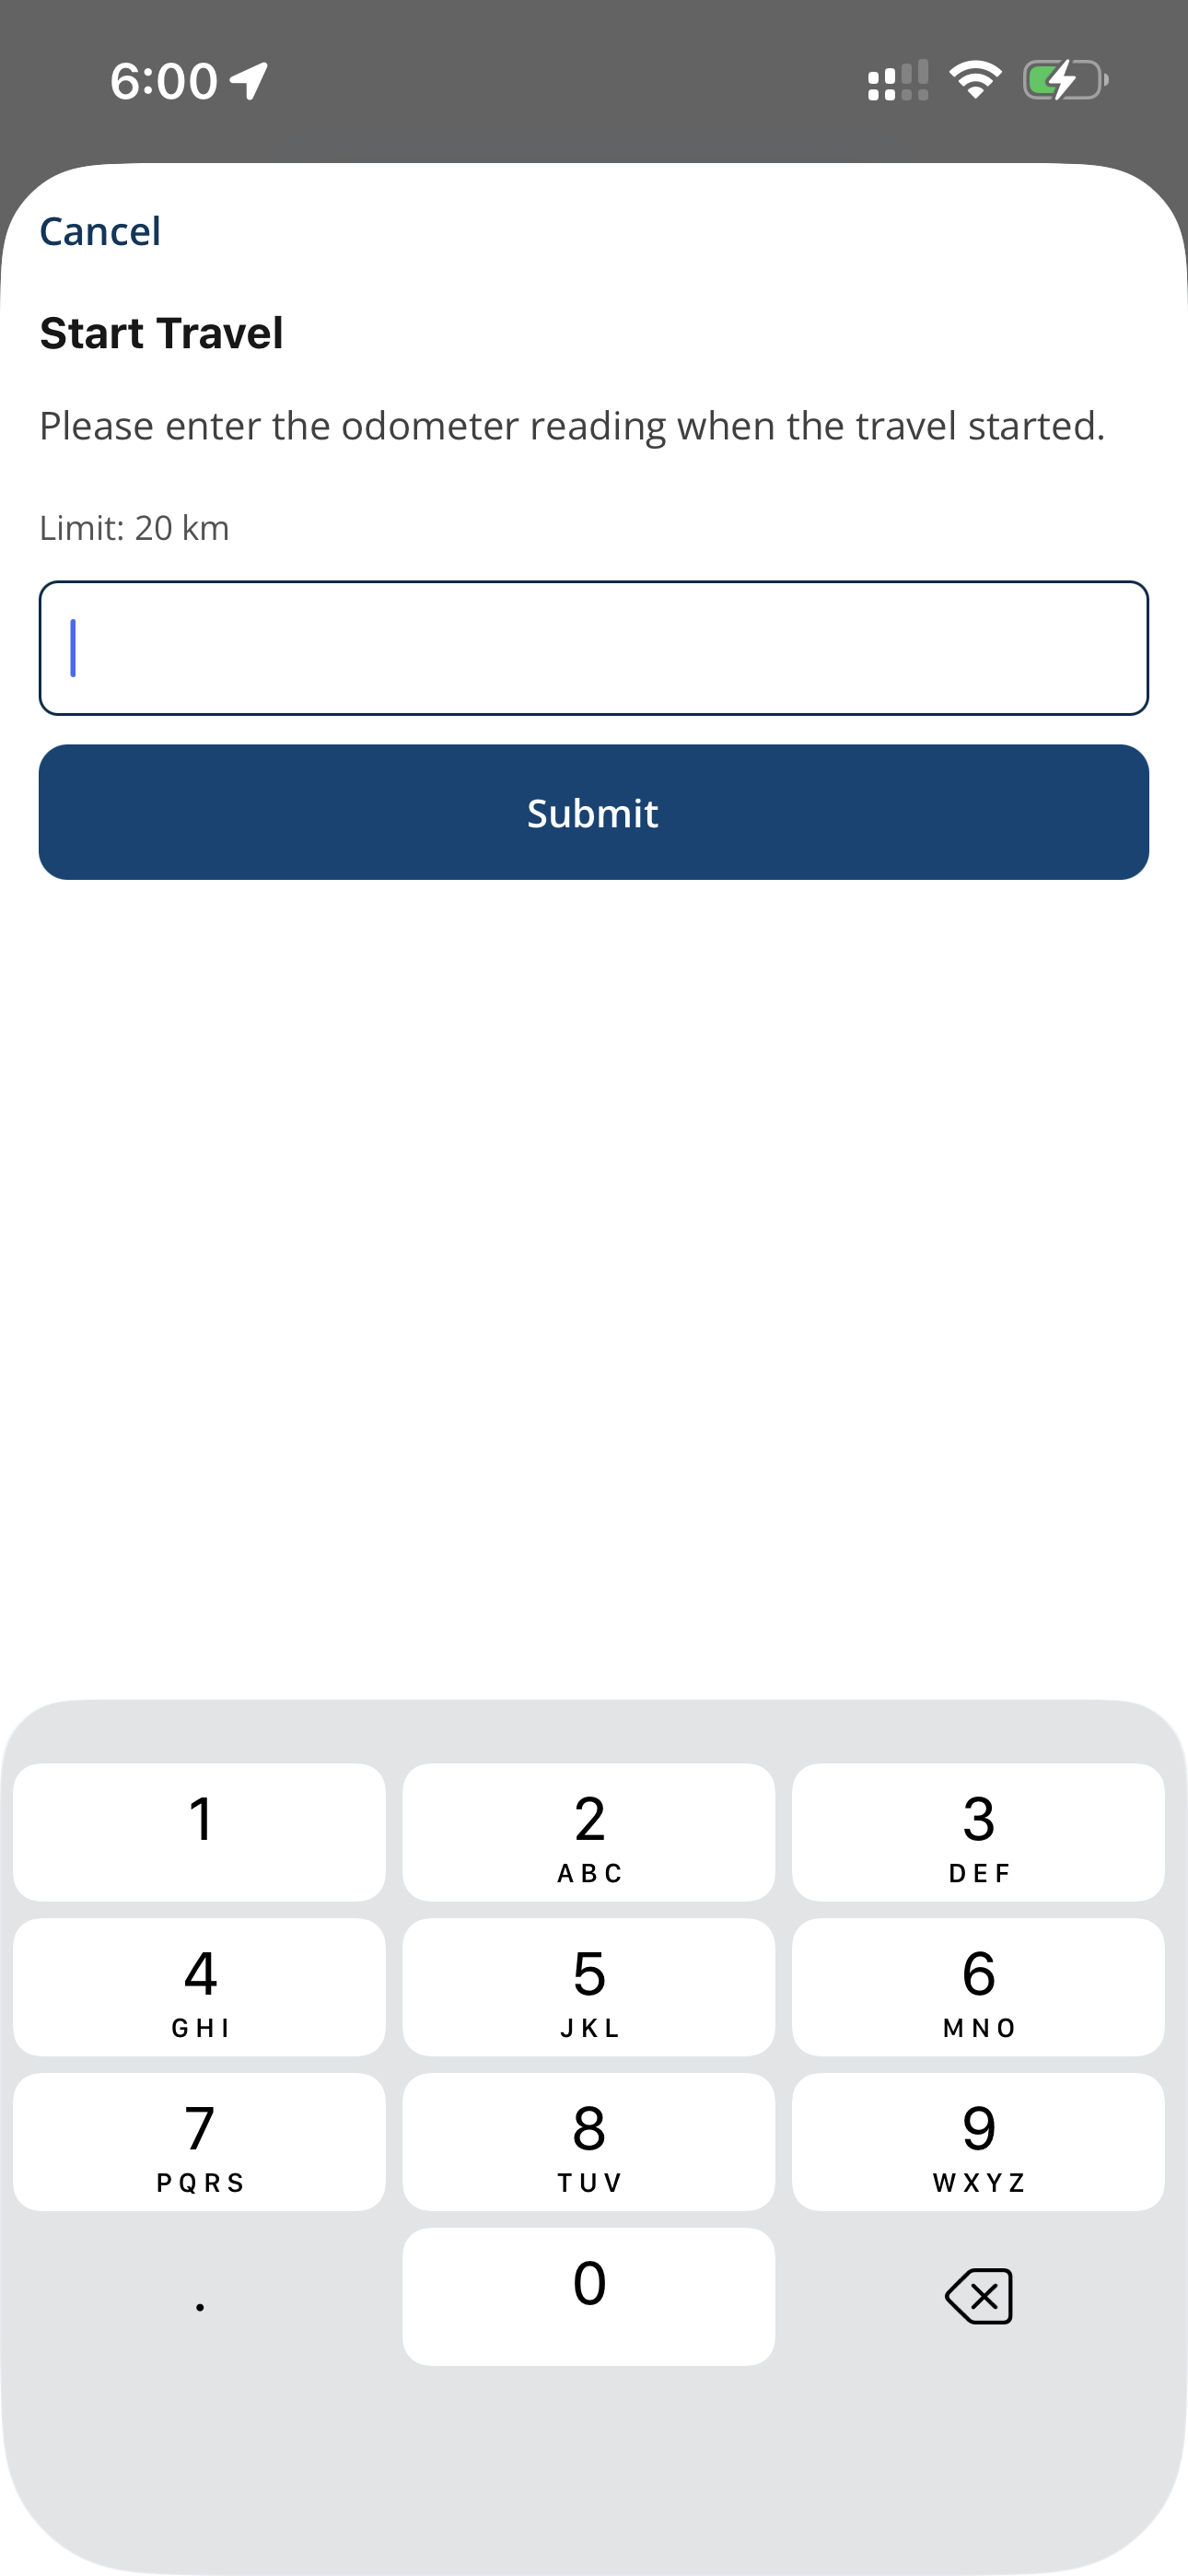
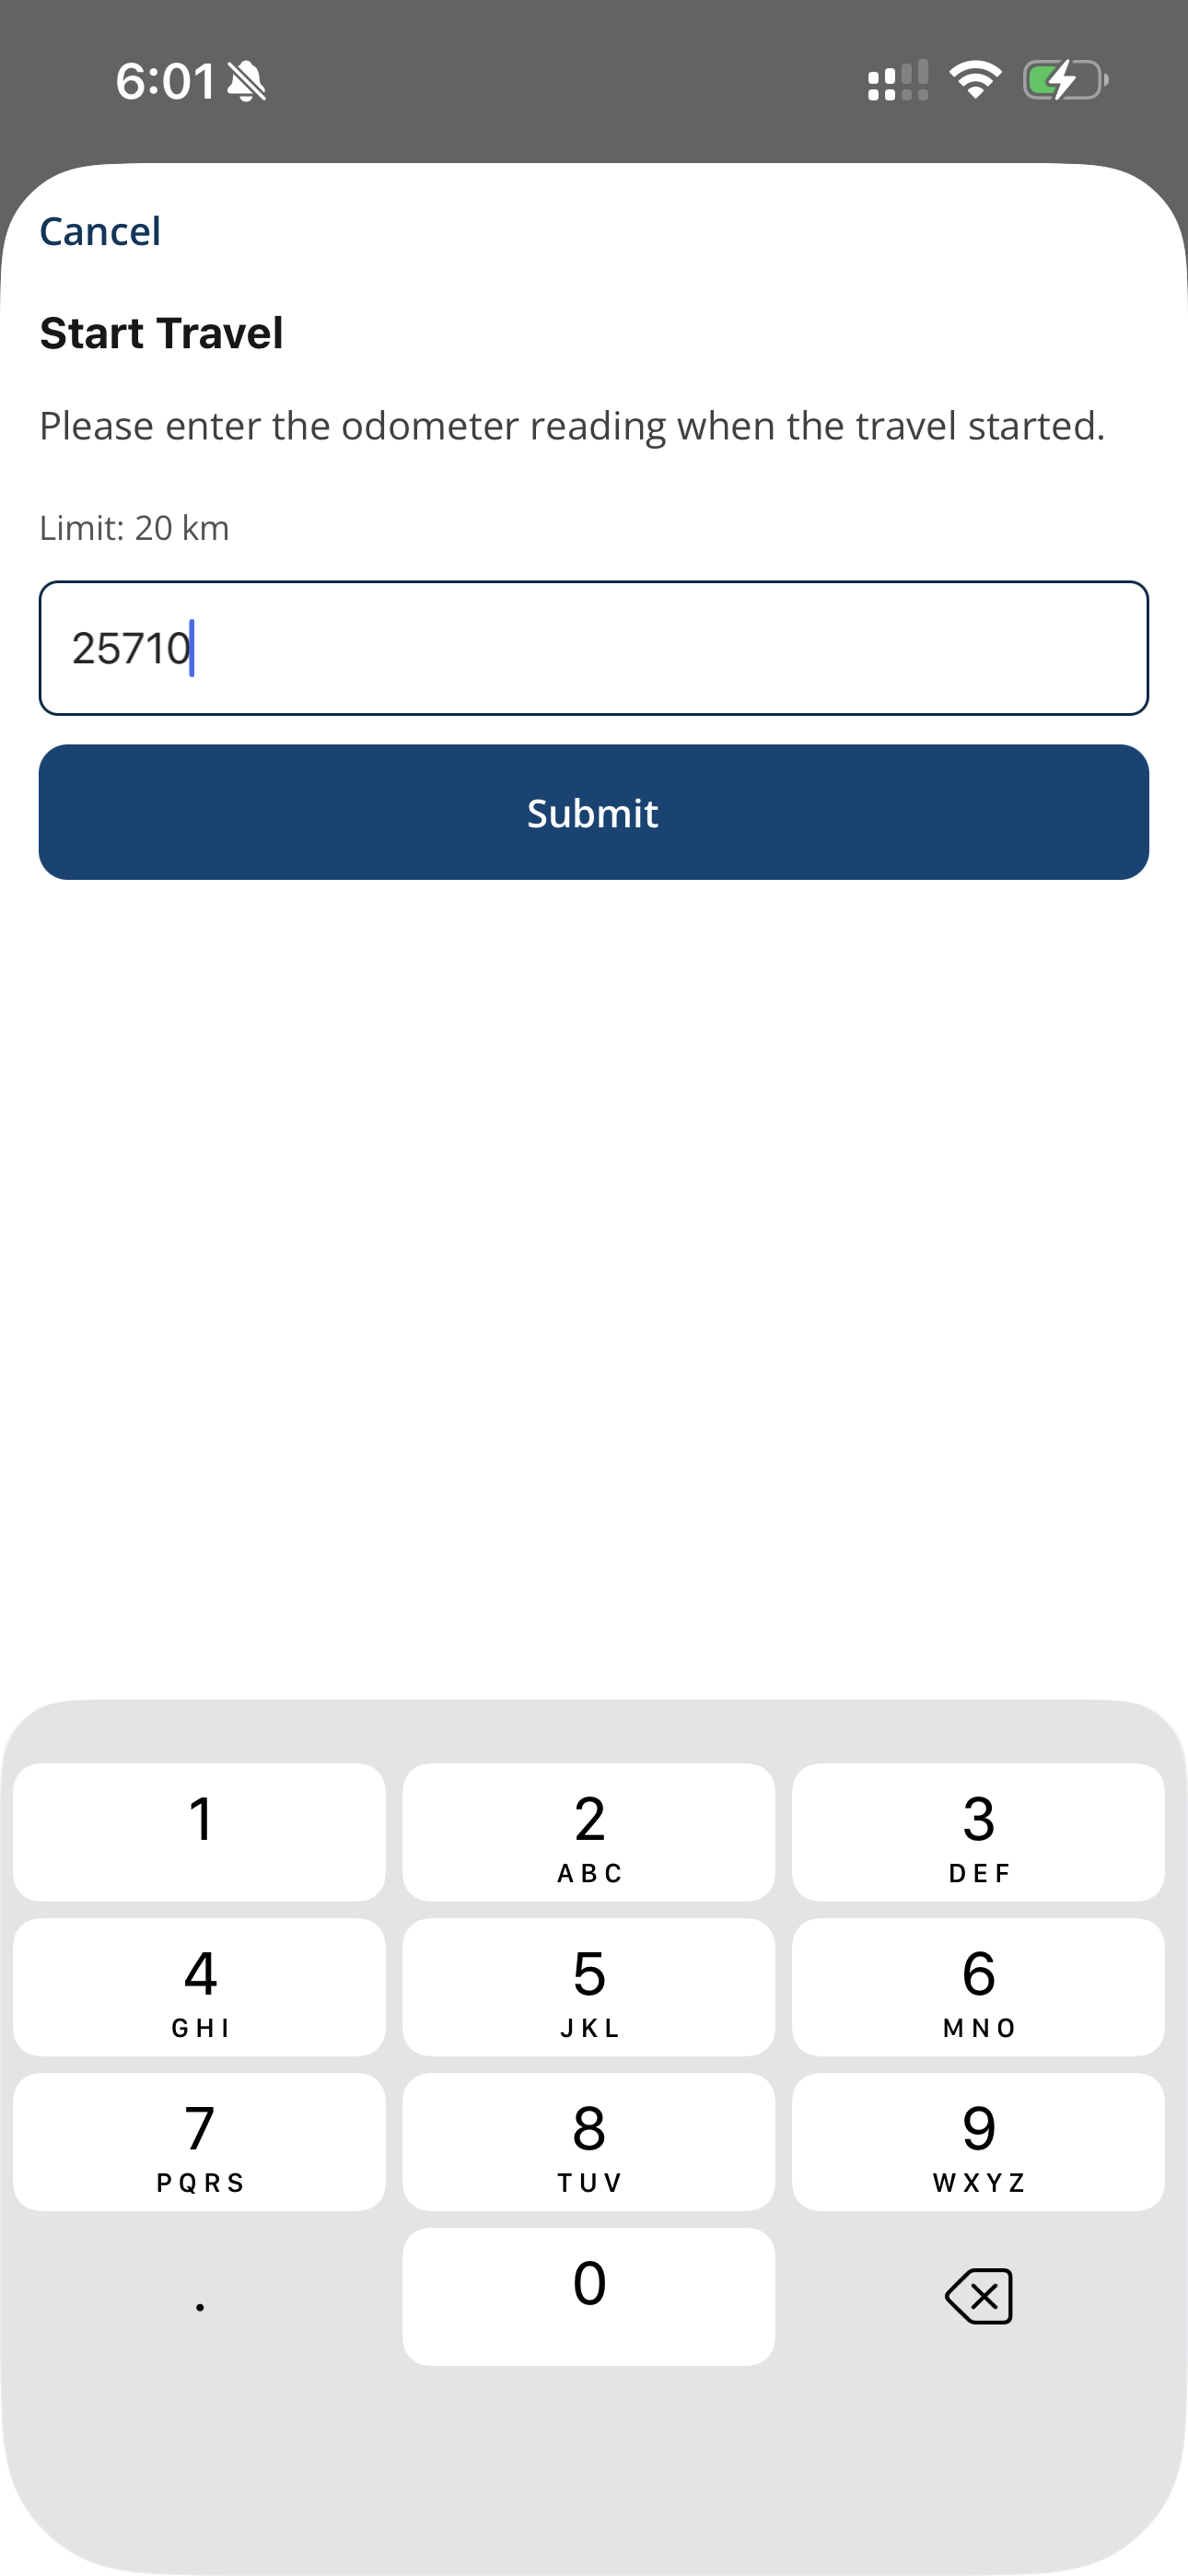
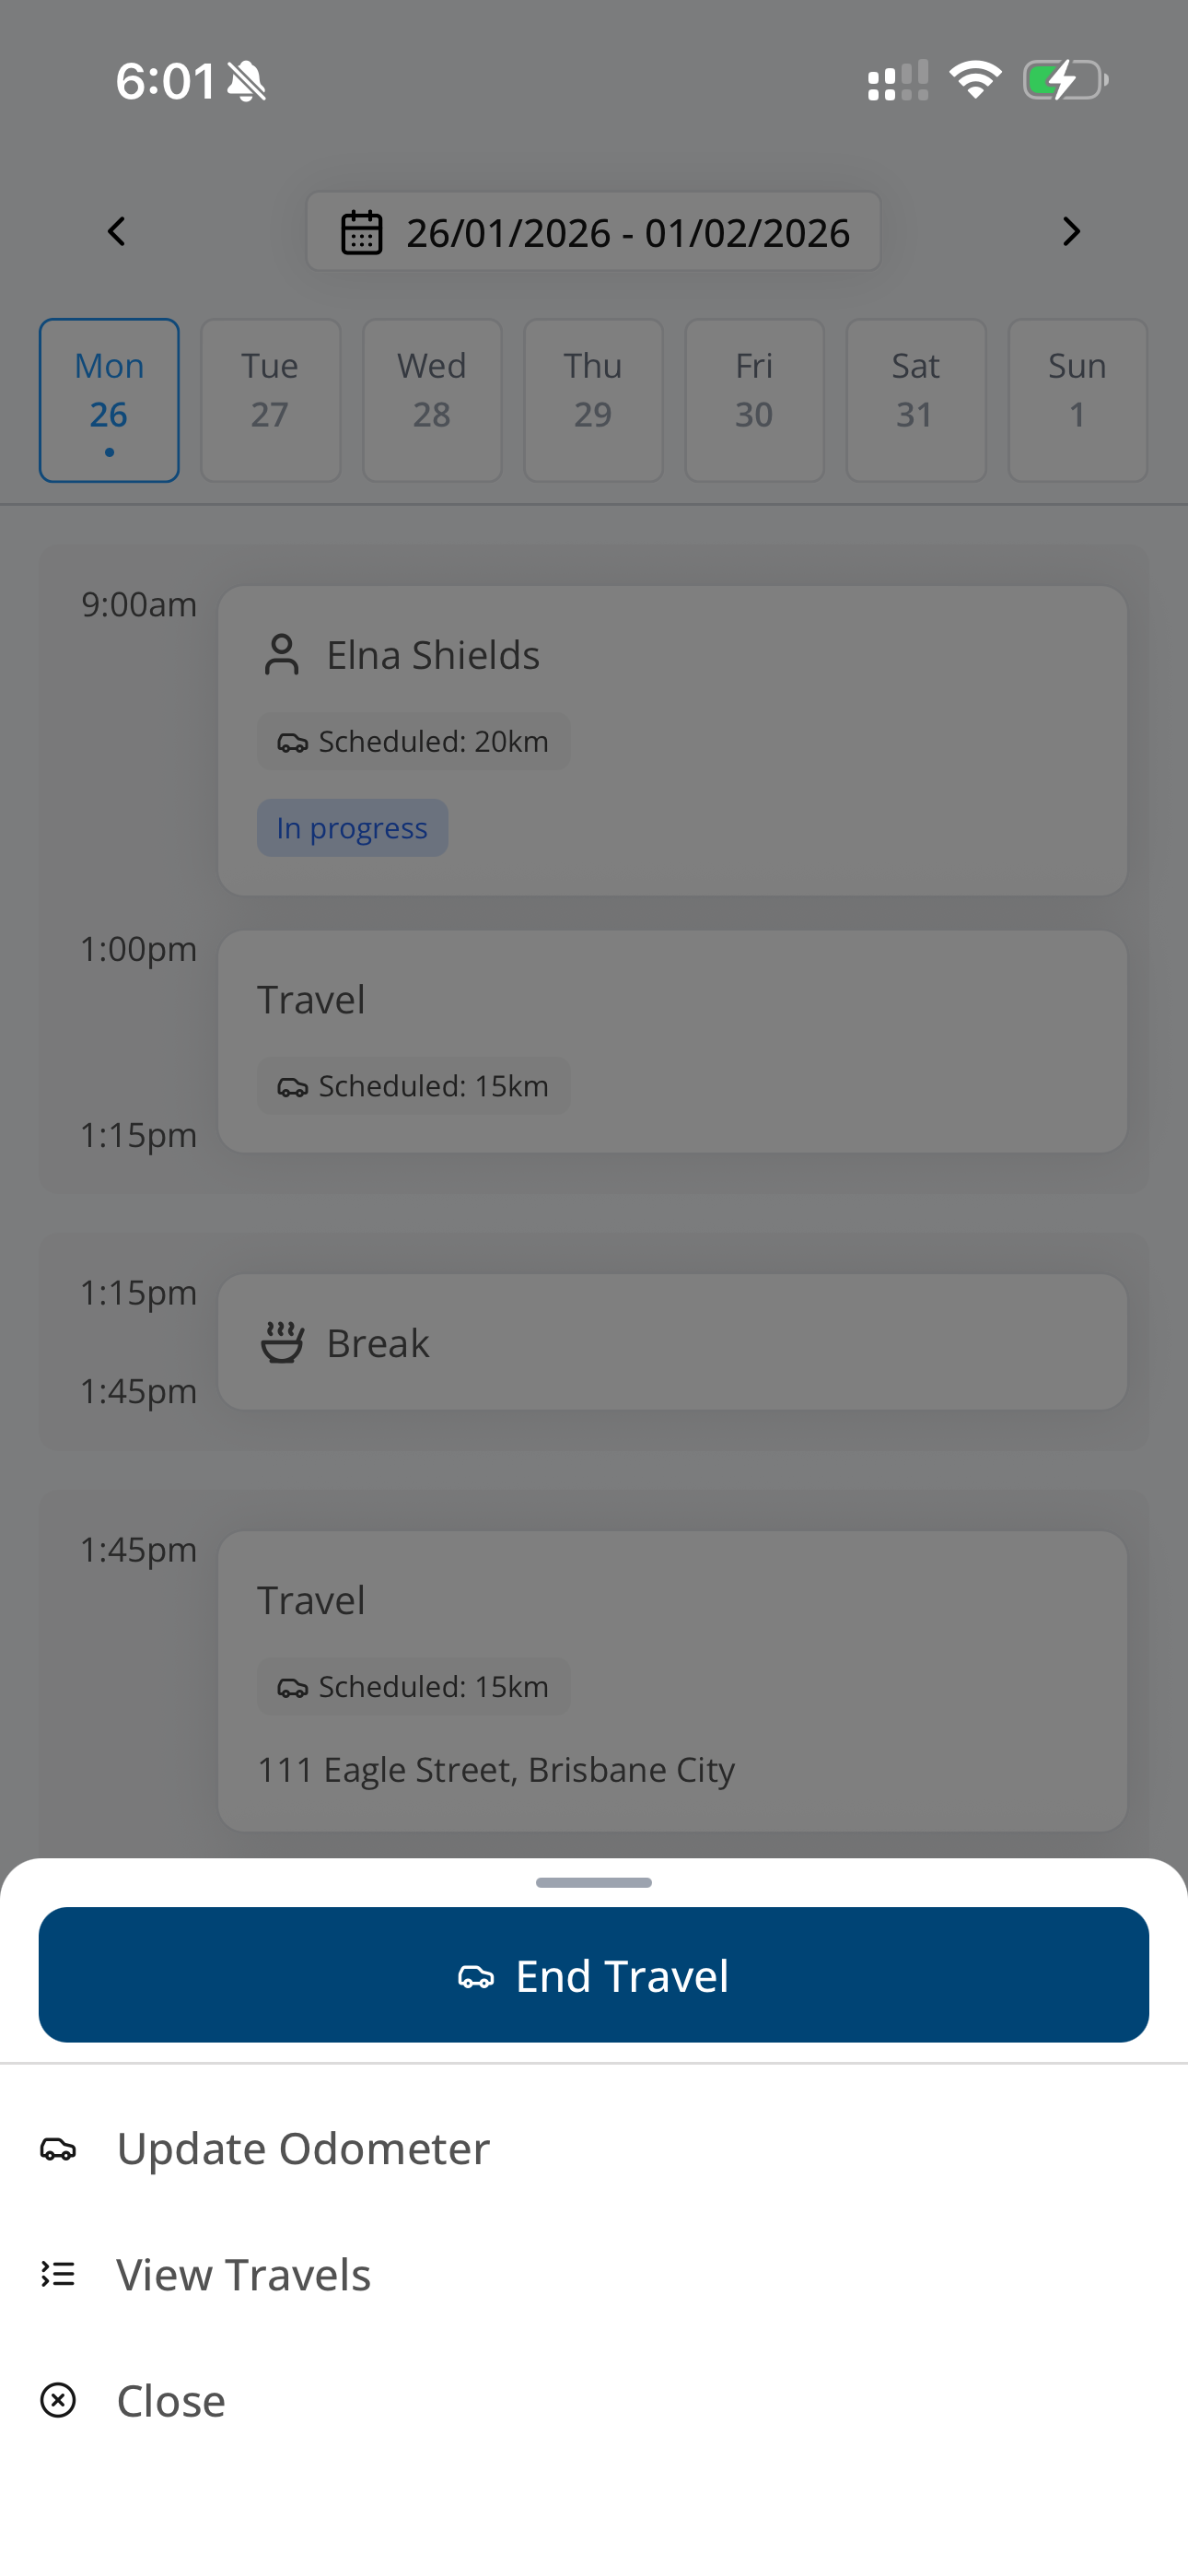
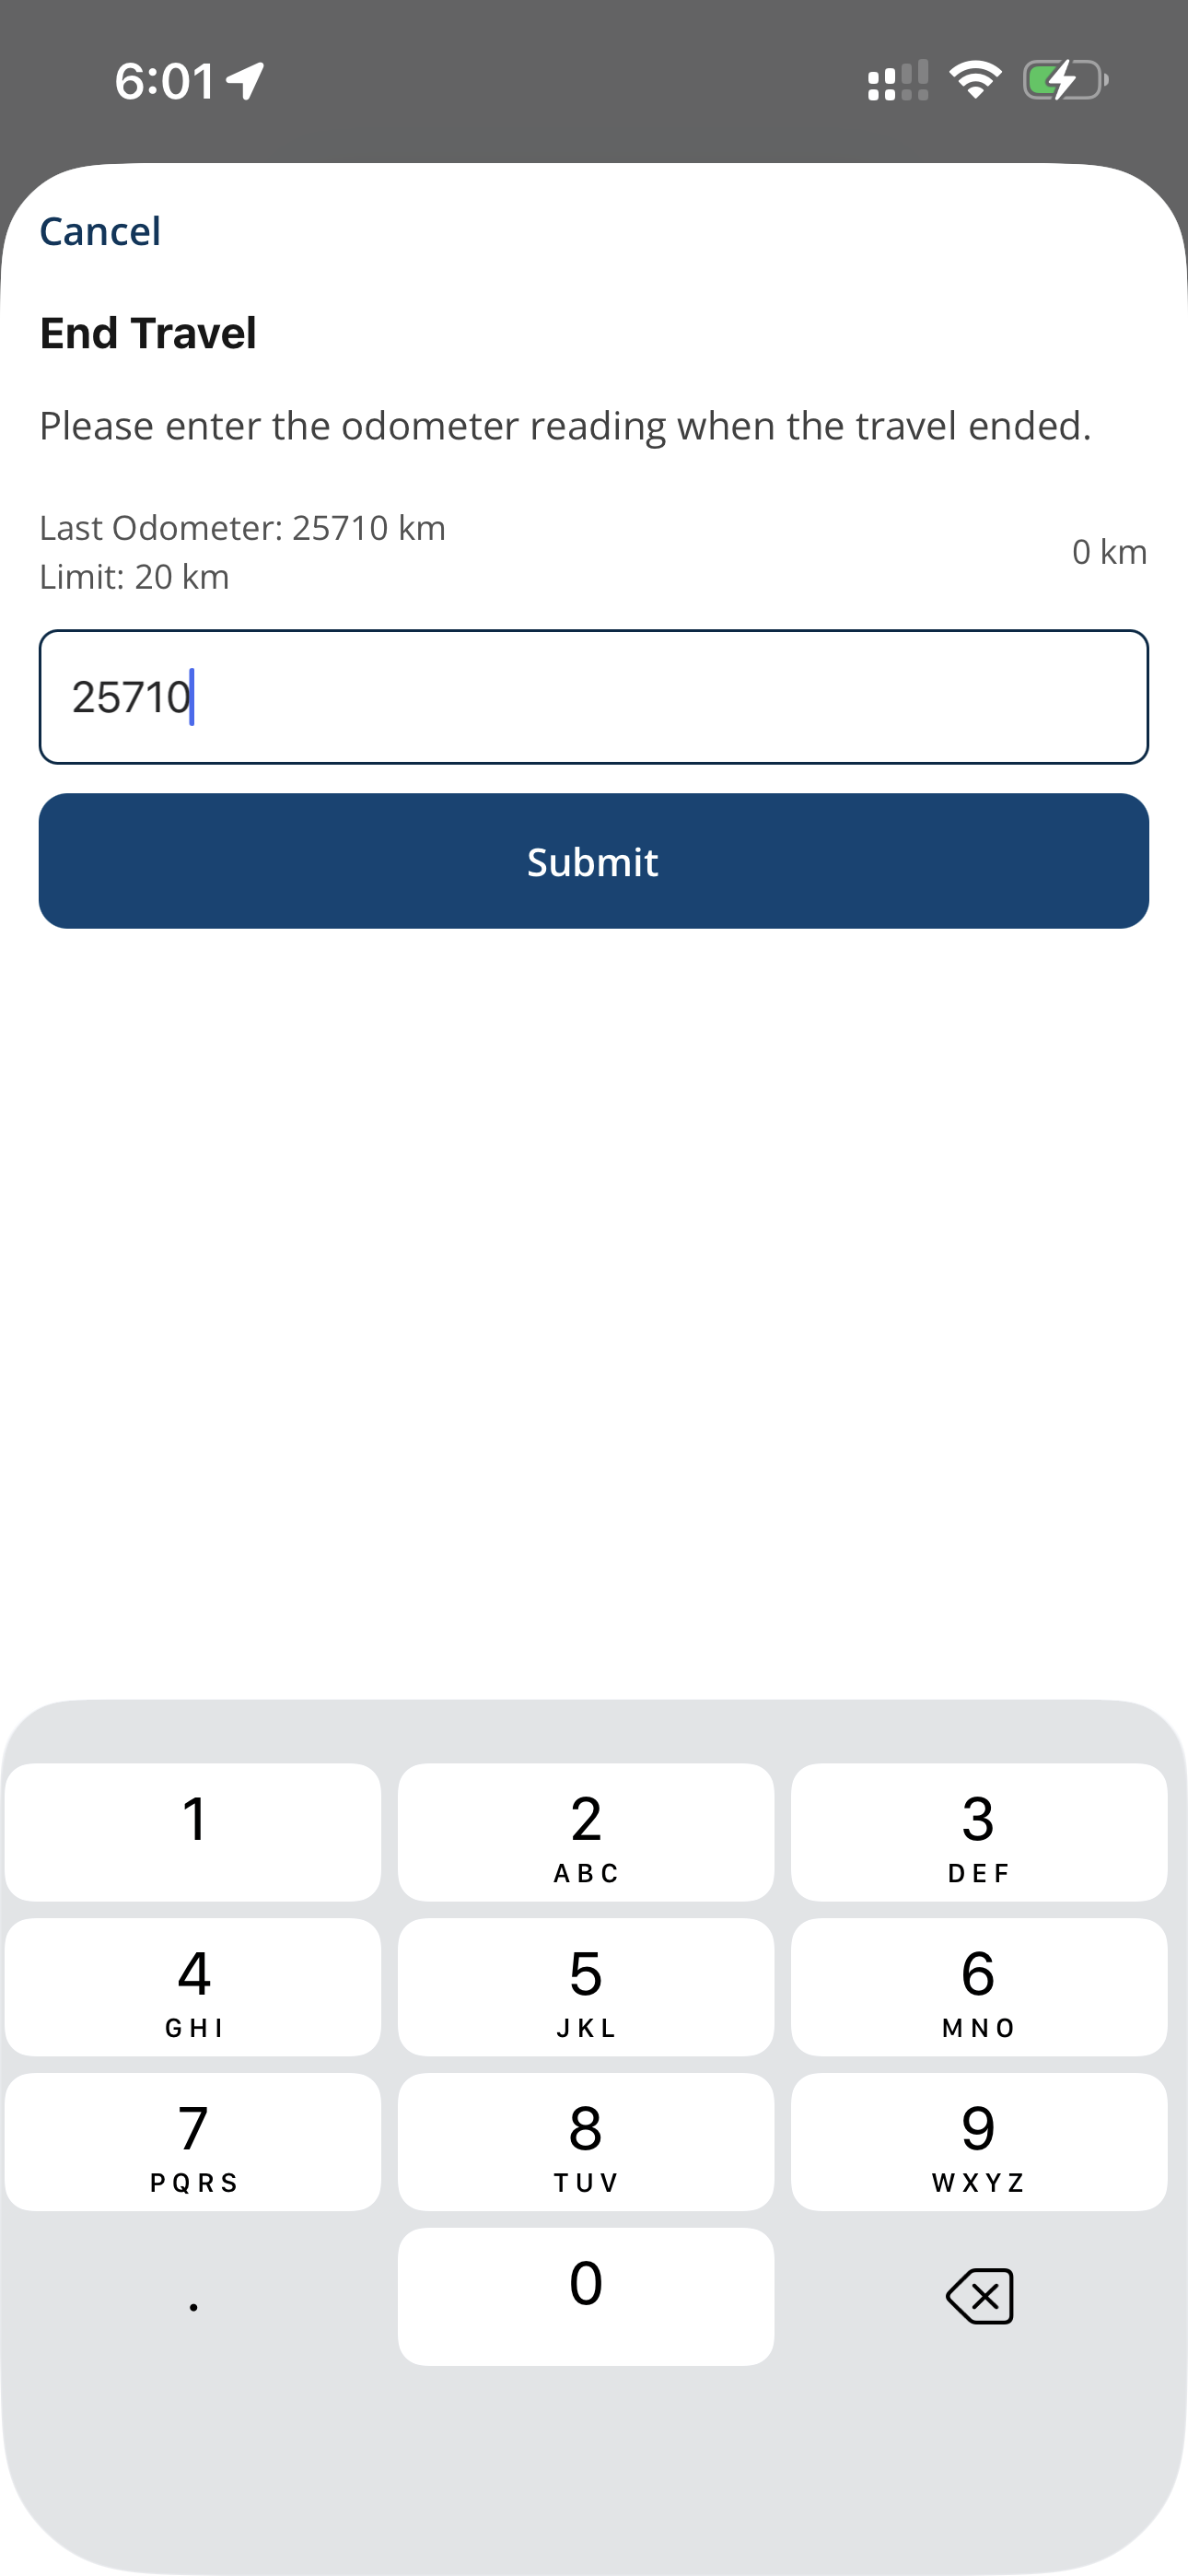
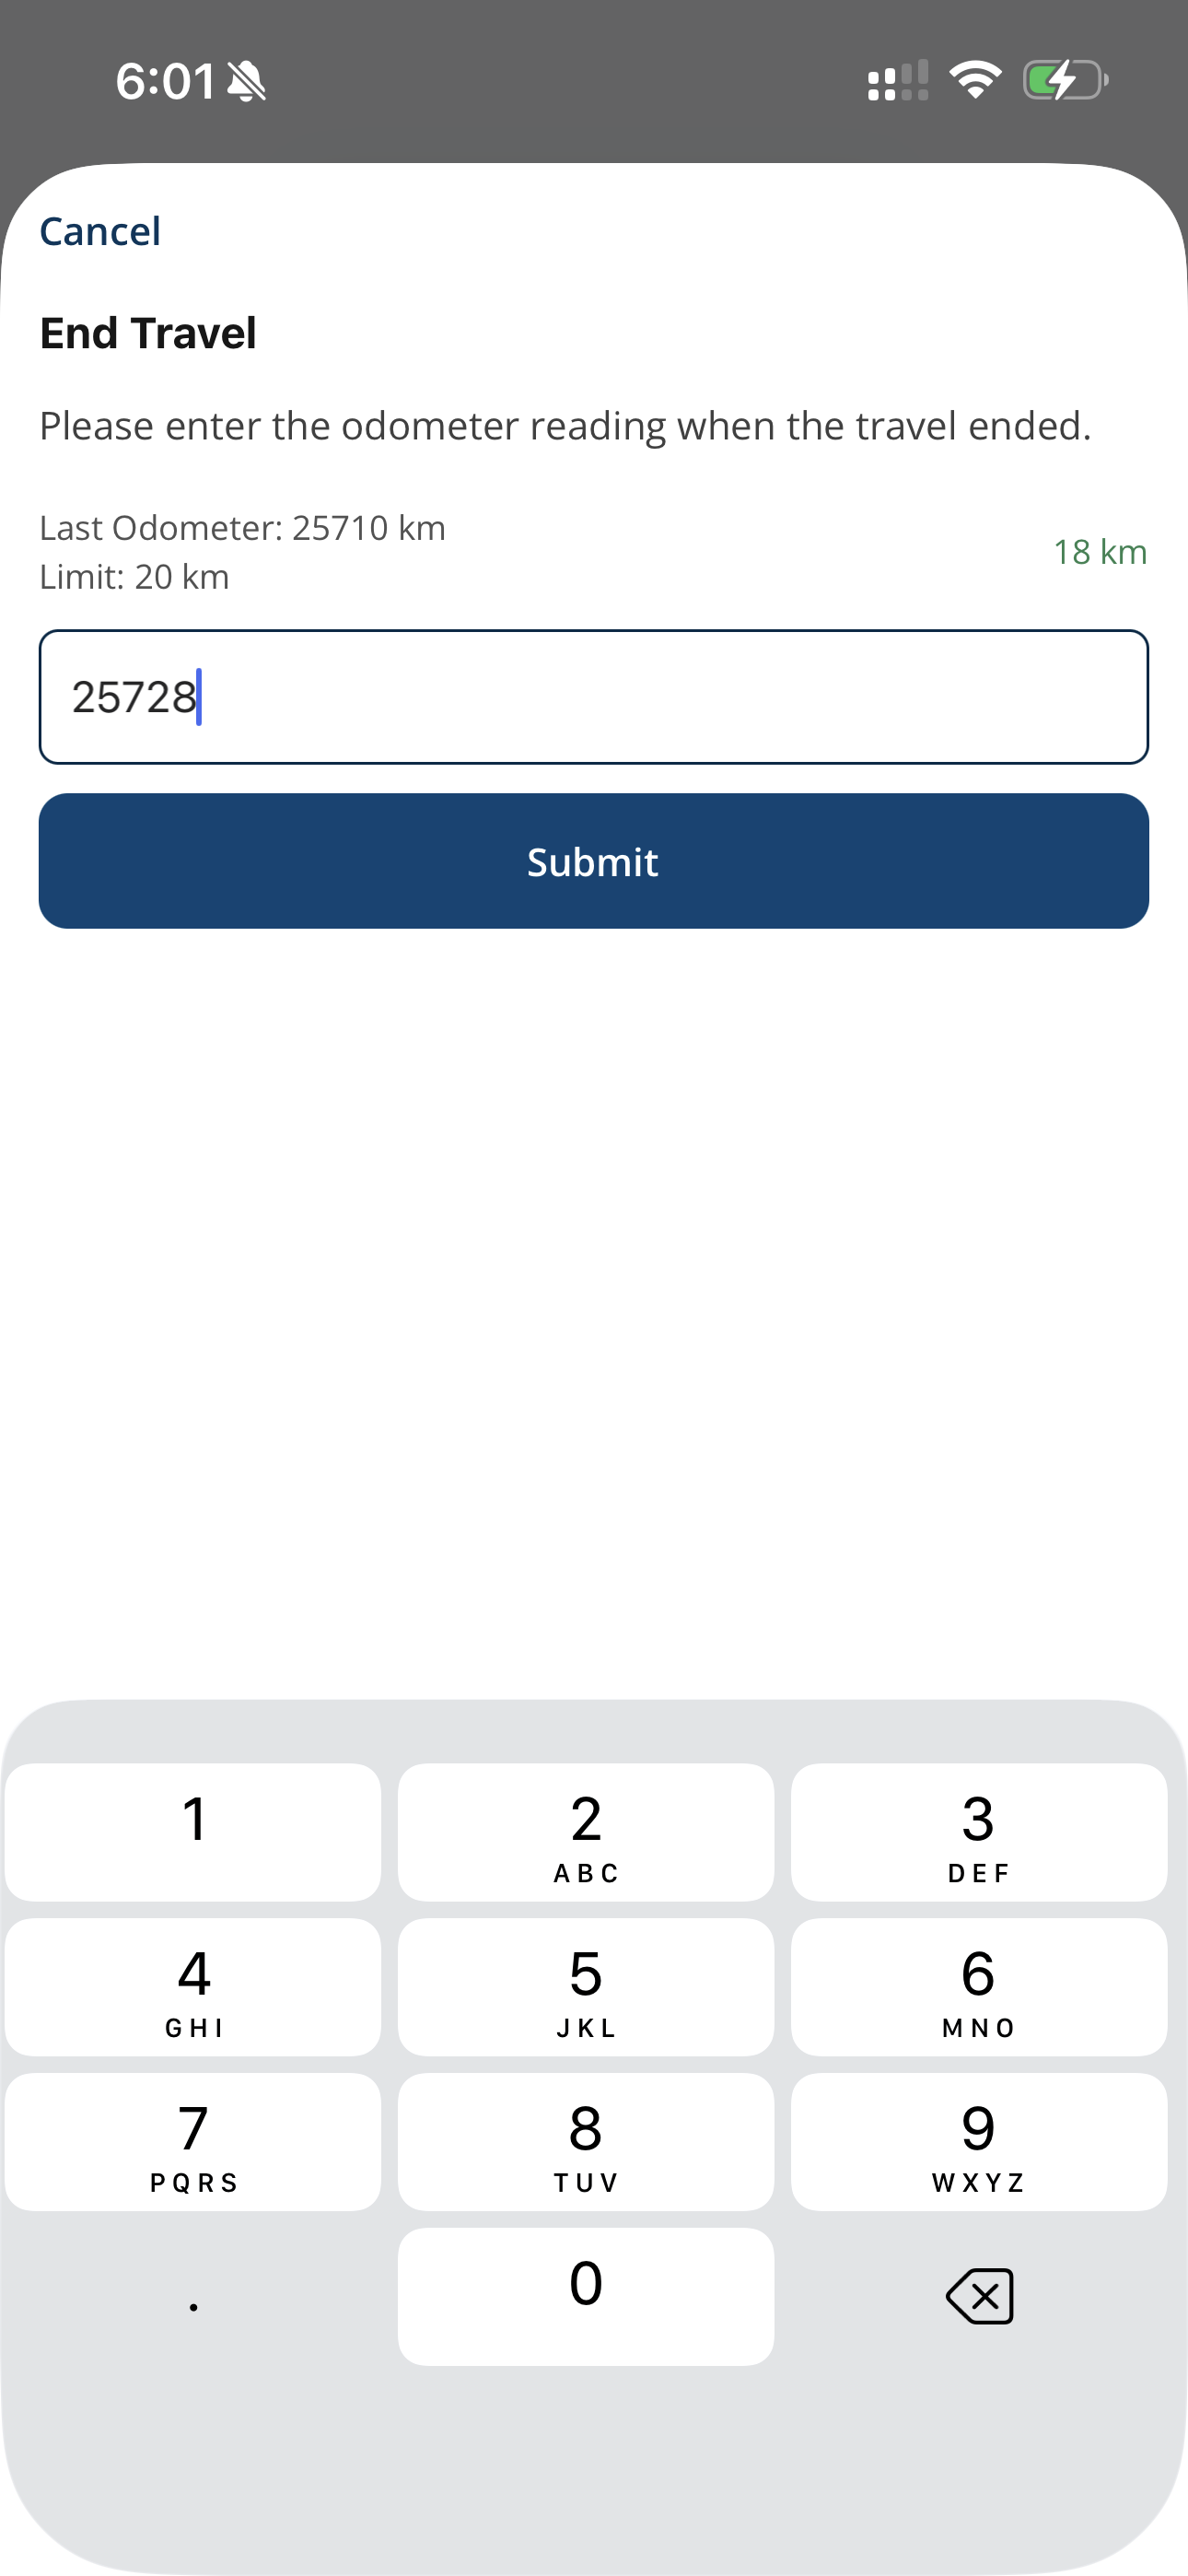
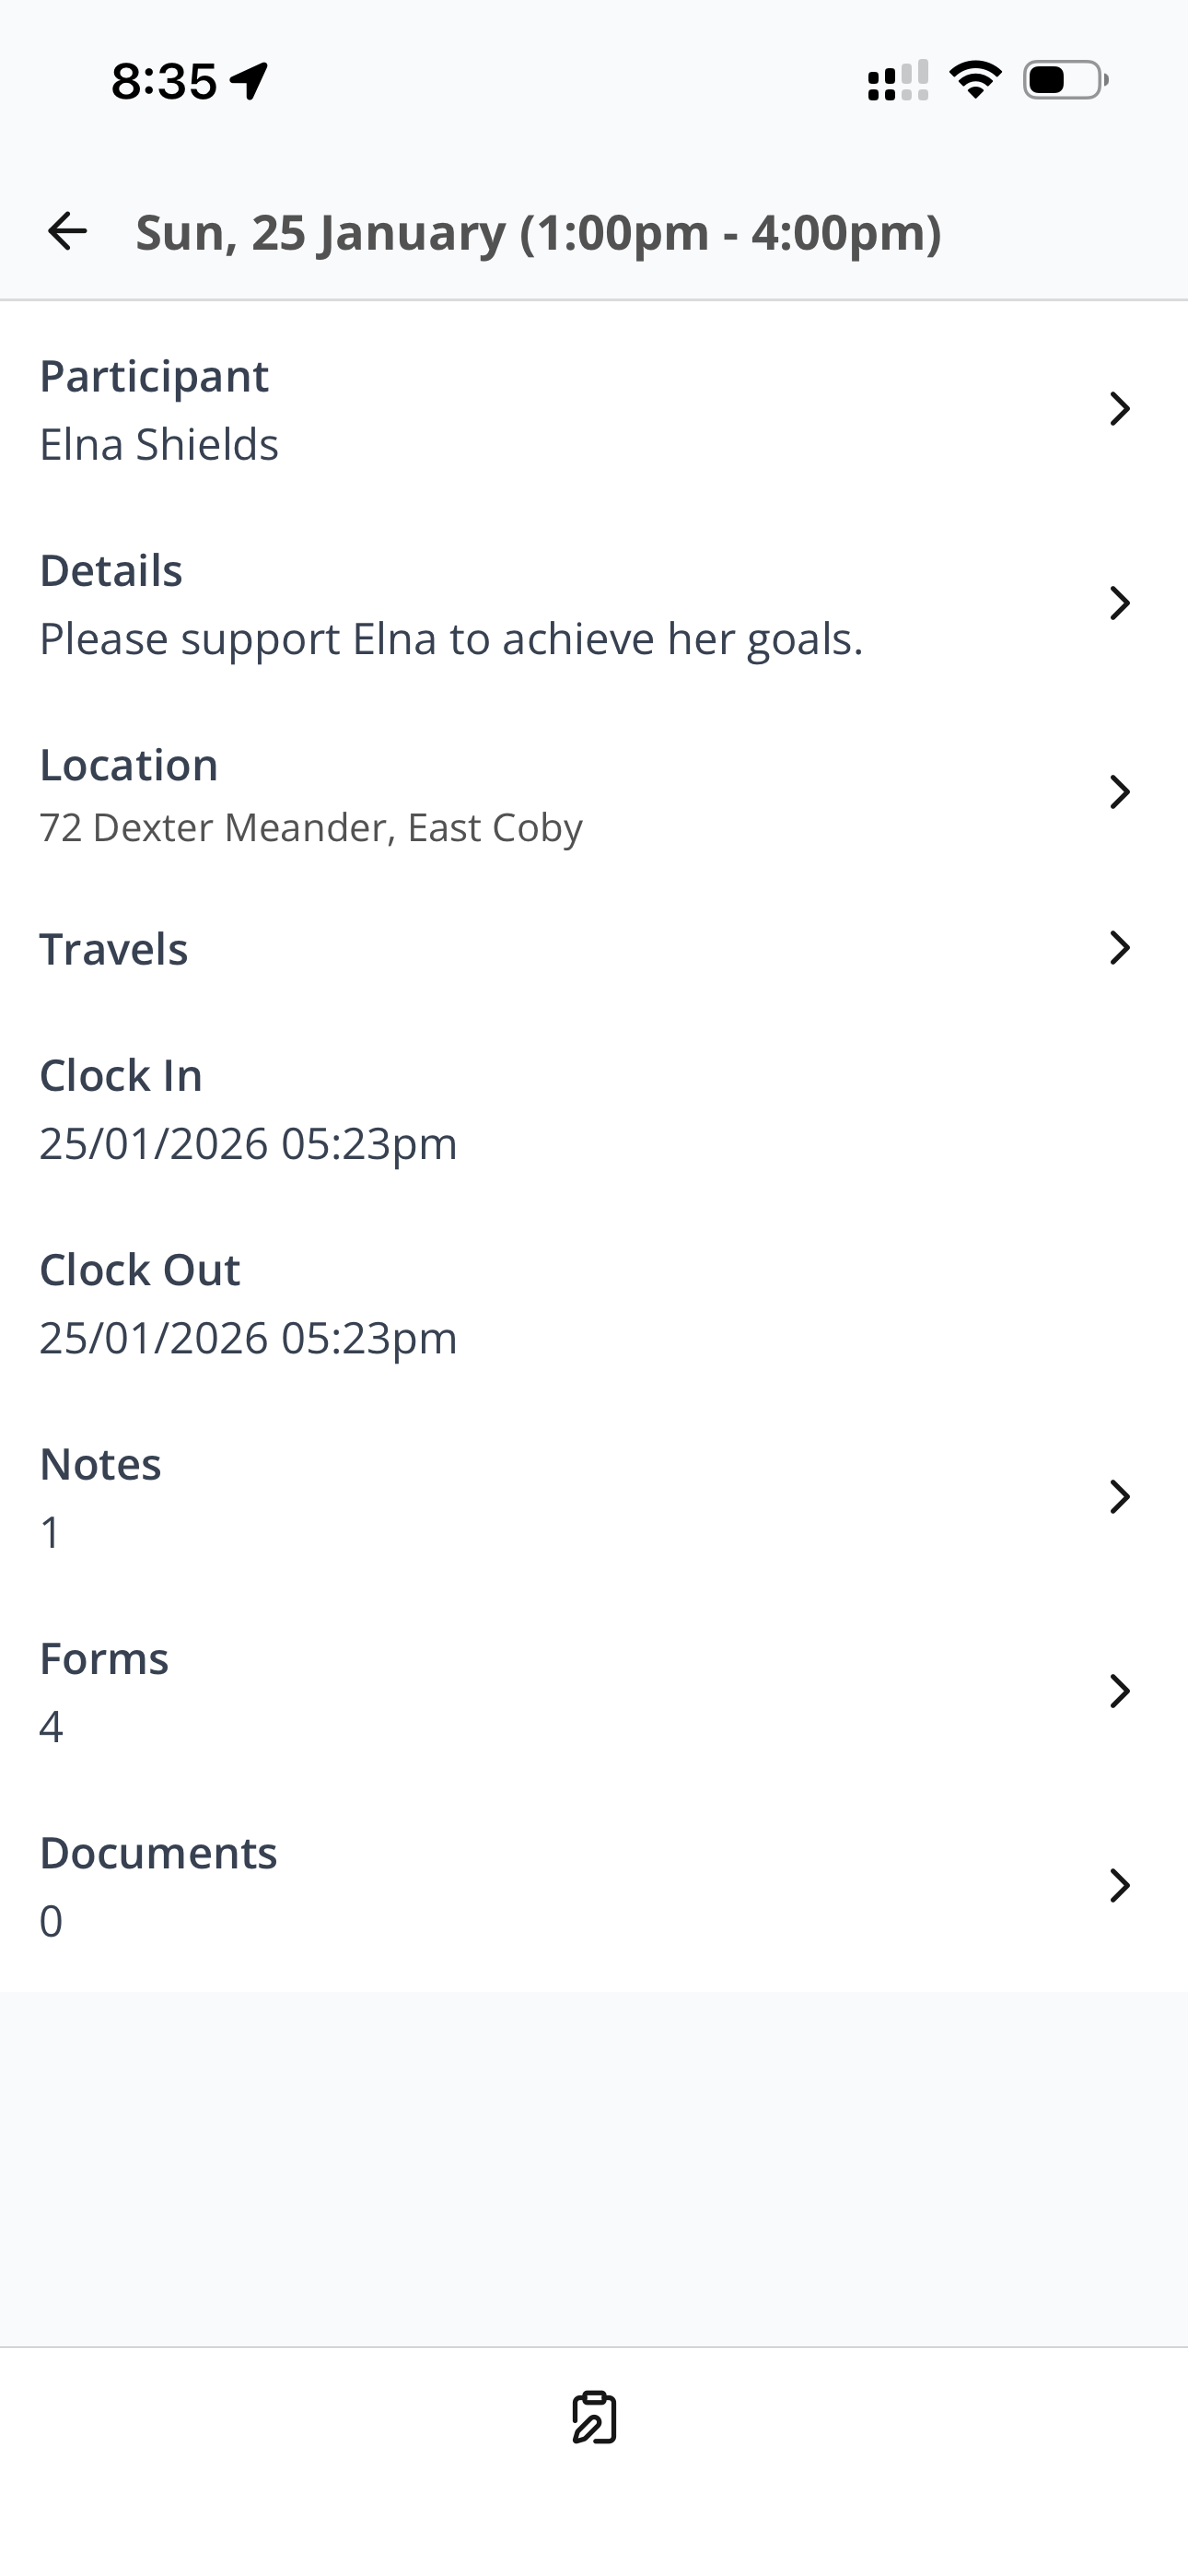
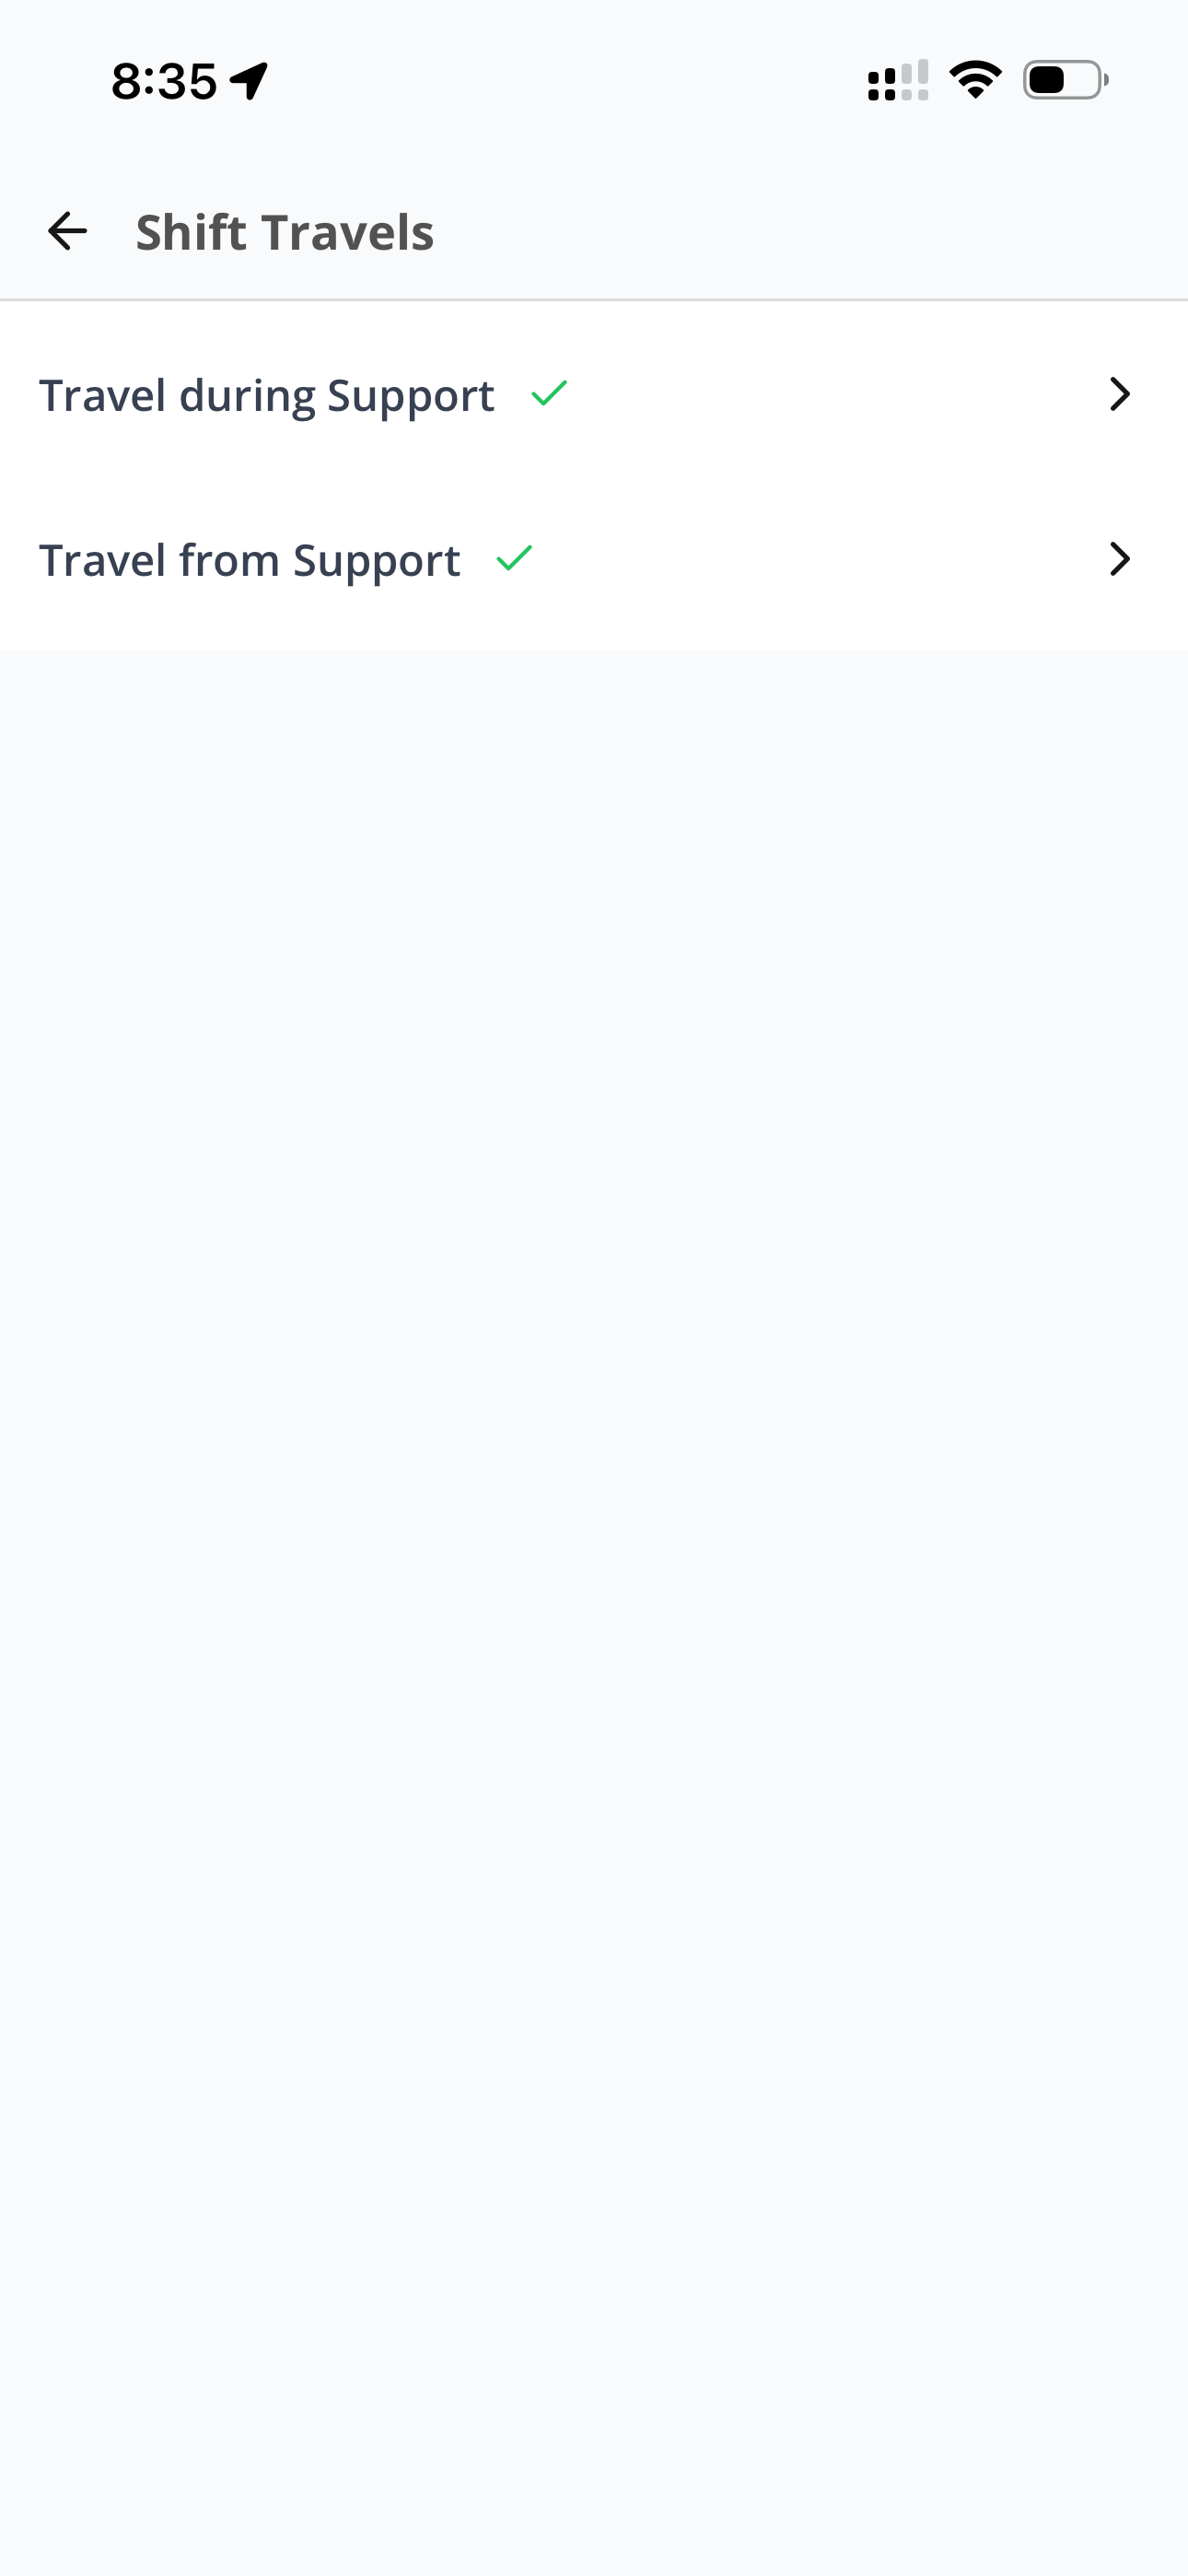
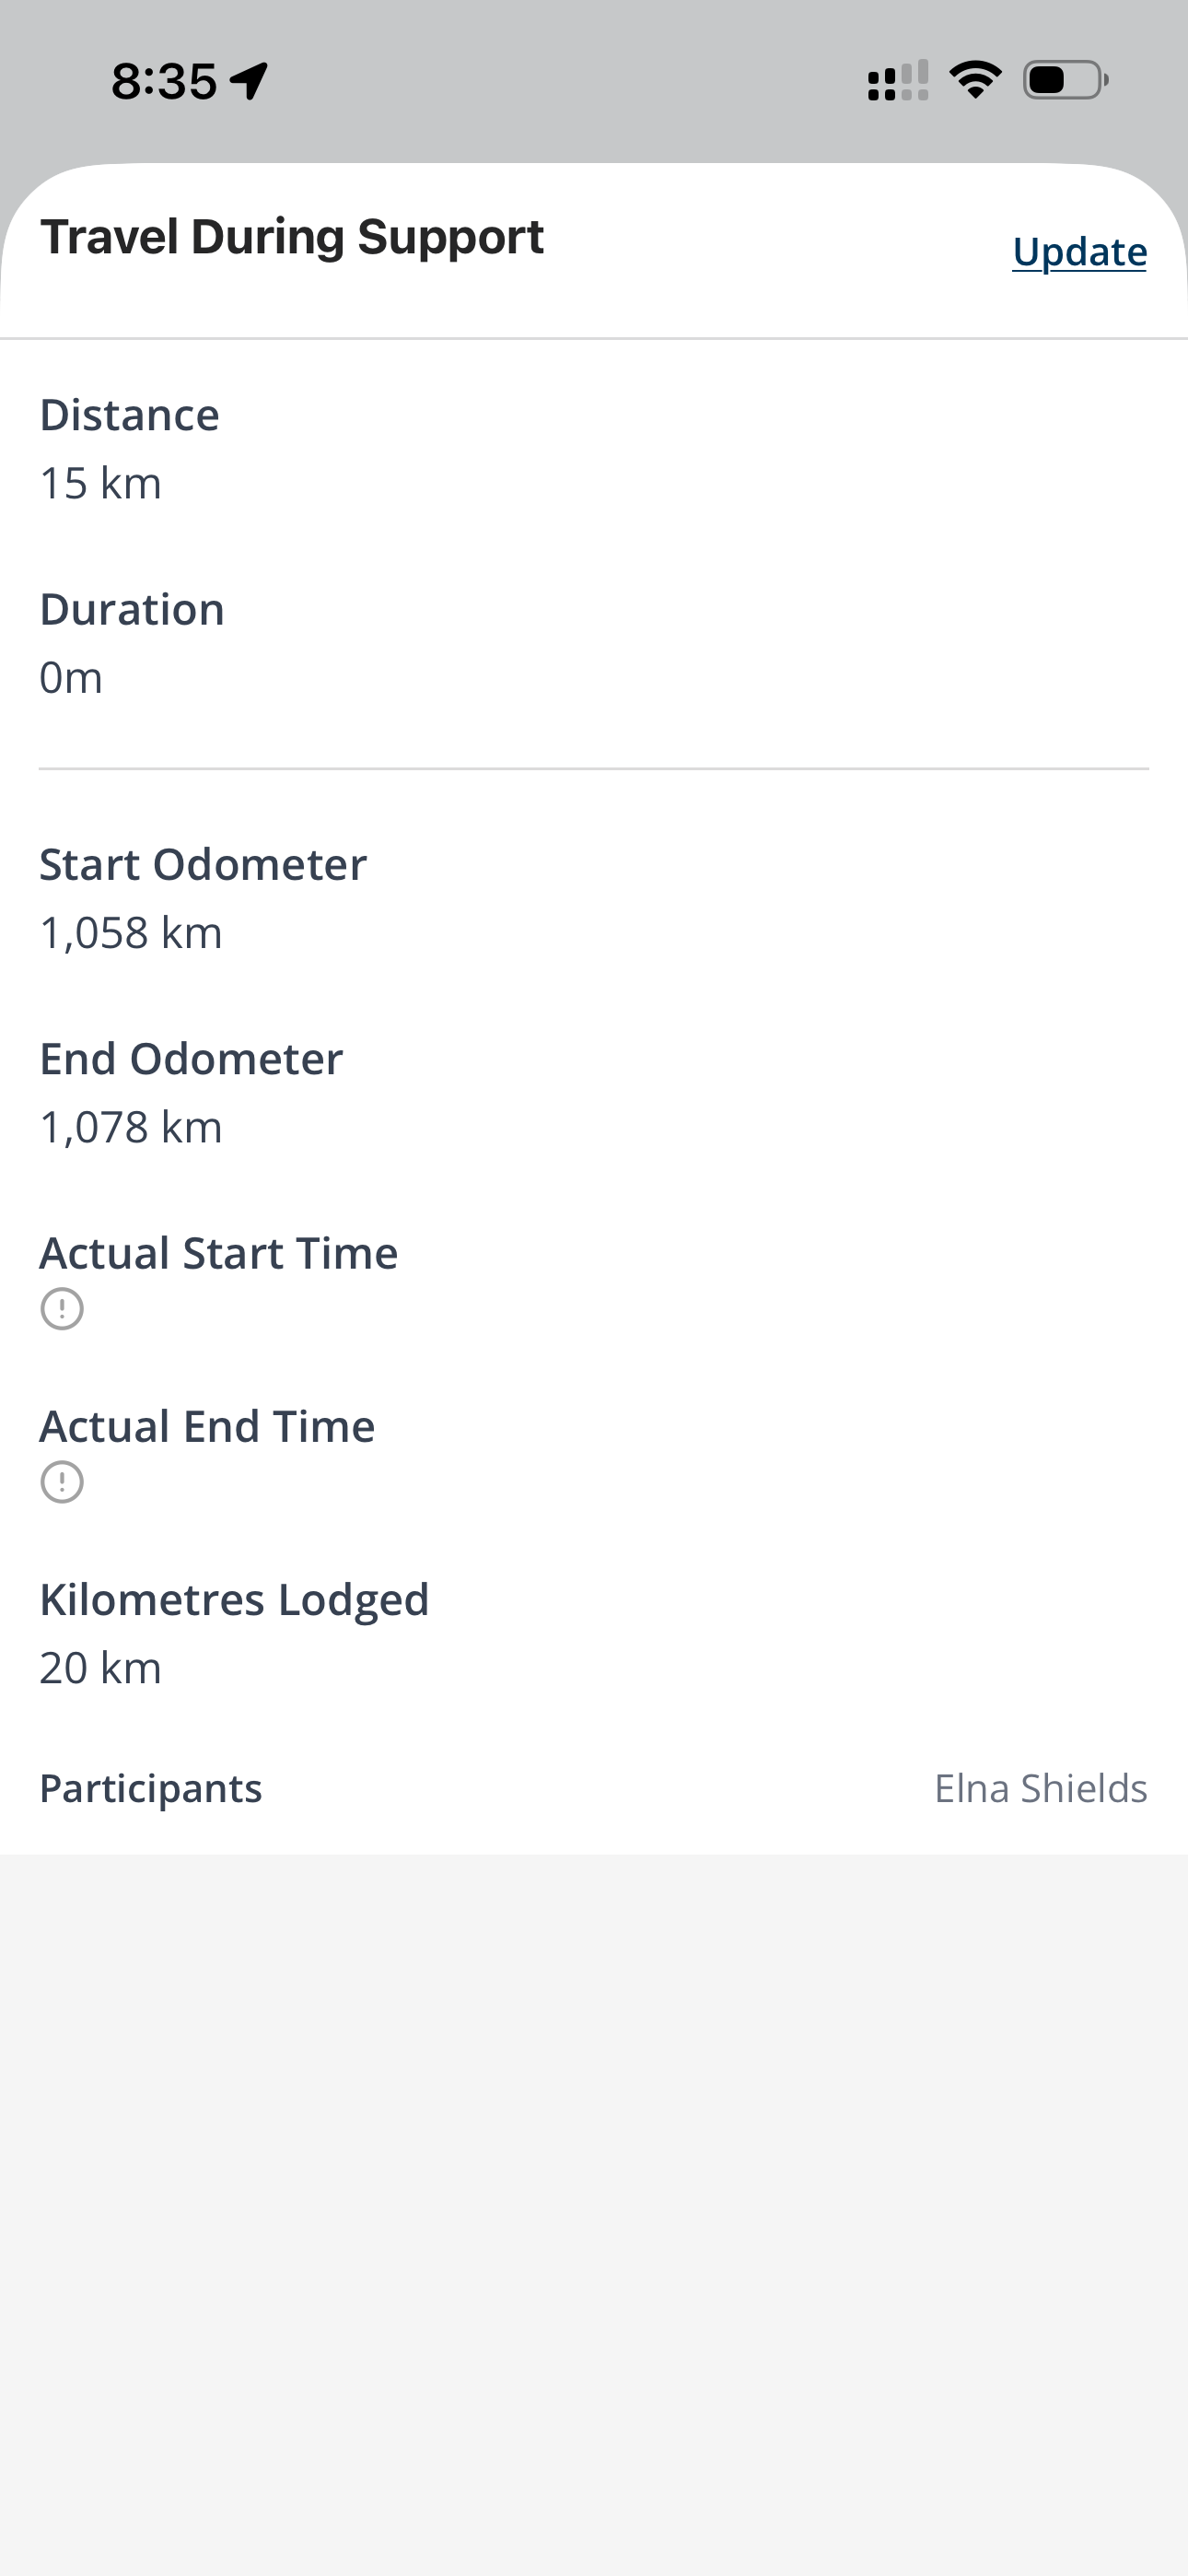
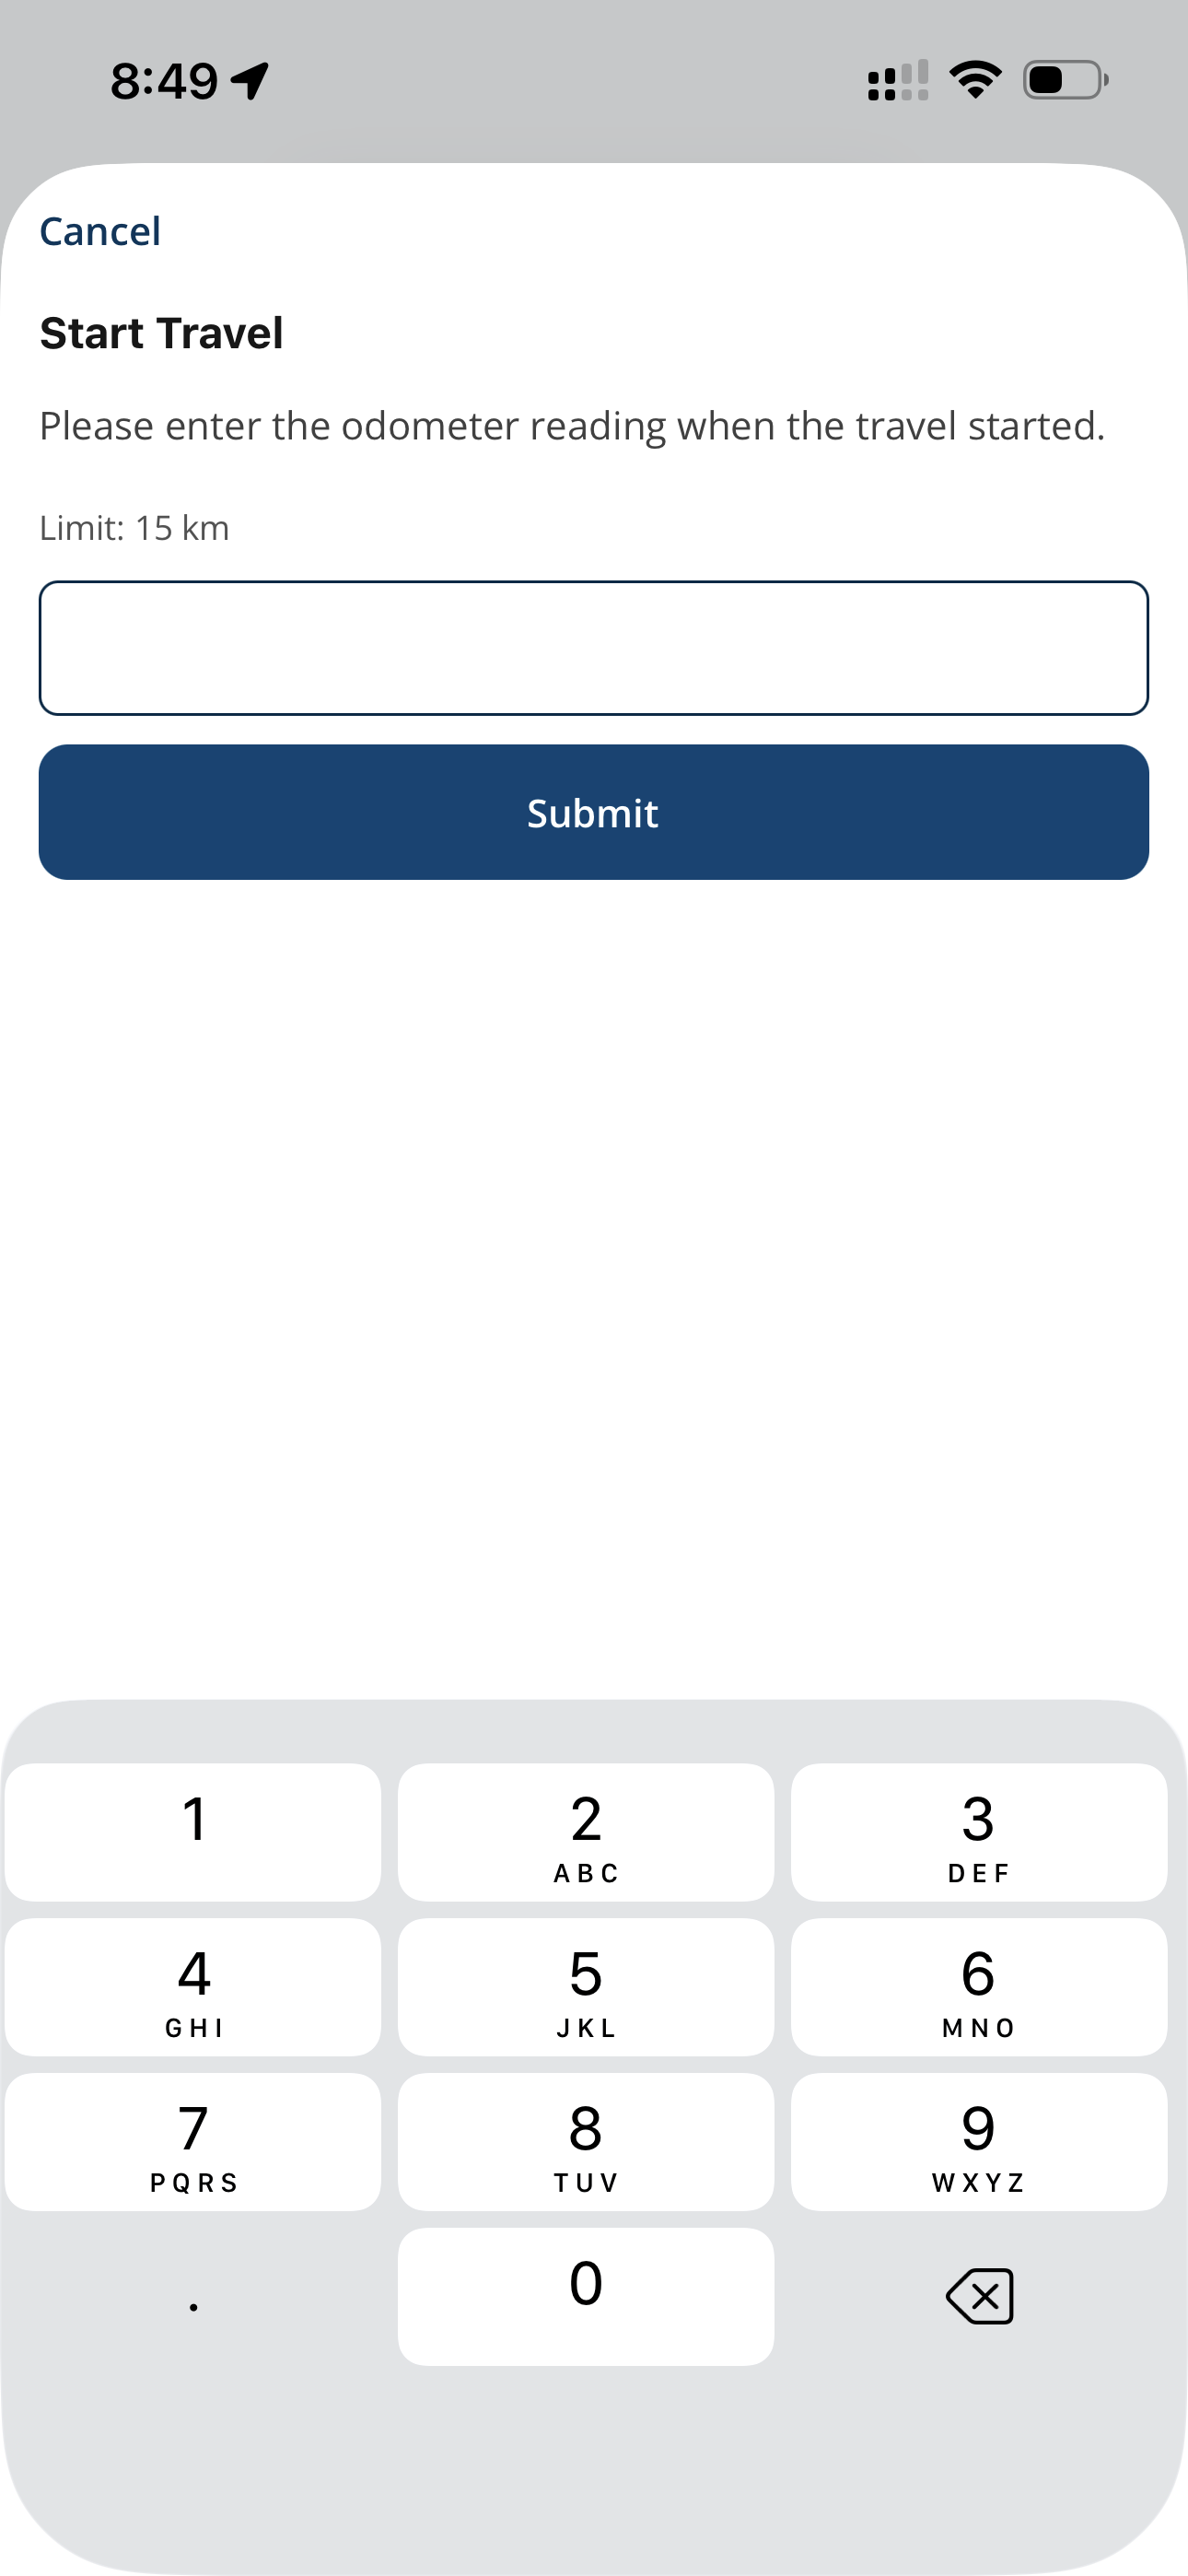
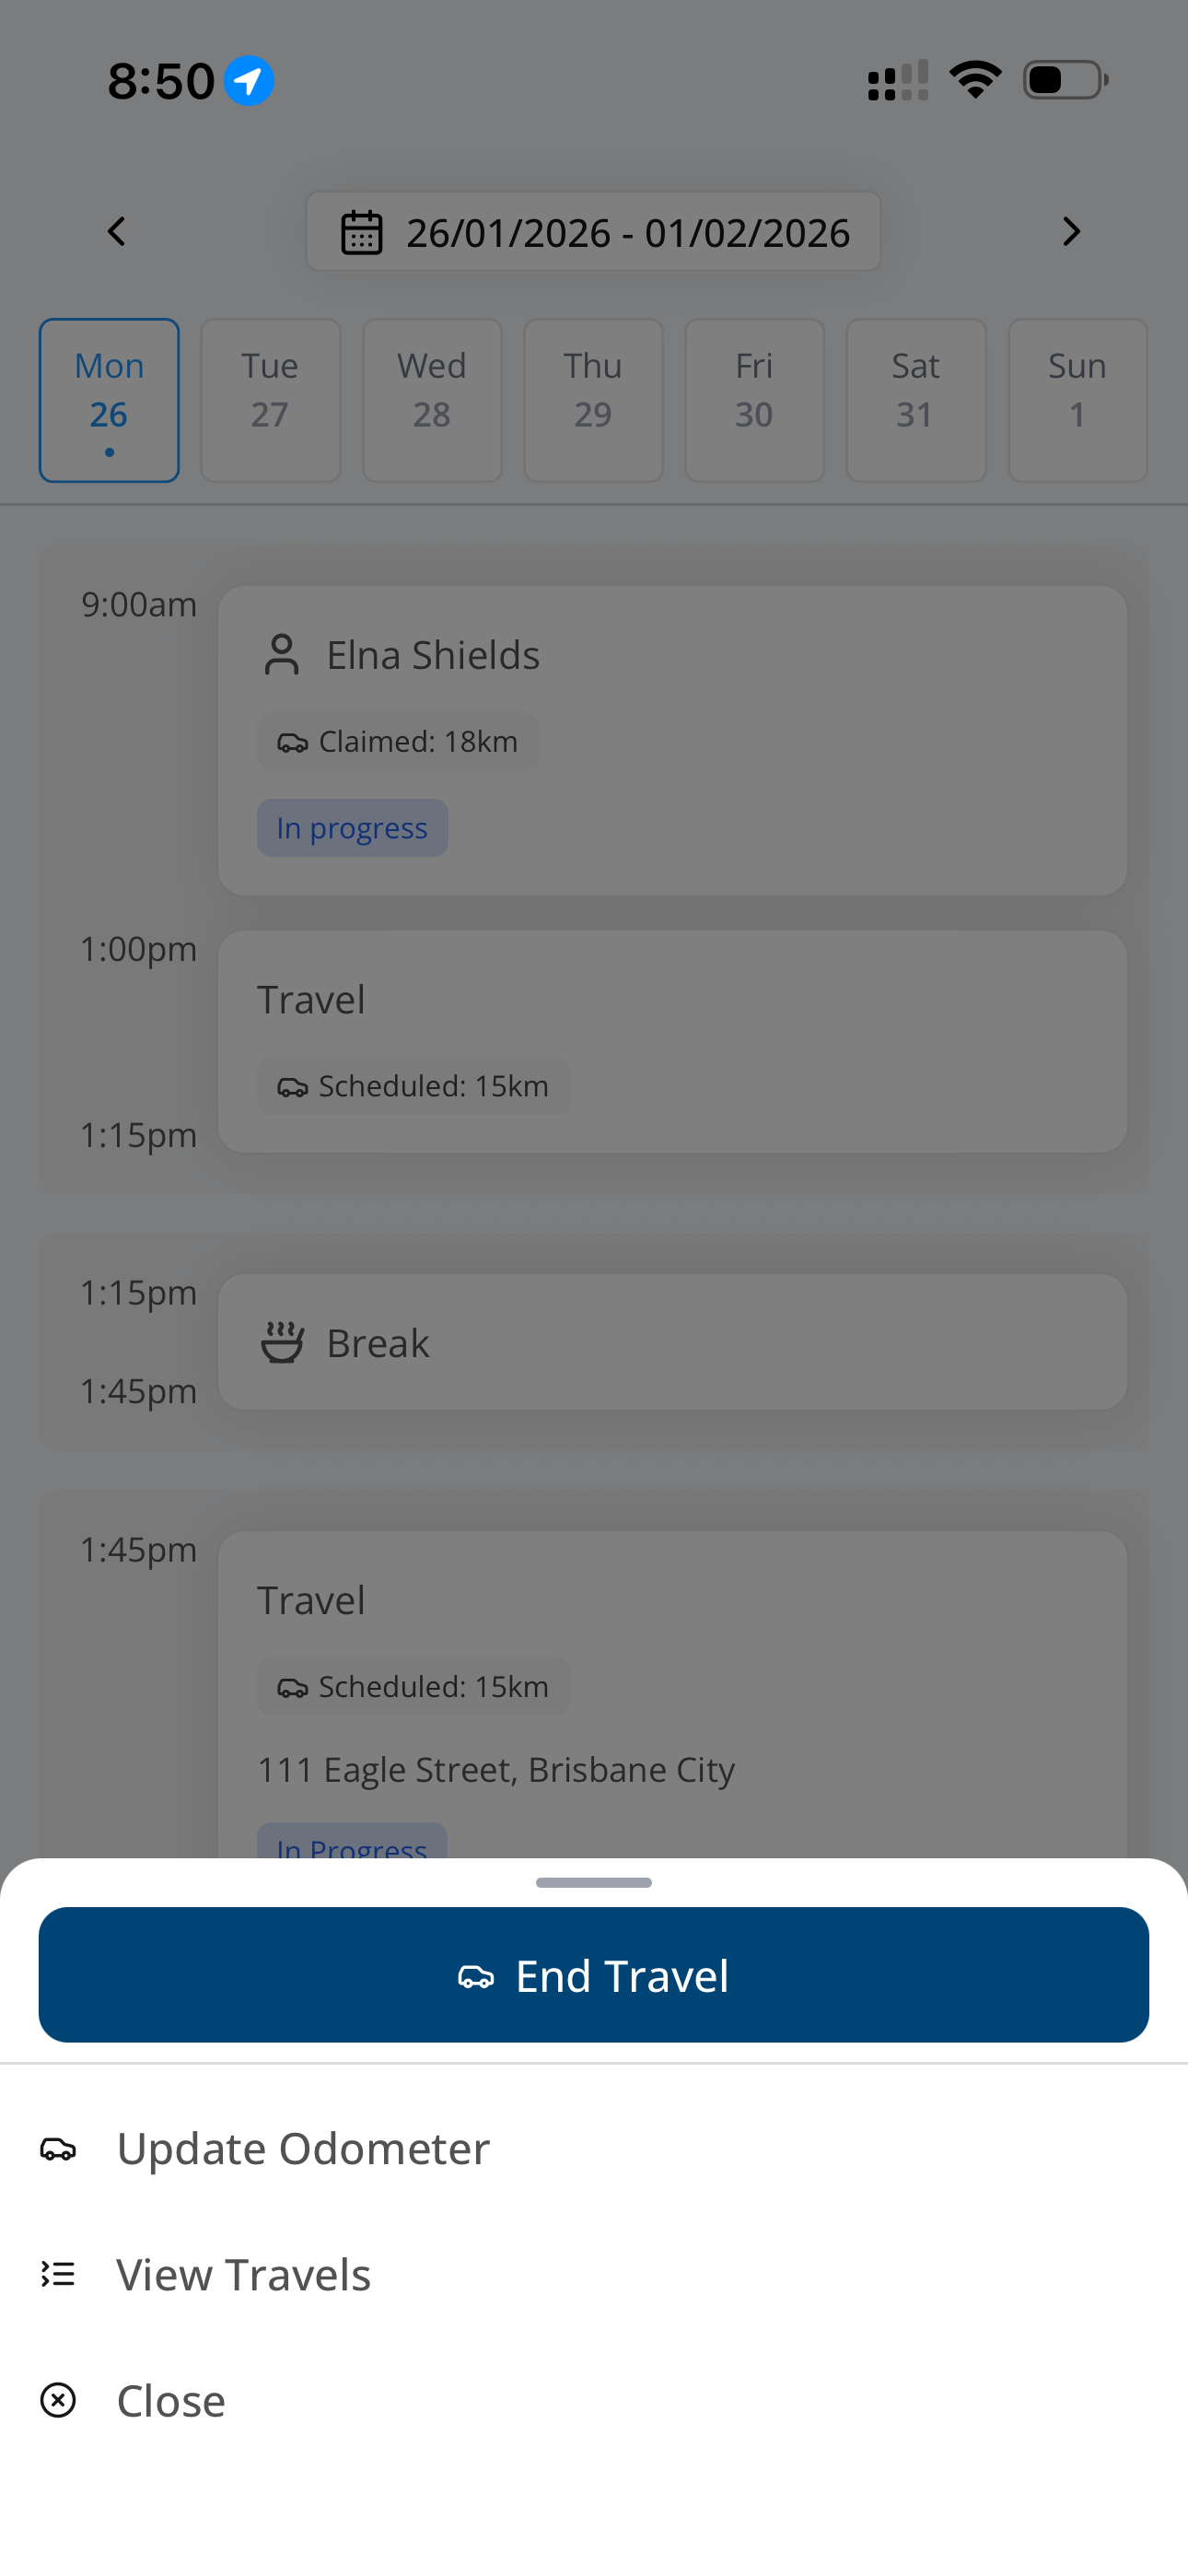
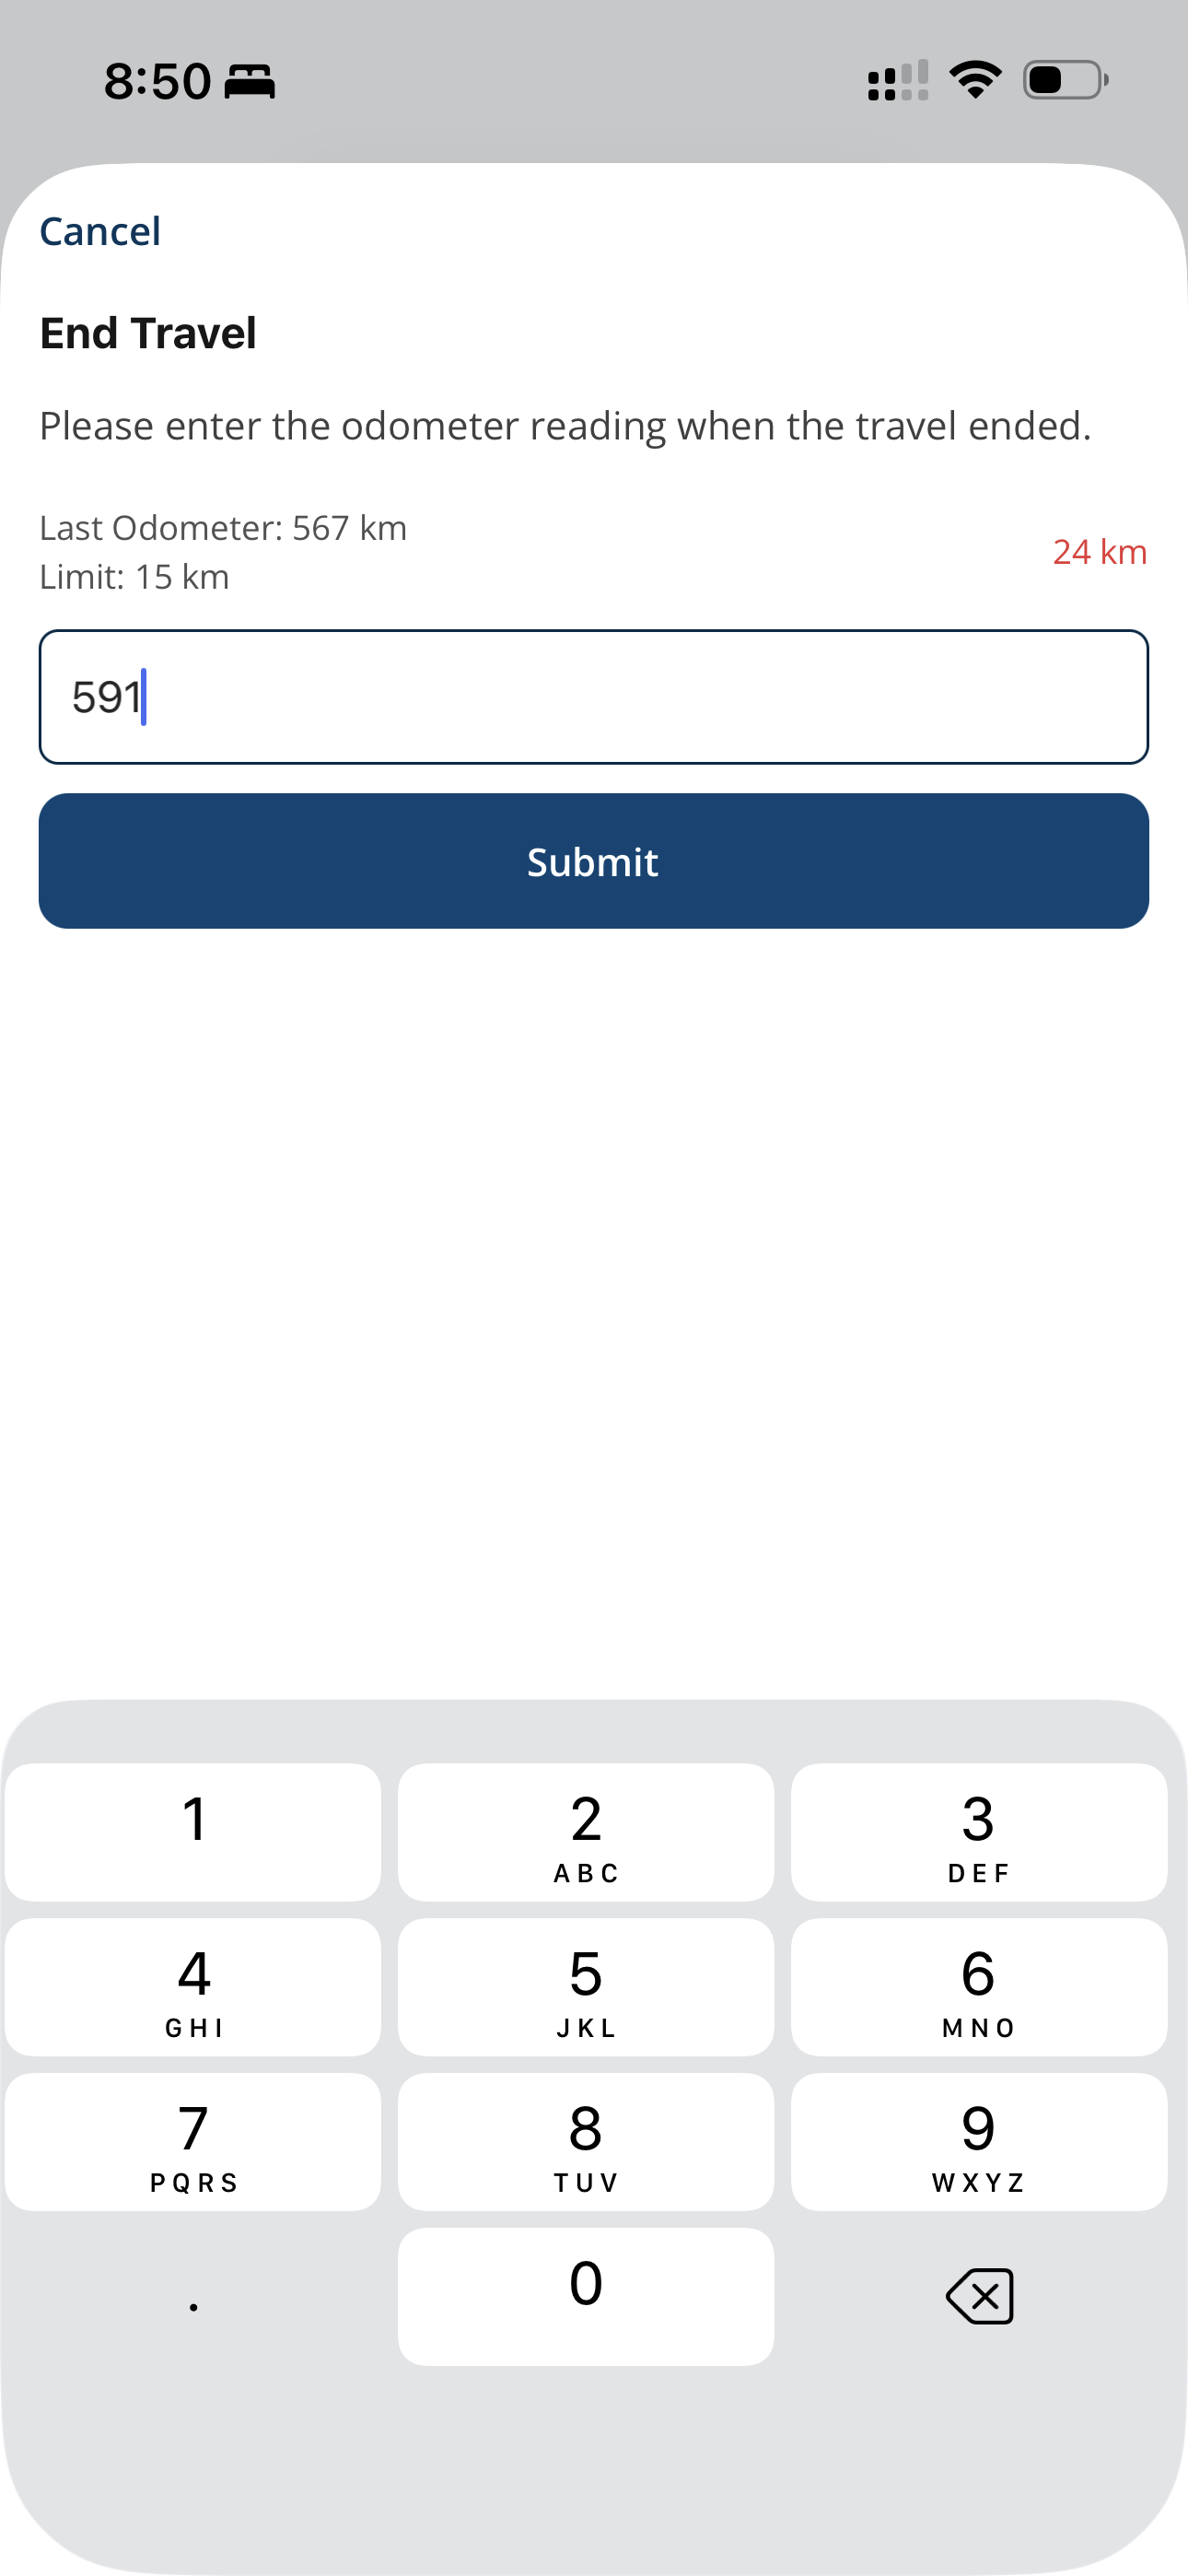
Travel you do while supporting a Participant is recorded against the shift. Open the shift, start travel when you set off, and end it when you arrive. The app calculates the distance and records the duration for approval.
See Record Travel During a Shift.
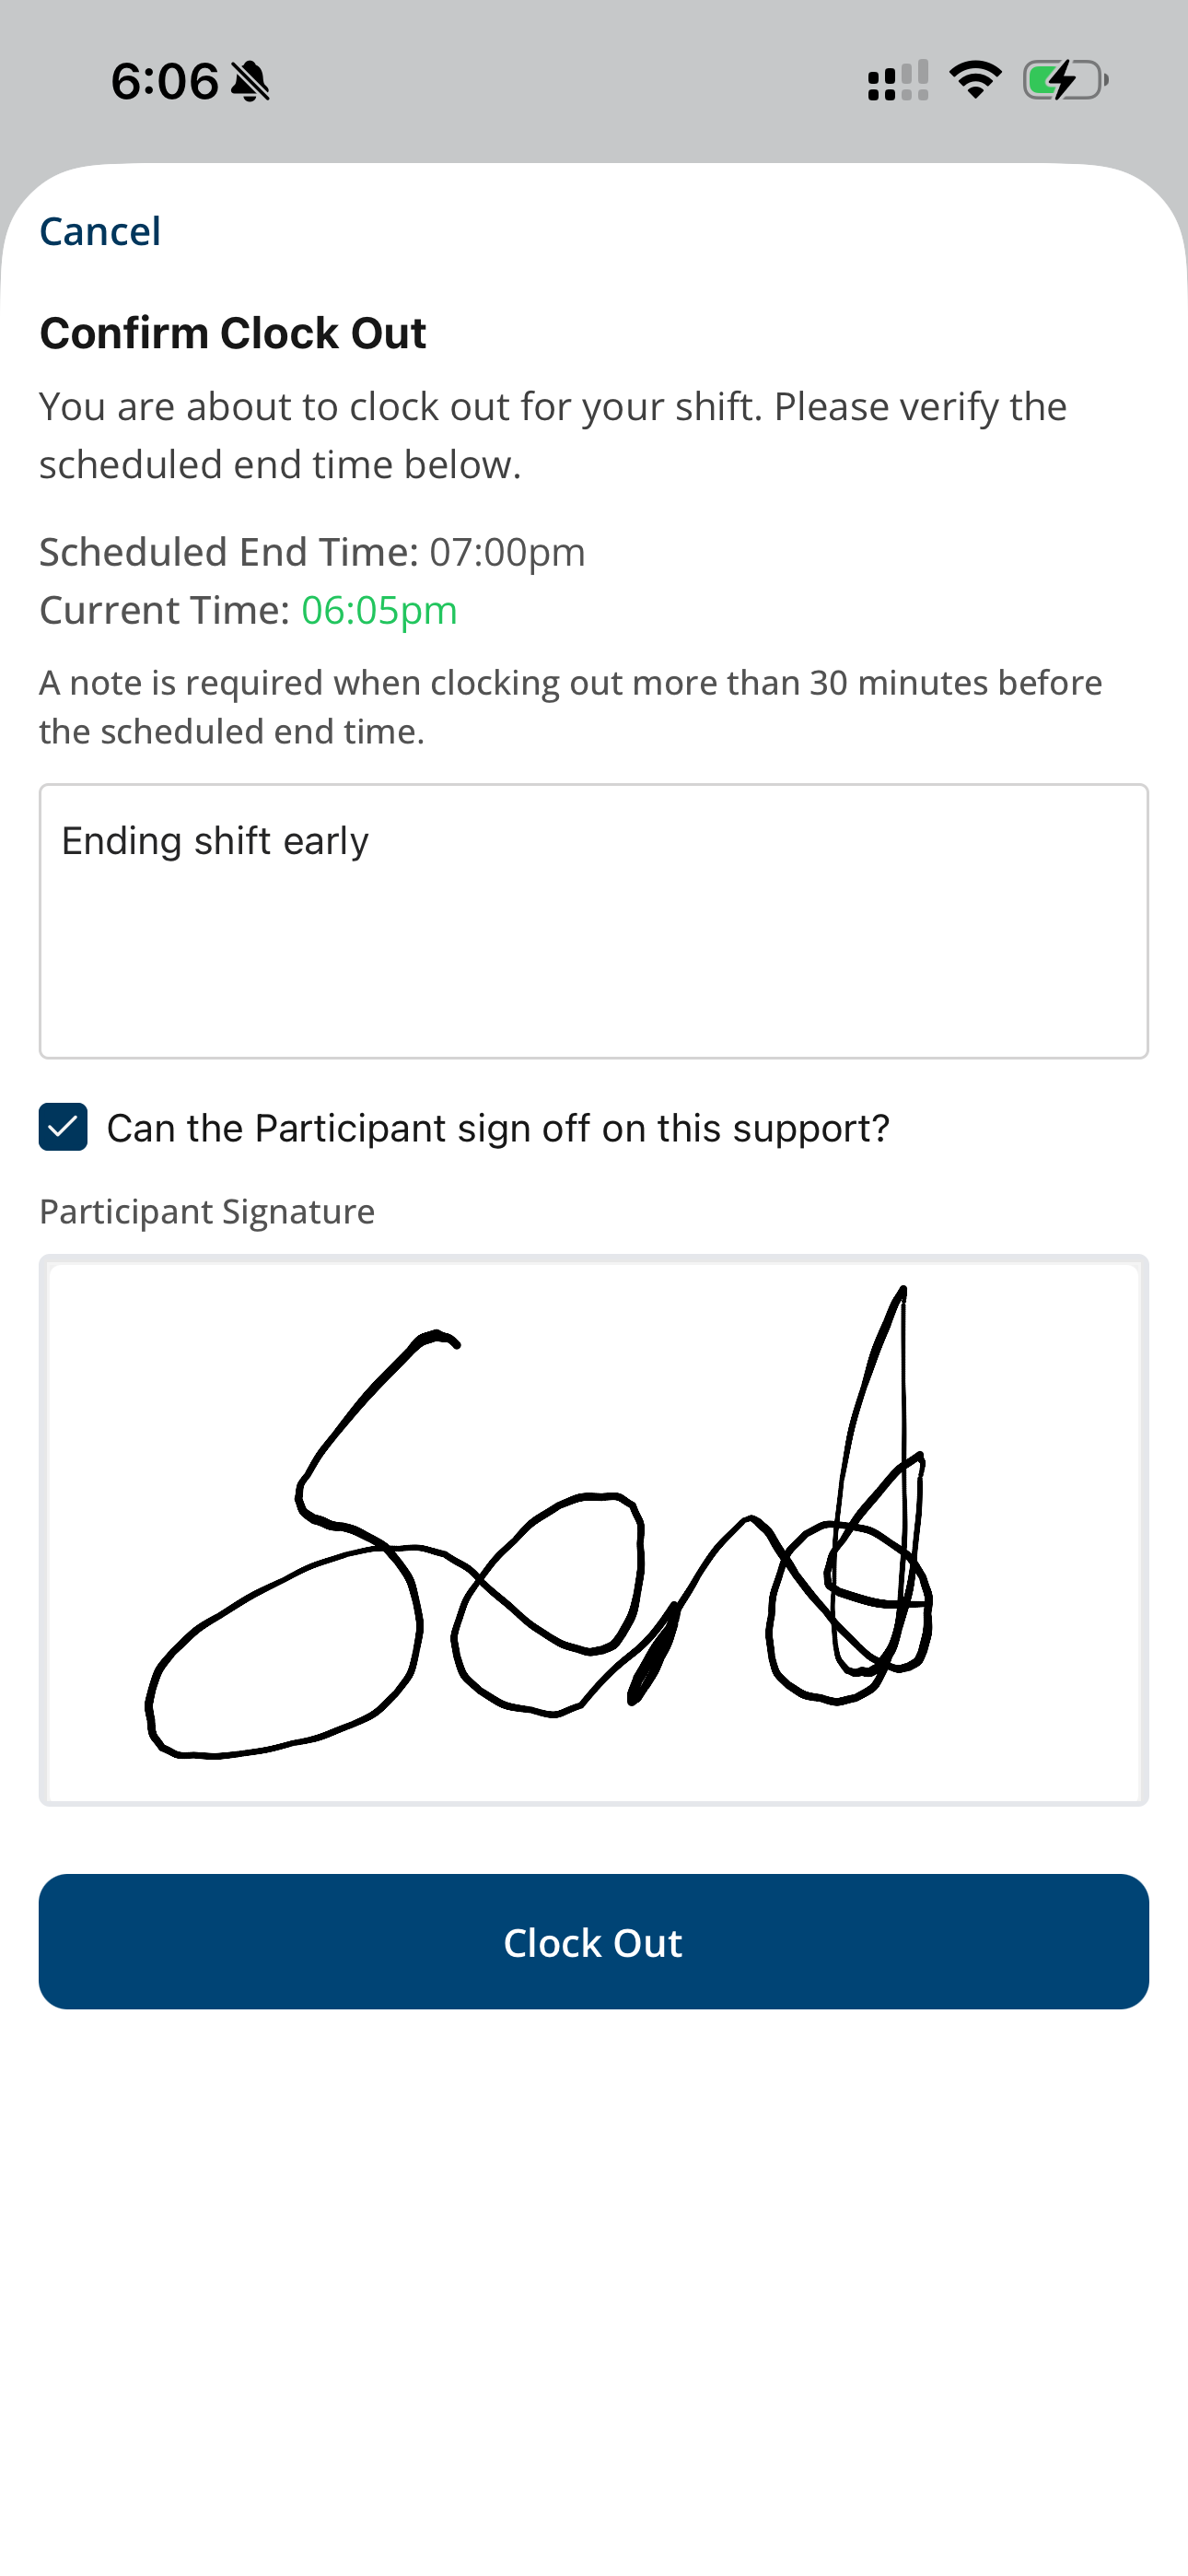
Participant Signature
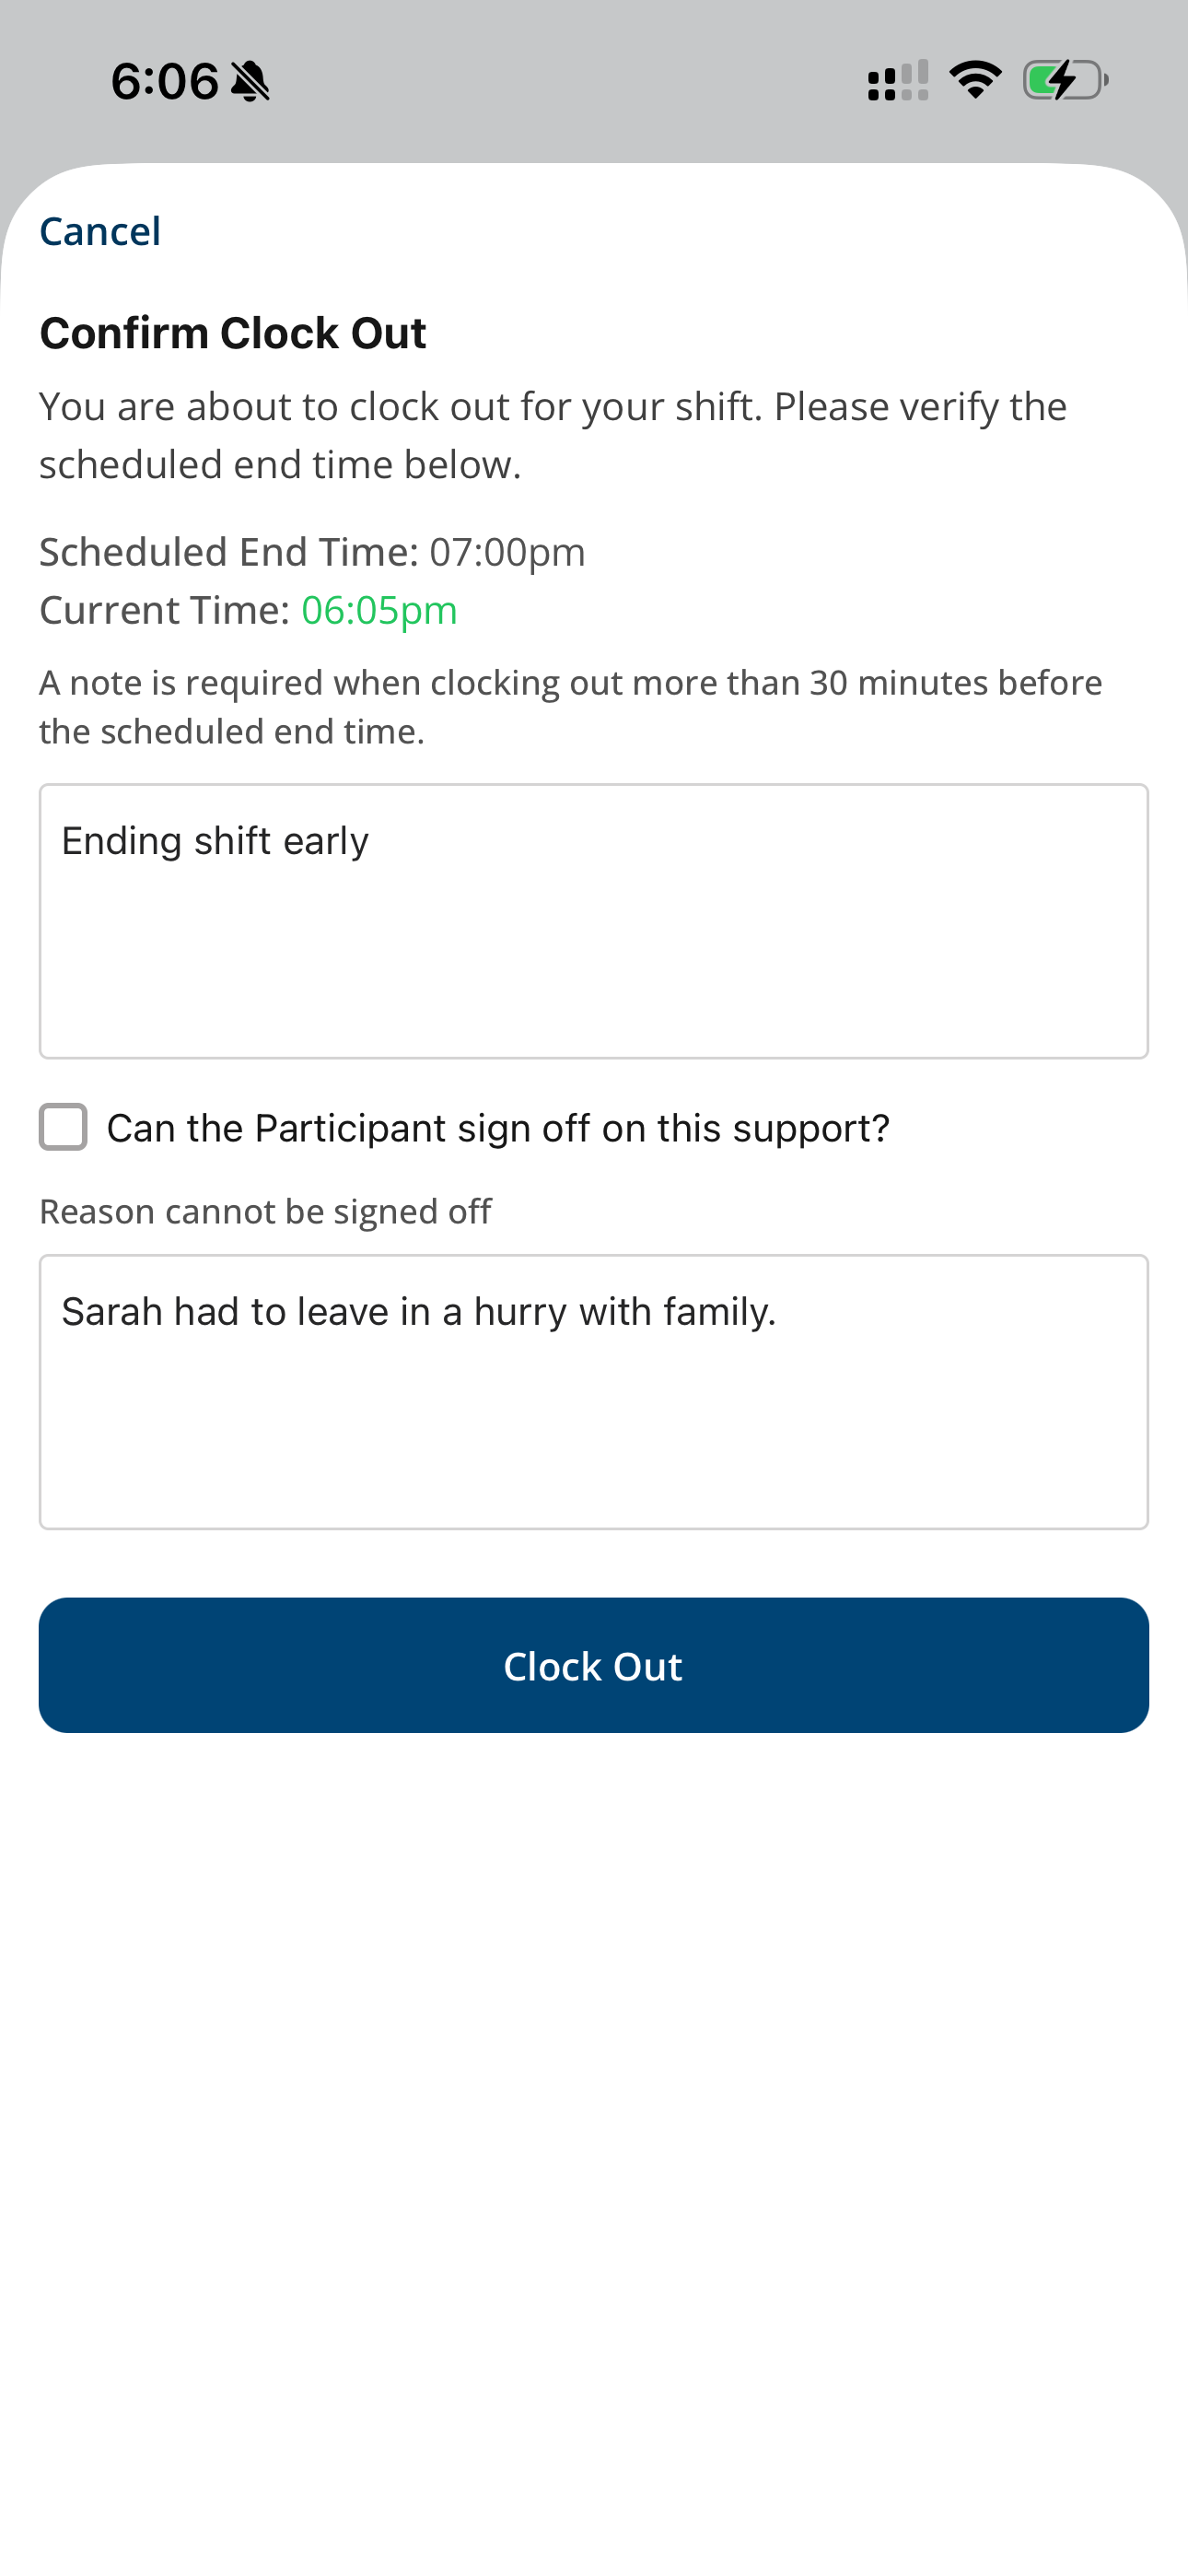
Where Participant Sign-Off is required, clock-out asks Can the Participant sign off on this support? Leave it selected and collect the signature. If the Participant cannot sign, clear it and enter a reason of at least 10 characters.
See Participant Sign-off Required.
Participant Forms
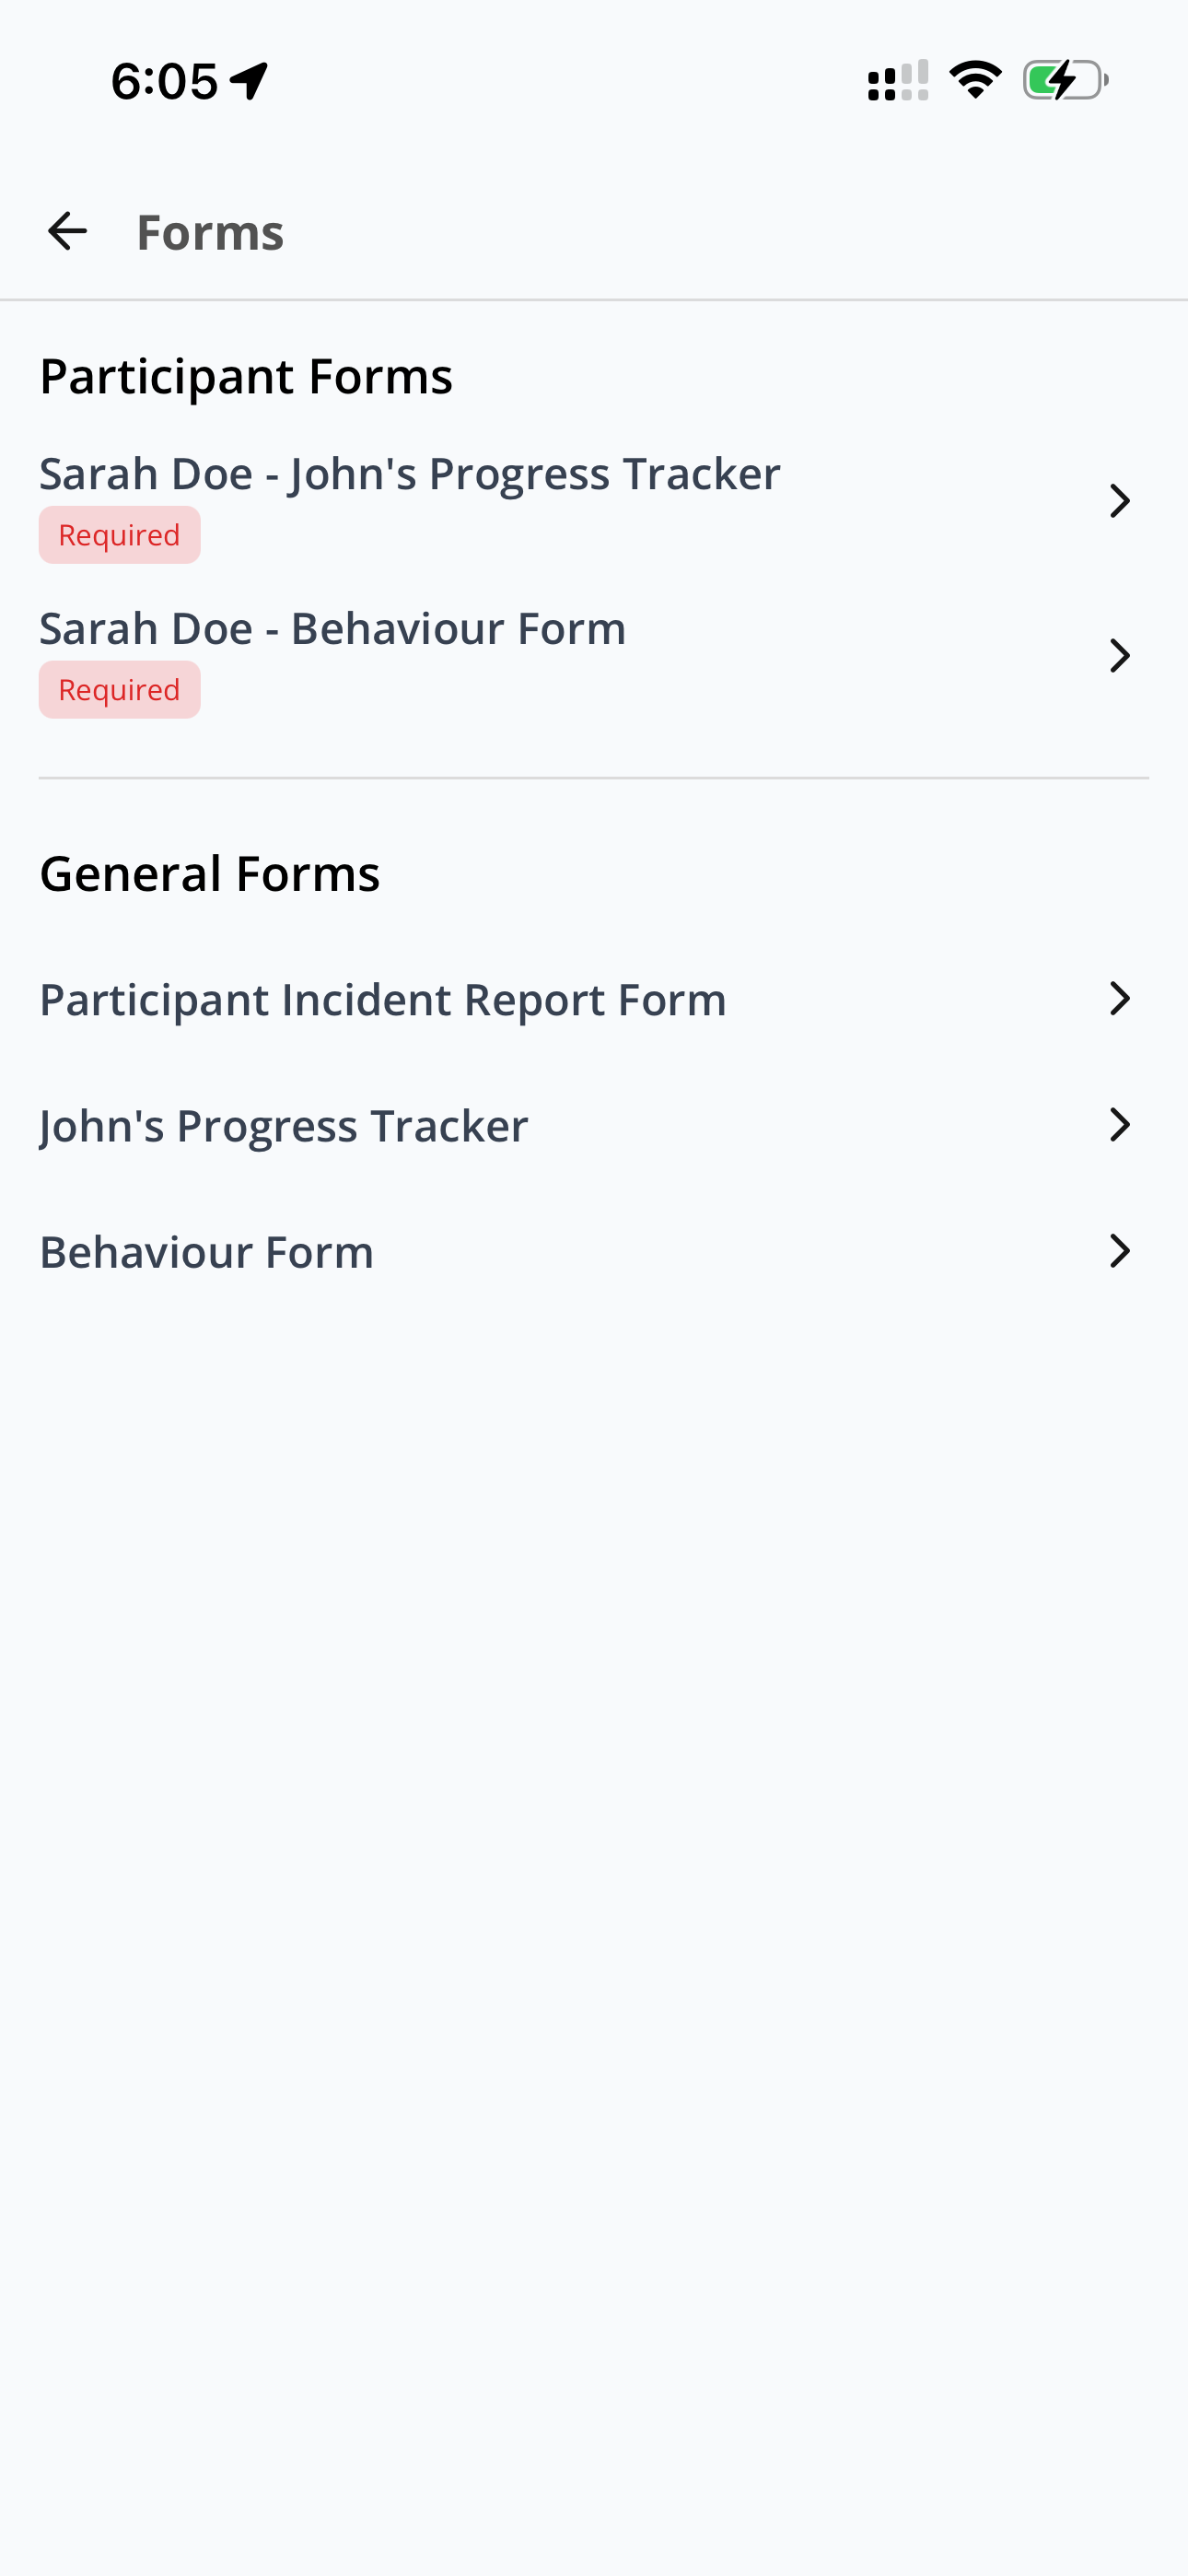
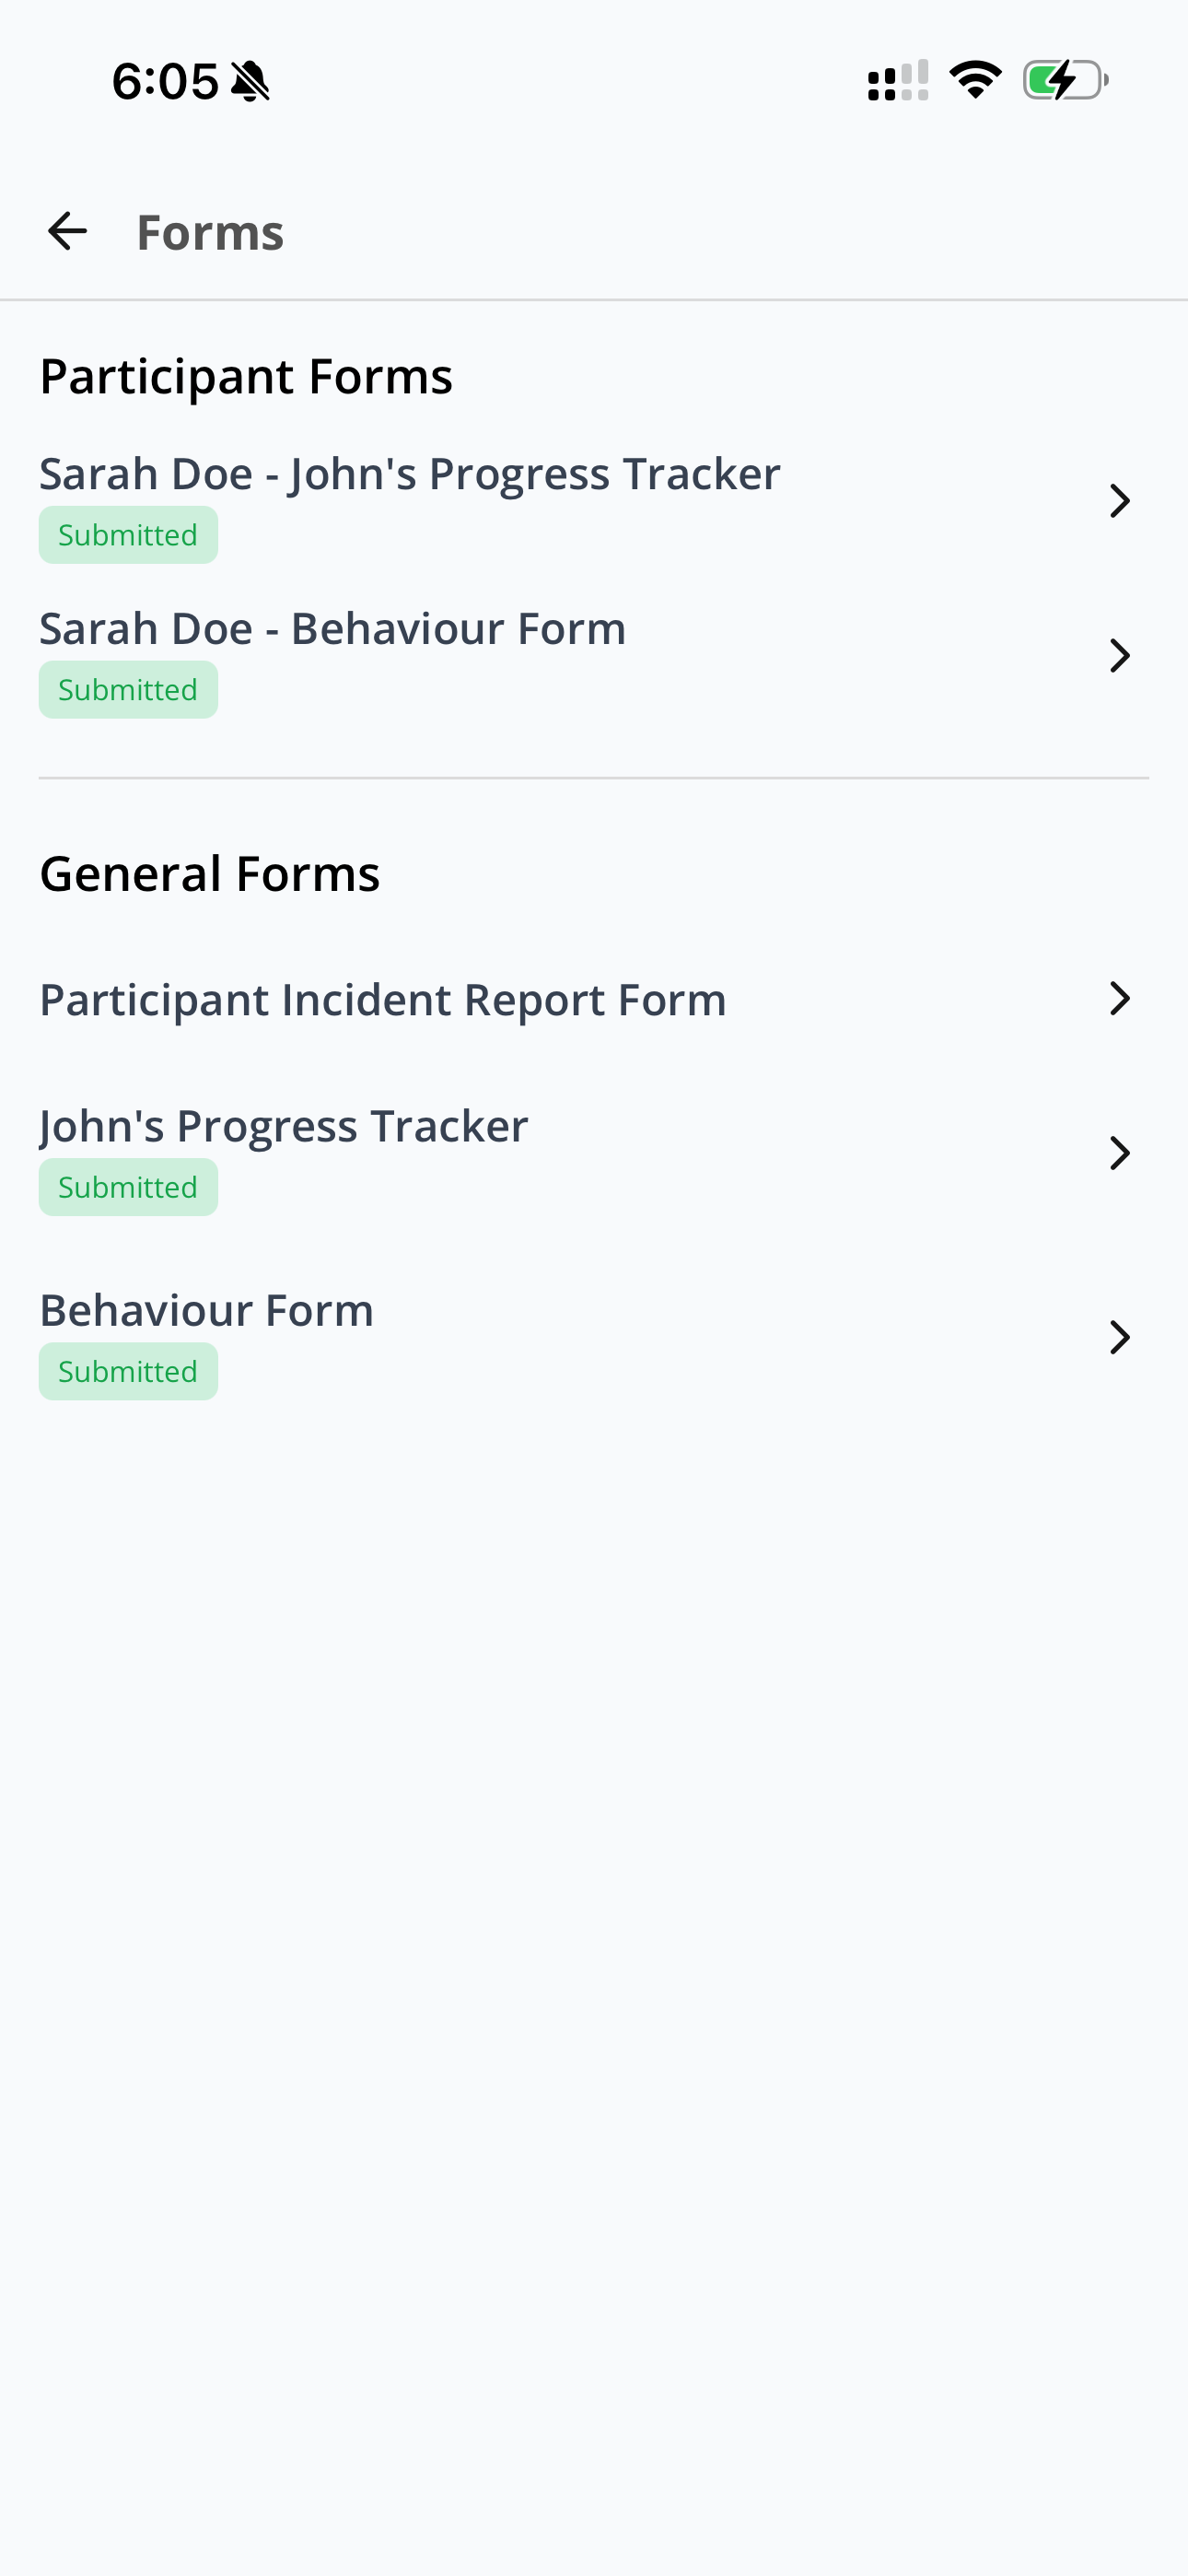
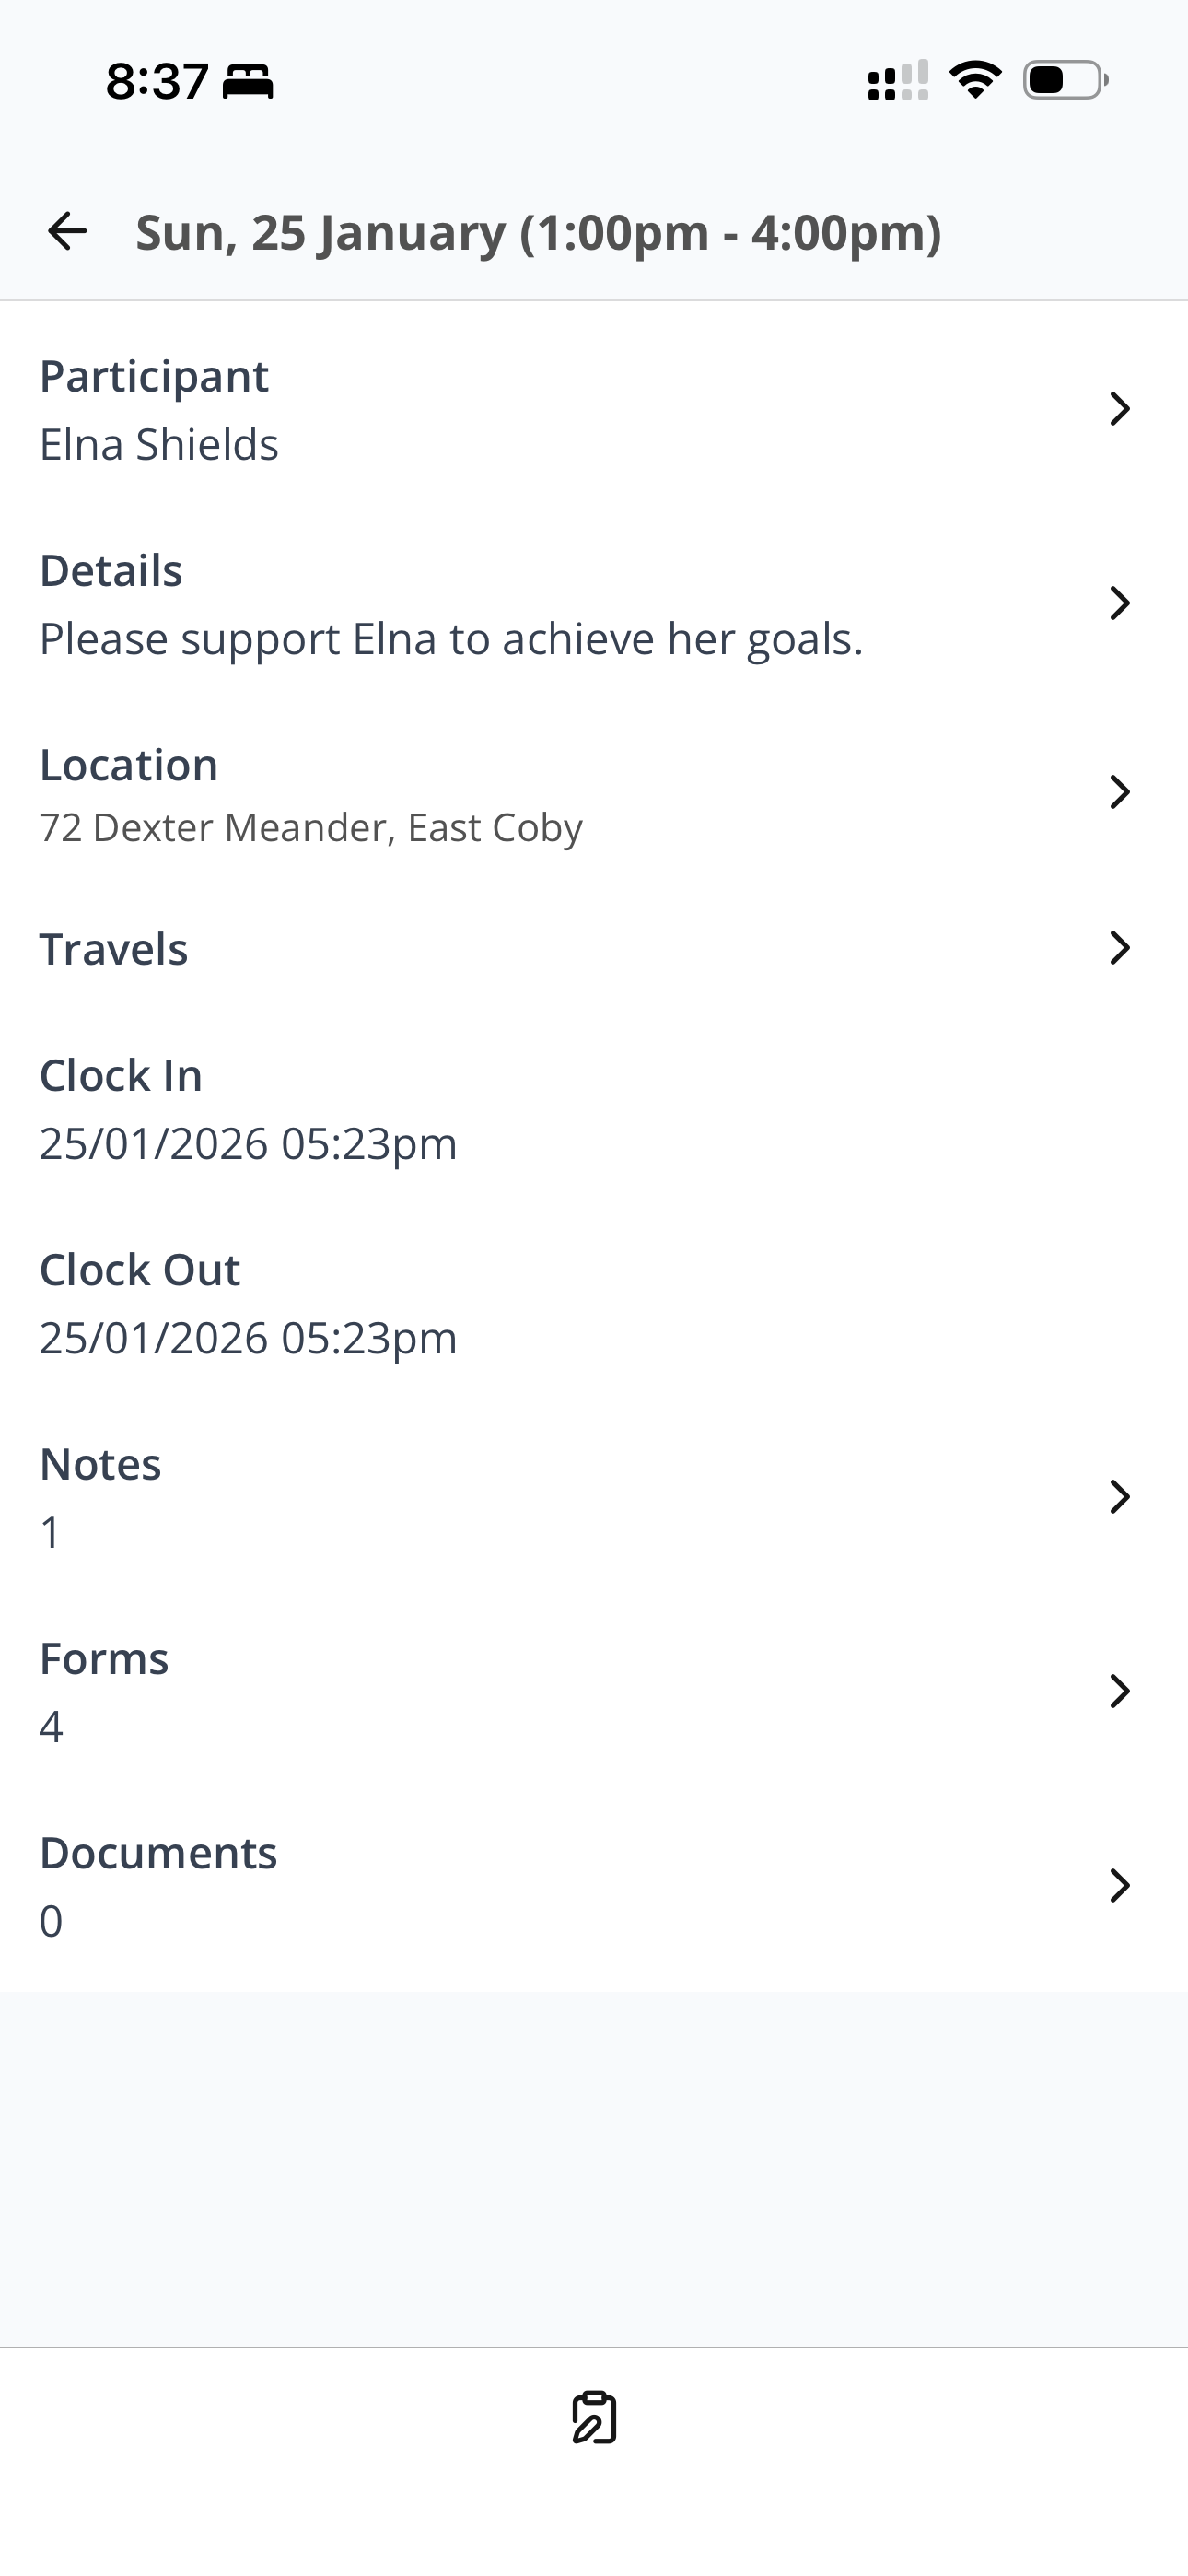
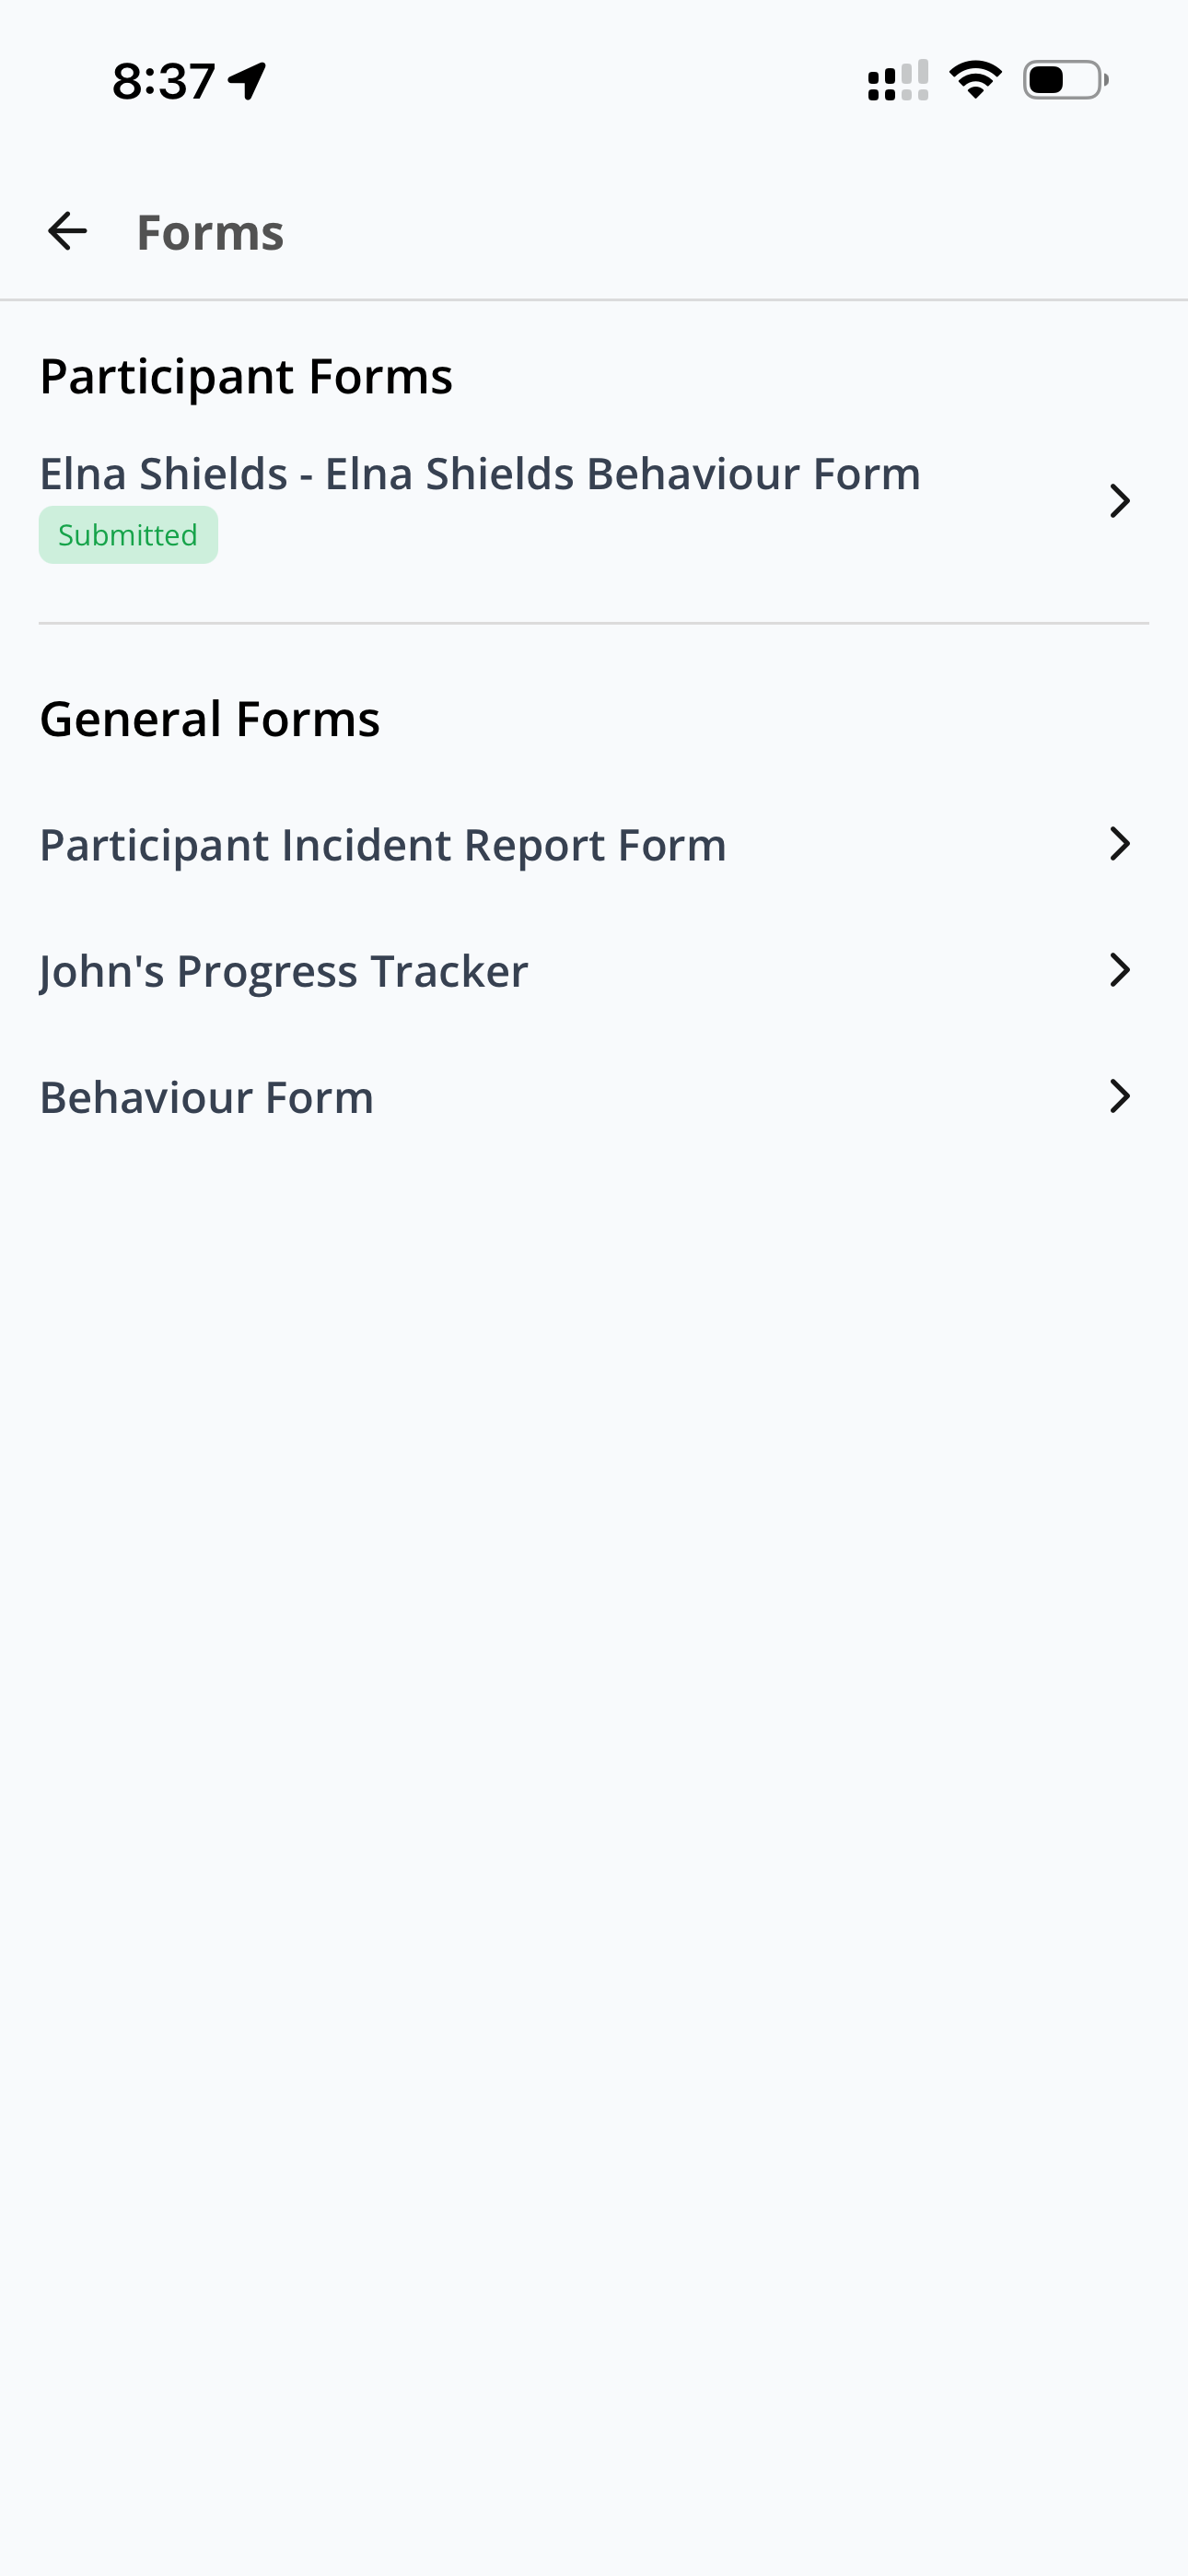
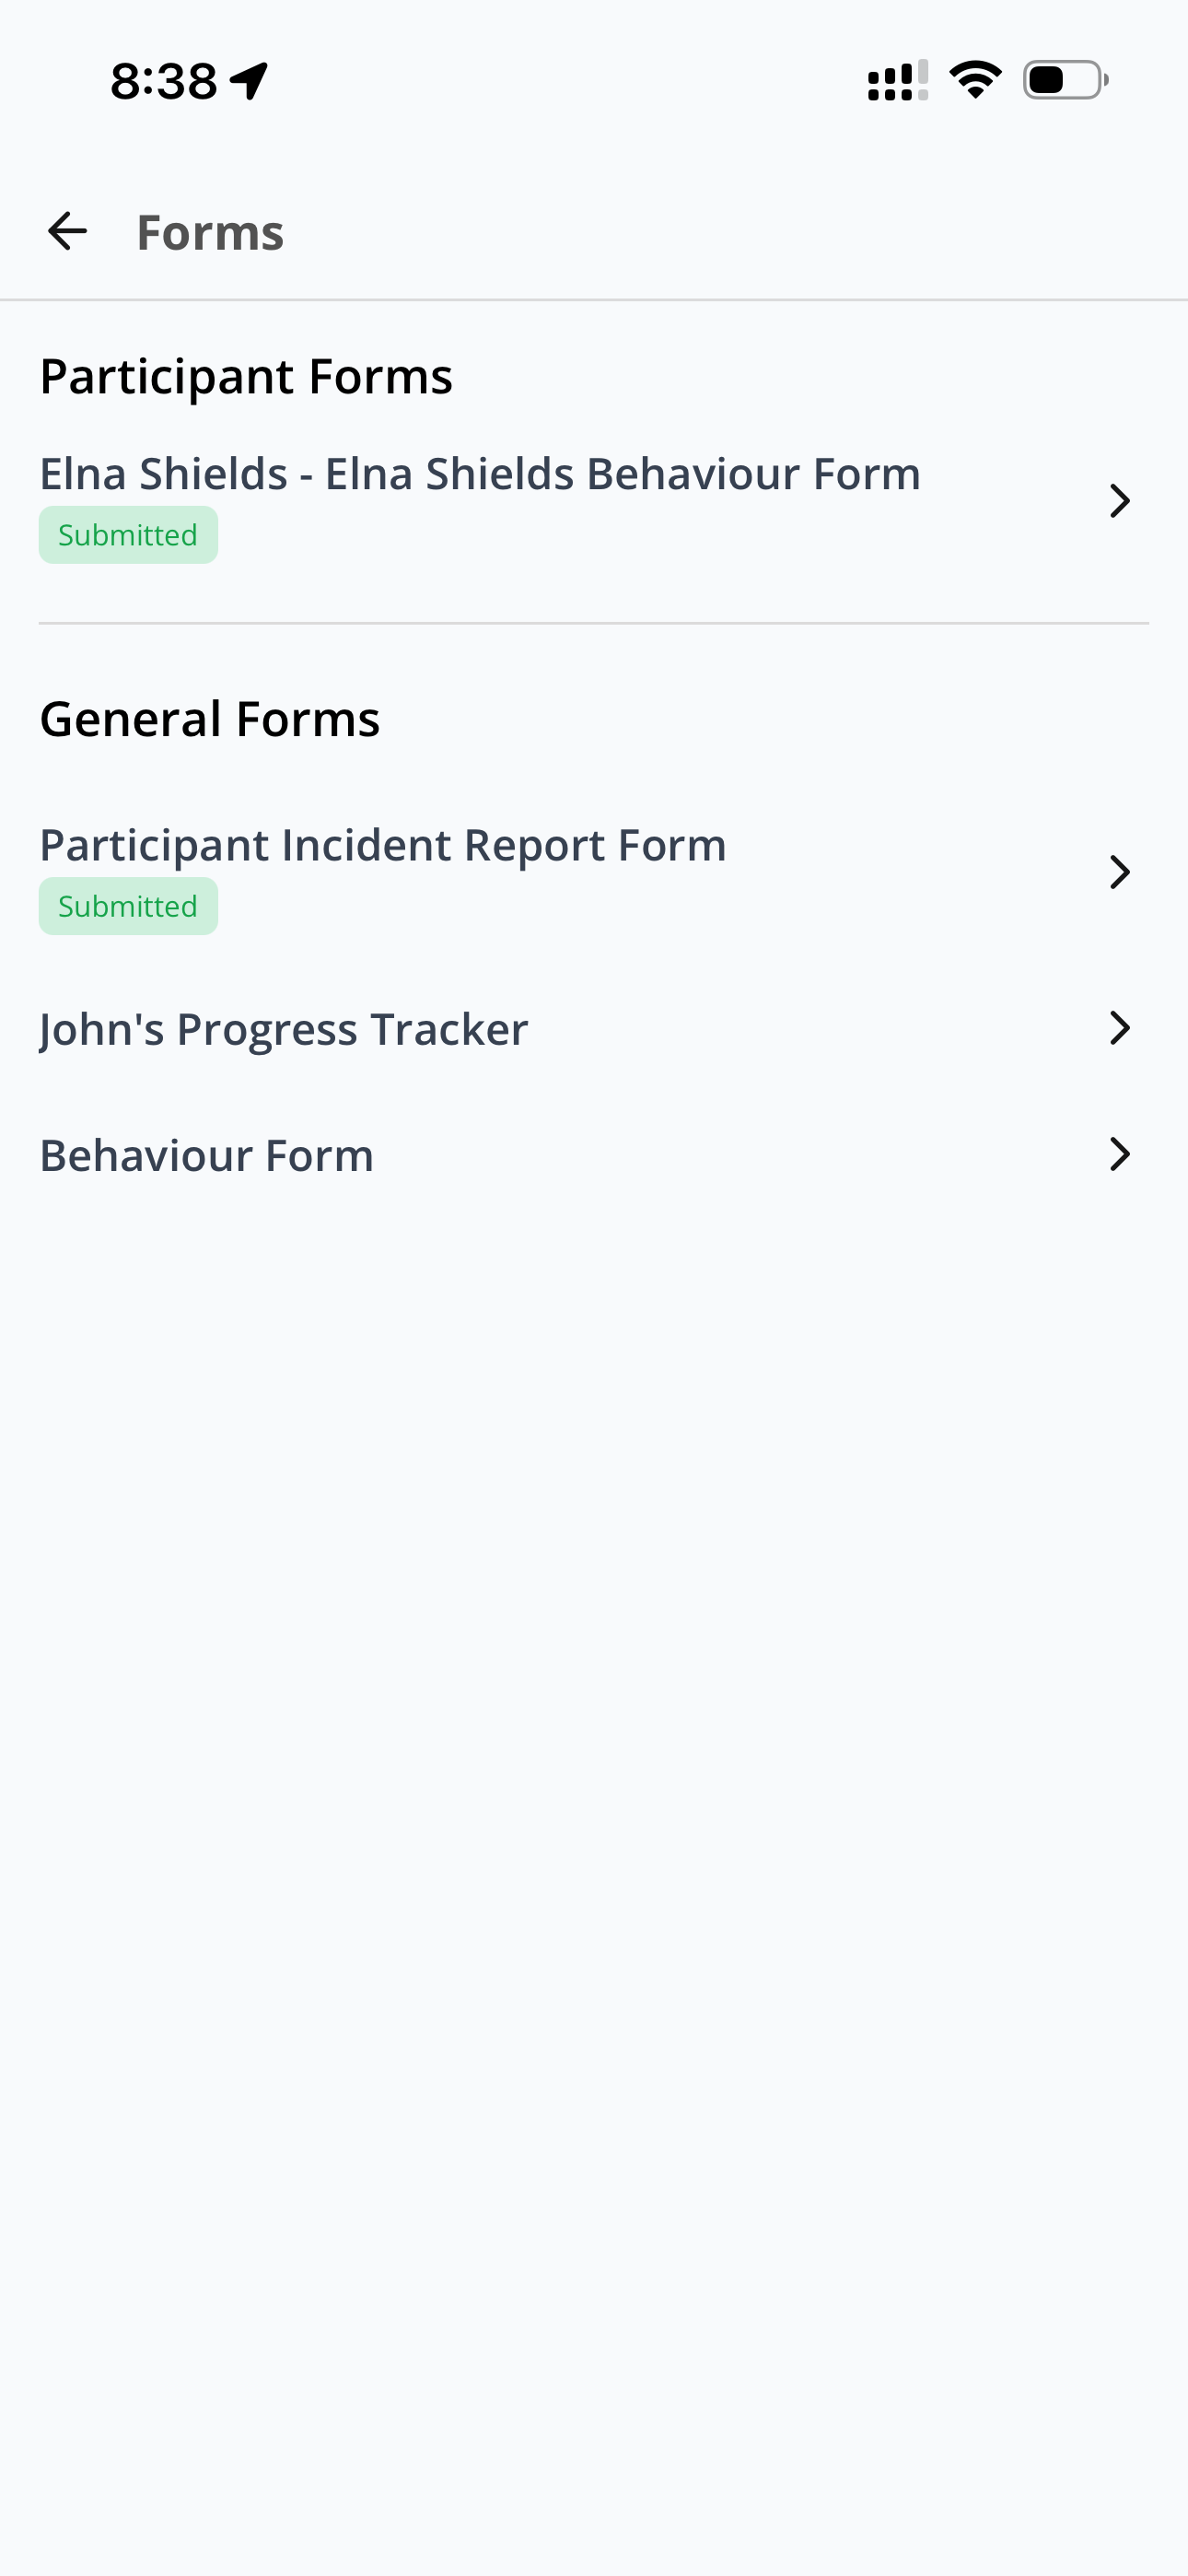
Open a shift and tap Forms to see everything that needs completing for it. Forms are grouped as Participant Forms, General Forms and Site Forms.
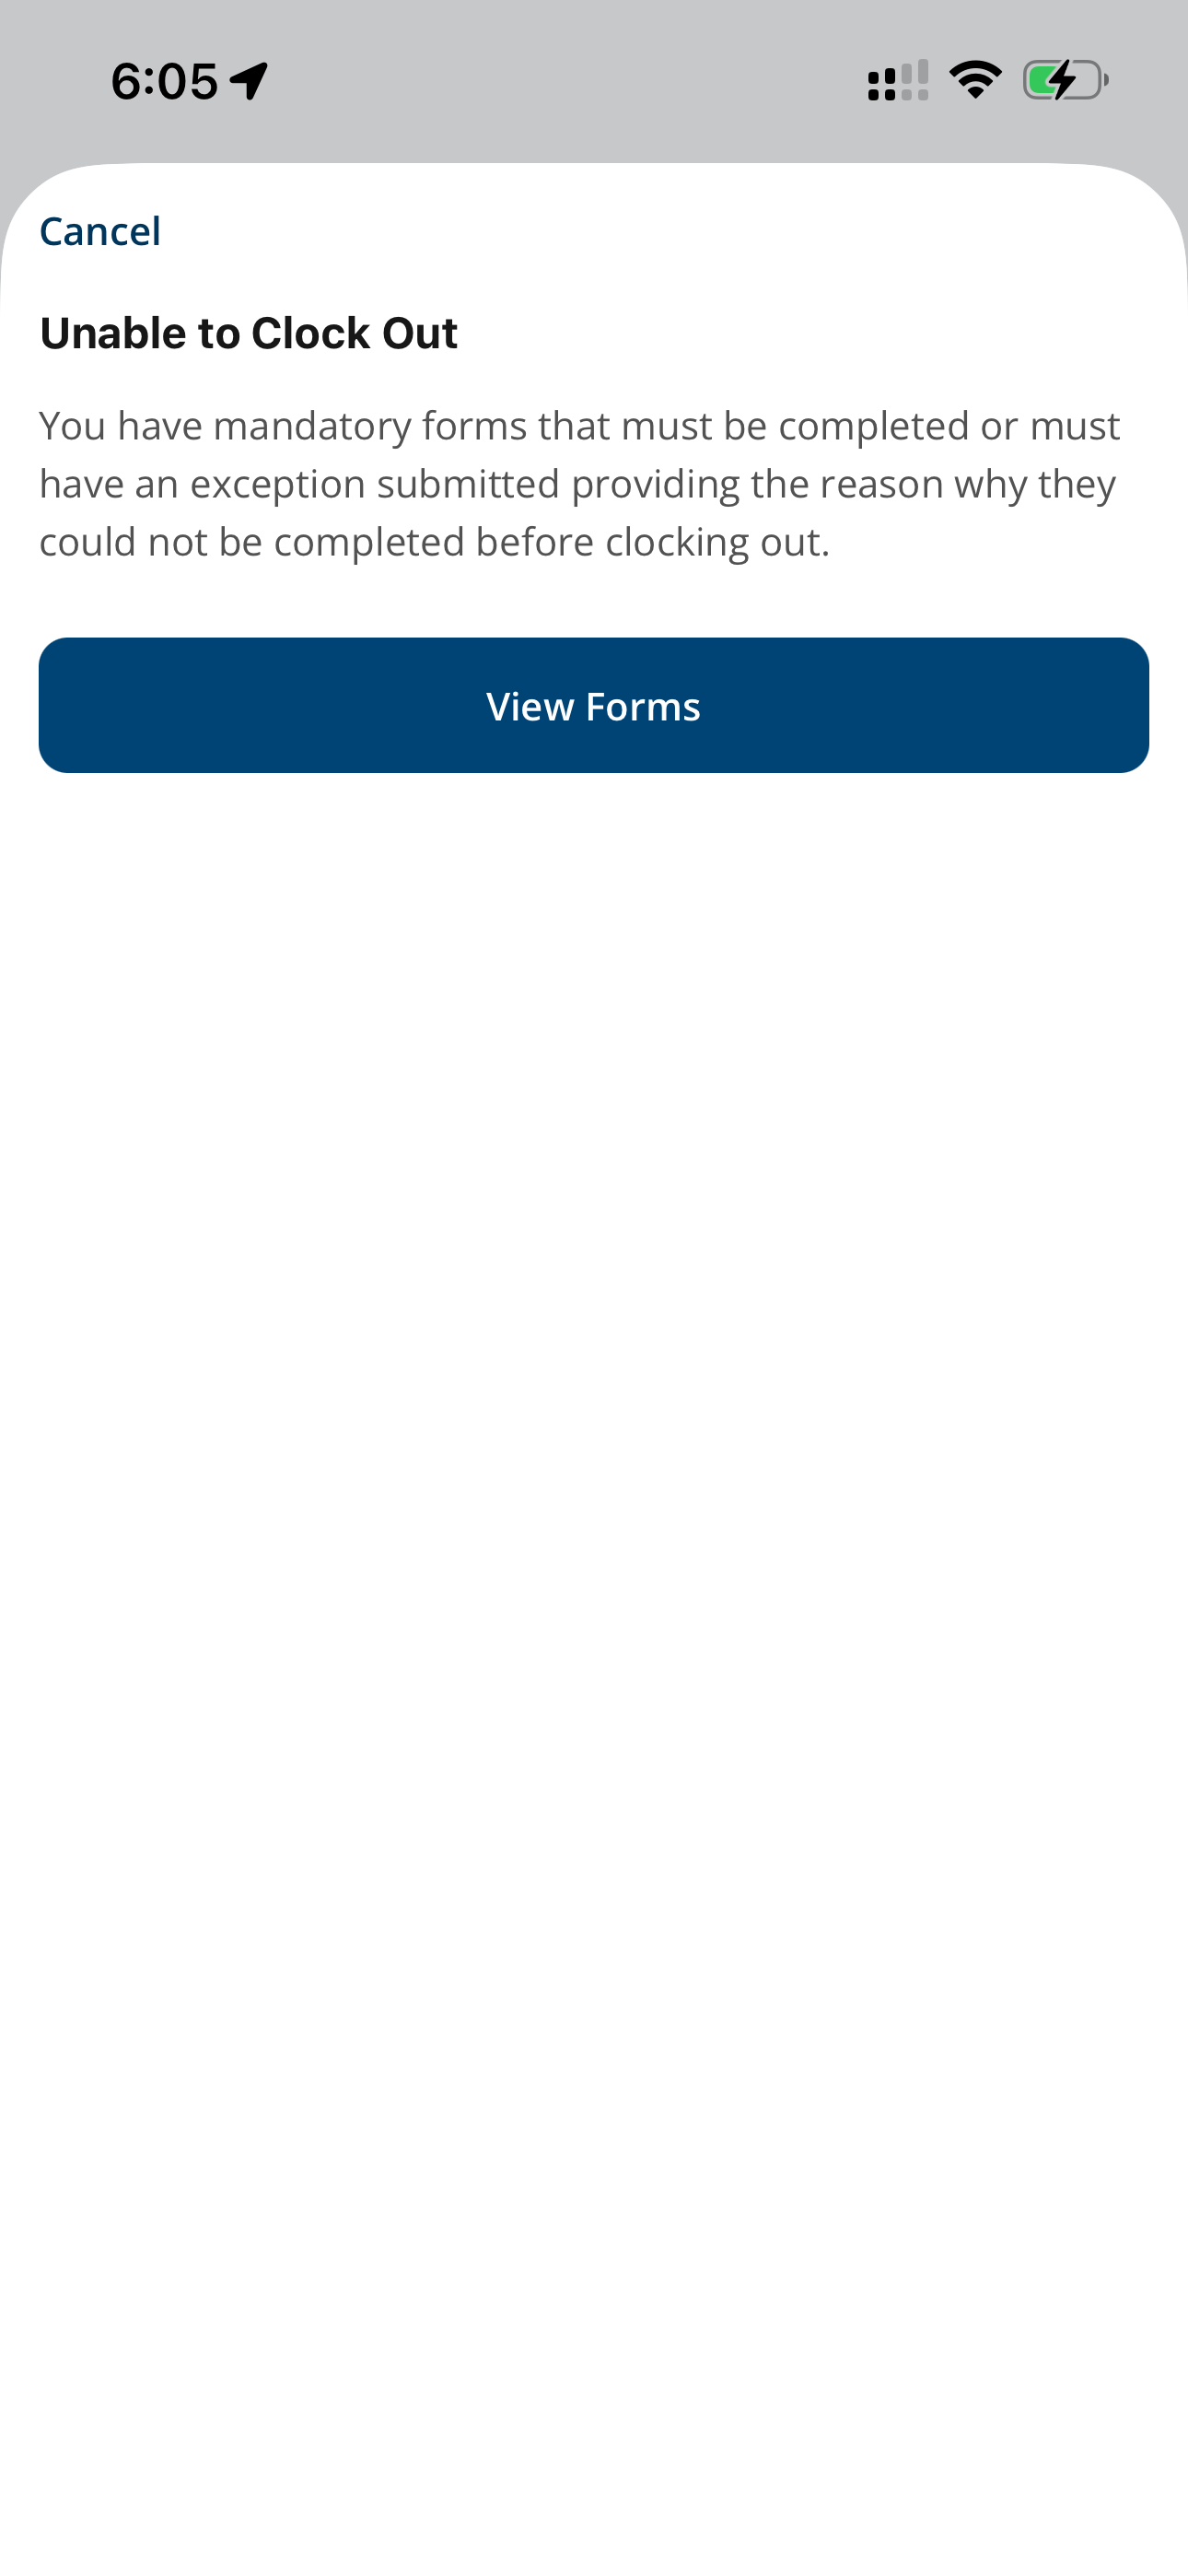
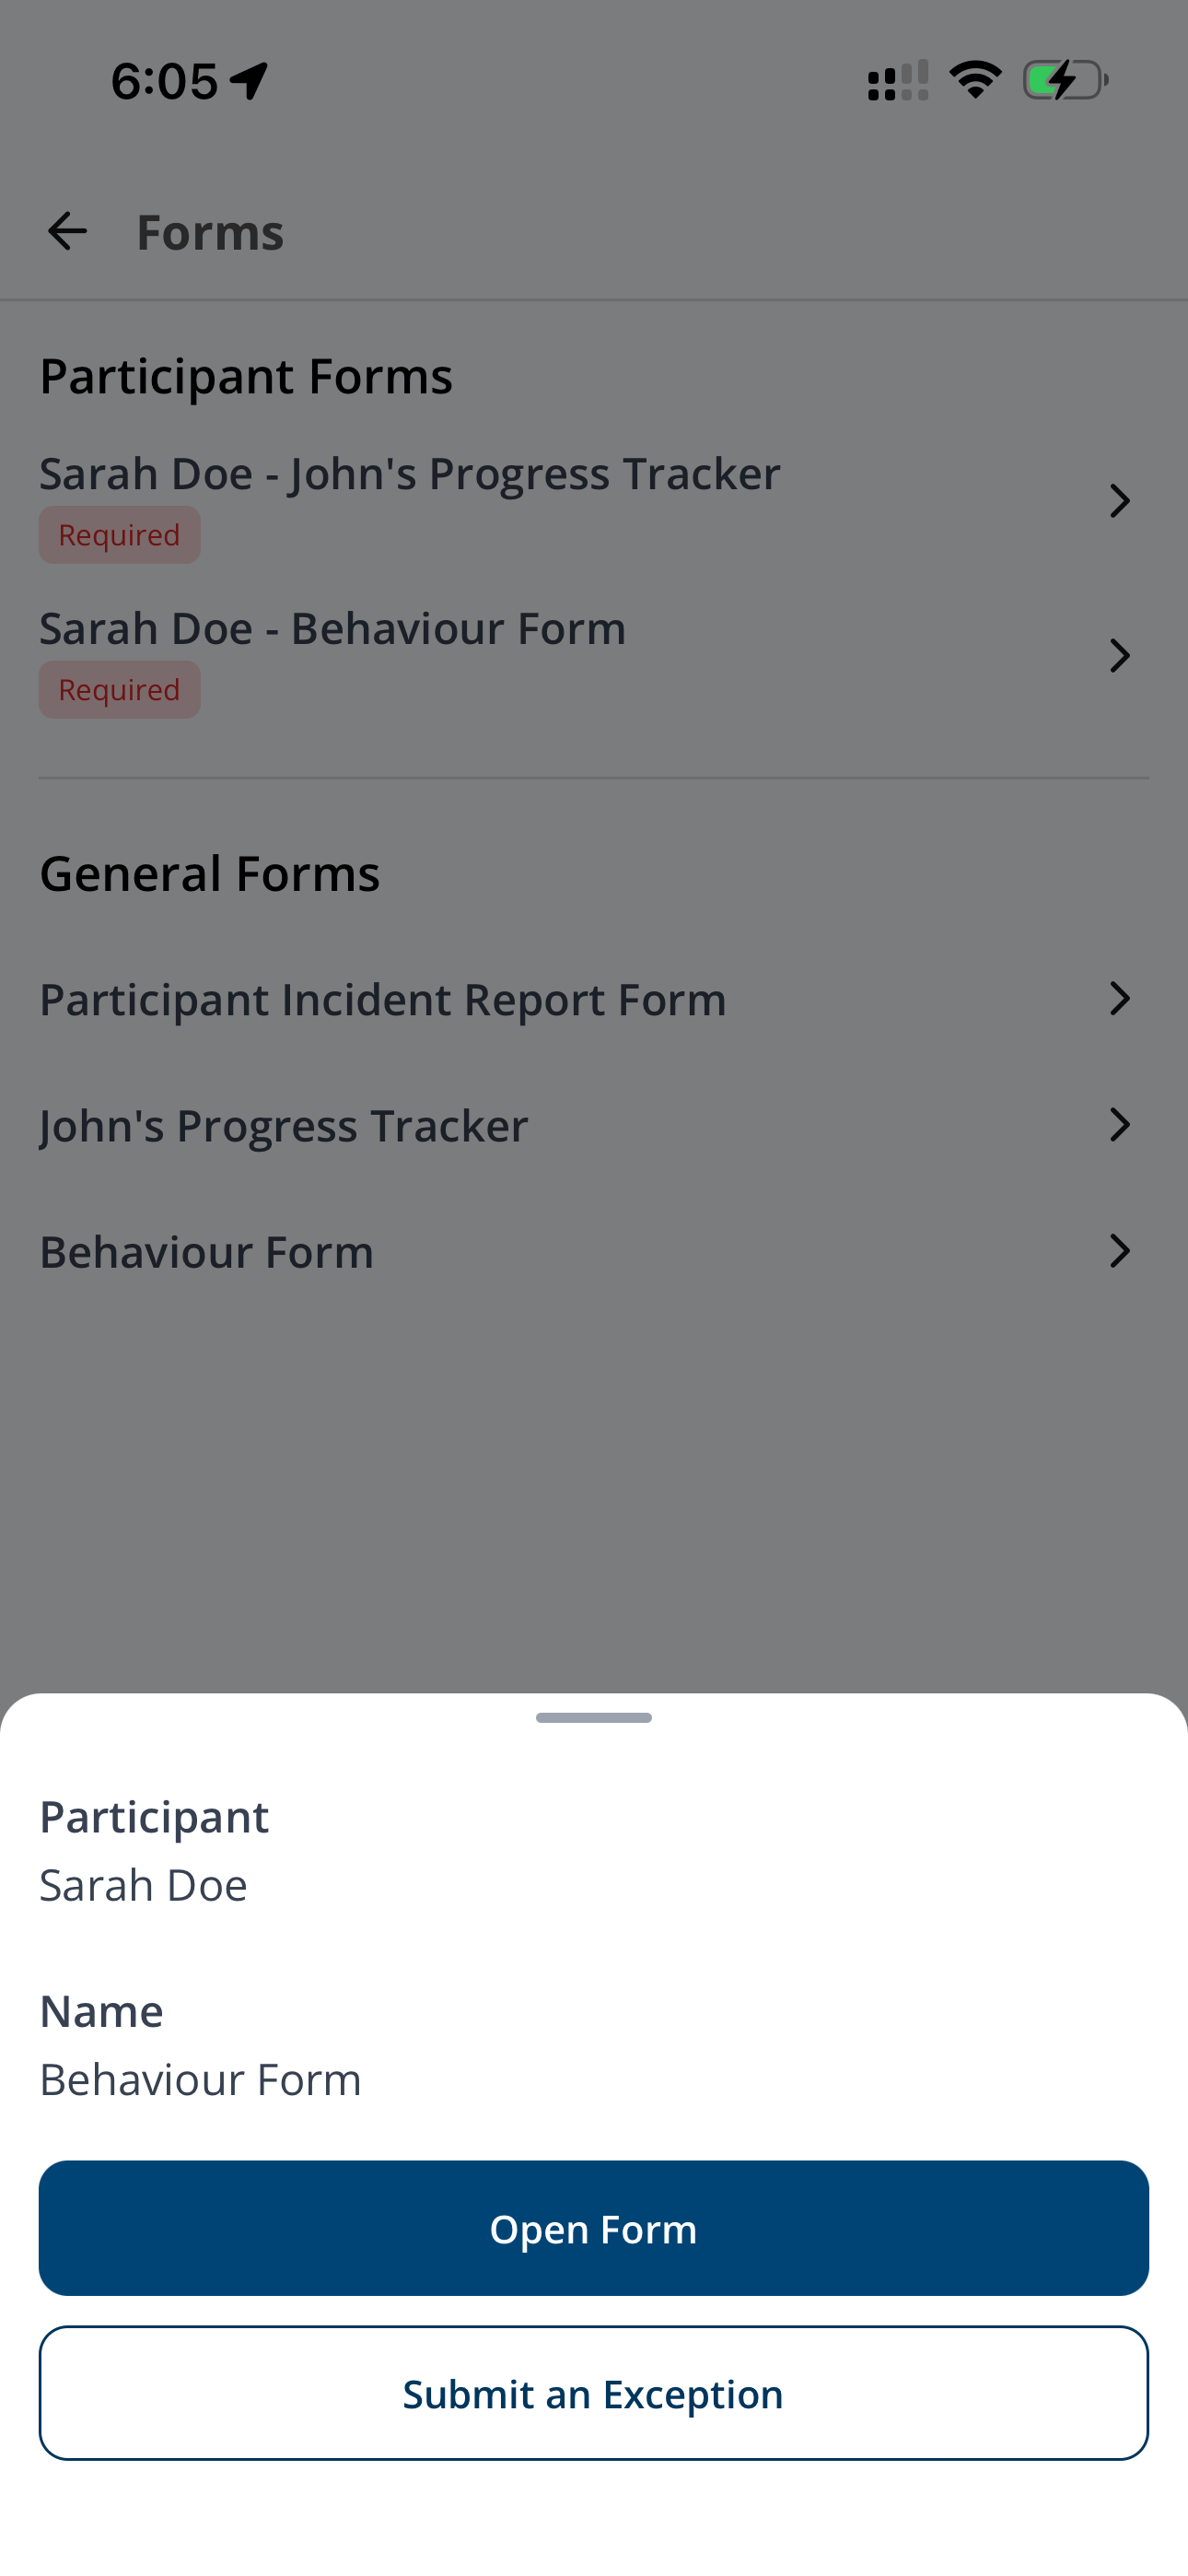
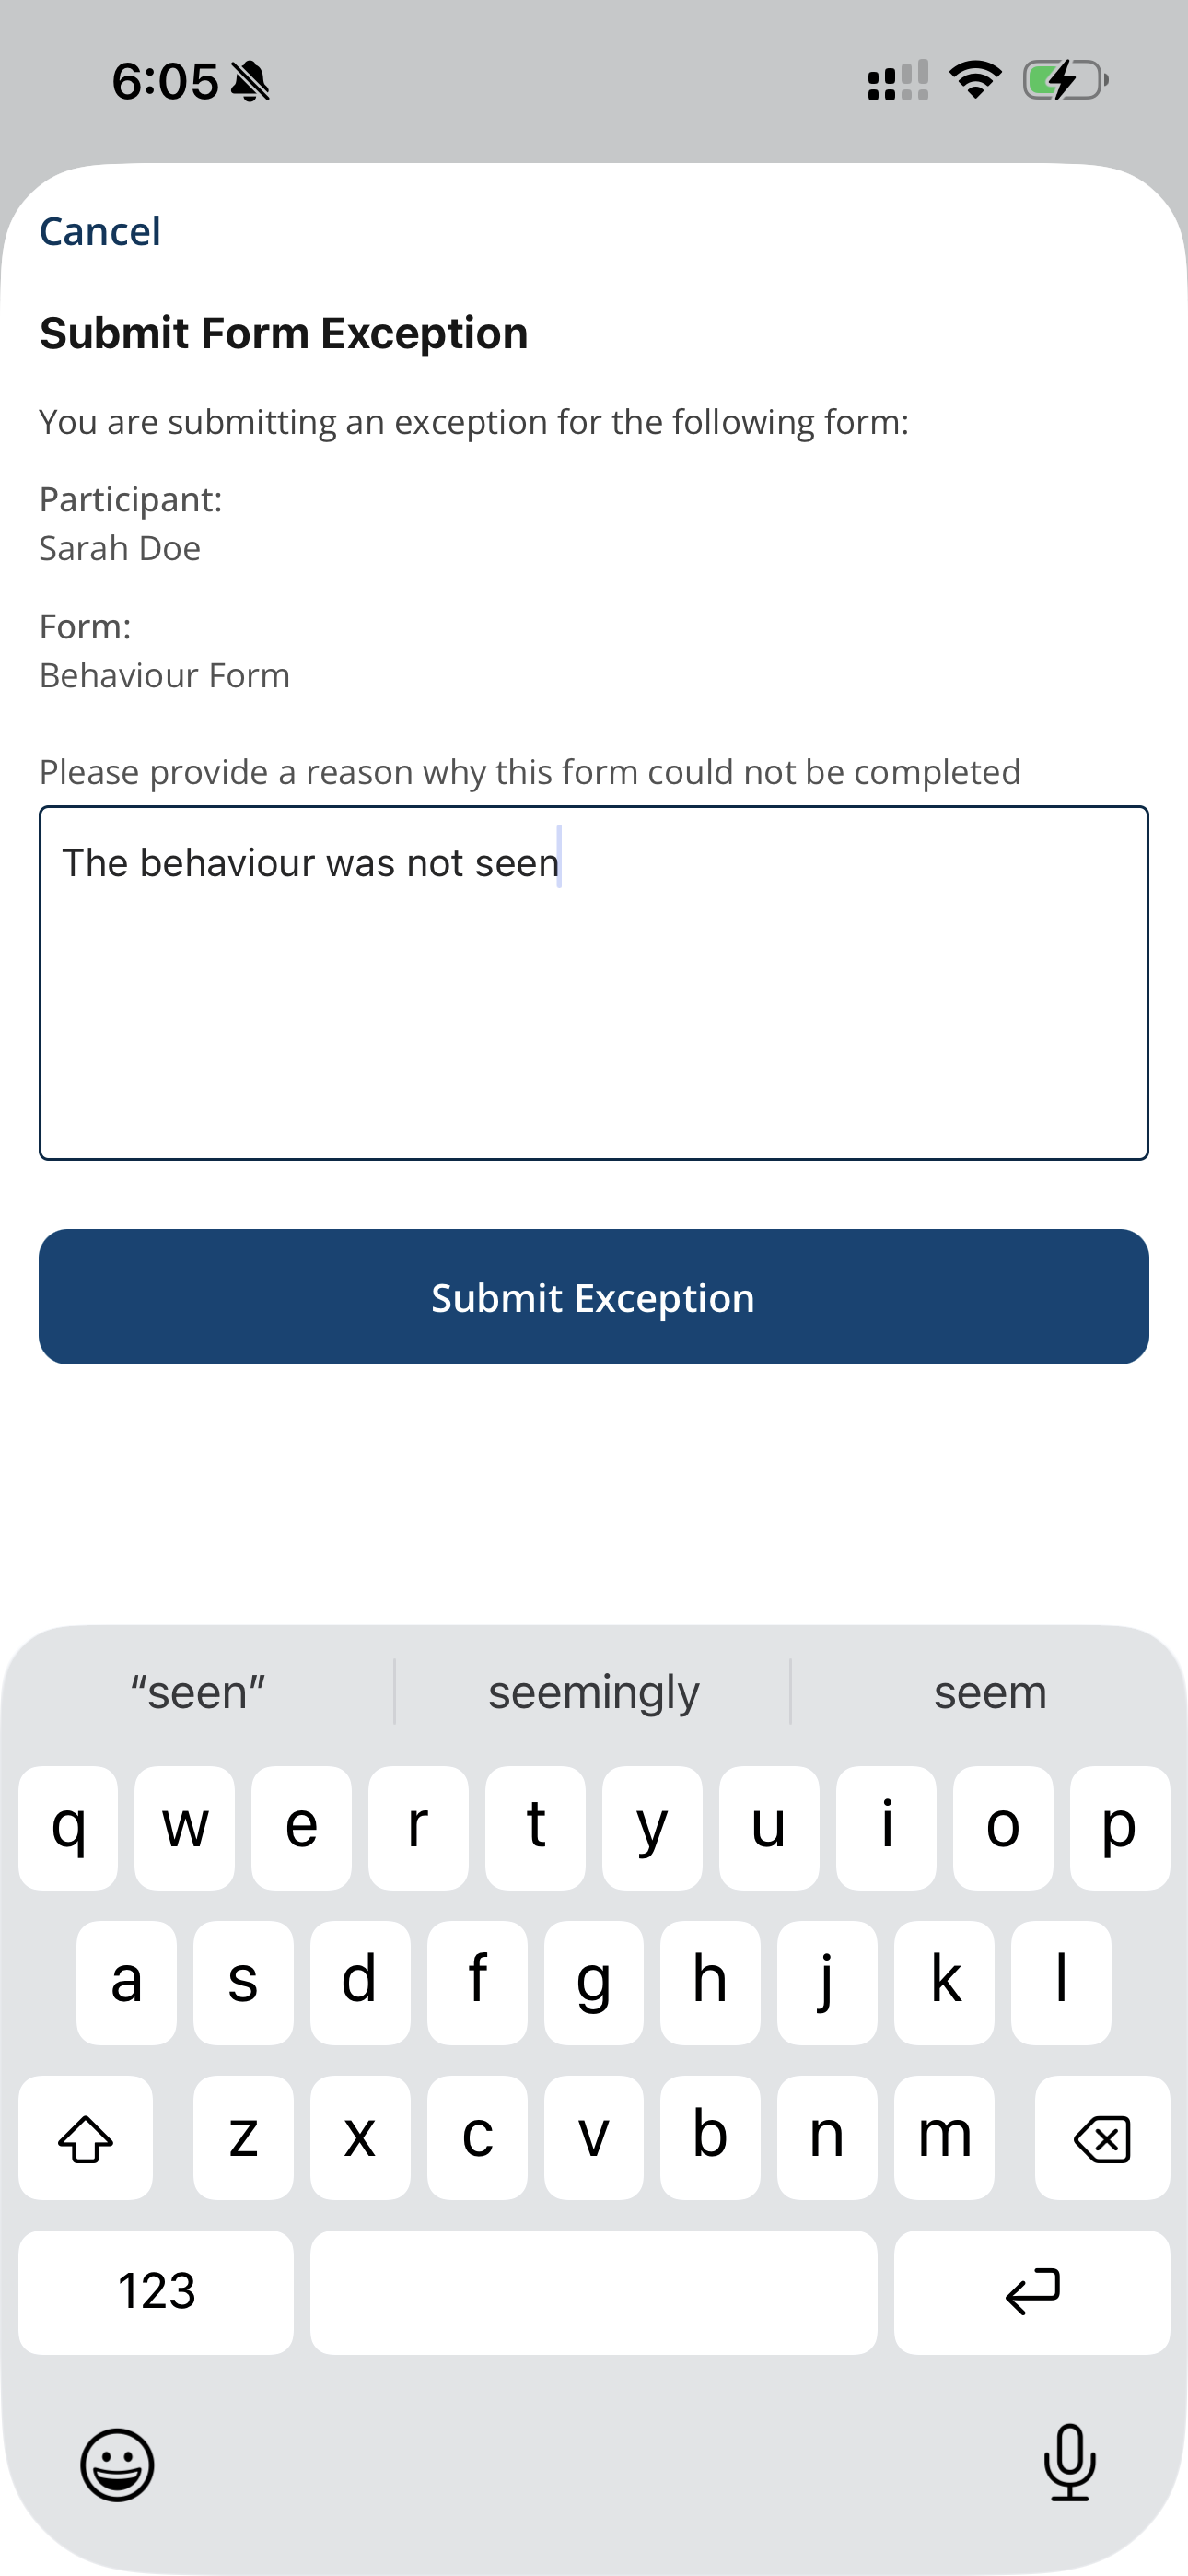
Badges show each Form's state. Required means it must be submitted or have an exception before you can clock out. Submitted means it is done.
- Tap the form you want to complete.
- Tap Open Form. It opens in a browser inside the app and signs you in automatically.
- Fill it in and submit. The list updates when you return.
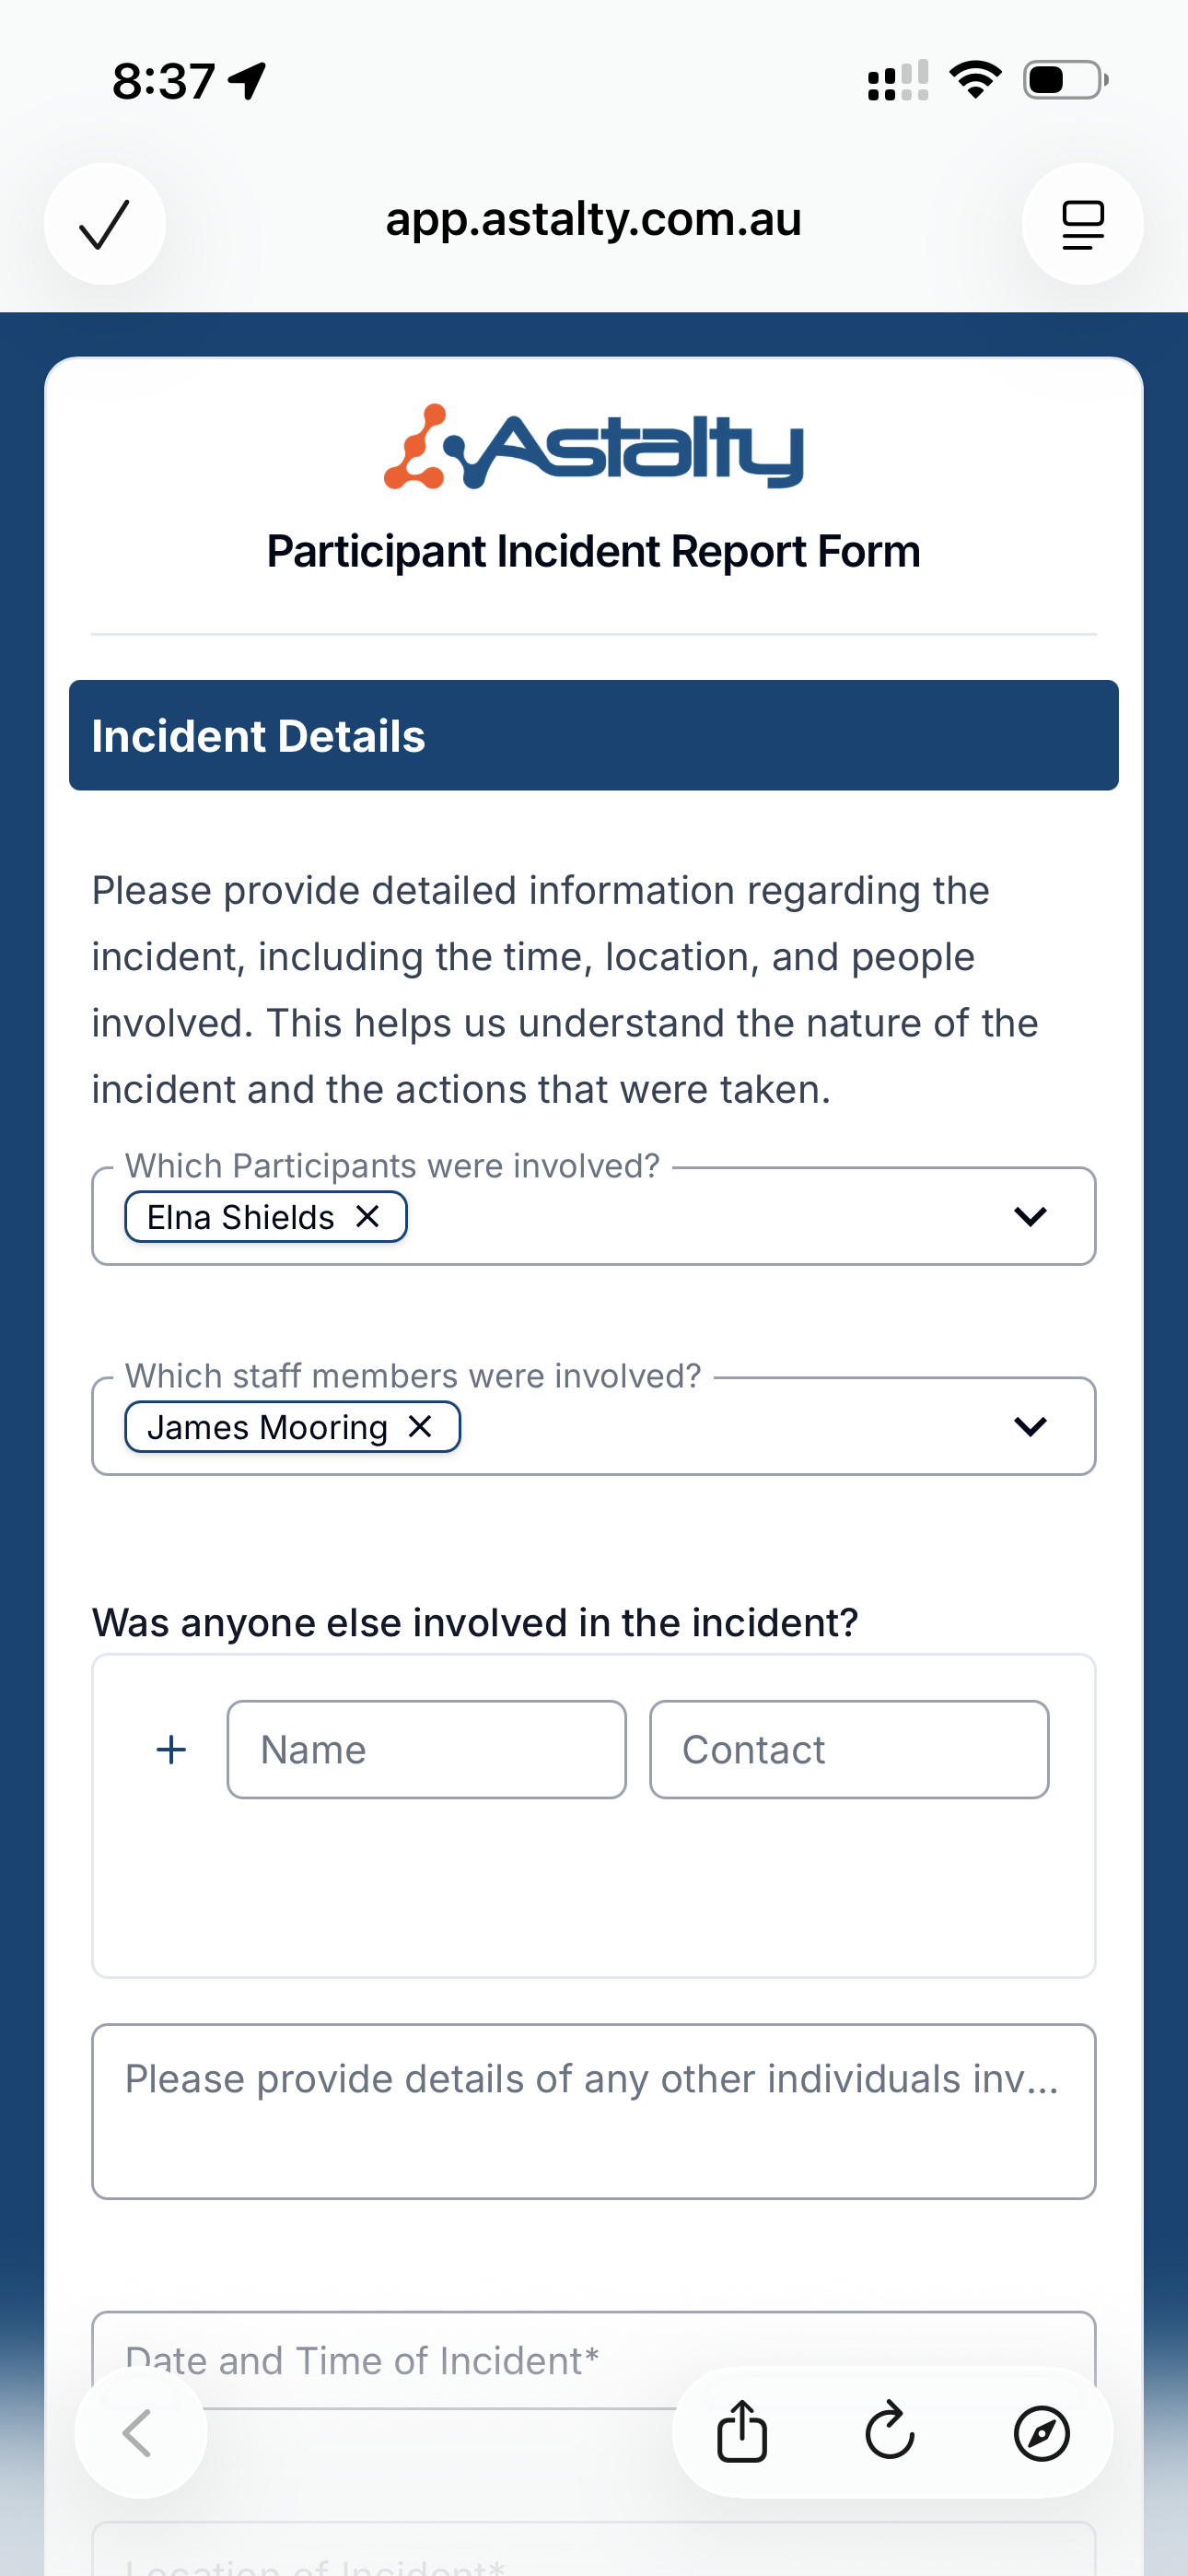
Submitting an Incident
Incidents are reported through a form your organisation has built, so the questions you see are theirs rather than a fixed Astalty screen.
- Open the shift and tap Forms.
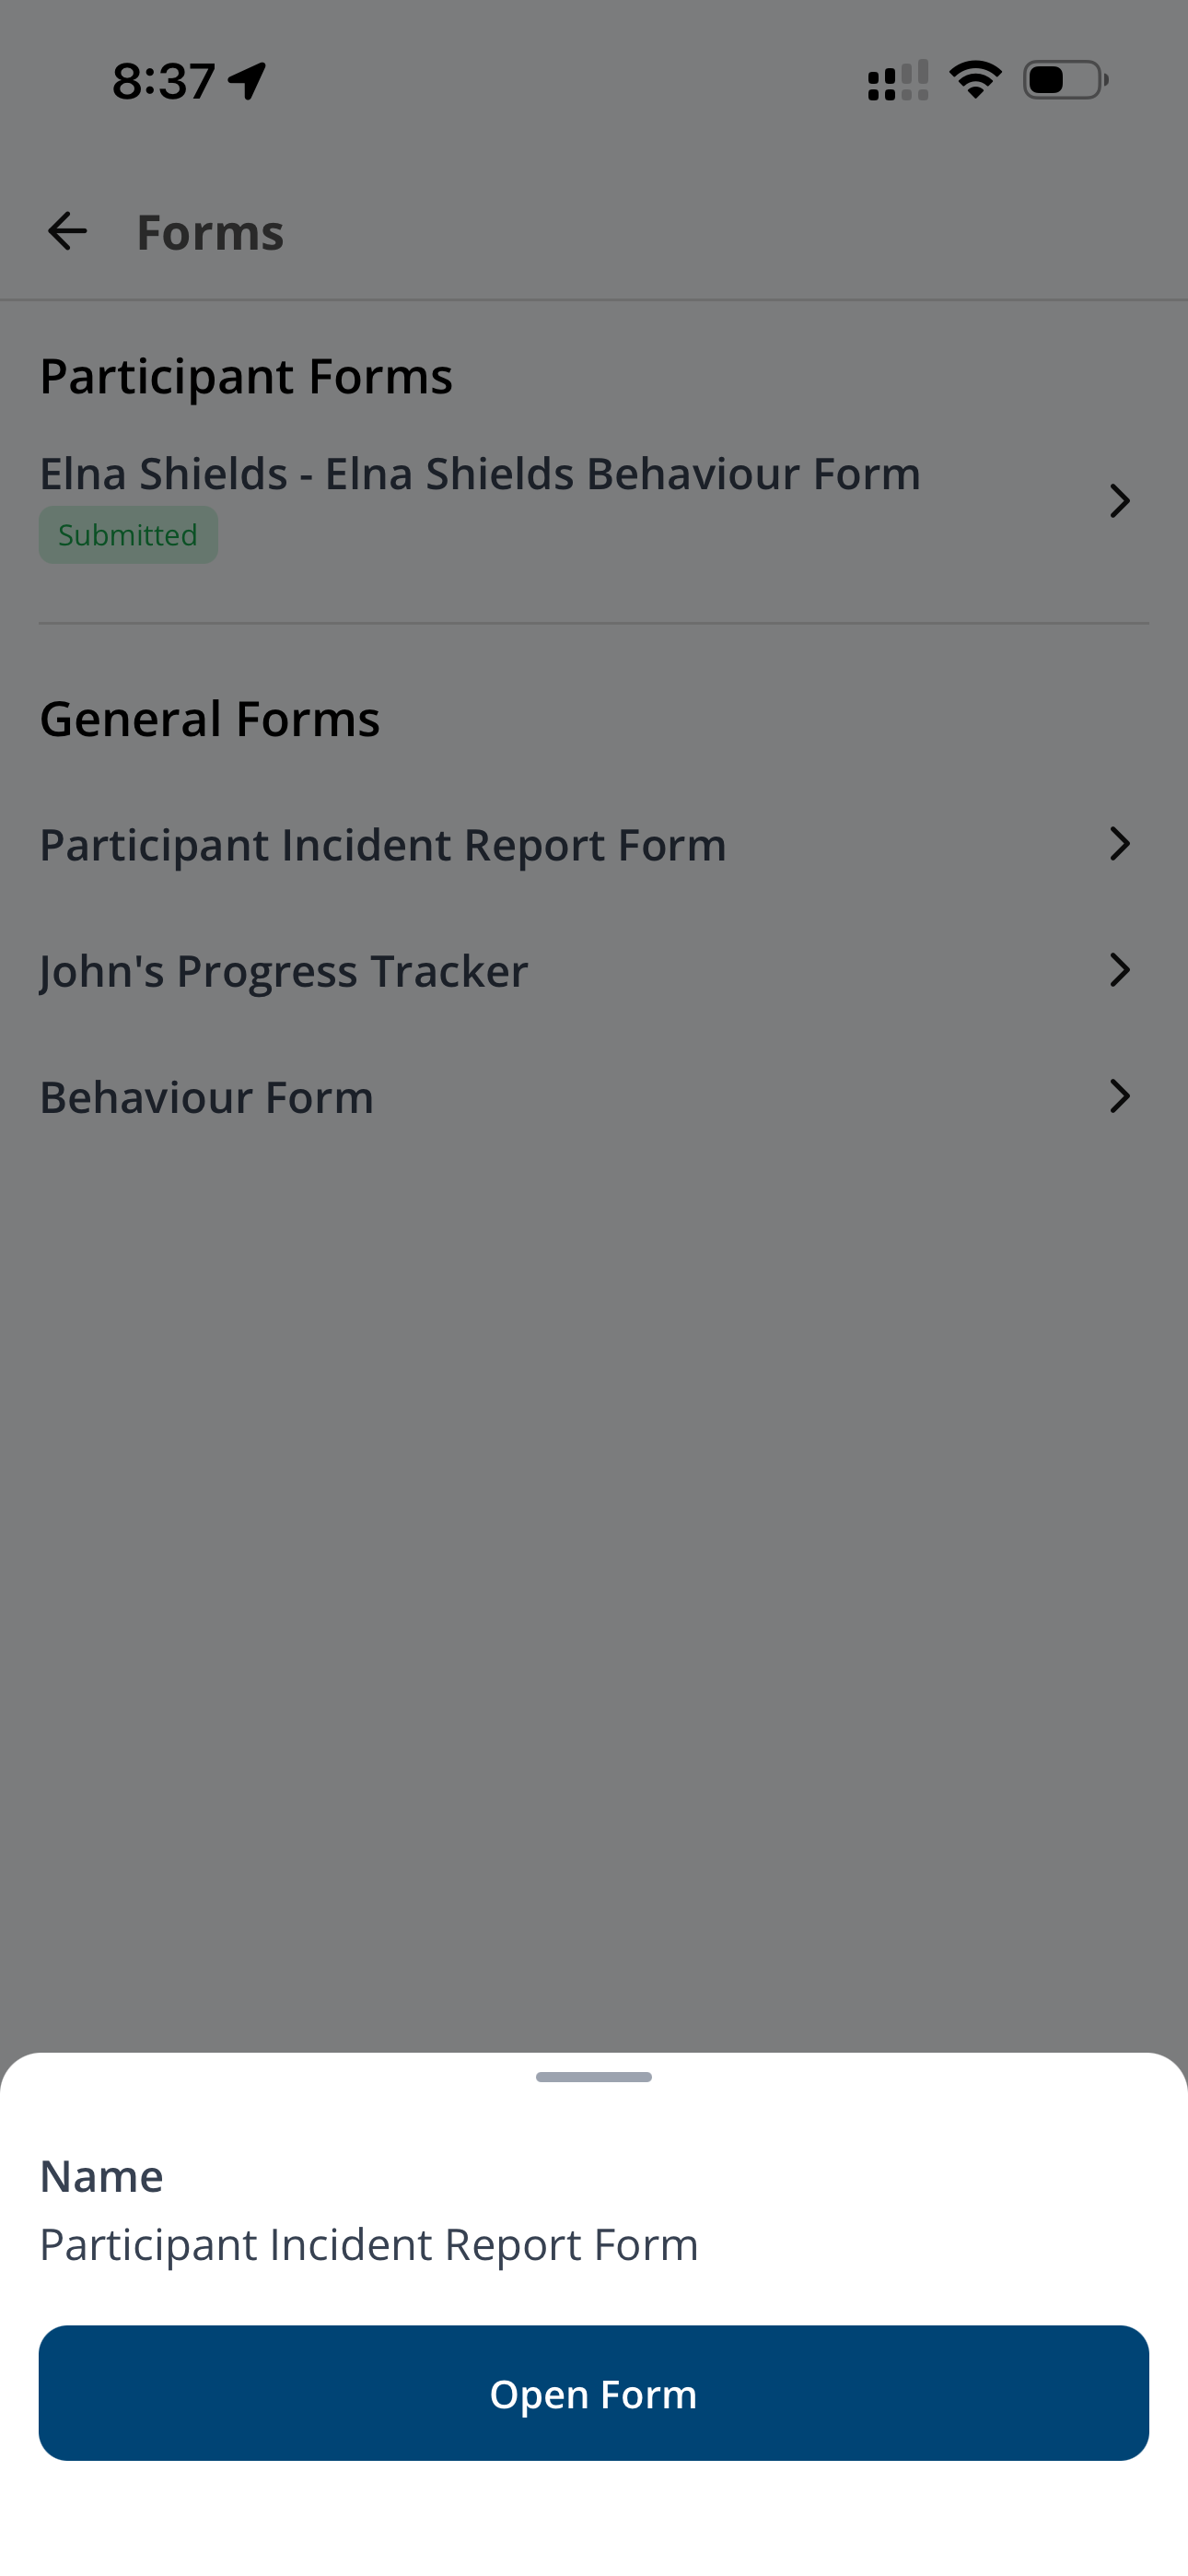
- Under General Forms, select your organisation's incident form, such as Participant Incident Report Form.
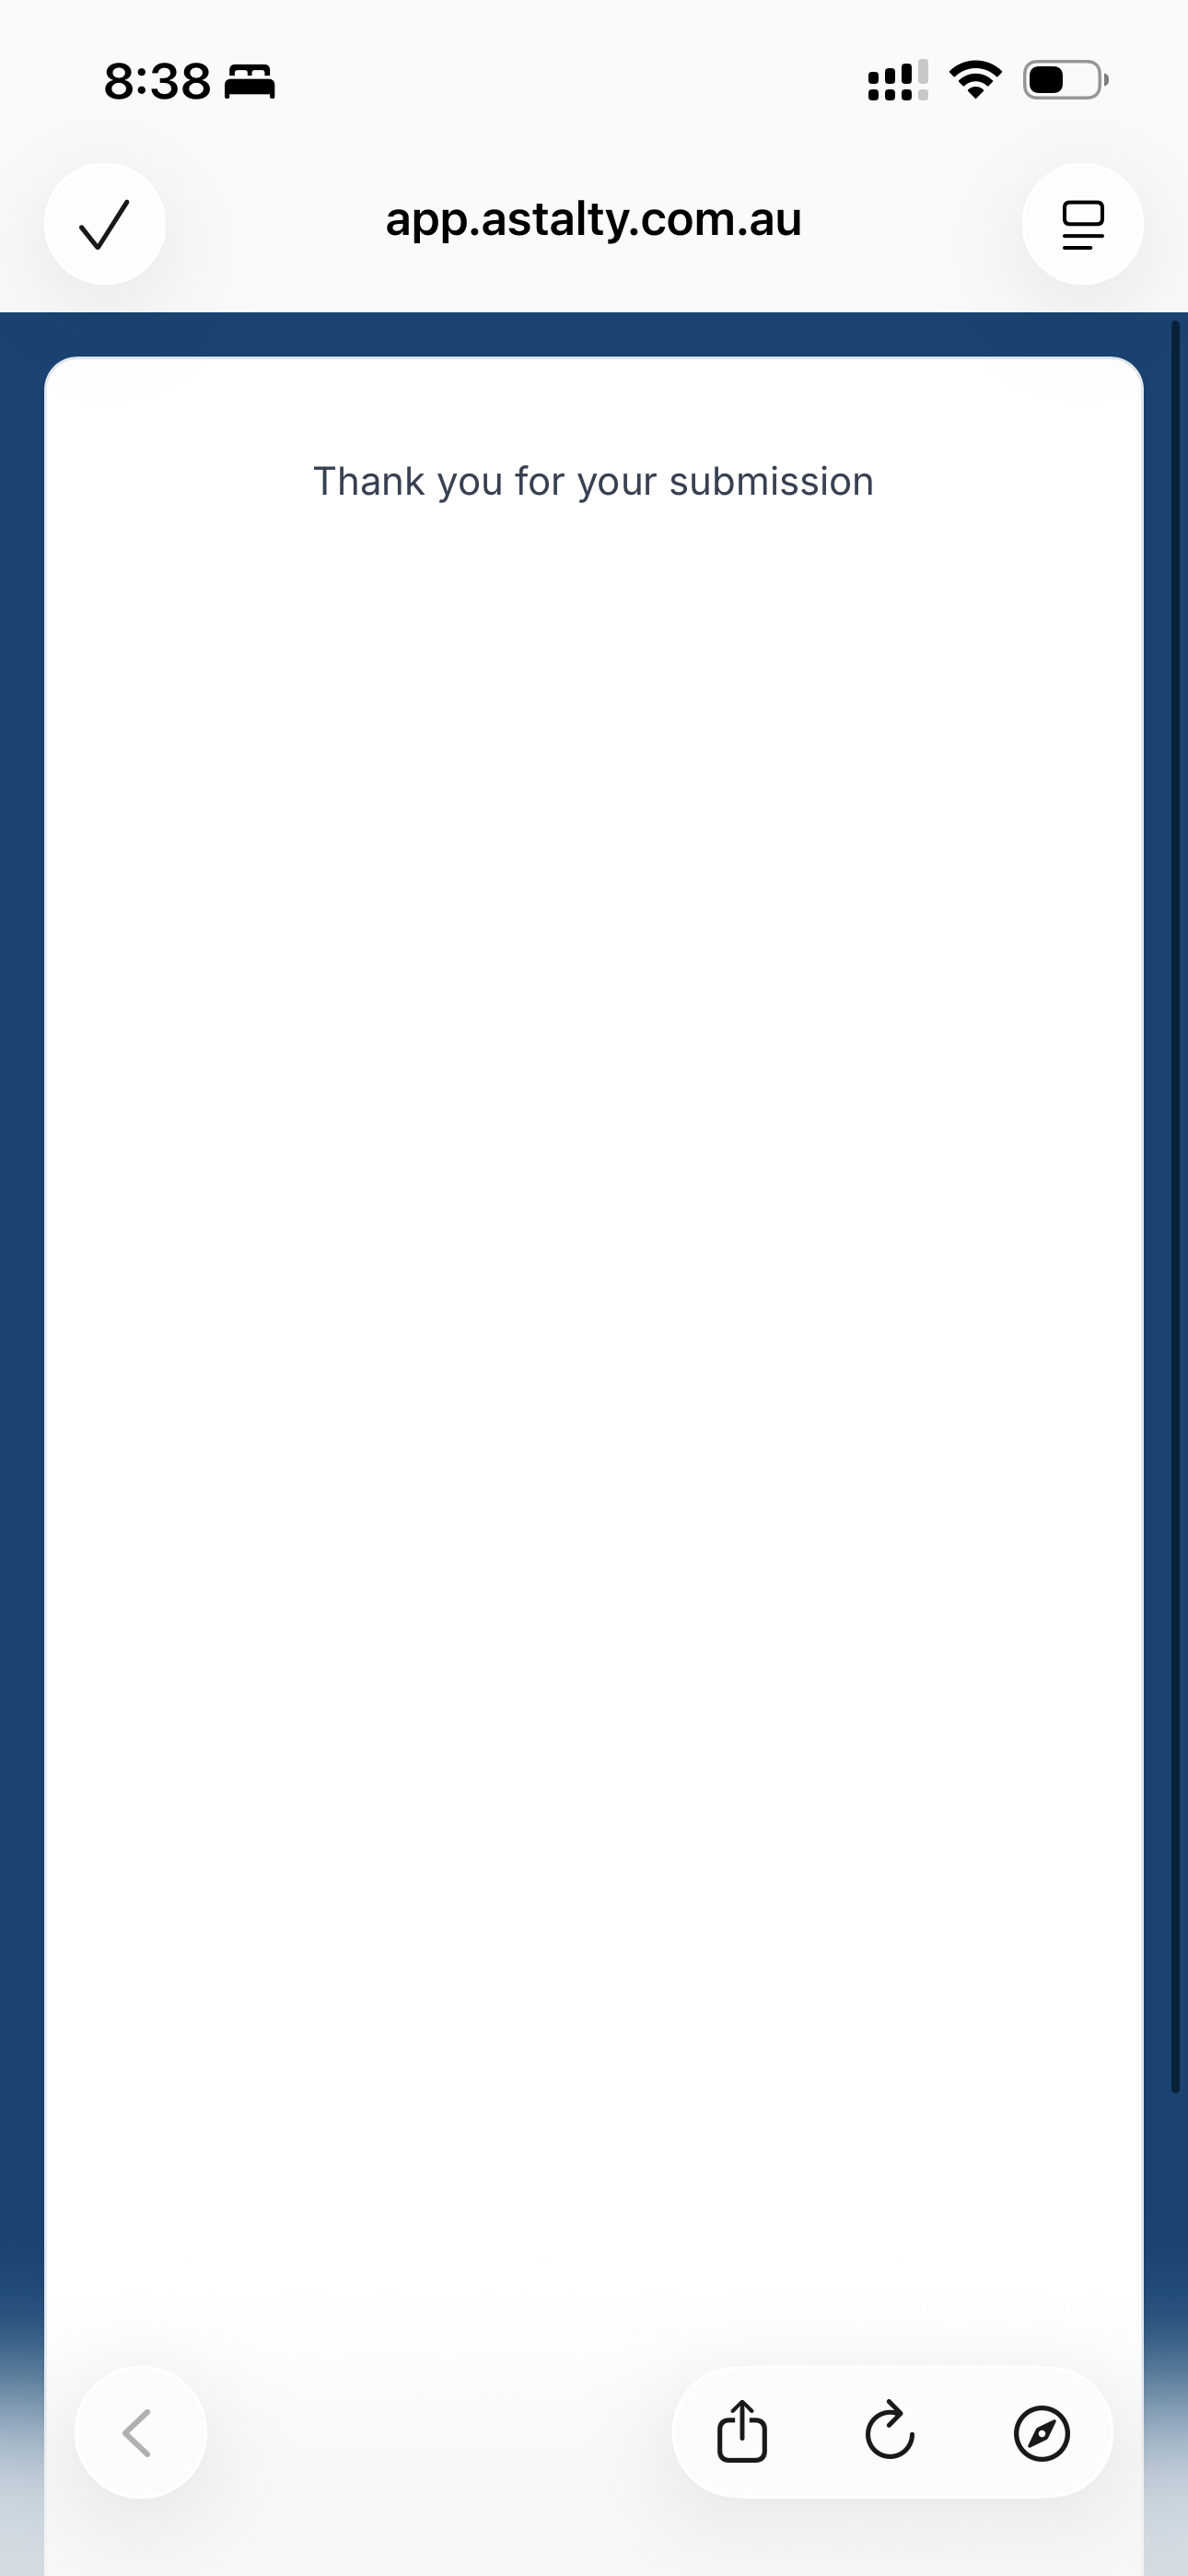
- Tap Open Form, complete it and submit.
Submitted incidents appear in Astalty for your team to follow up. See Participant Incidents and Staff Incidents for what happens next.
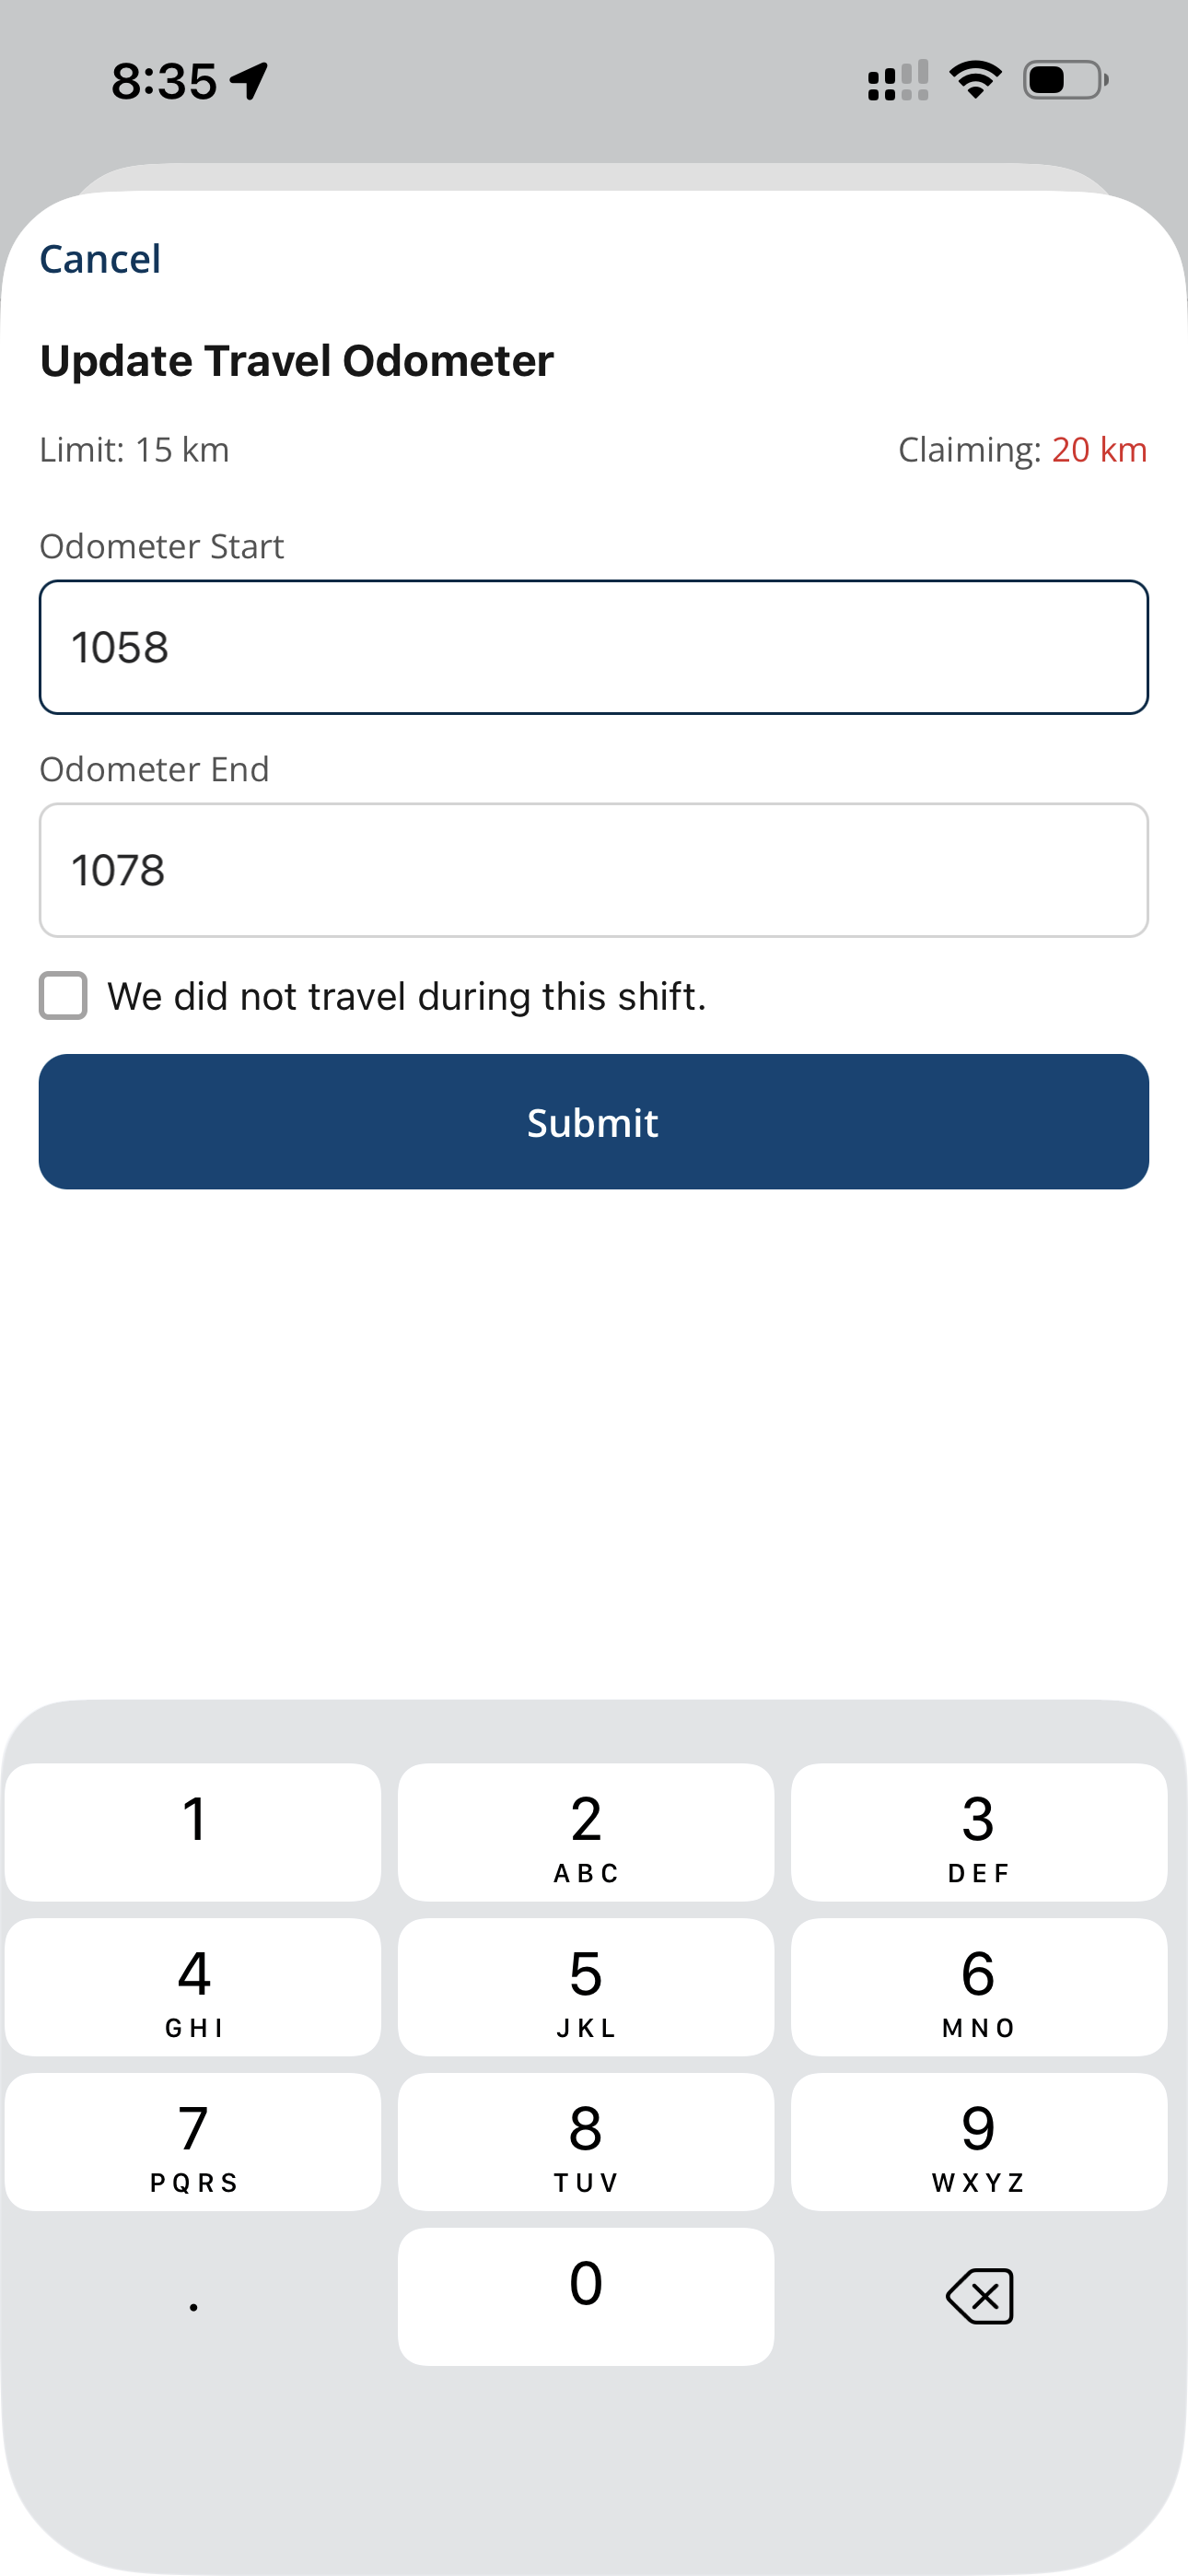
Updating Travel
A travel entry can be corrected after it is recorded and before it is approved.
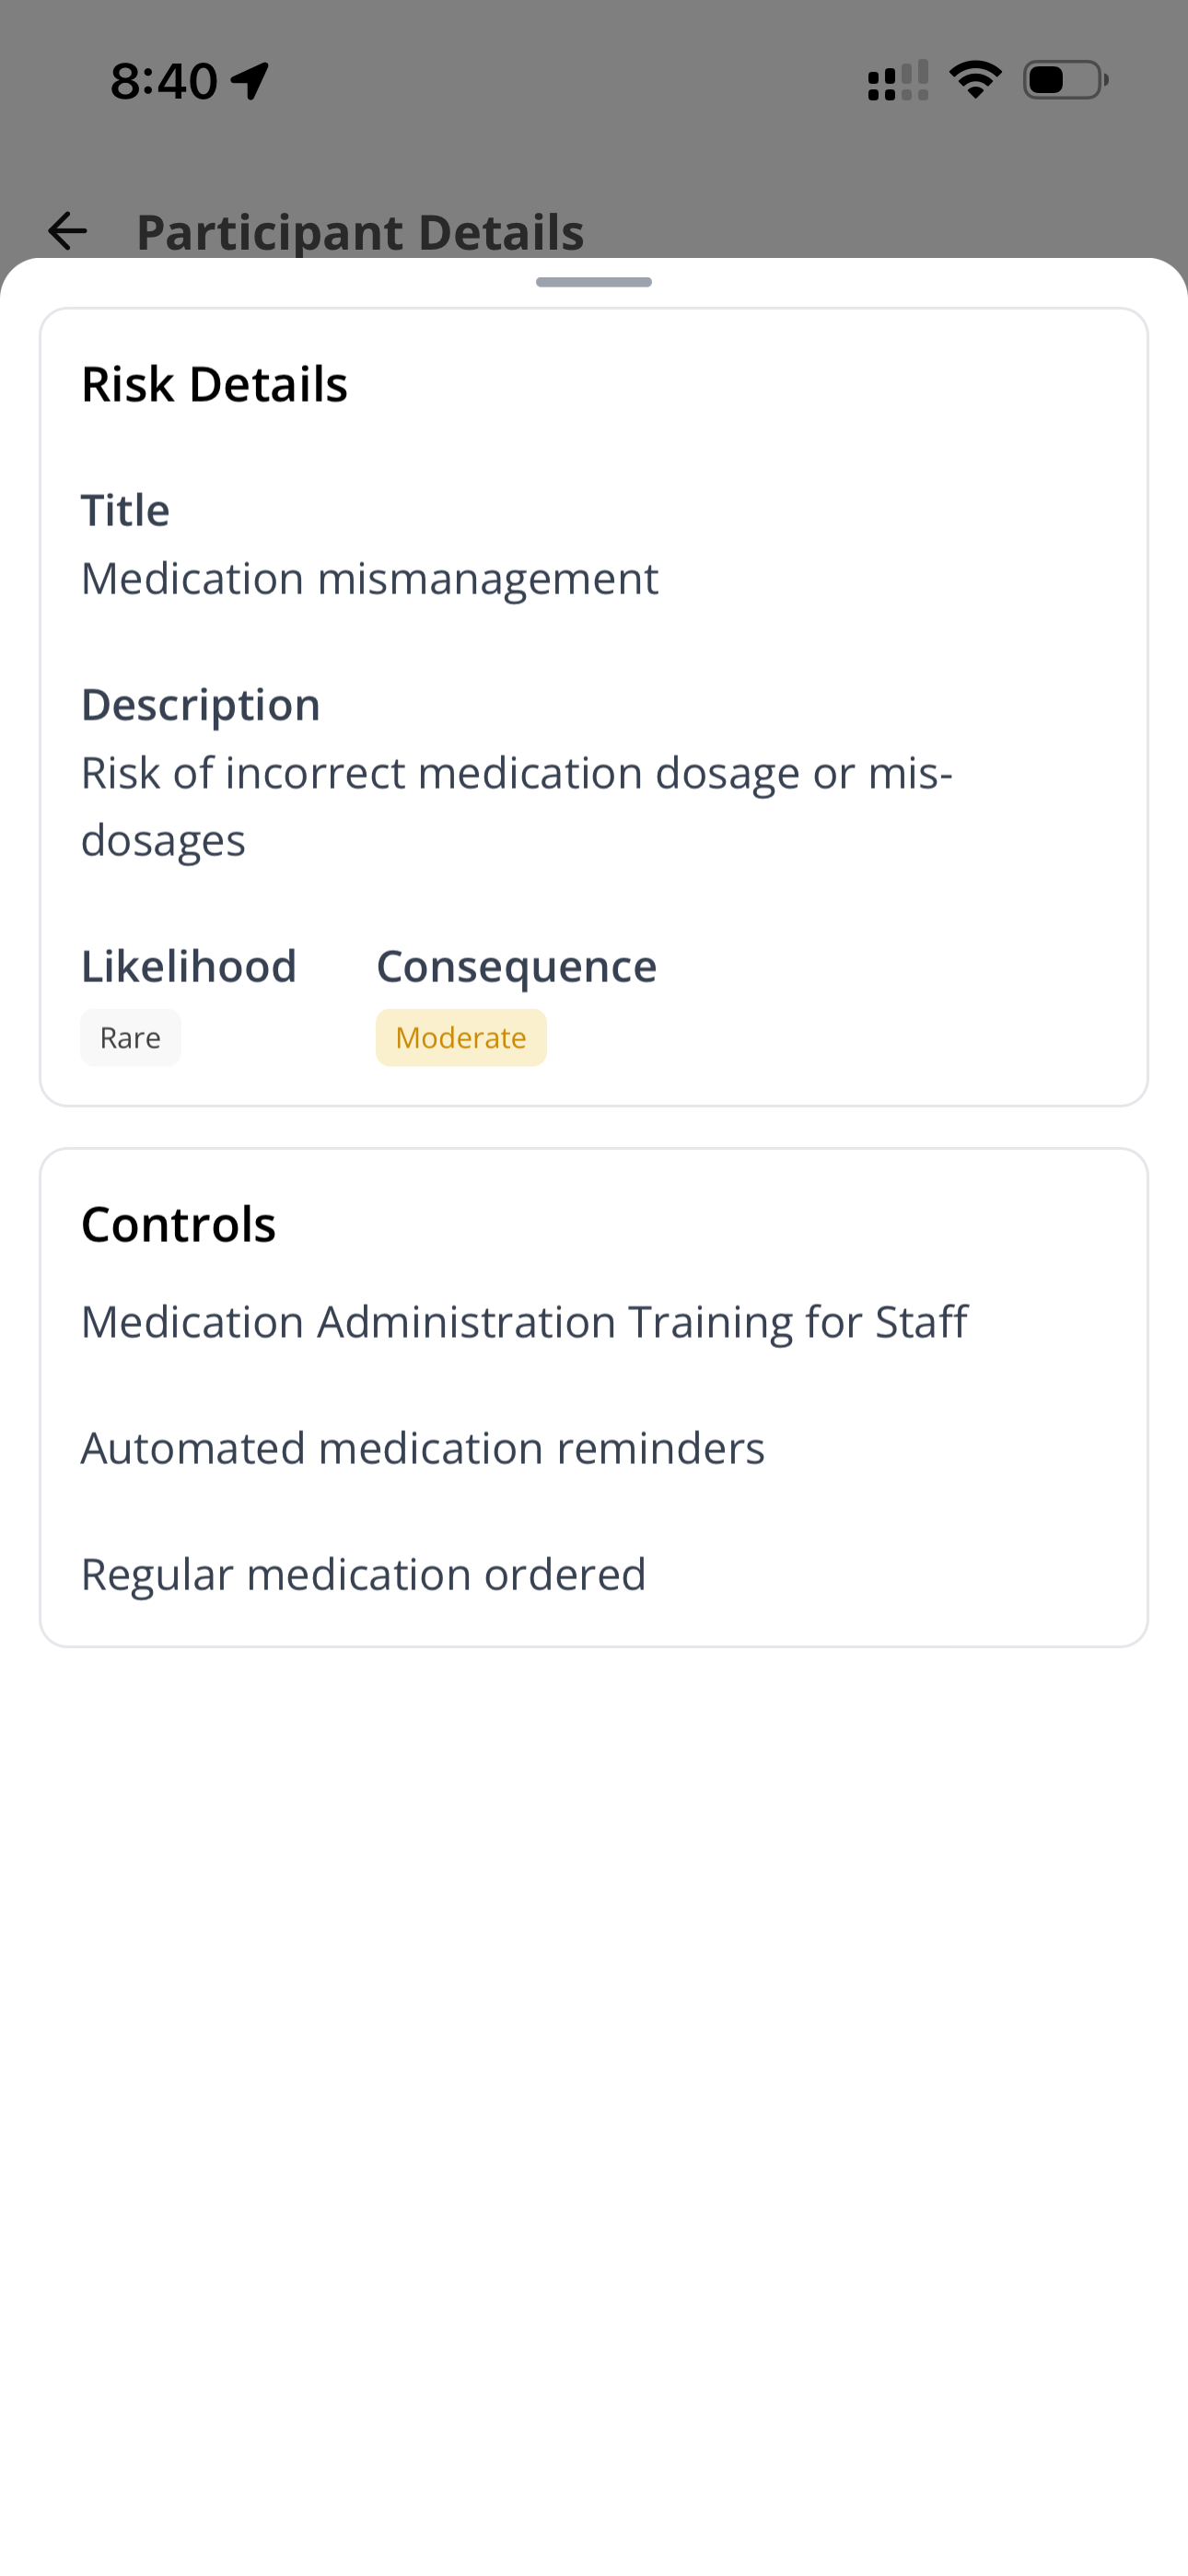
Viewing Risks
Risks recorded against a Participant appear on their profile in the app, so the people supporting them can read them before the shift starts. They are only visible where your organisation has made them visible to Support Workers.
See Risks.
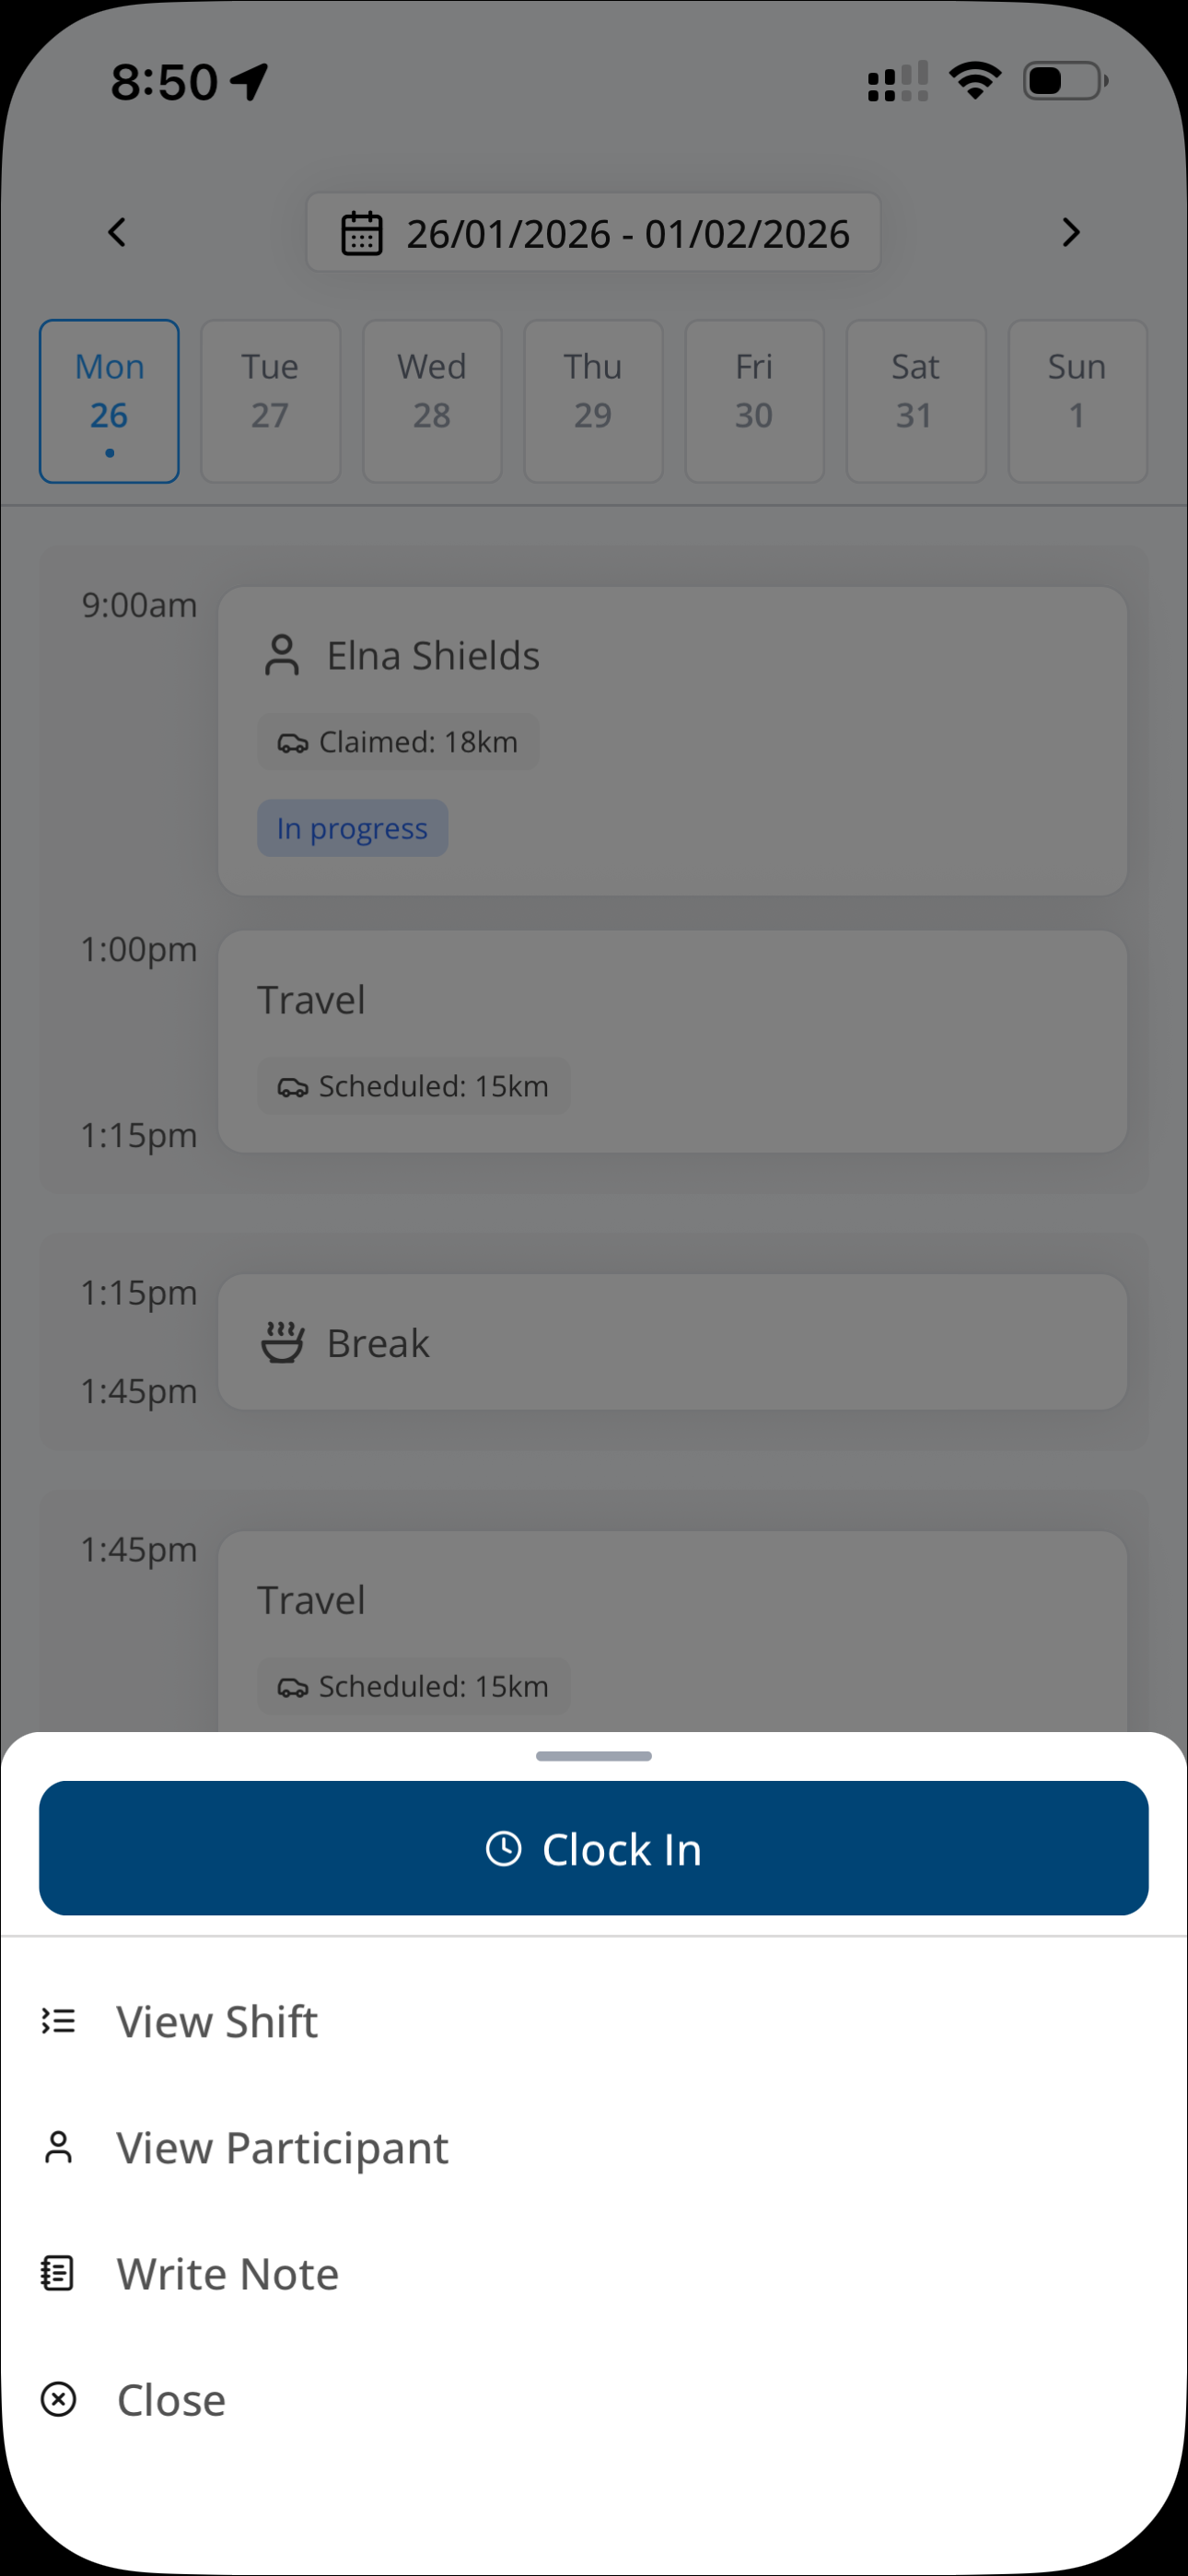
Clocking into a Shift
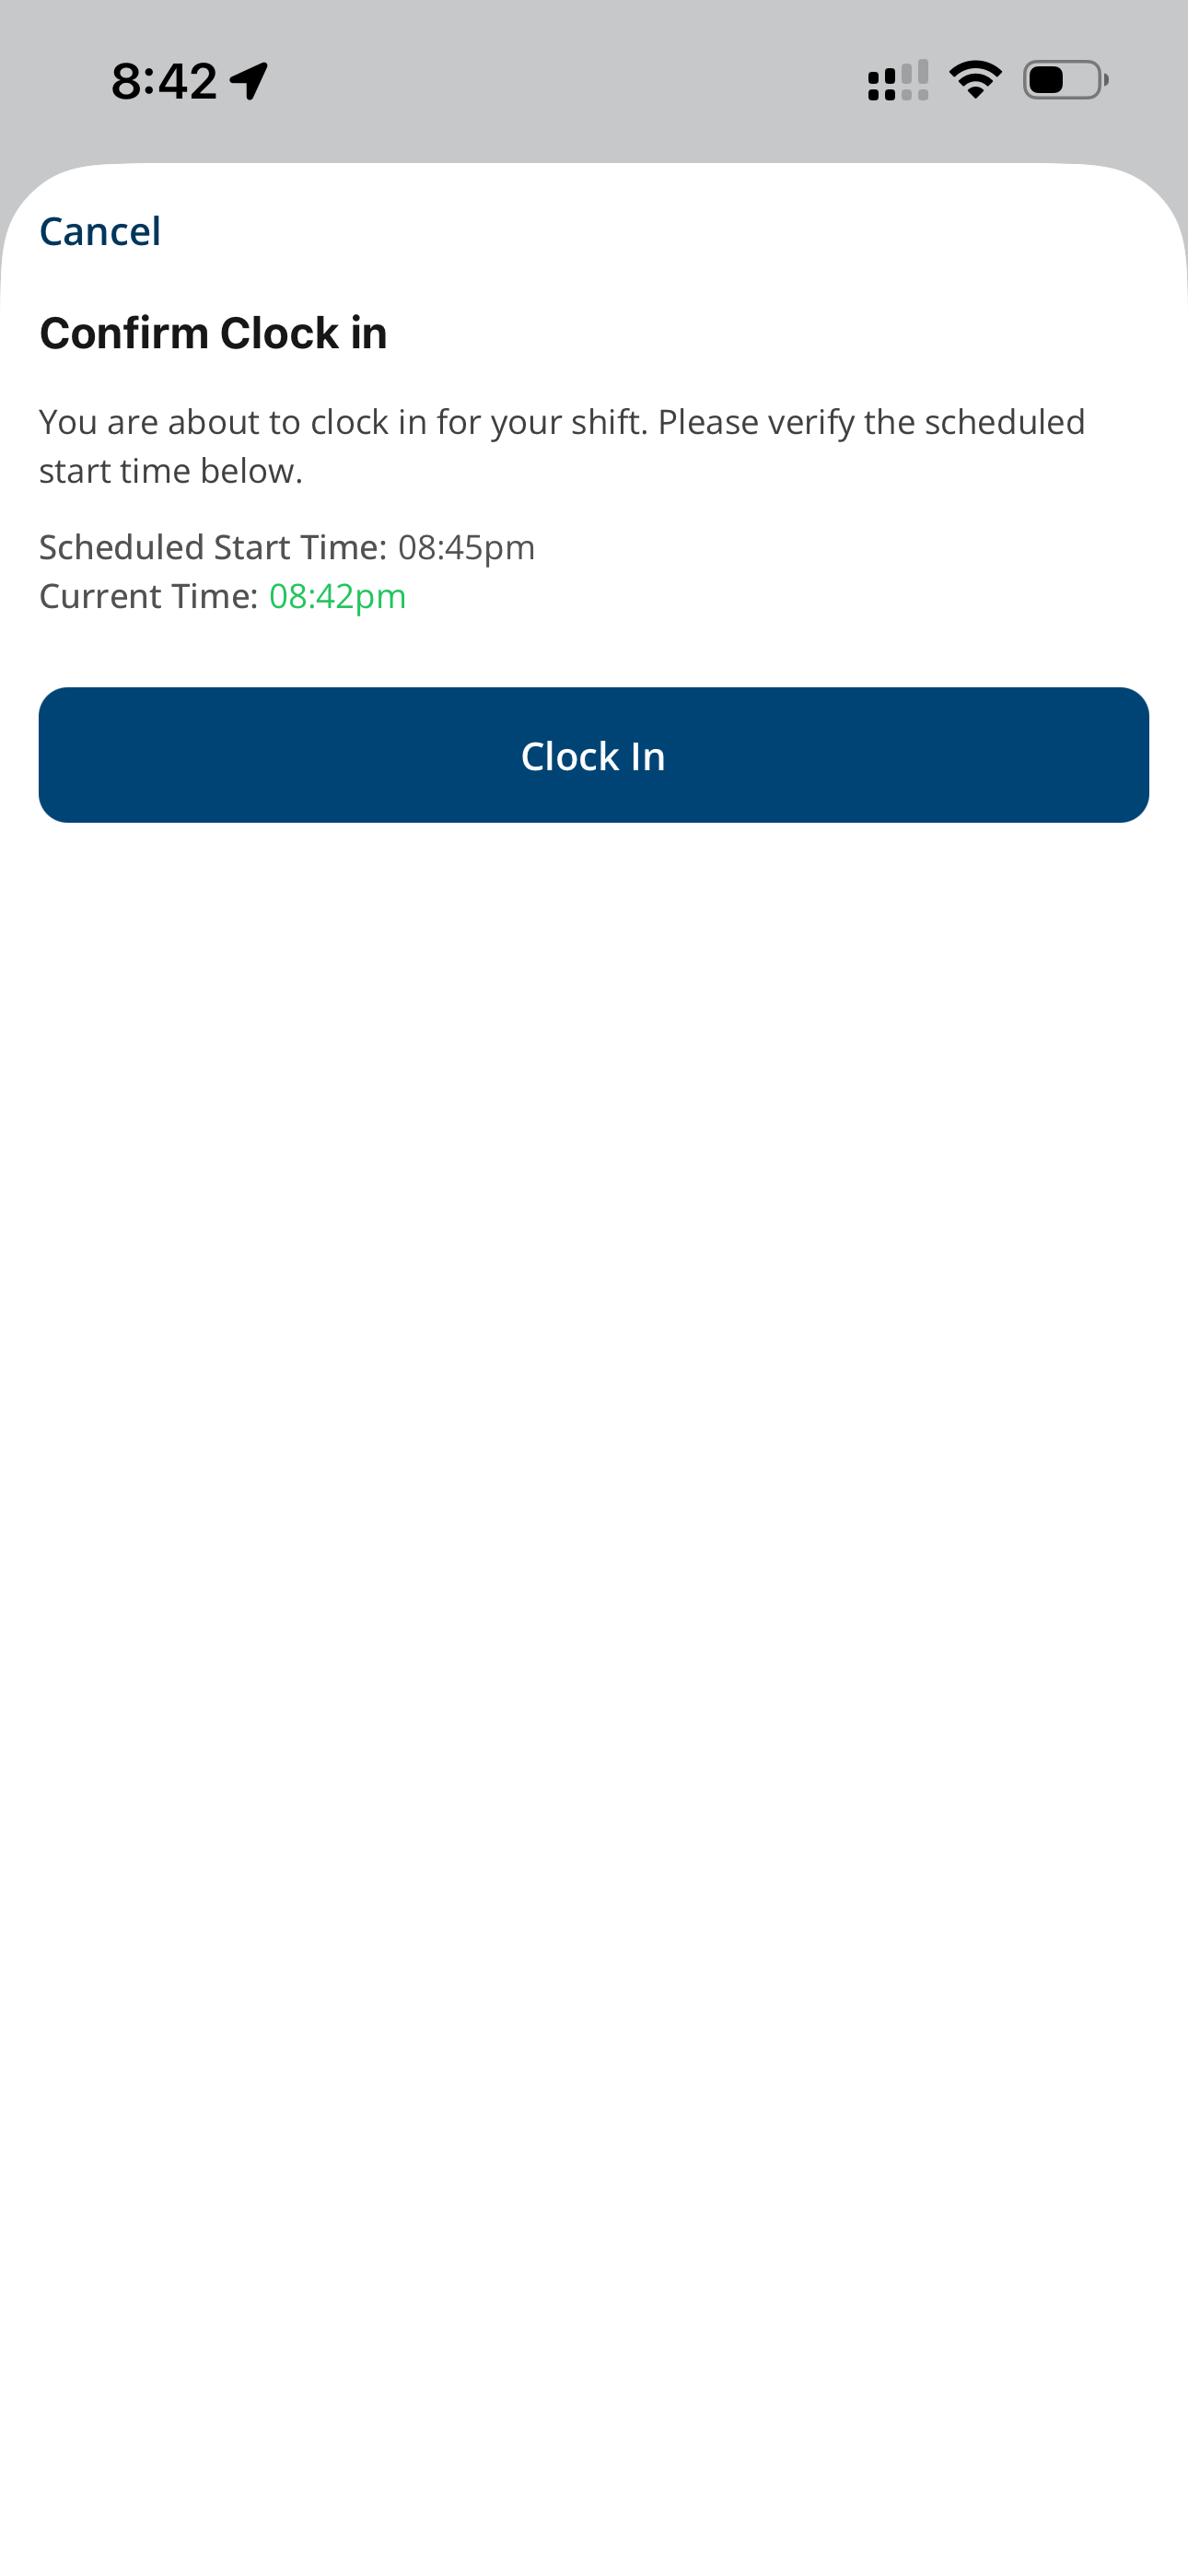
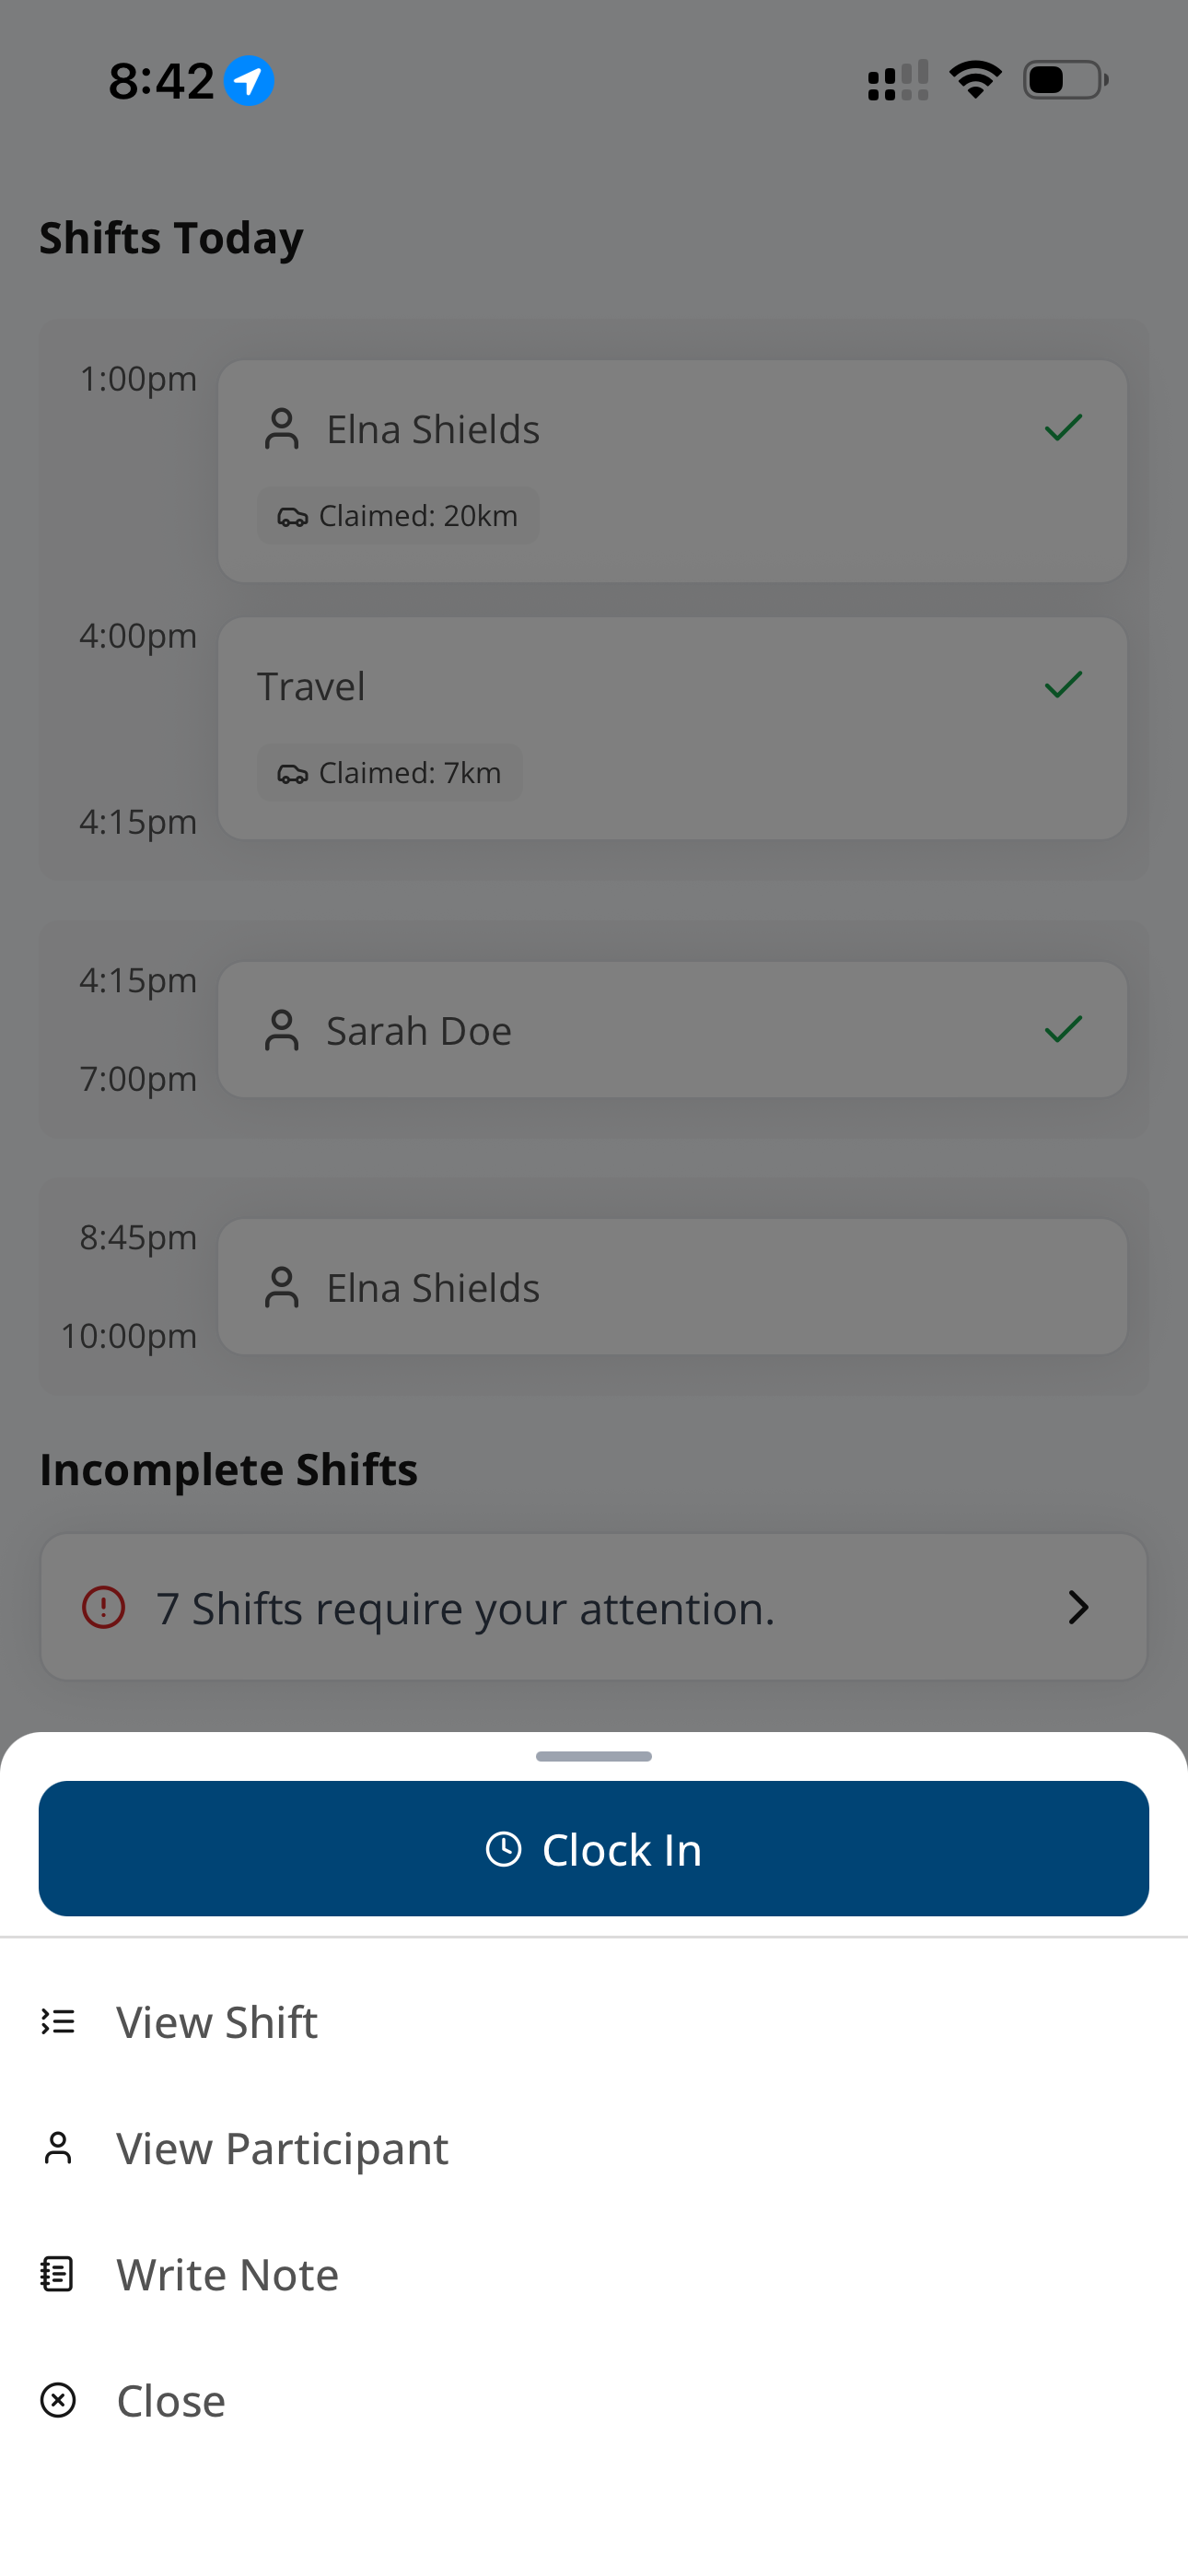
On Home, open your next support and select Clock In. The app asks for a note if you are outside the organisation's early or late tolerance.
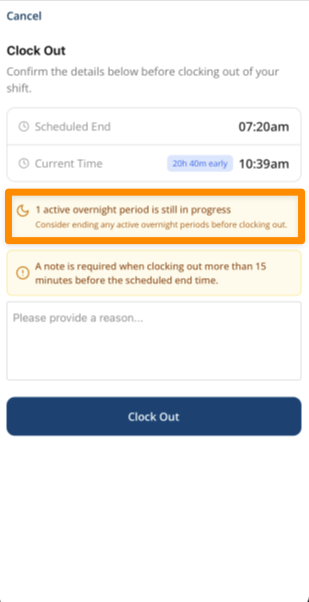
At the end, select Clock Out. Required notes, mandatory Forms, mandatory Schedule Tasks, and incomplete Travel During records must be resolved before clock-out.
See Clocking In and Out of a Shift.
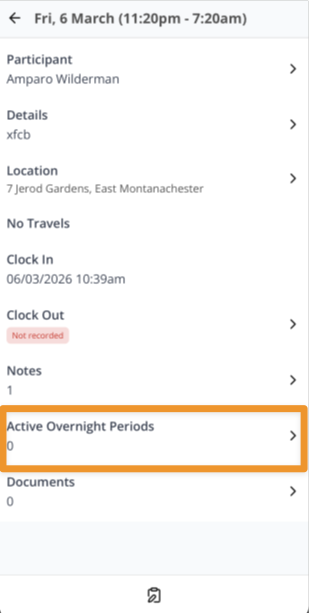
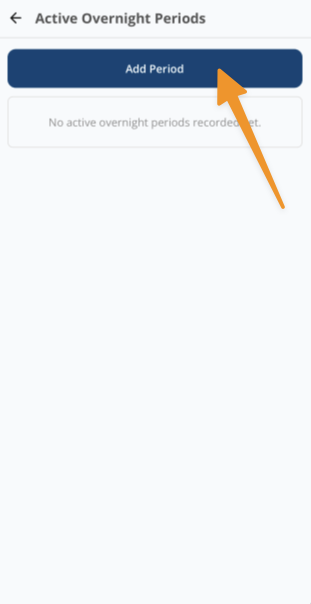
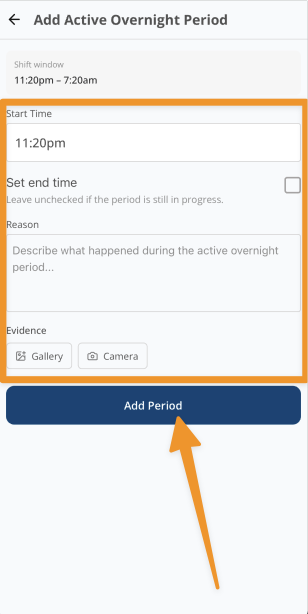
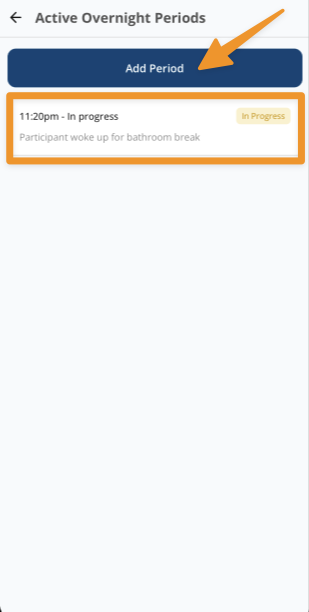
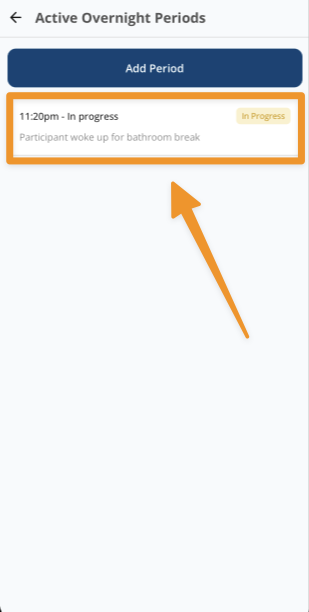
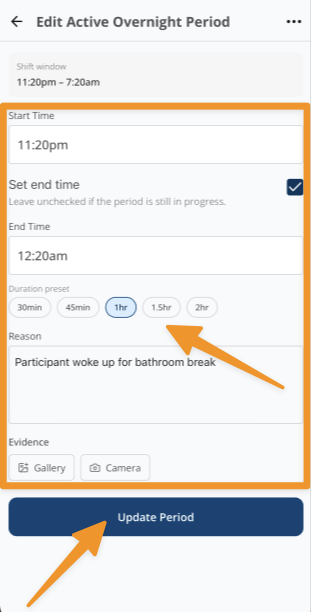
Adding an Active Overnight Period
Where a sleepover is interrupted, record the period you were awake and working so it can be paid and claimed correctly.
See Adding an Active Overnight Period in the App.
Manage Availability
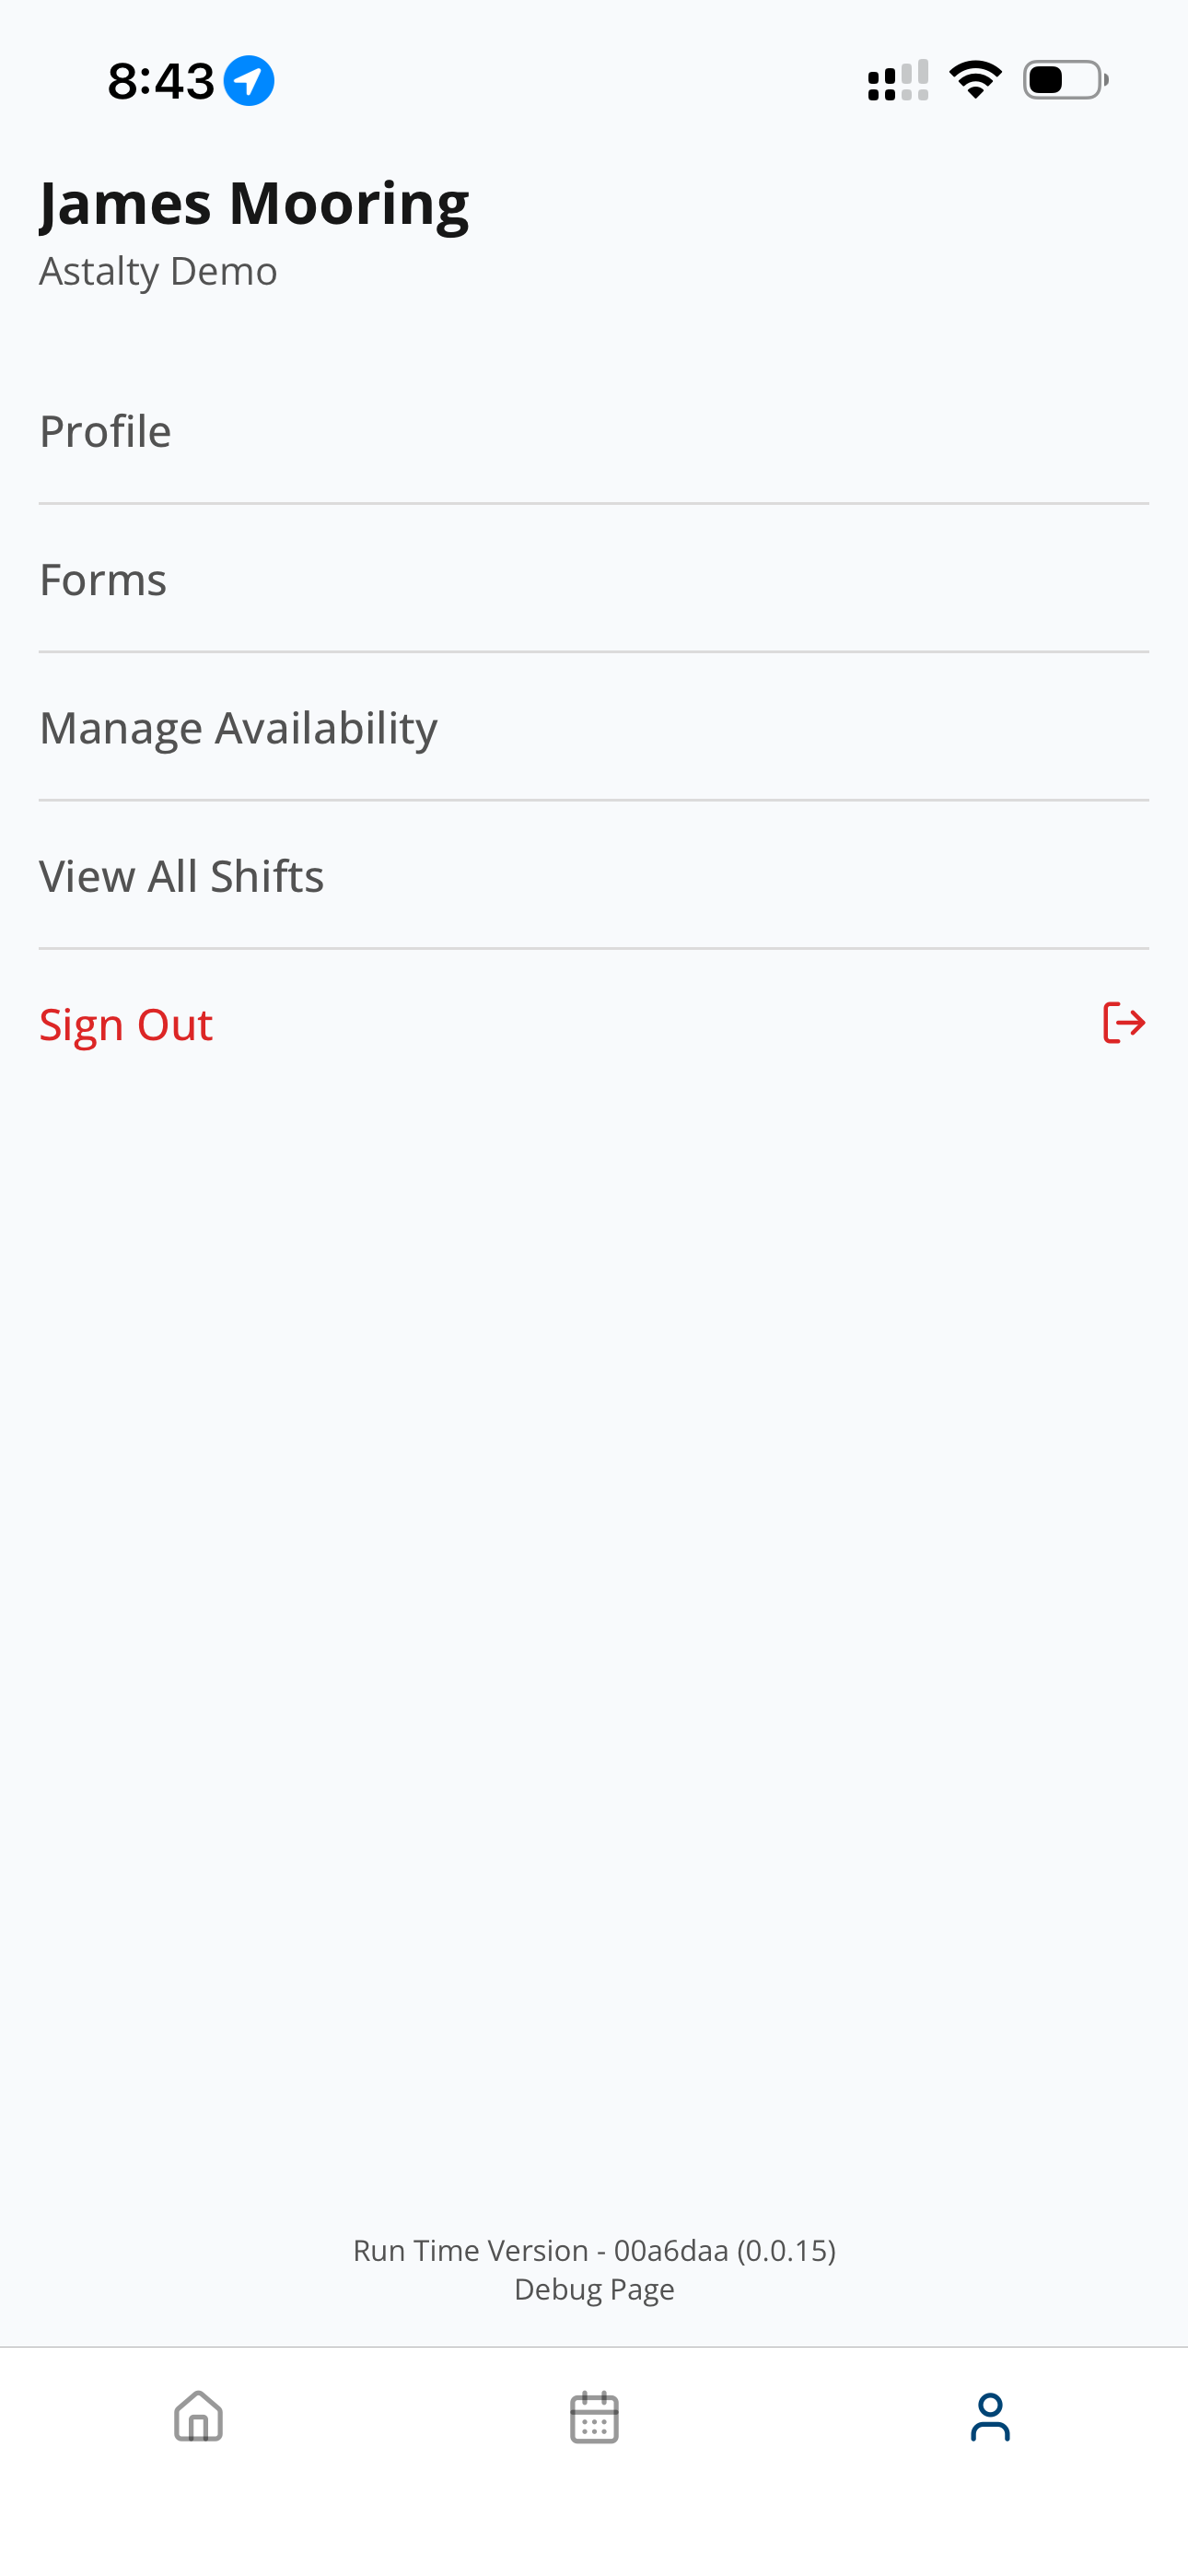
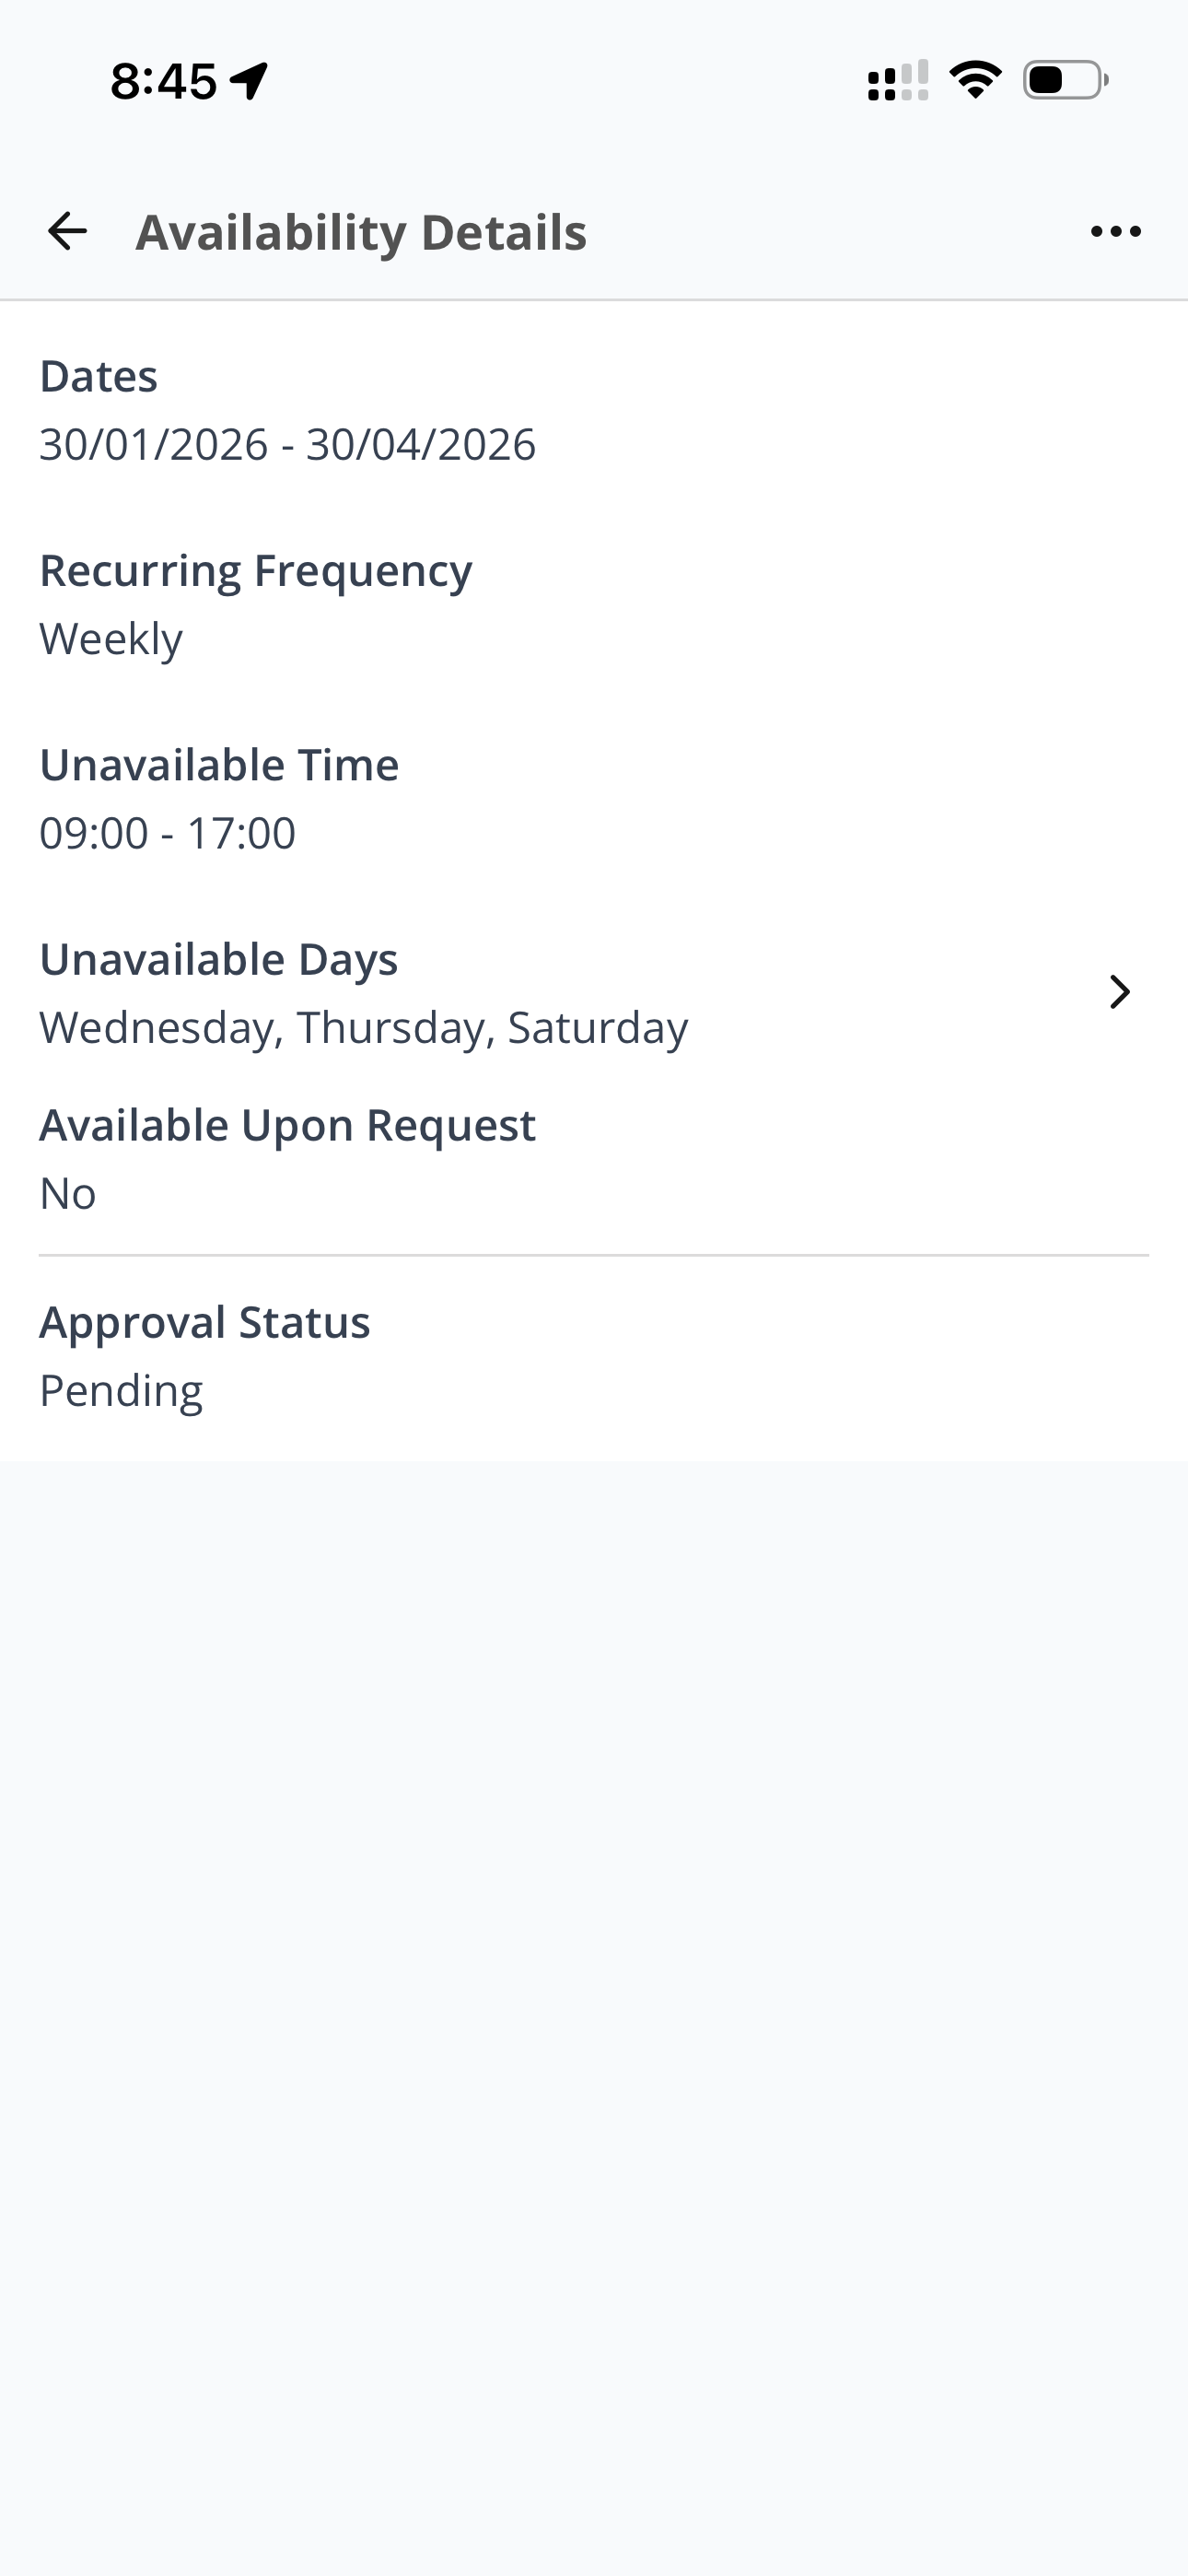
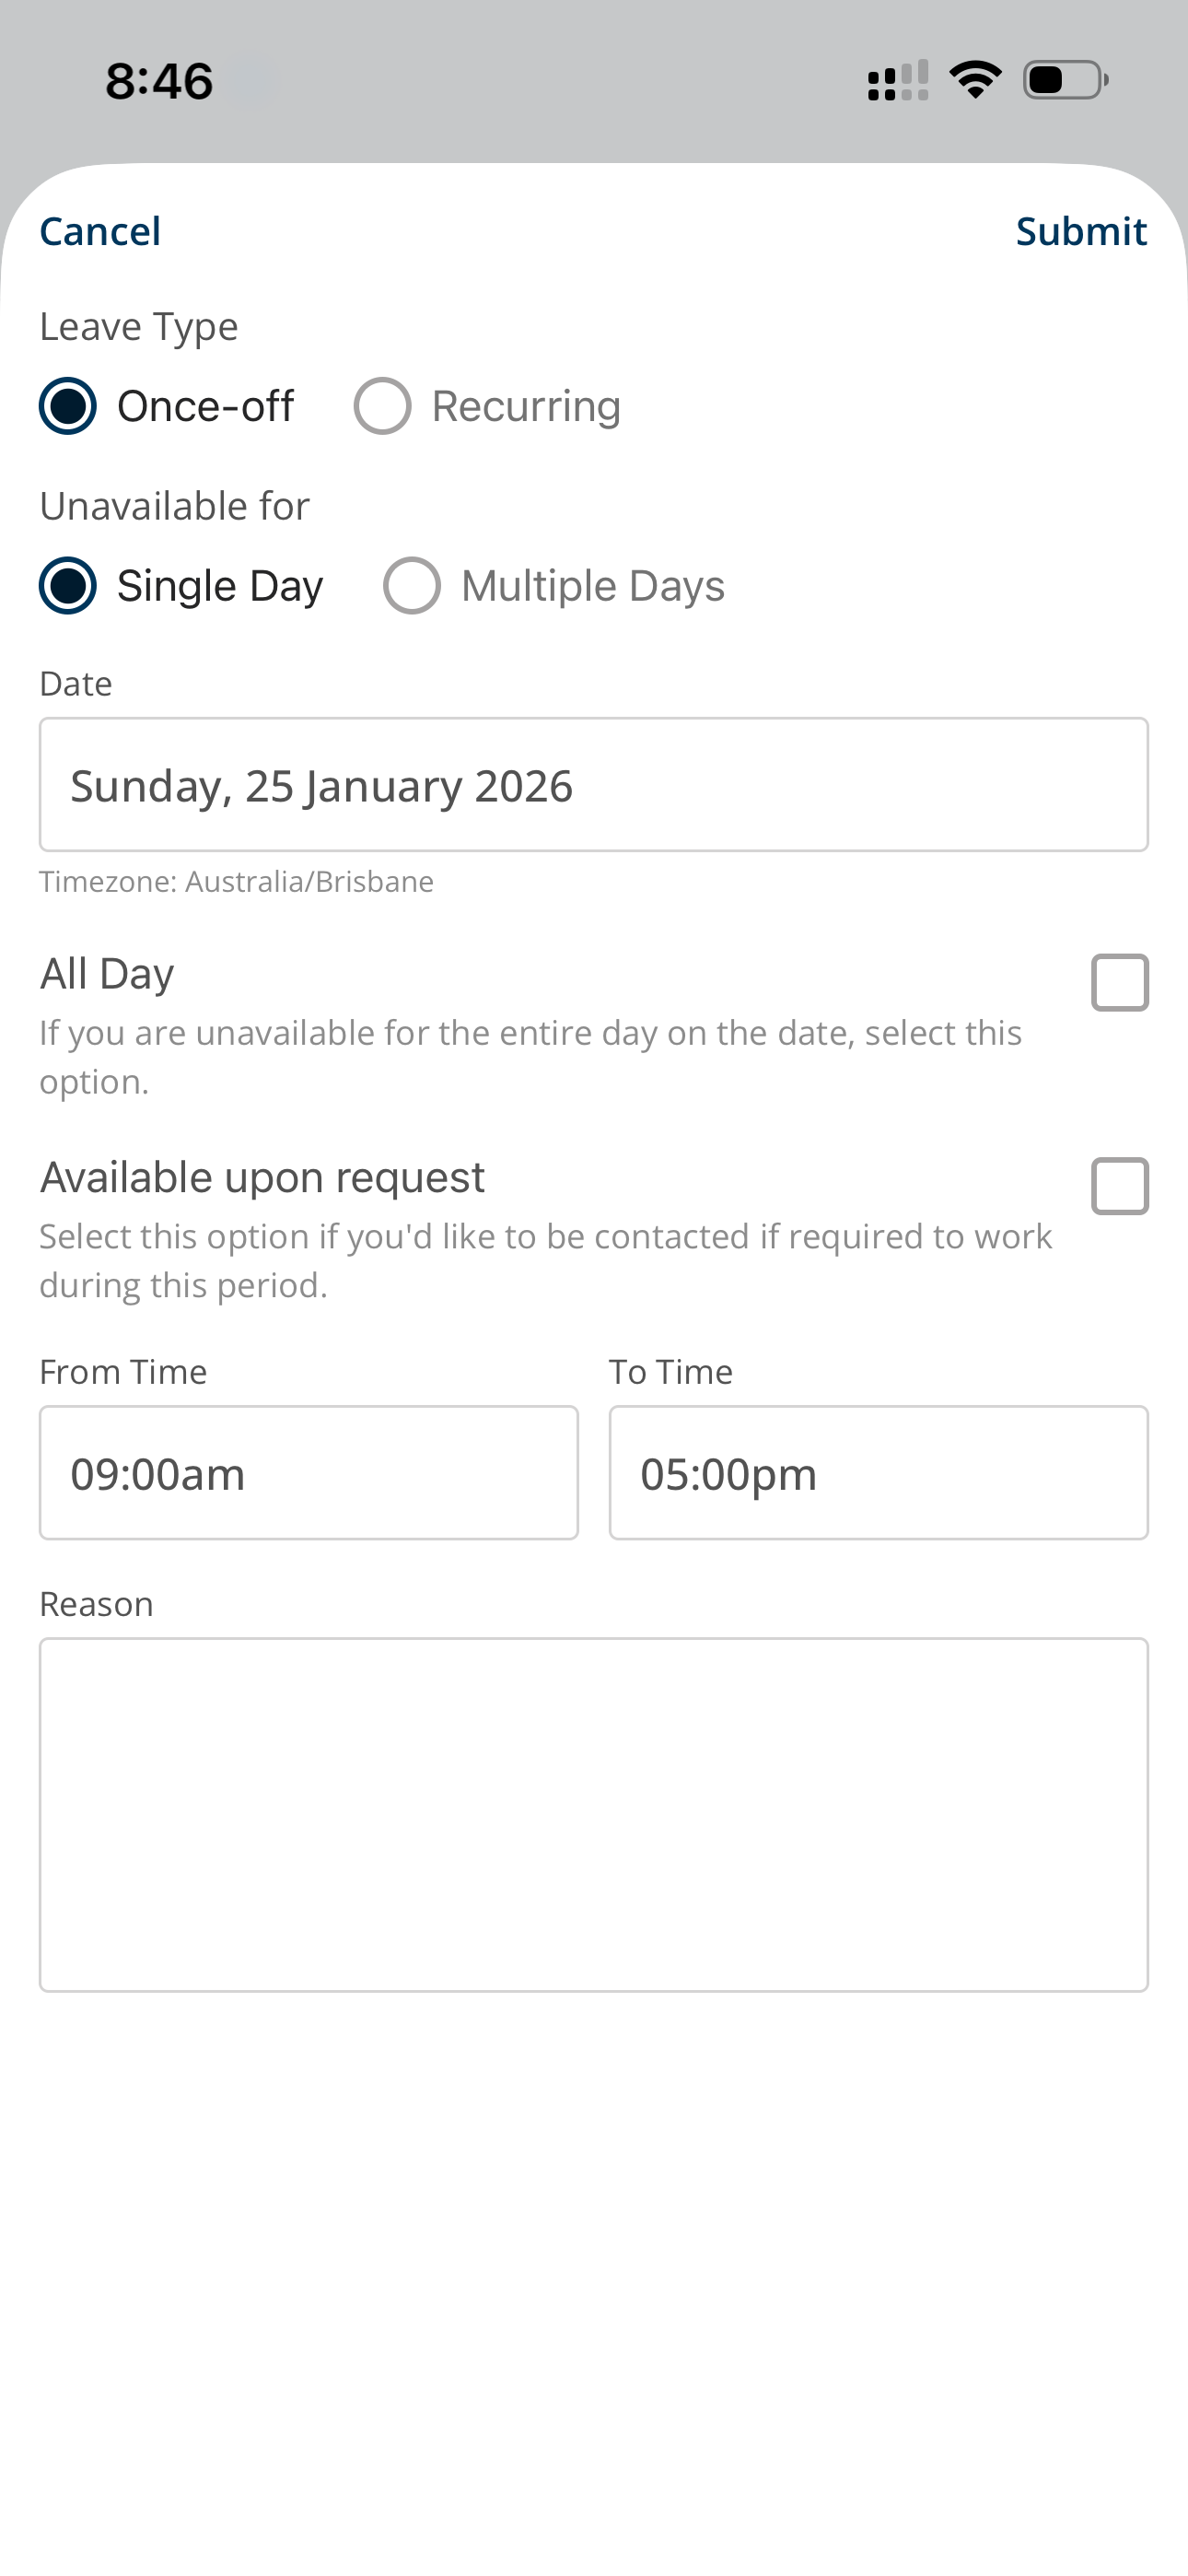
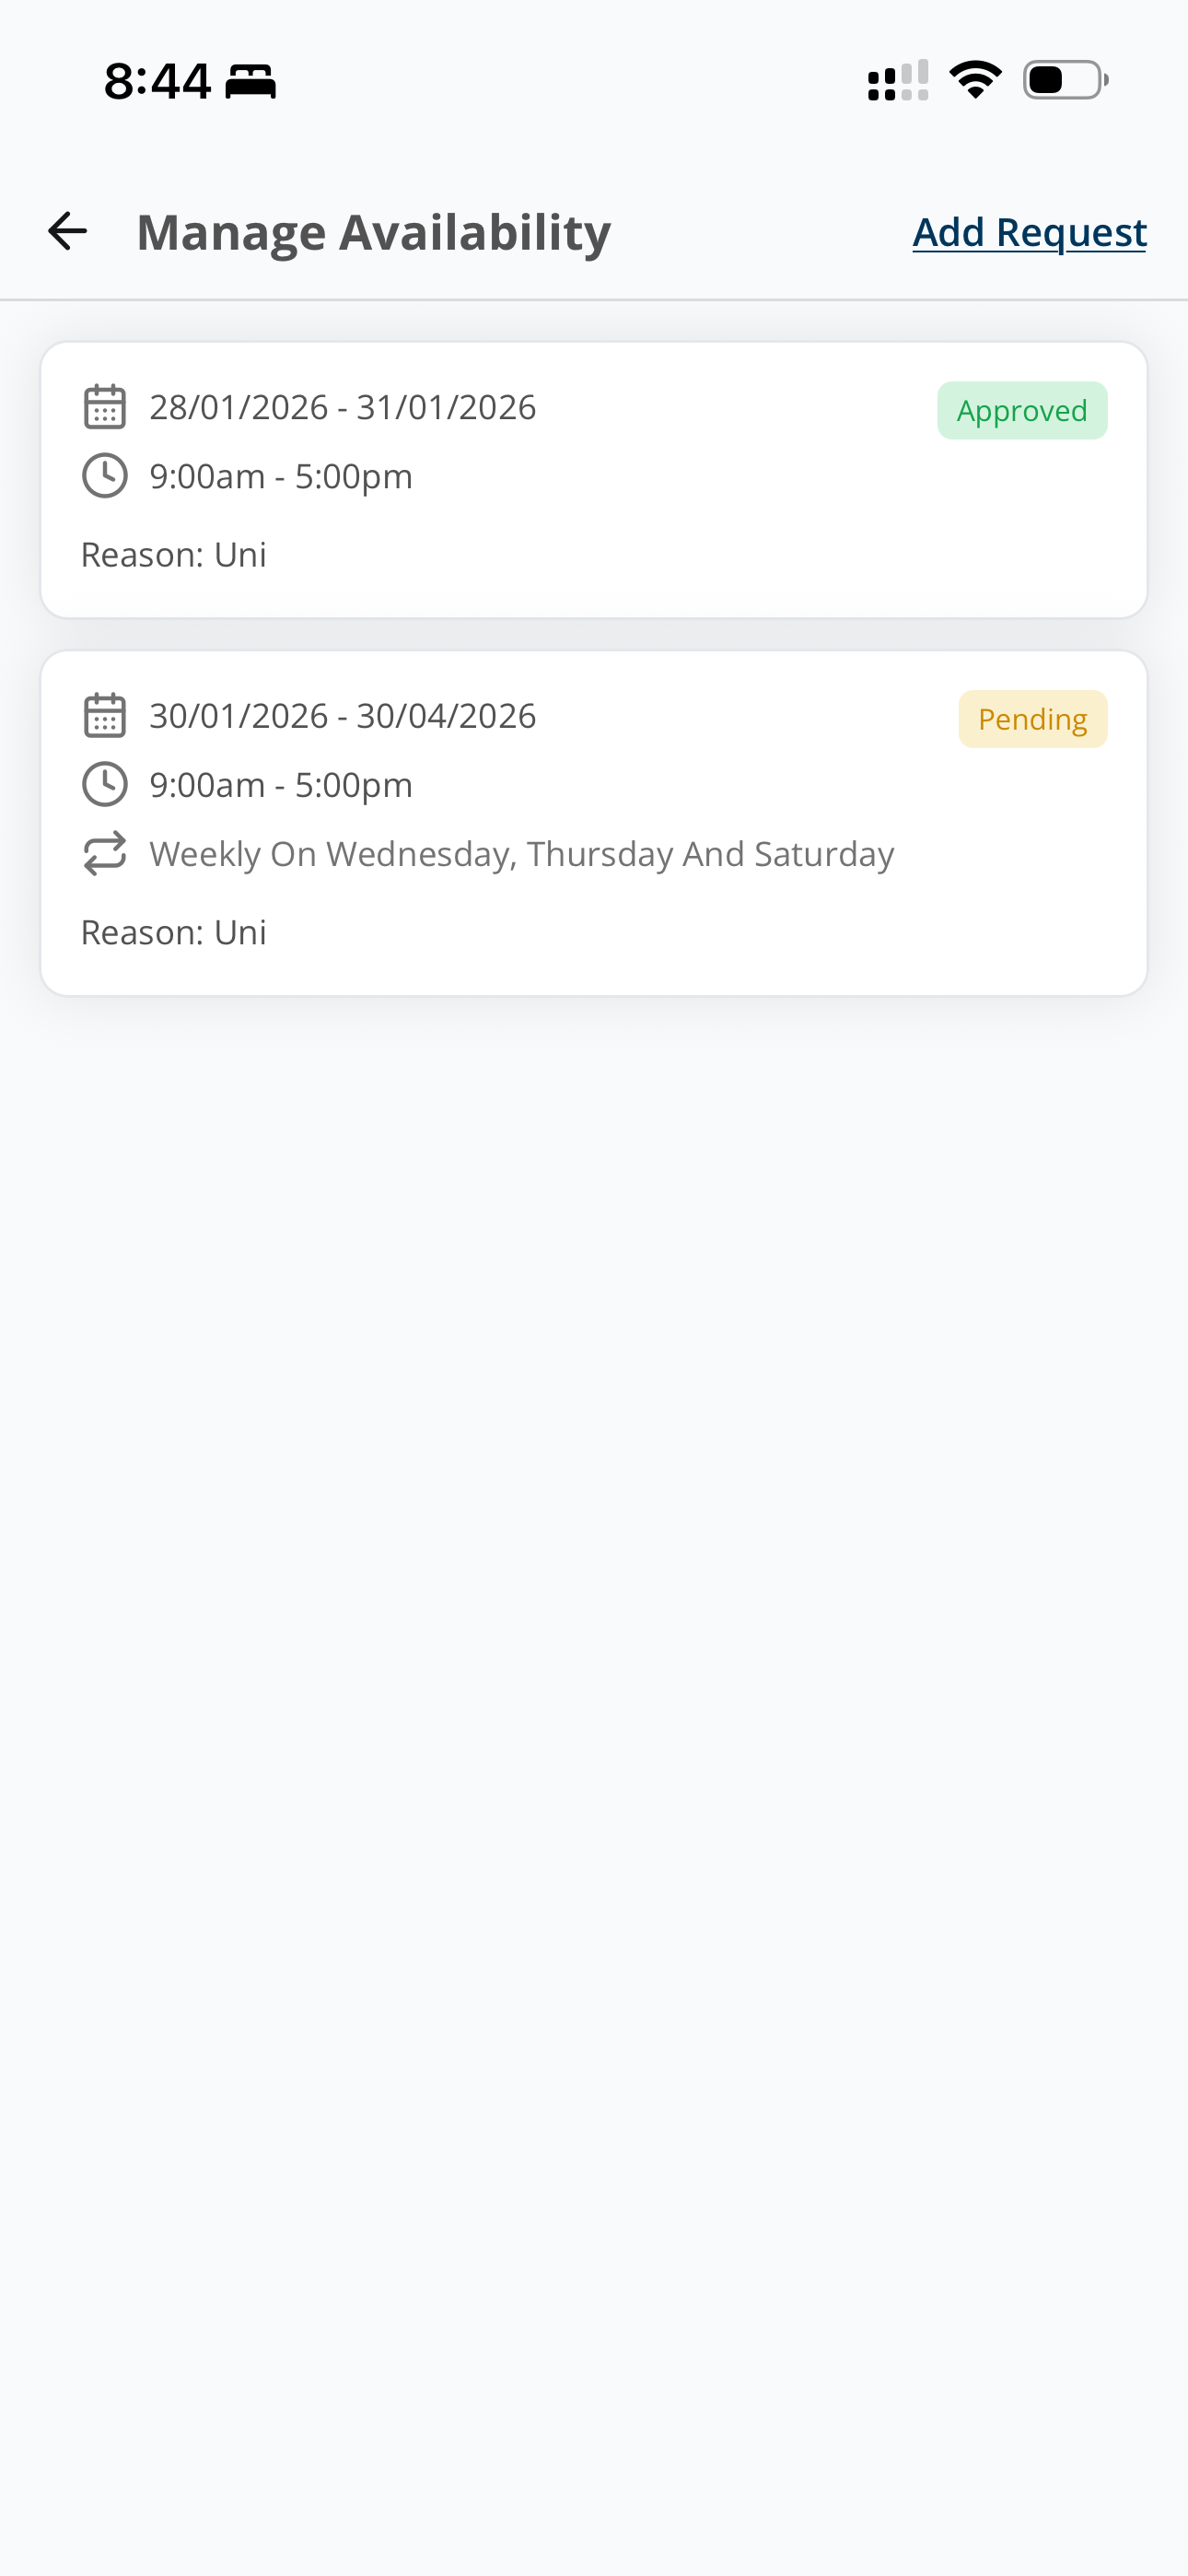
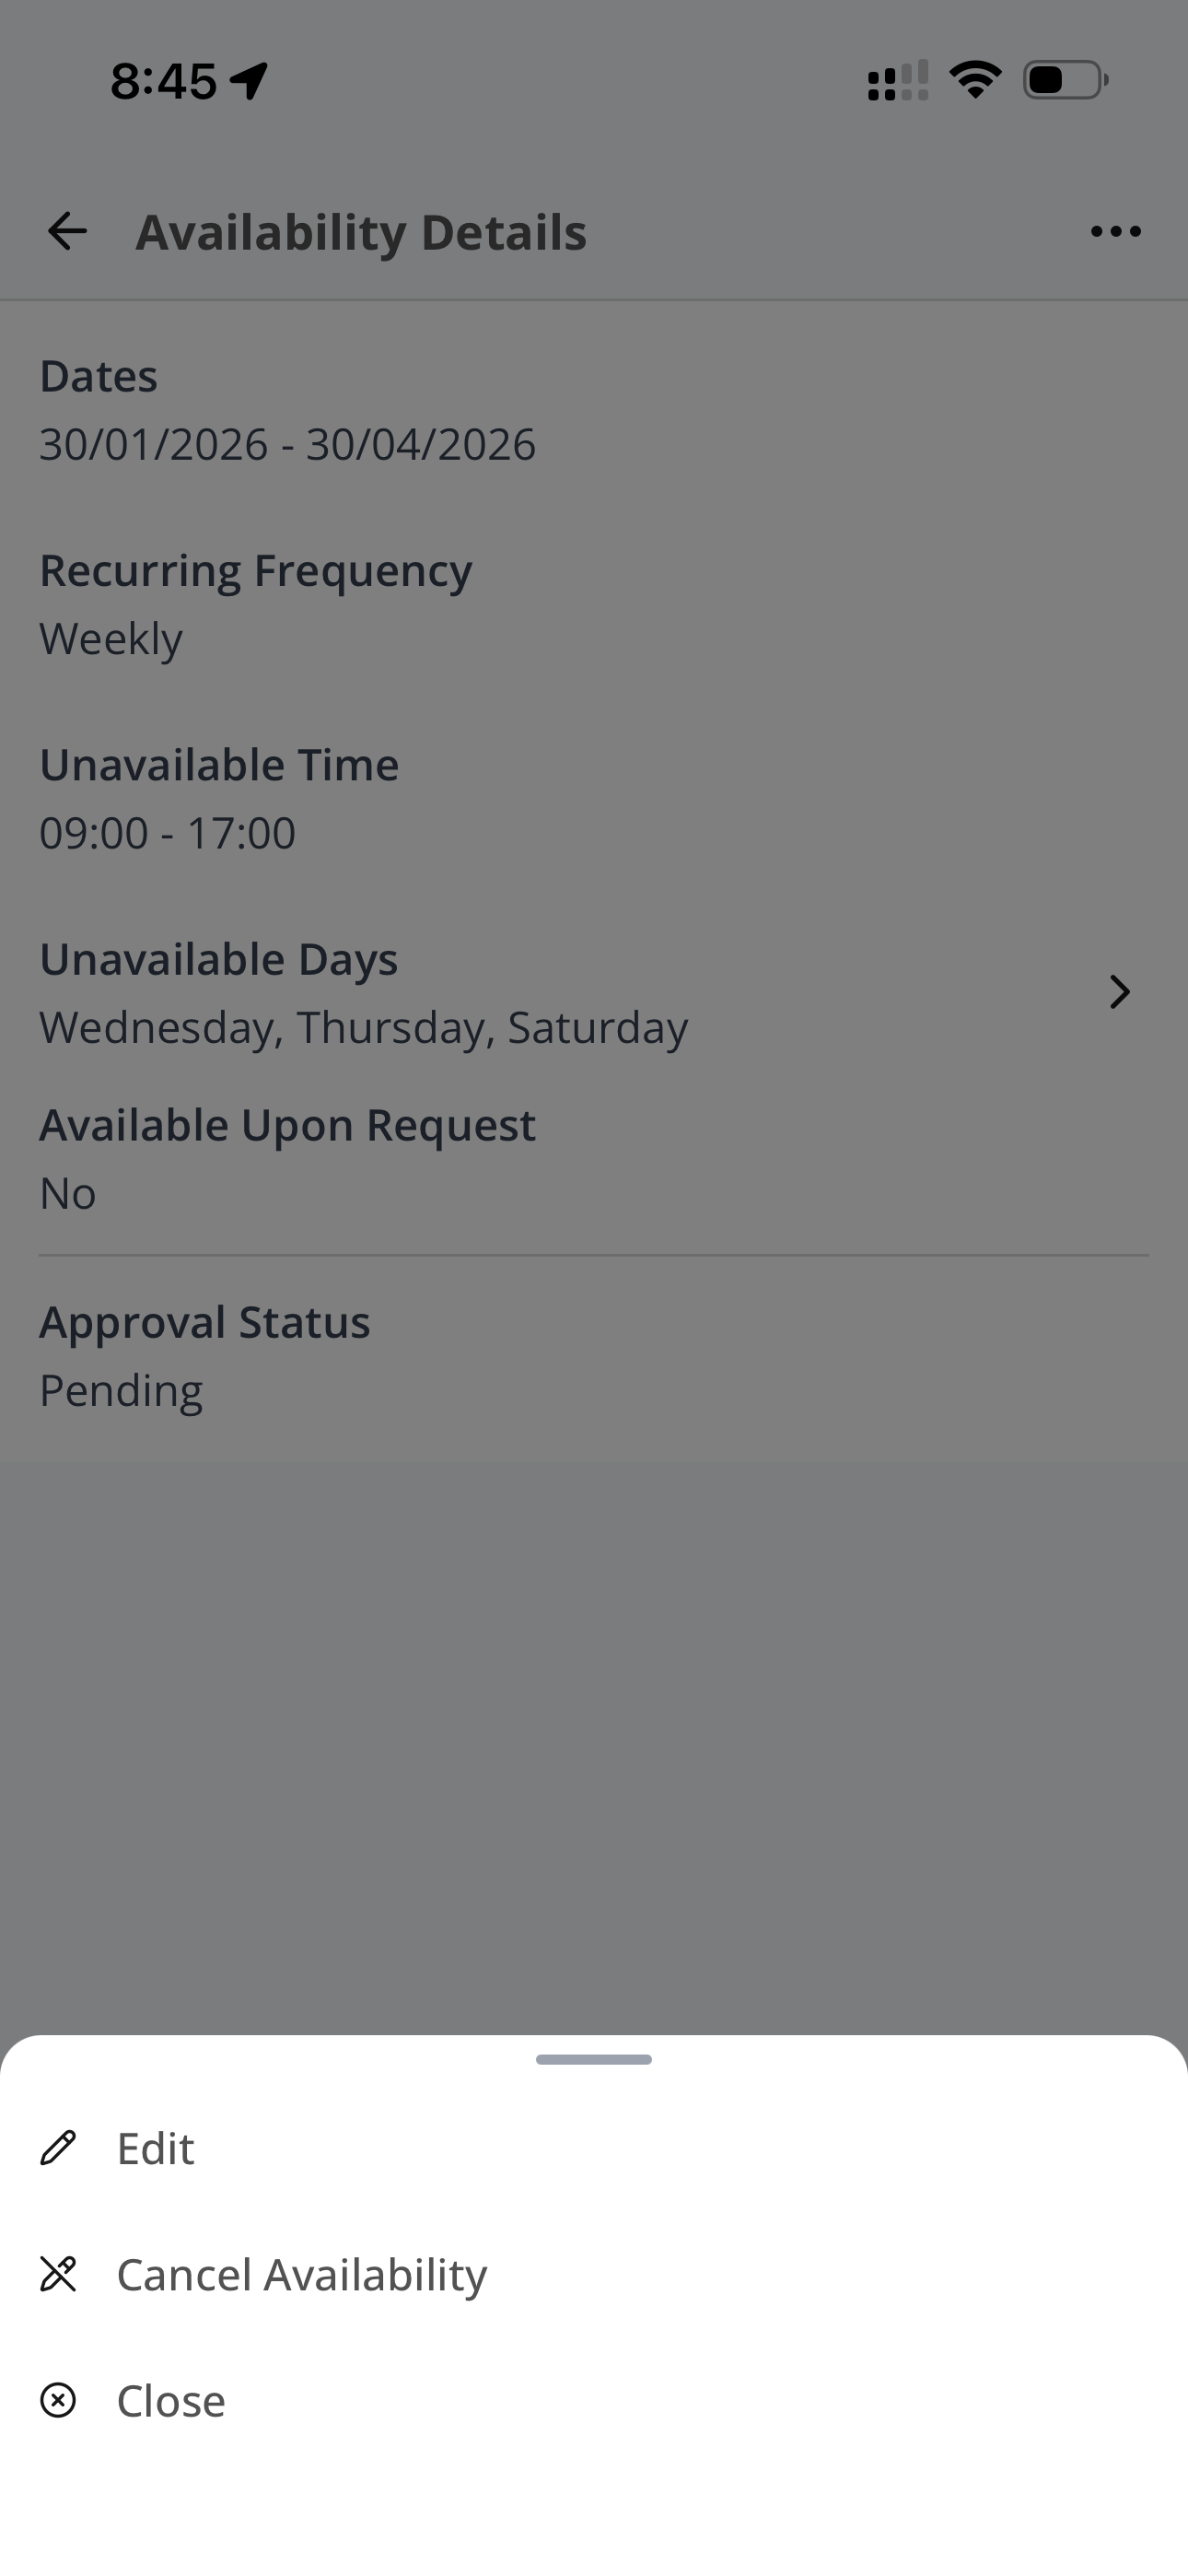
Submit once-off or recurring Unavailability from the app. When Leave is enabled, submit a once-off Leave request with a Leave Type and optional supporting documents. Track and manage requests from the same screen.
Travelling to or from a Shift
Travel to your first support and home from your last is recorded separately from travel during a shift, and is set up separately by your organisation.
See Travel To and From Support.
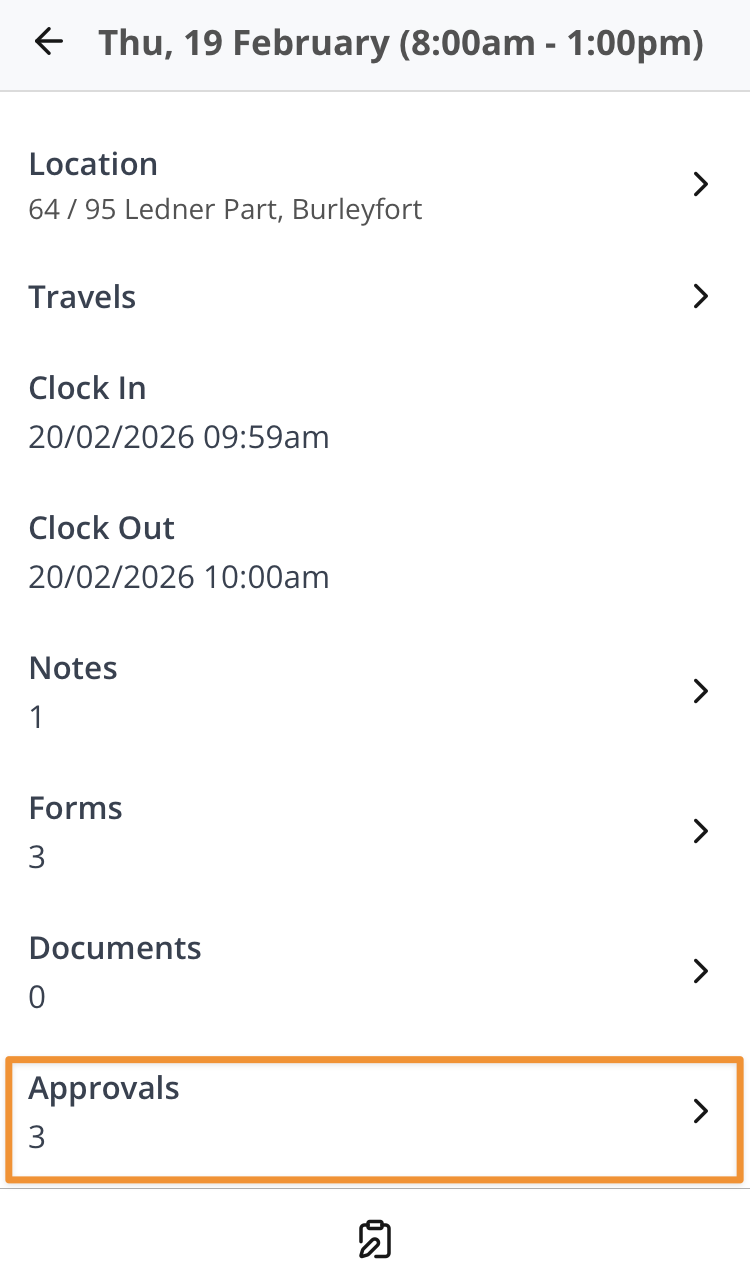
Shift Hours and Travel Approvals
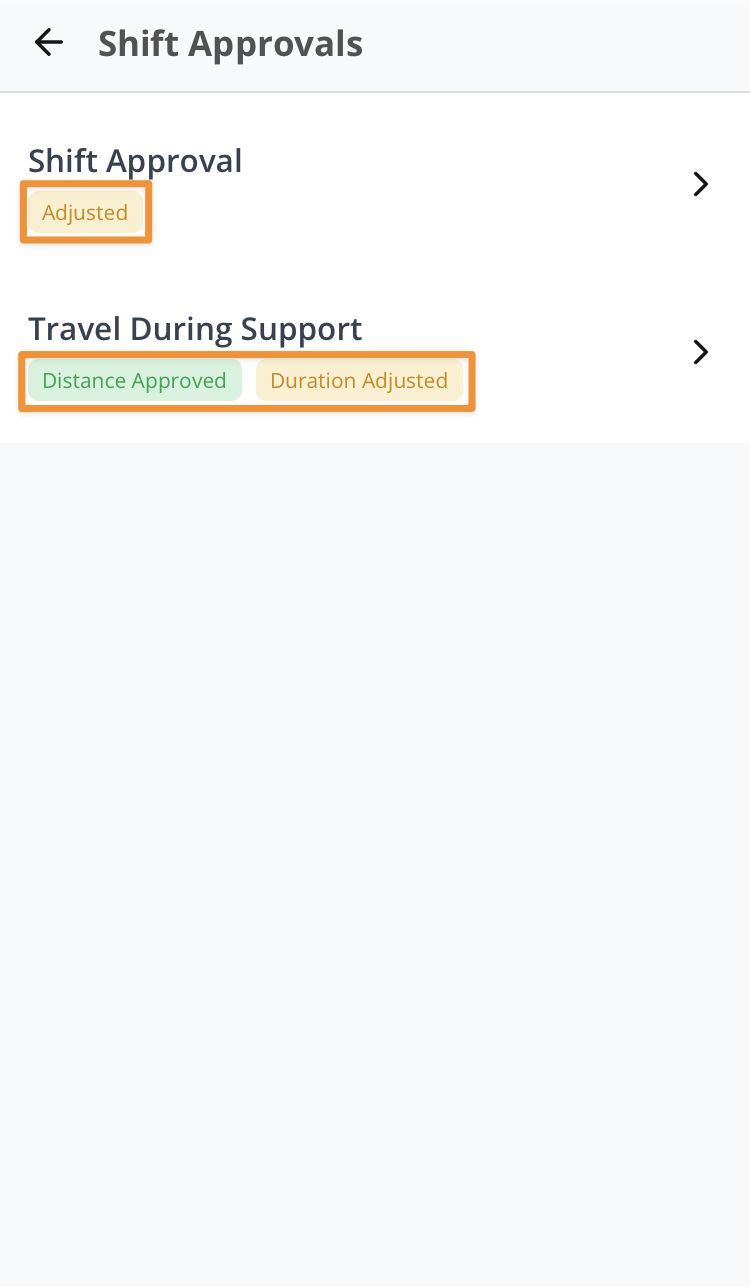
Once a shift has been through approval, tap Shift Approvals on the shift to see how your hours and travel were finalised.
| Badge | What it means |
|---|---|
| Approved | The times you clocked were kept as they were |
| Adjusted | An approver changed the start or end time |
| Distance Approved / Distance Adjusted | Whether your travel distance was kept or changed |
| Duration Approved / Duration Adjusted | Whether your travel duration was kept or changed |
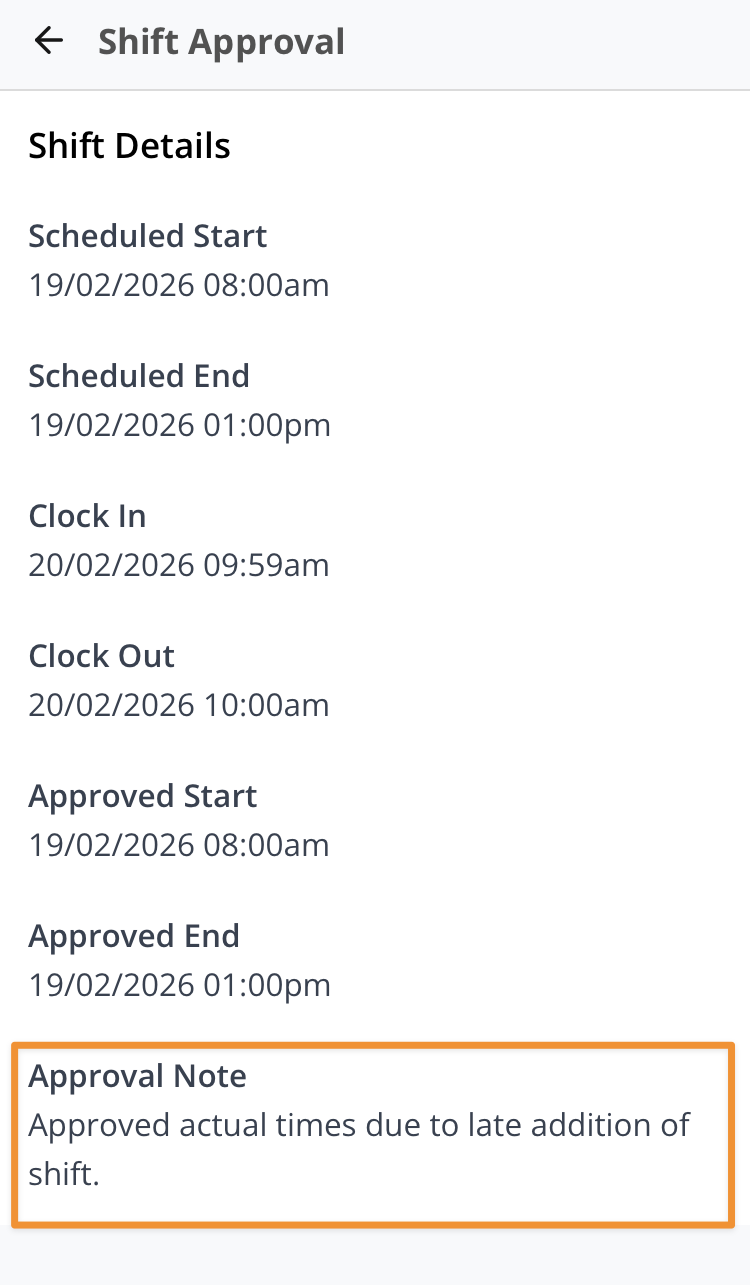
Distance and duration are approved separately, so one can be adjusted while the other is not. An Active Overnight Period shows Approved or Pending instead. Tap any row to see the detail behind it.
This screen is read-only. It shows the approval outcome. See Shift Approvals for how approvals are completed.
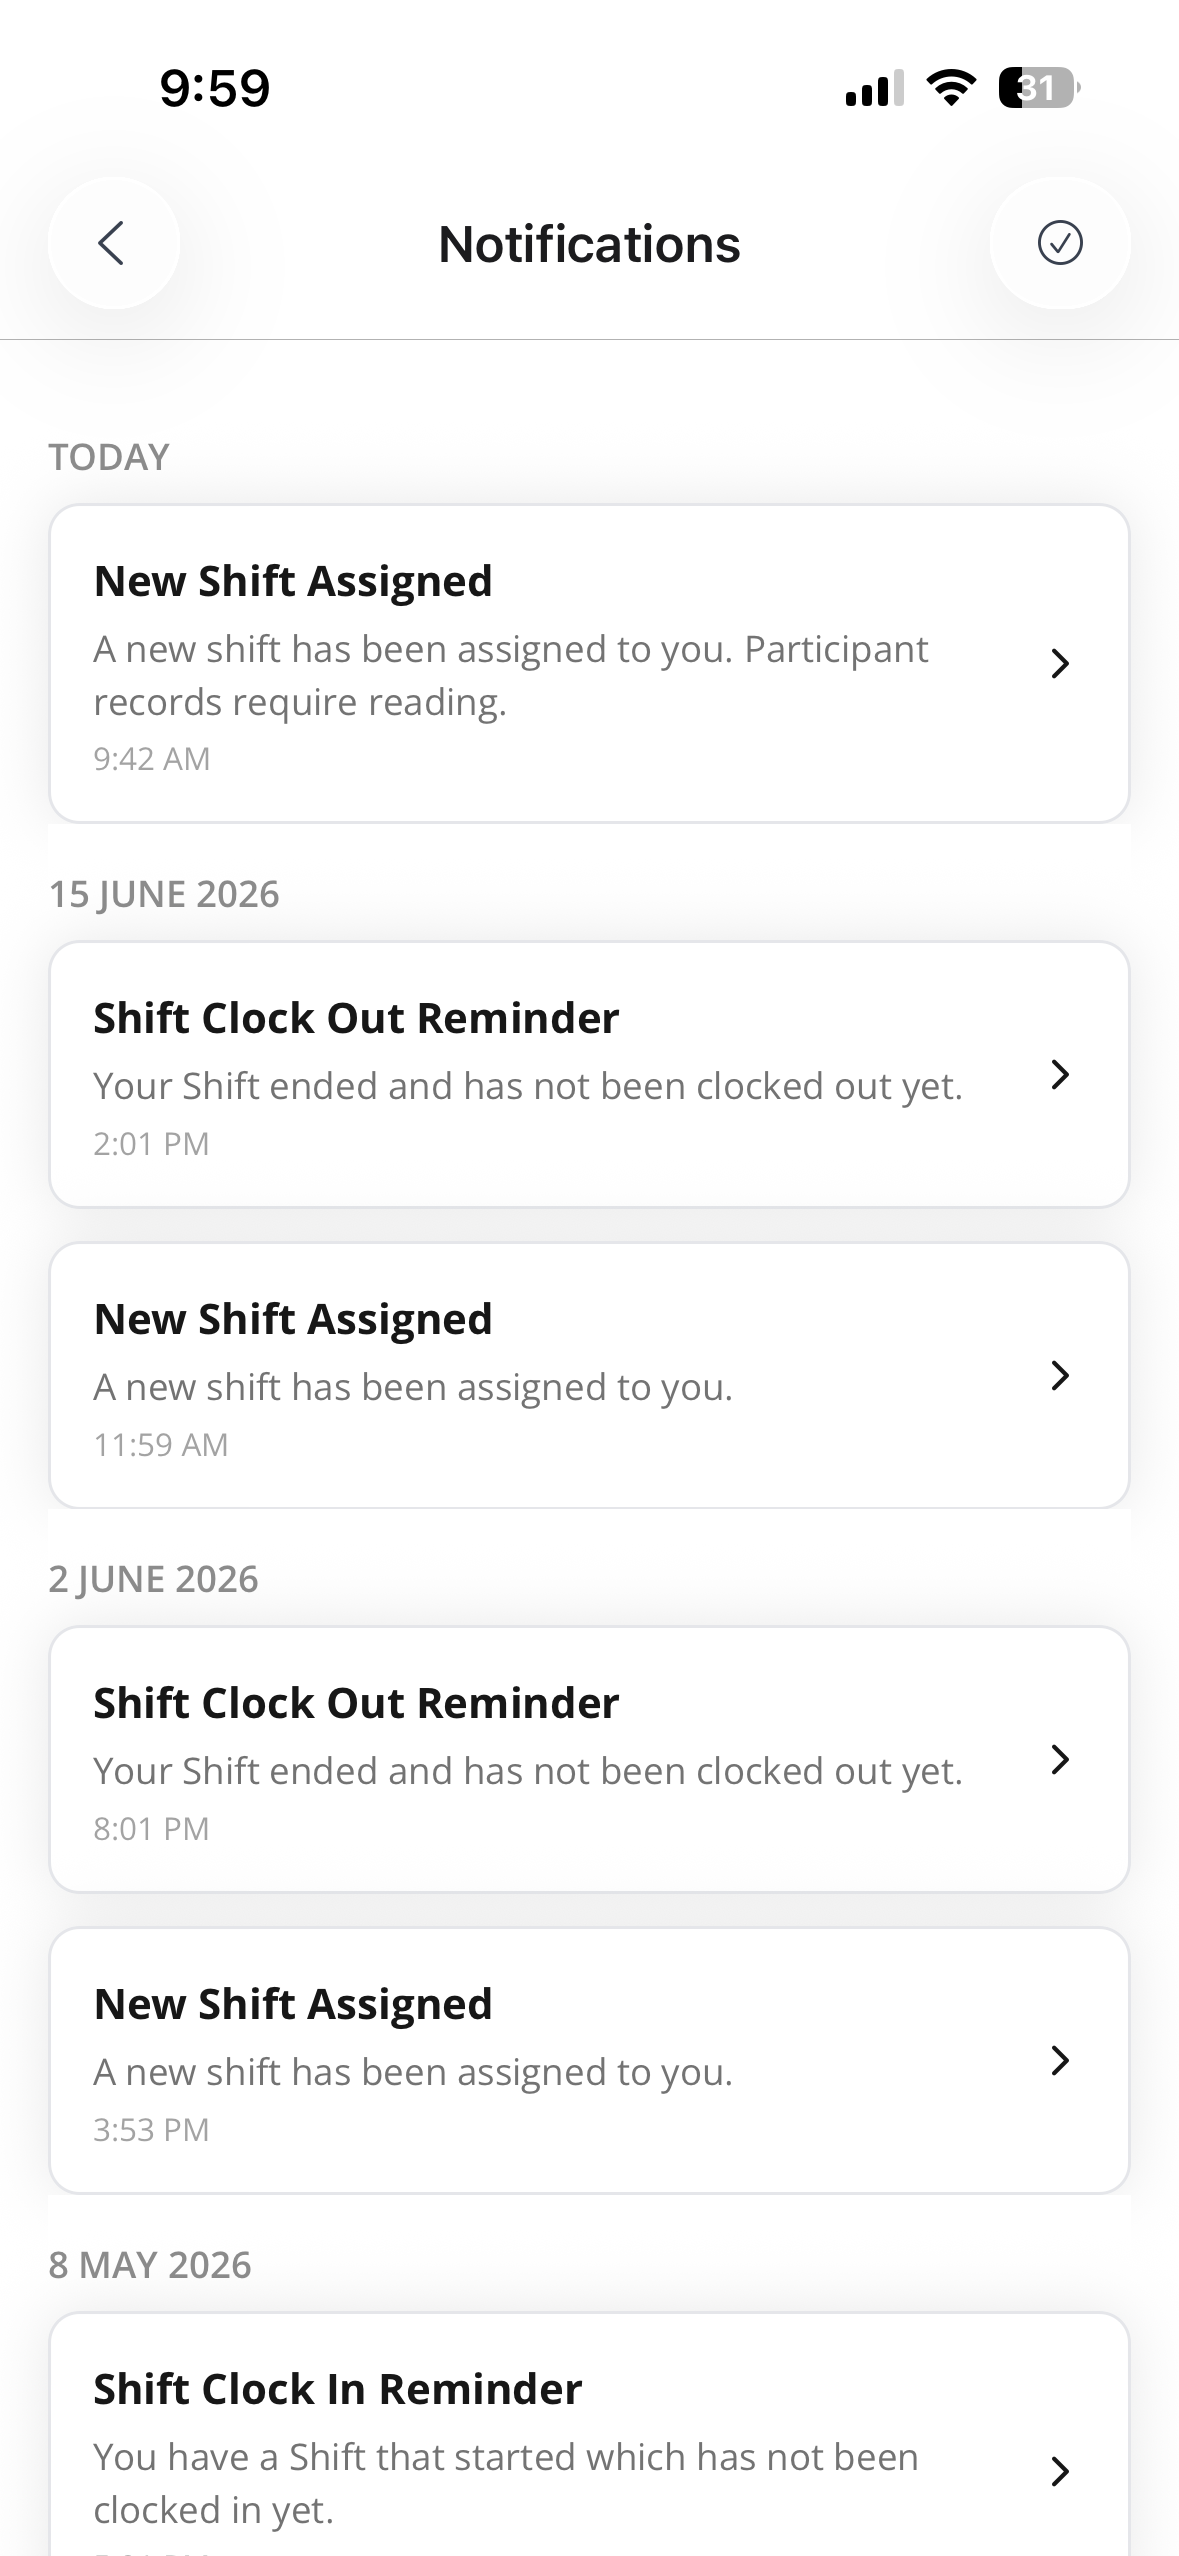
Notifications
Support Workers can open the Notifications page from the bell icon on Home to review notifications grouped by day. See App Notifications for the full guide.
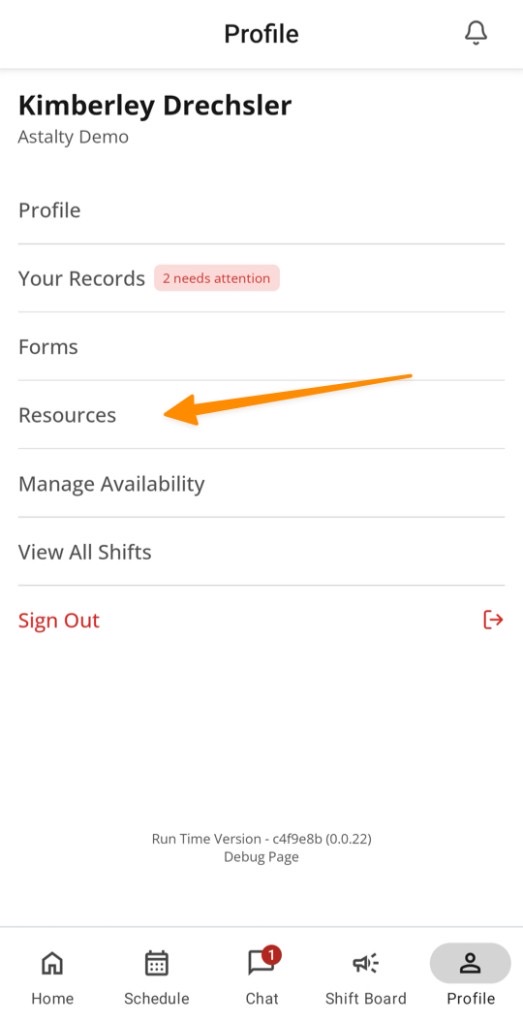
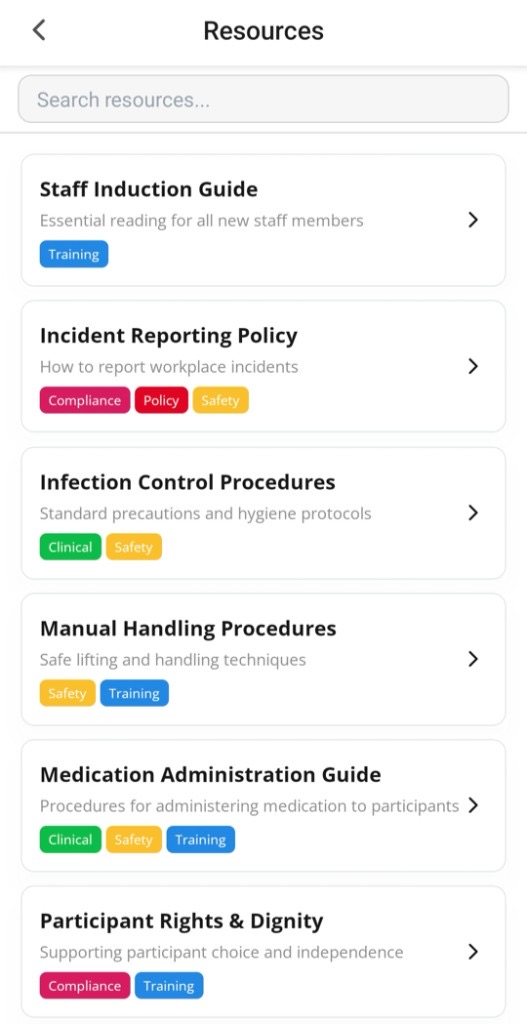
Resources
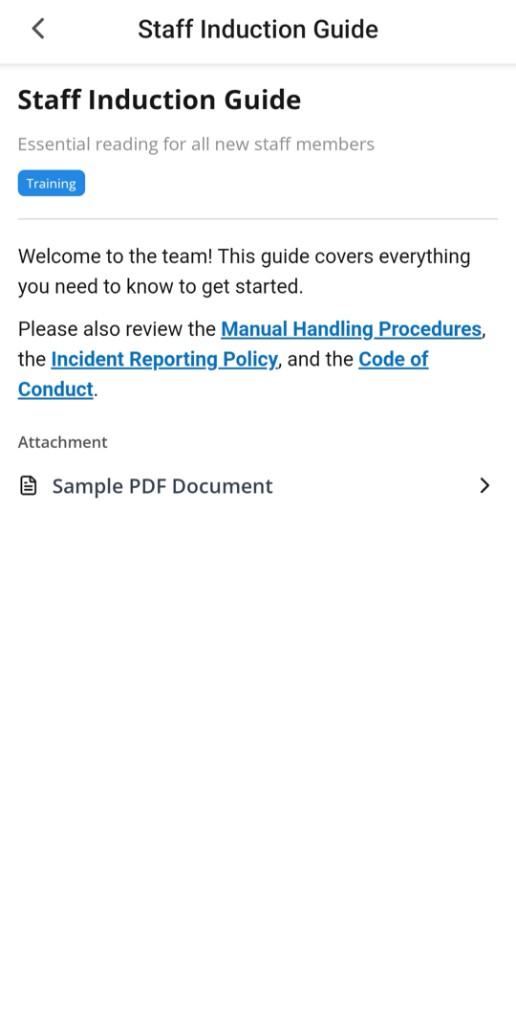
Support Workers can open Resources from the Profile tab to browse your organisation's policies, procedures, and other documents, and open any resource marked visible to Support Workers. See Resources in the app.
Chat
Overview
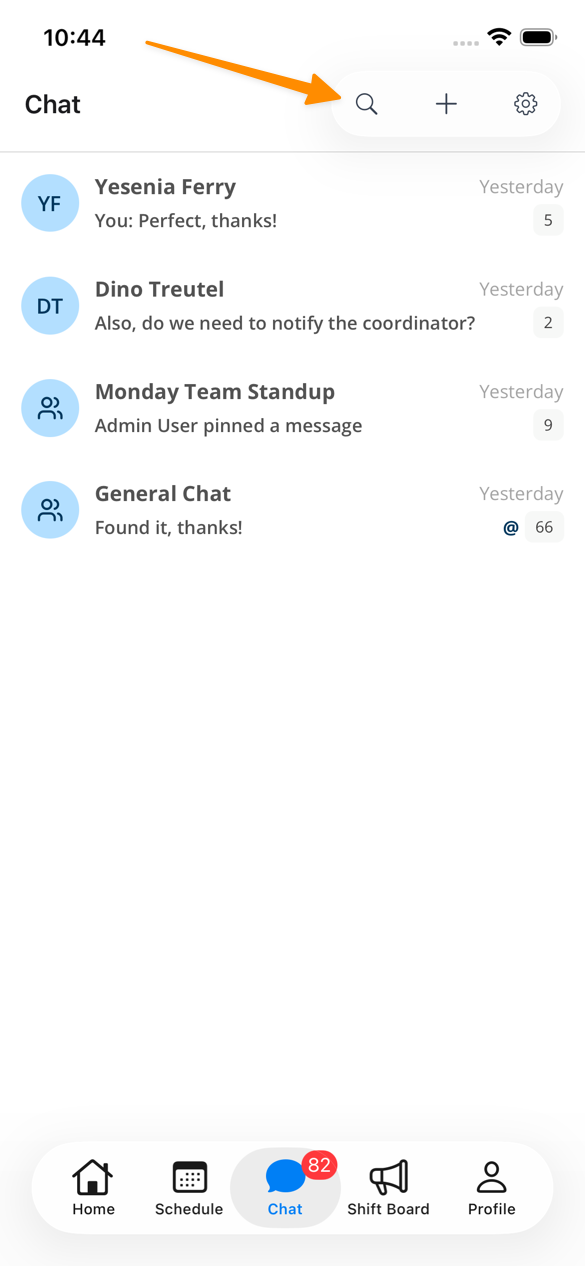
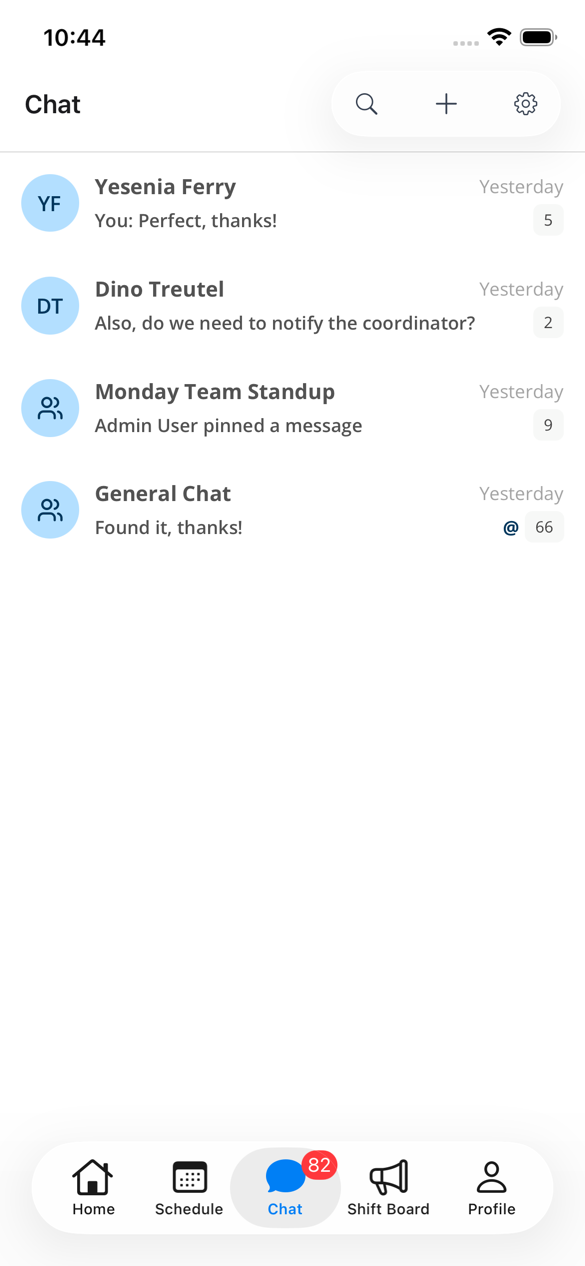
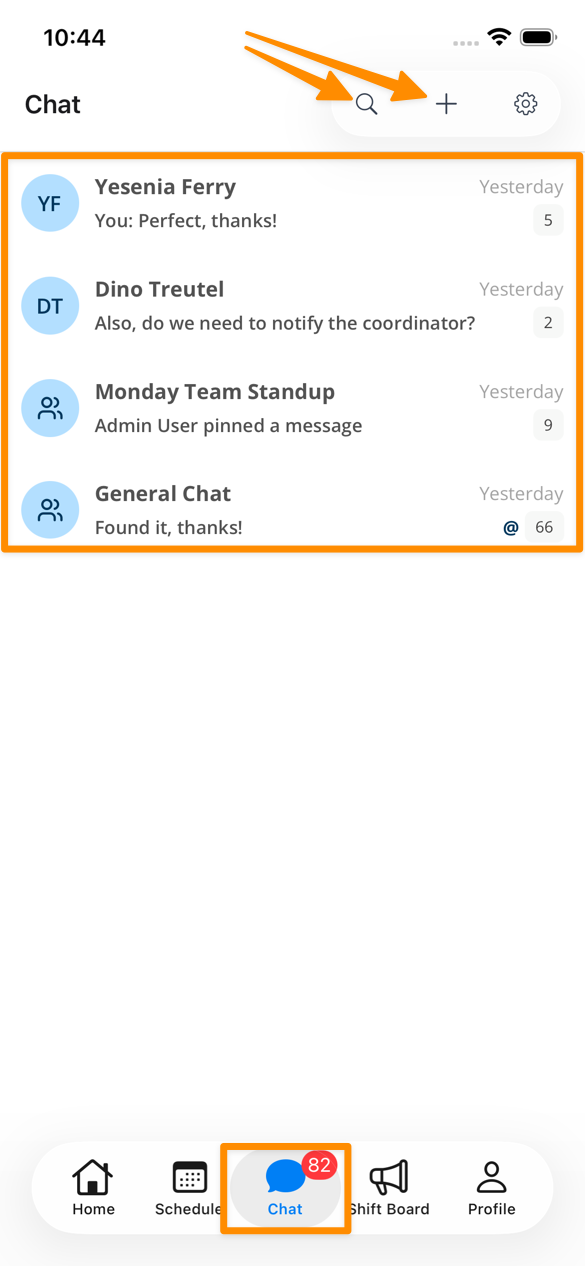
Chat is available from the Chat icon in the bottom bar, which shows how many unread messages you have. From there you can open an existing conversation, start a new one, or search.
See Chat in the App for the full guide.
Replying in Conversations
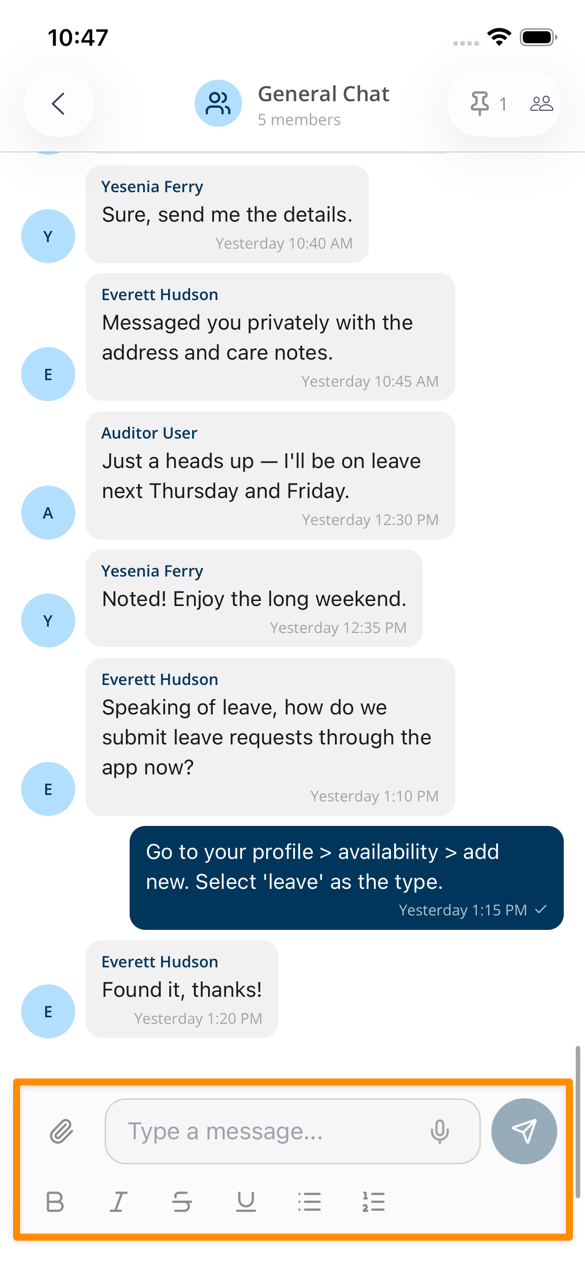
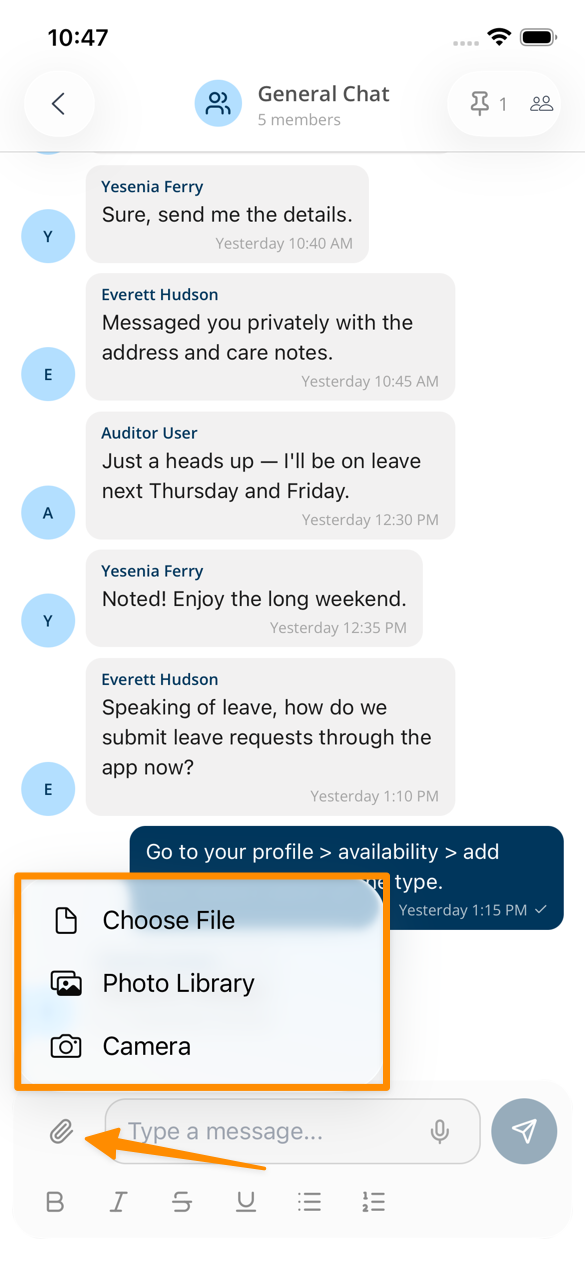
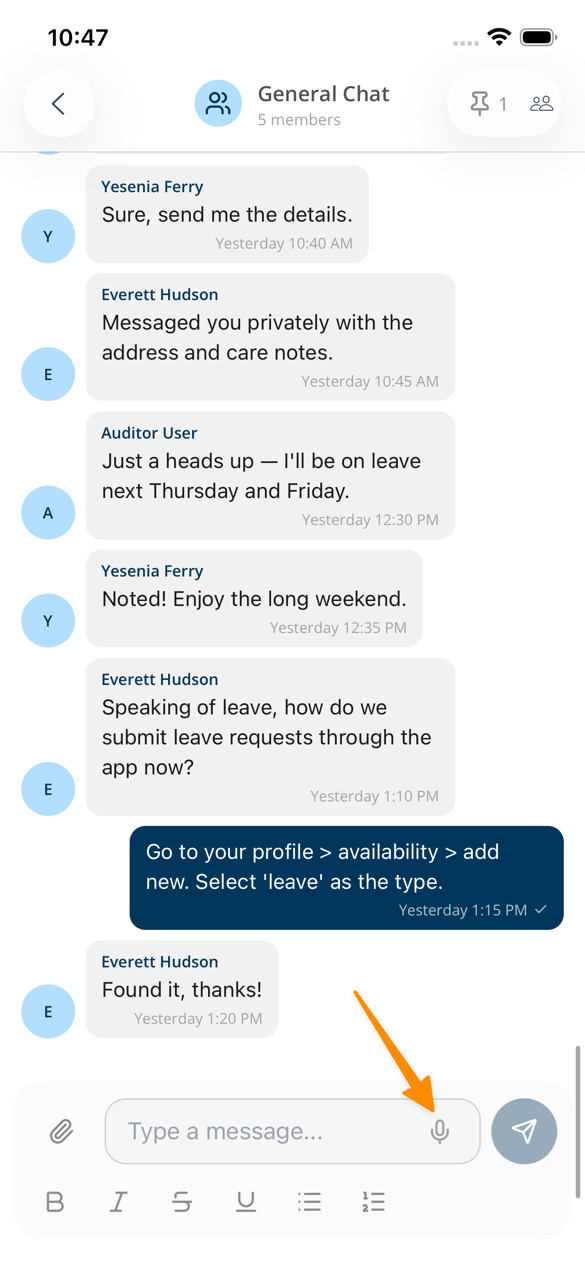
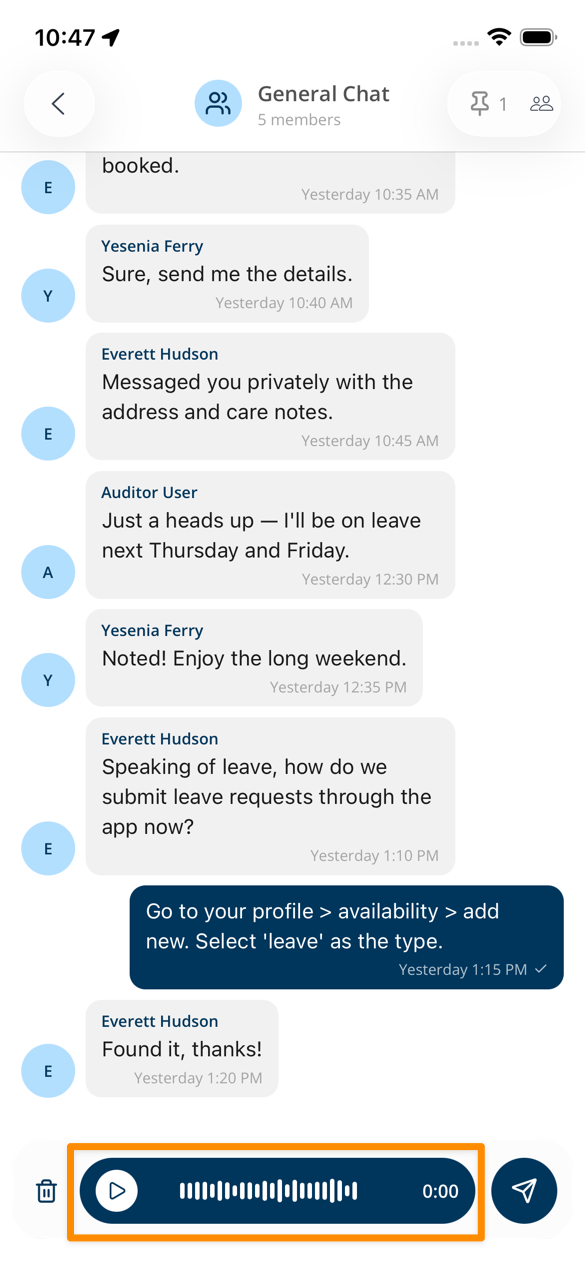
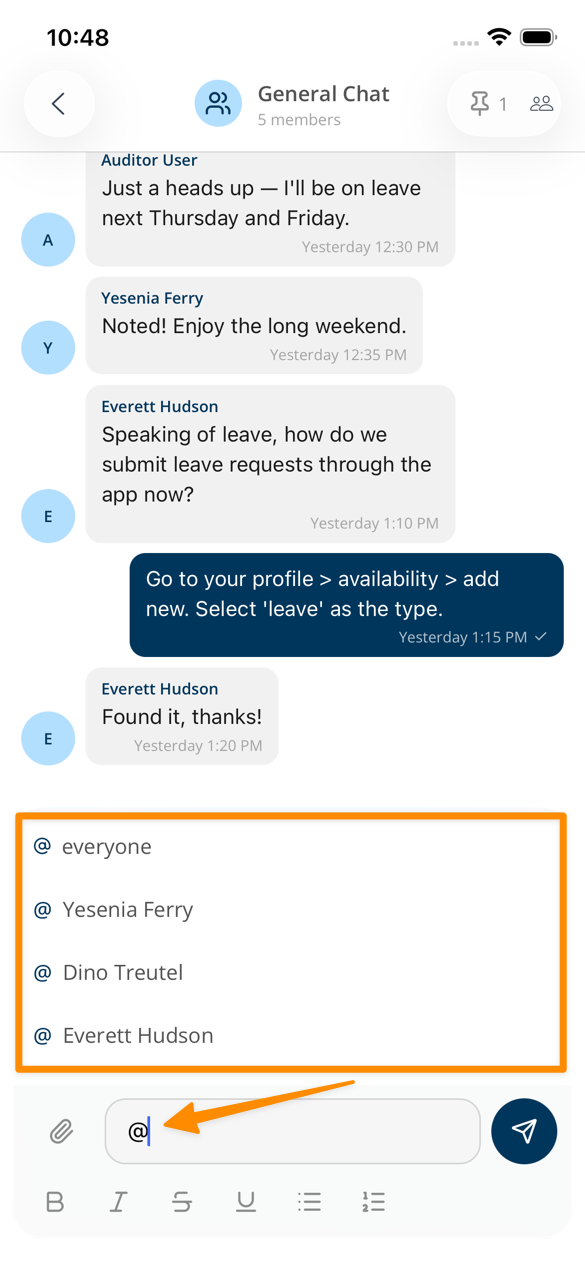
Tap into the reply field to respond. You can attach a file with the paperclip icon, record a voice message with the microphone, and tag someone by typing @.
See Replying in Conversations.
Creating New Conversations
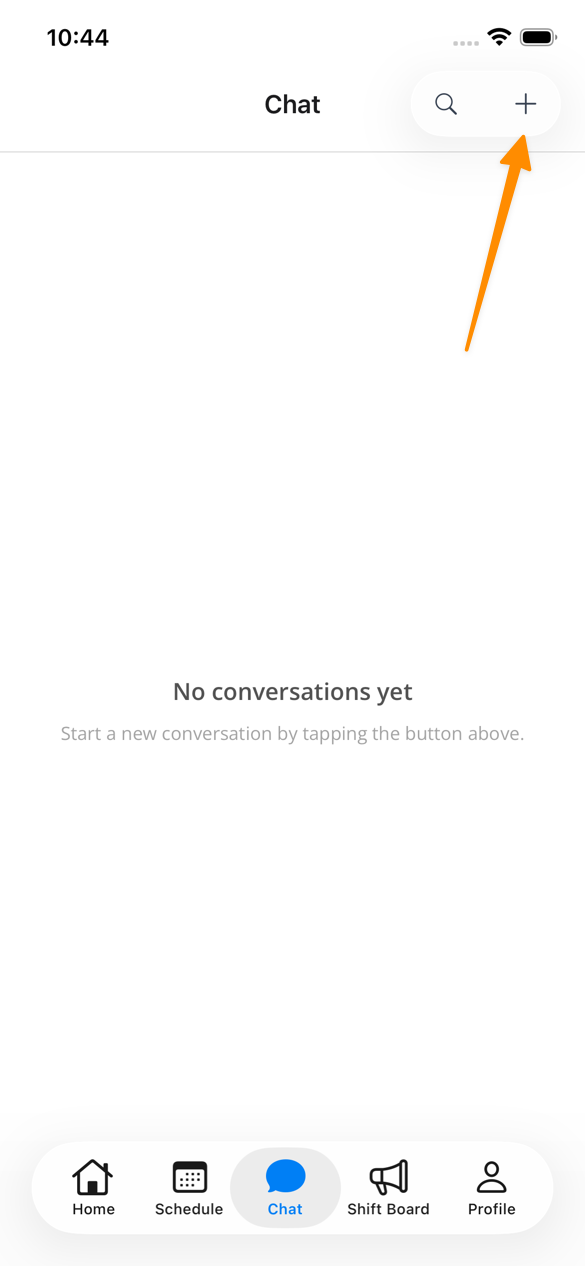
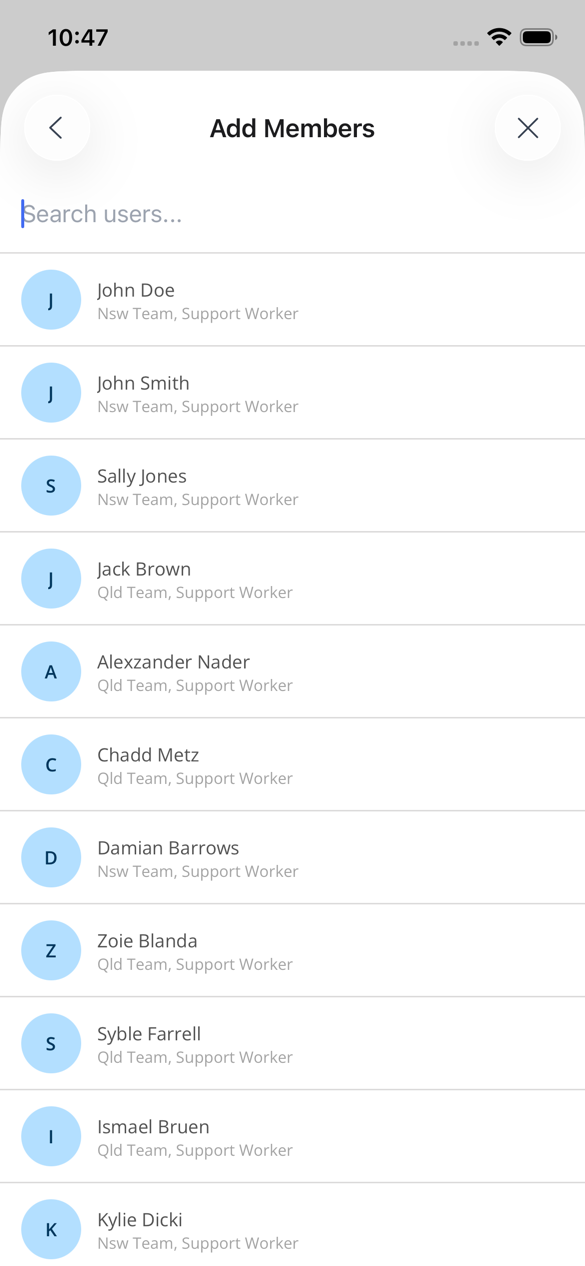
Tap + at the top right of the Chat screen, choose any User Groups and individual users, name the conversation if it is a group chat, then tap the tick to create it.
Your role decides who you are allowed to start a conversation with. See Creating New Conversations.
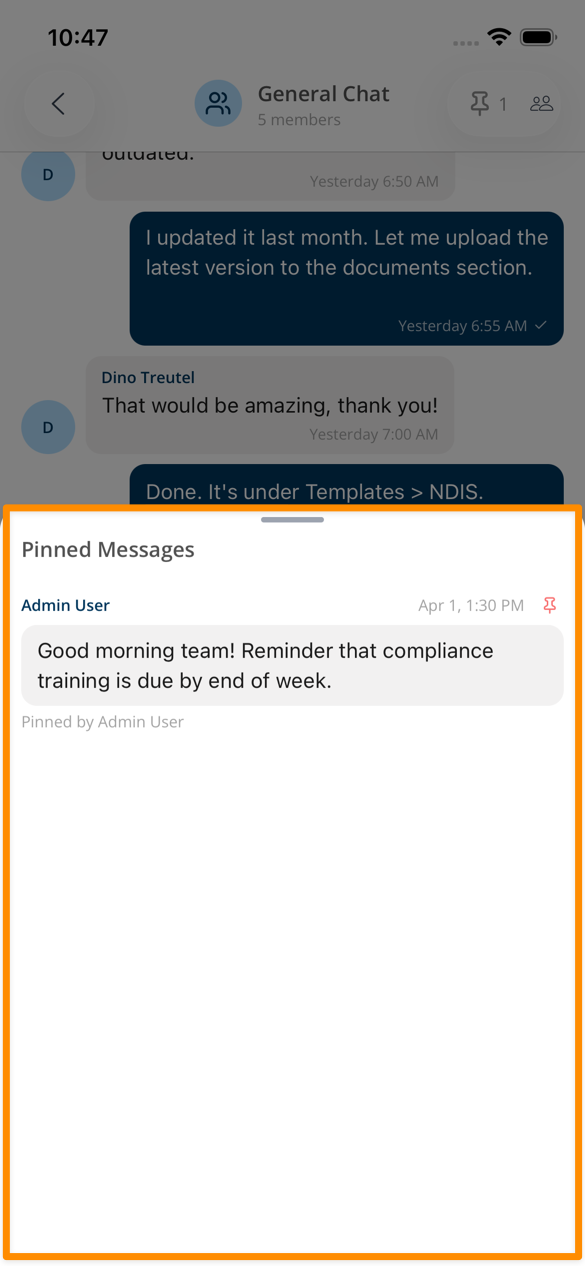
Pinned Messages
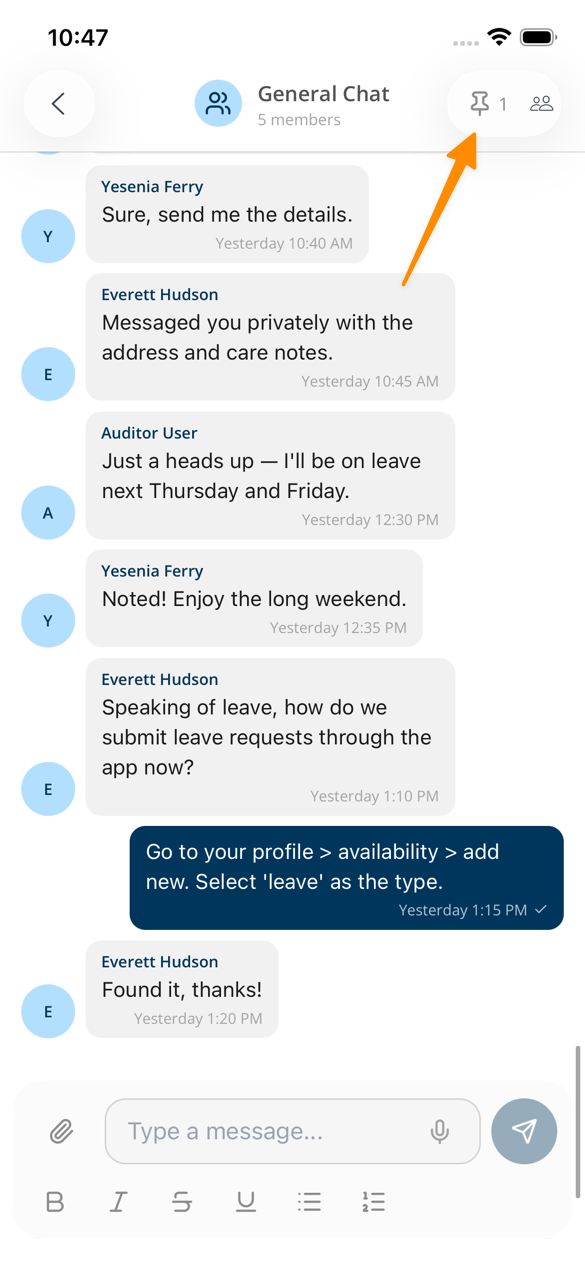
Important messages can be pinned to the top of a conversation so they stay easy to find.
See Pinned Messages.
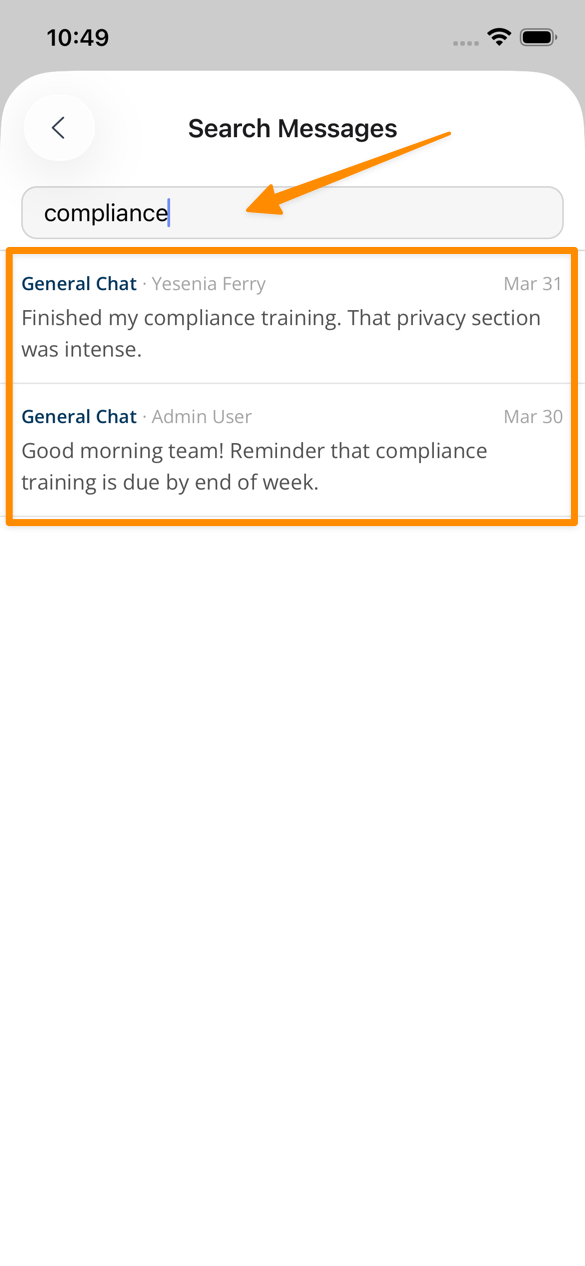
Searching in Chats
Search across your conversations to find a message without scrolling back through them.
See Searching in Chats.