- Scheduling
- Emailing Support Notes
Emailing Support Notes
Overview
You can email the Support Worker notes recorded on a support as a PDF attachment directly from the Support Viewer. This is useful when a Participant, support coordinator, or allied health provider needs to see the notes from a shift, for example to support a funding review.
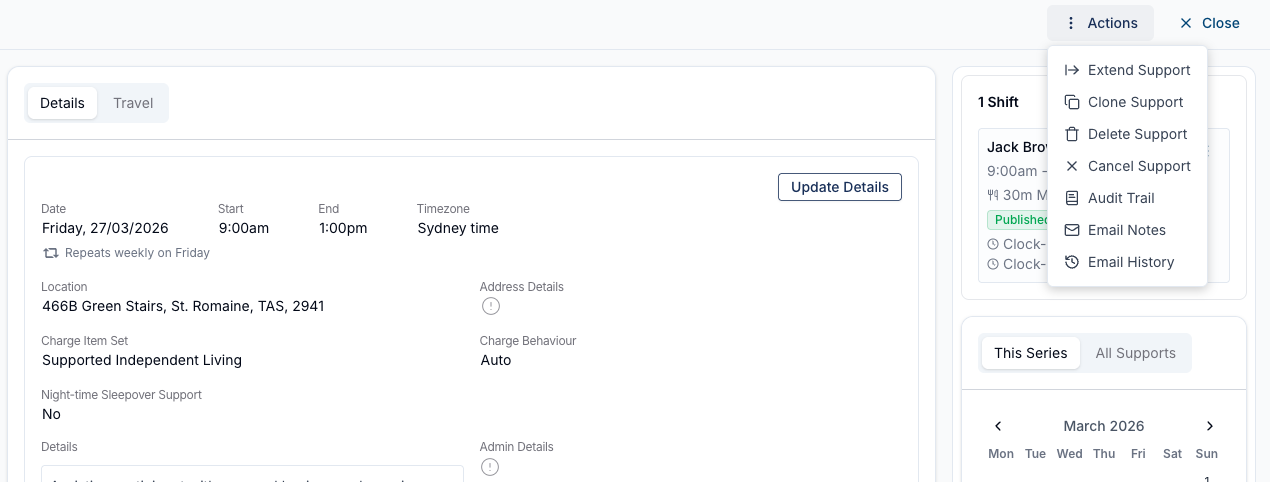
Notes are always reviewed and sent manually by an admin - nothing is sent automatically. Two actions are available from the Support Viewer's Actions menu:
- Email Notes - compose and send a PDF of the notes to your chosen recipients.
- Email History - see a record of the note emails that have already been sent from that support.
Emailing Notes on a Support
- Go to the Schedule and open the support you want to send notes for.
- Open the Actions menu and select Email Notes.
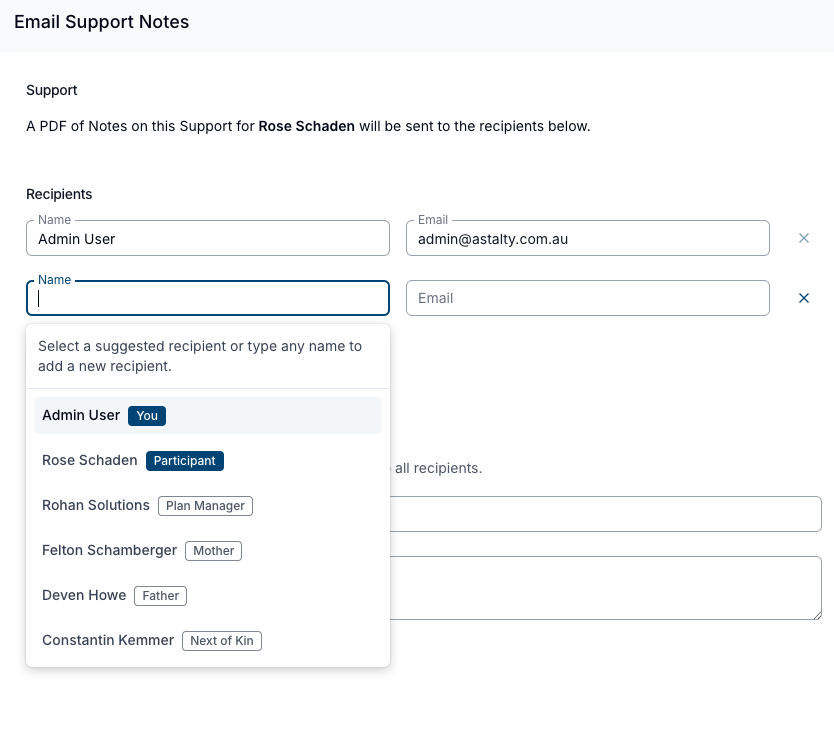
- A PDF of all the notes on that support for the Participant will be attached to the email.
- Add your Recipients. You can select a suggested recipient - such as yourself, the Participant, their Plan Manager, or a listed contact (family or next of kin) - or type any name and email address to add a new recipient.
- Enter an Email Subject and a Message to accompany the attachment.
- Click Send.
Emailing Notes on a Group Support
For a group support, opening Email Notes gives you a few extra options so you can send the right notes to the right people.
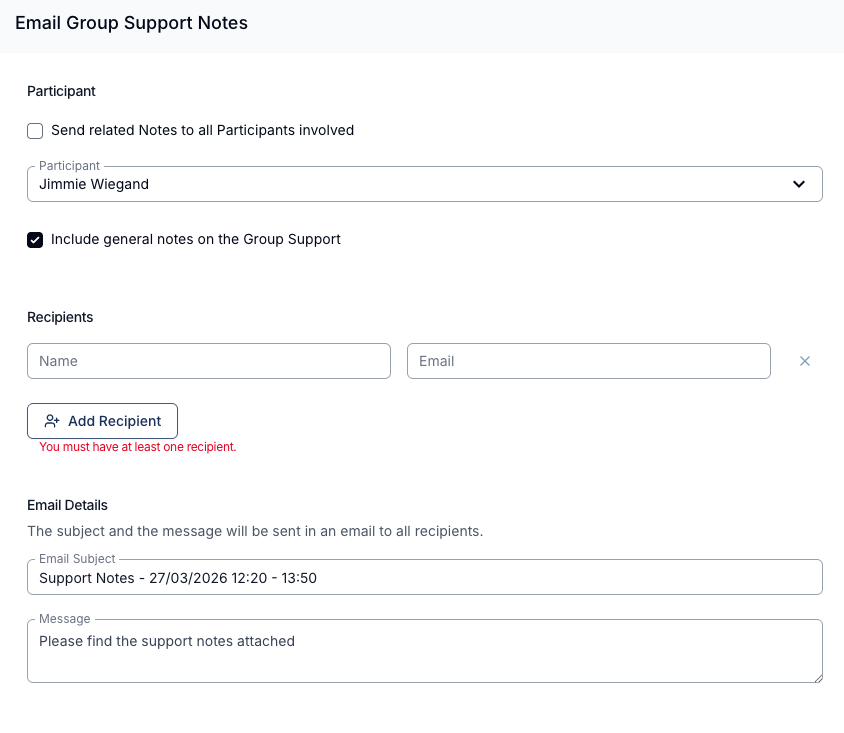
- Send related Notes to all Participants involved - tick this to send each Participant their own notes directly to their own email address. When this option is selected you don't add recipients manually.
- Participant - leave the checkbox above unticked to send notes for a single Participant. Select the Participant from the dropdown, then add your recipients in the Recipients section (at least one recipient is required).
- Include general notes on the Group Support - this is ticked by default. When enabled, the general notes recorded against the group support are merged into the PDF alongside the Participant's individual notes. Untick it to send only the individual Participant's notes.
- Enter an Email Subject and Message, then click Send.
Viewing Email History
To check what has already been sent, open the Actions menu and select Email History. This shows a record of the note emails sent from that support, so you can confirm who received the notes and when.