- Scheduling
- Create a Participant Specific Form
Create a Participant Specific Form
Overview
To create a Form click, on the 'Create Form' button within the Manage Forms menu.
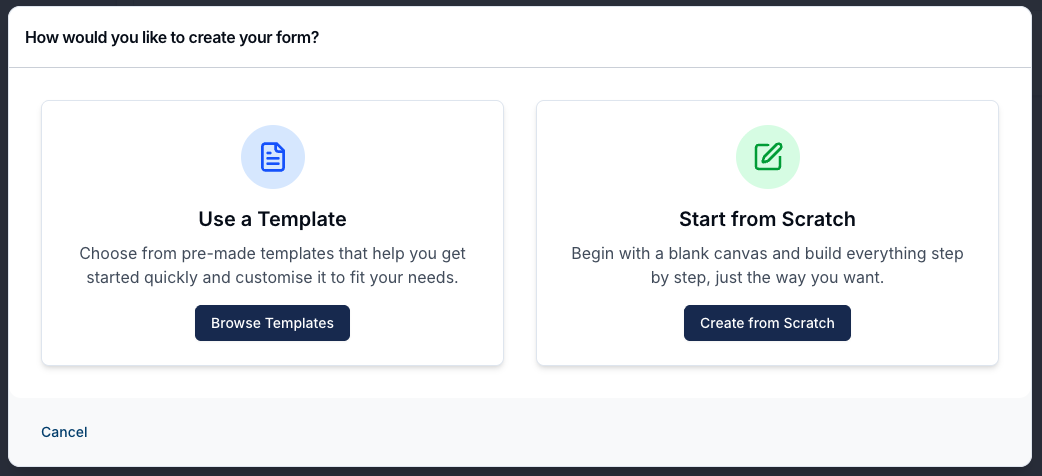
Once you do this you will be presented with two Form options, Using a Template or Starting from Scratch.
You can see how to create the Forms by following these links:
Creating a form and associating an existing form are separate actions. You need permission to update the Participant to add, edit or remove their form associations.
The form selector lists published internal forms with a Participant-compatible usage that a Support Worker user group can submit. It excludes forms already associated with that Participant. Check Form Settings if a form is missing.
Adding an Associated Form
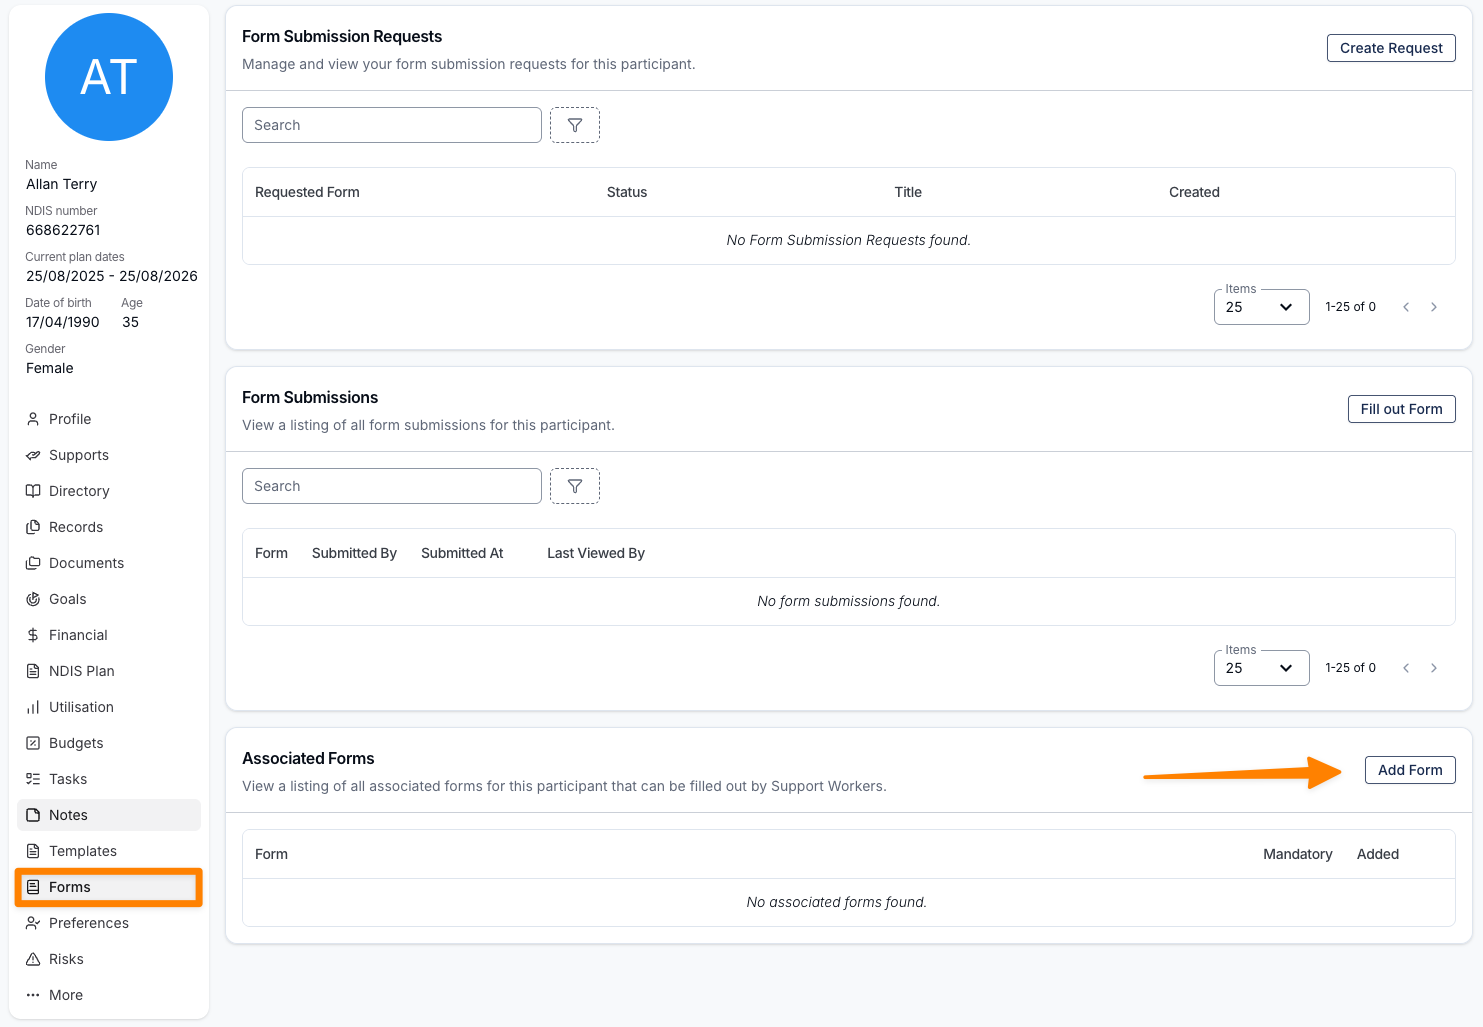
You can now head to the relevant Participant's profile page, and navigate to their Forms menu. From here, you'll need to click on Add Form within the Associated Forms section.
In the pop-out panel, select the relevant Form.
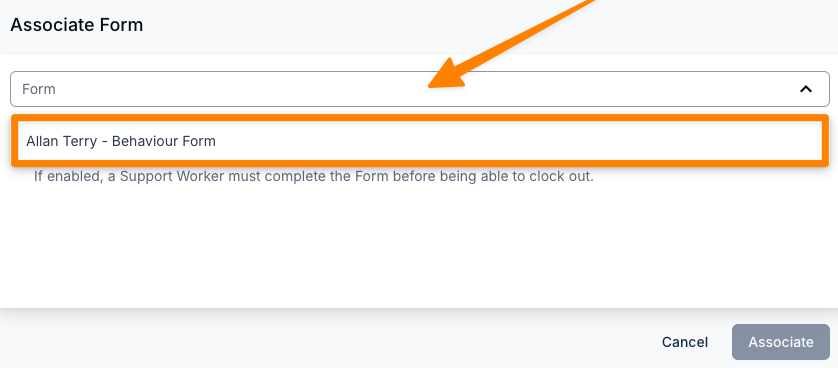
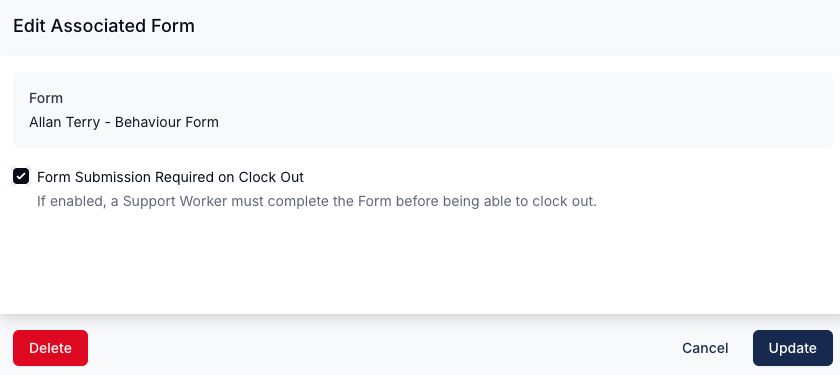
Turn on Form Submission Required on Clock Out if completion is required for this Participant. Leave it off for an optional form, then select Associate. Making a form visible does not make it mandatory.
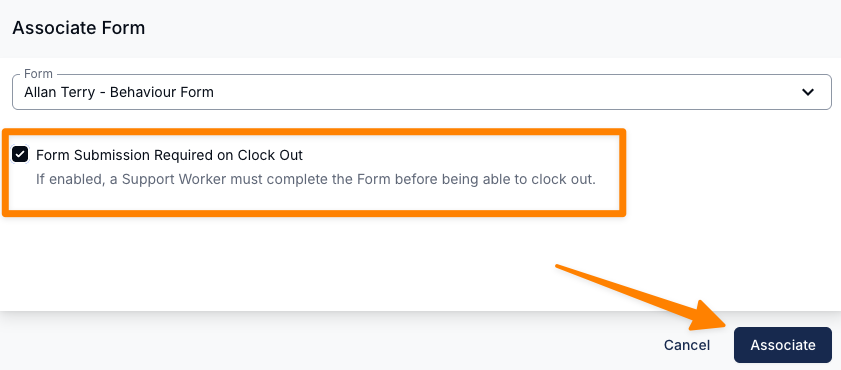
An incomplete mandatory form blocks clock-out until the Support Worker completes it or submits an exception explaining why it could not be completed. An optional form does not block clock-out.
See the clock-in and clock-out workflow.
For forms available across supports, see Participant Details App View.
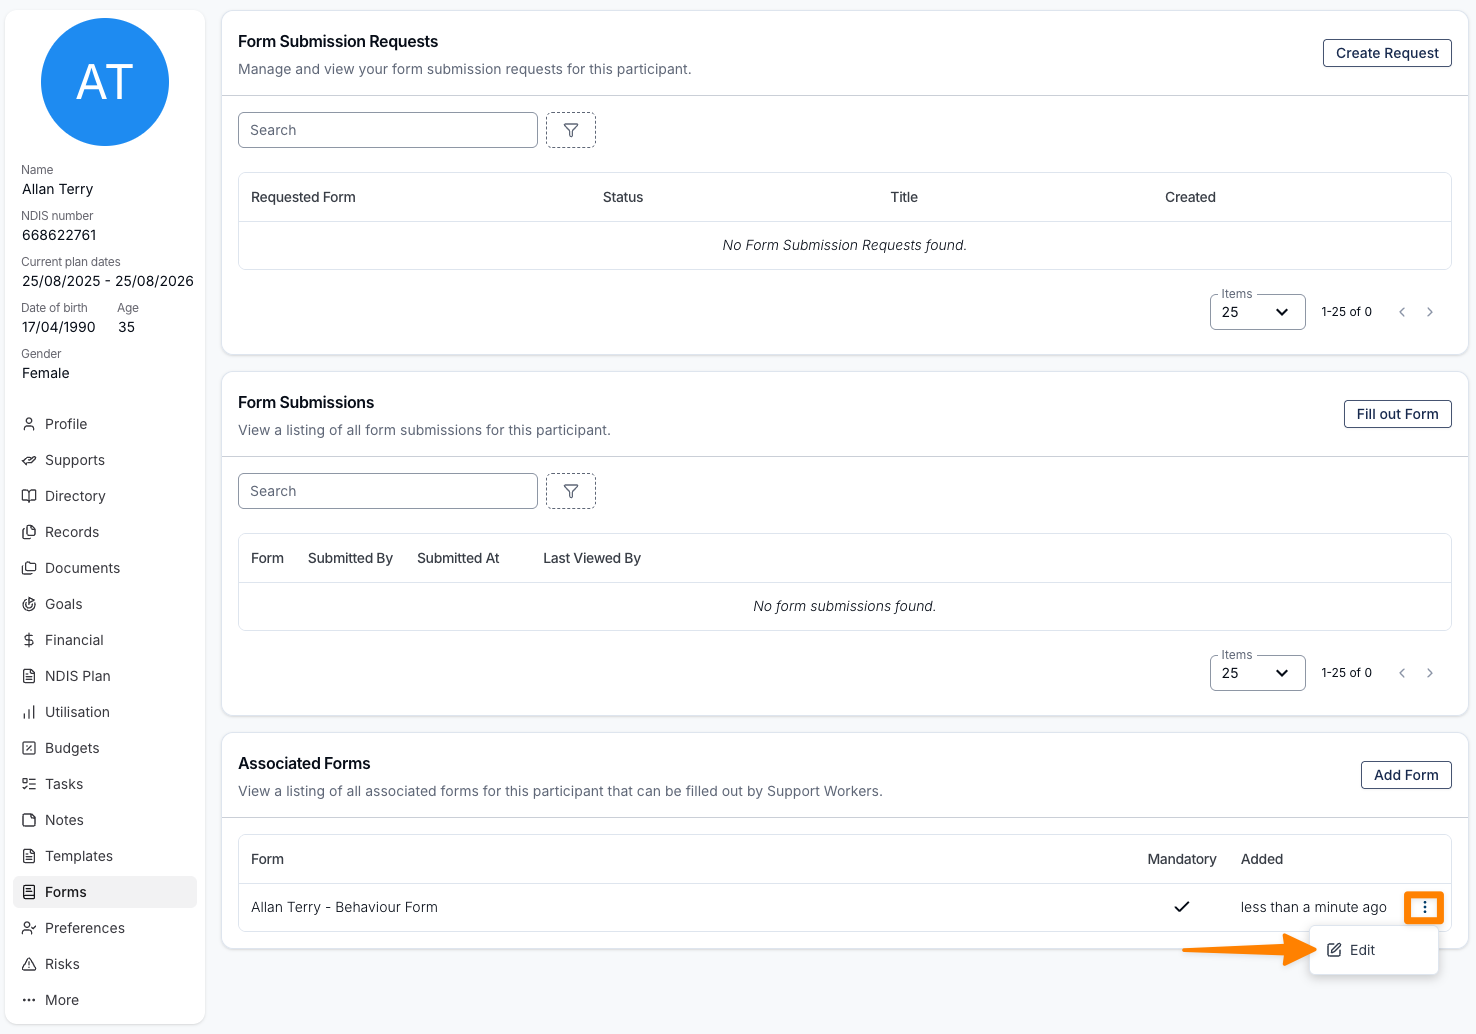
You can edit whether the Form is required or remove it from the Participant's Associated Forms by clicking on the three dots next to the Form and selecting Edit, and then following the relevant prompts.