- Day-to-Day
- Site Information Items & Documents
Site Information Items & Documents
Site Information Items
Overview
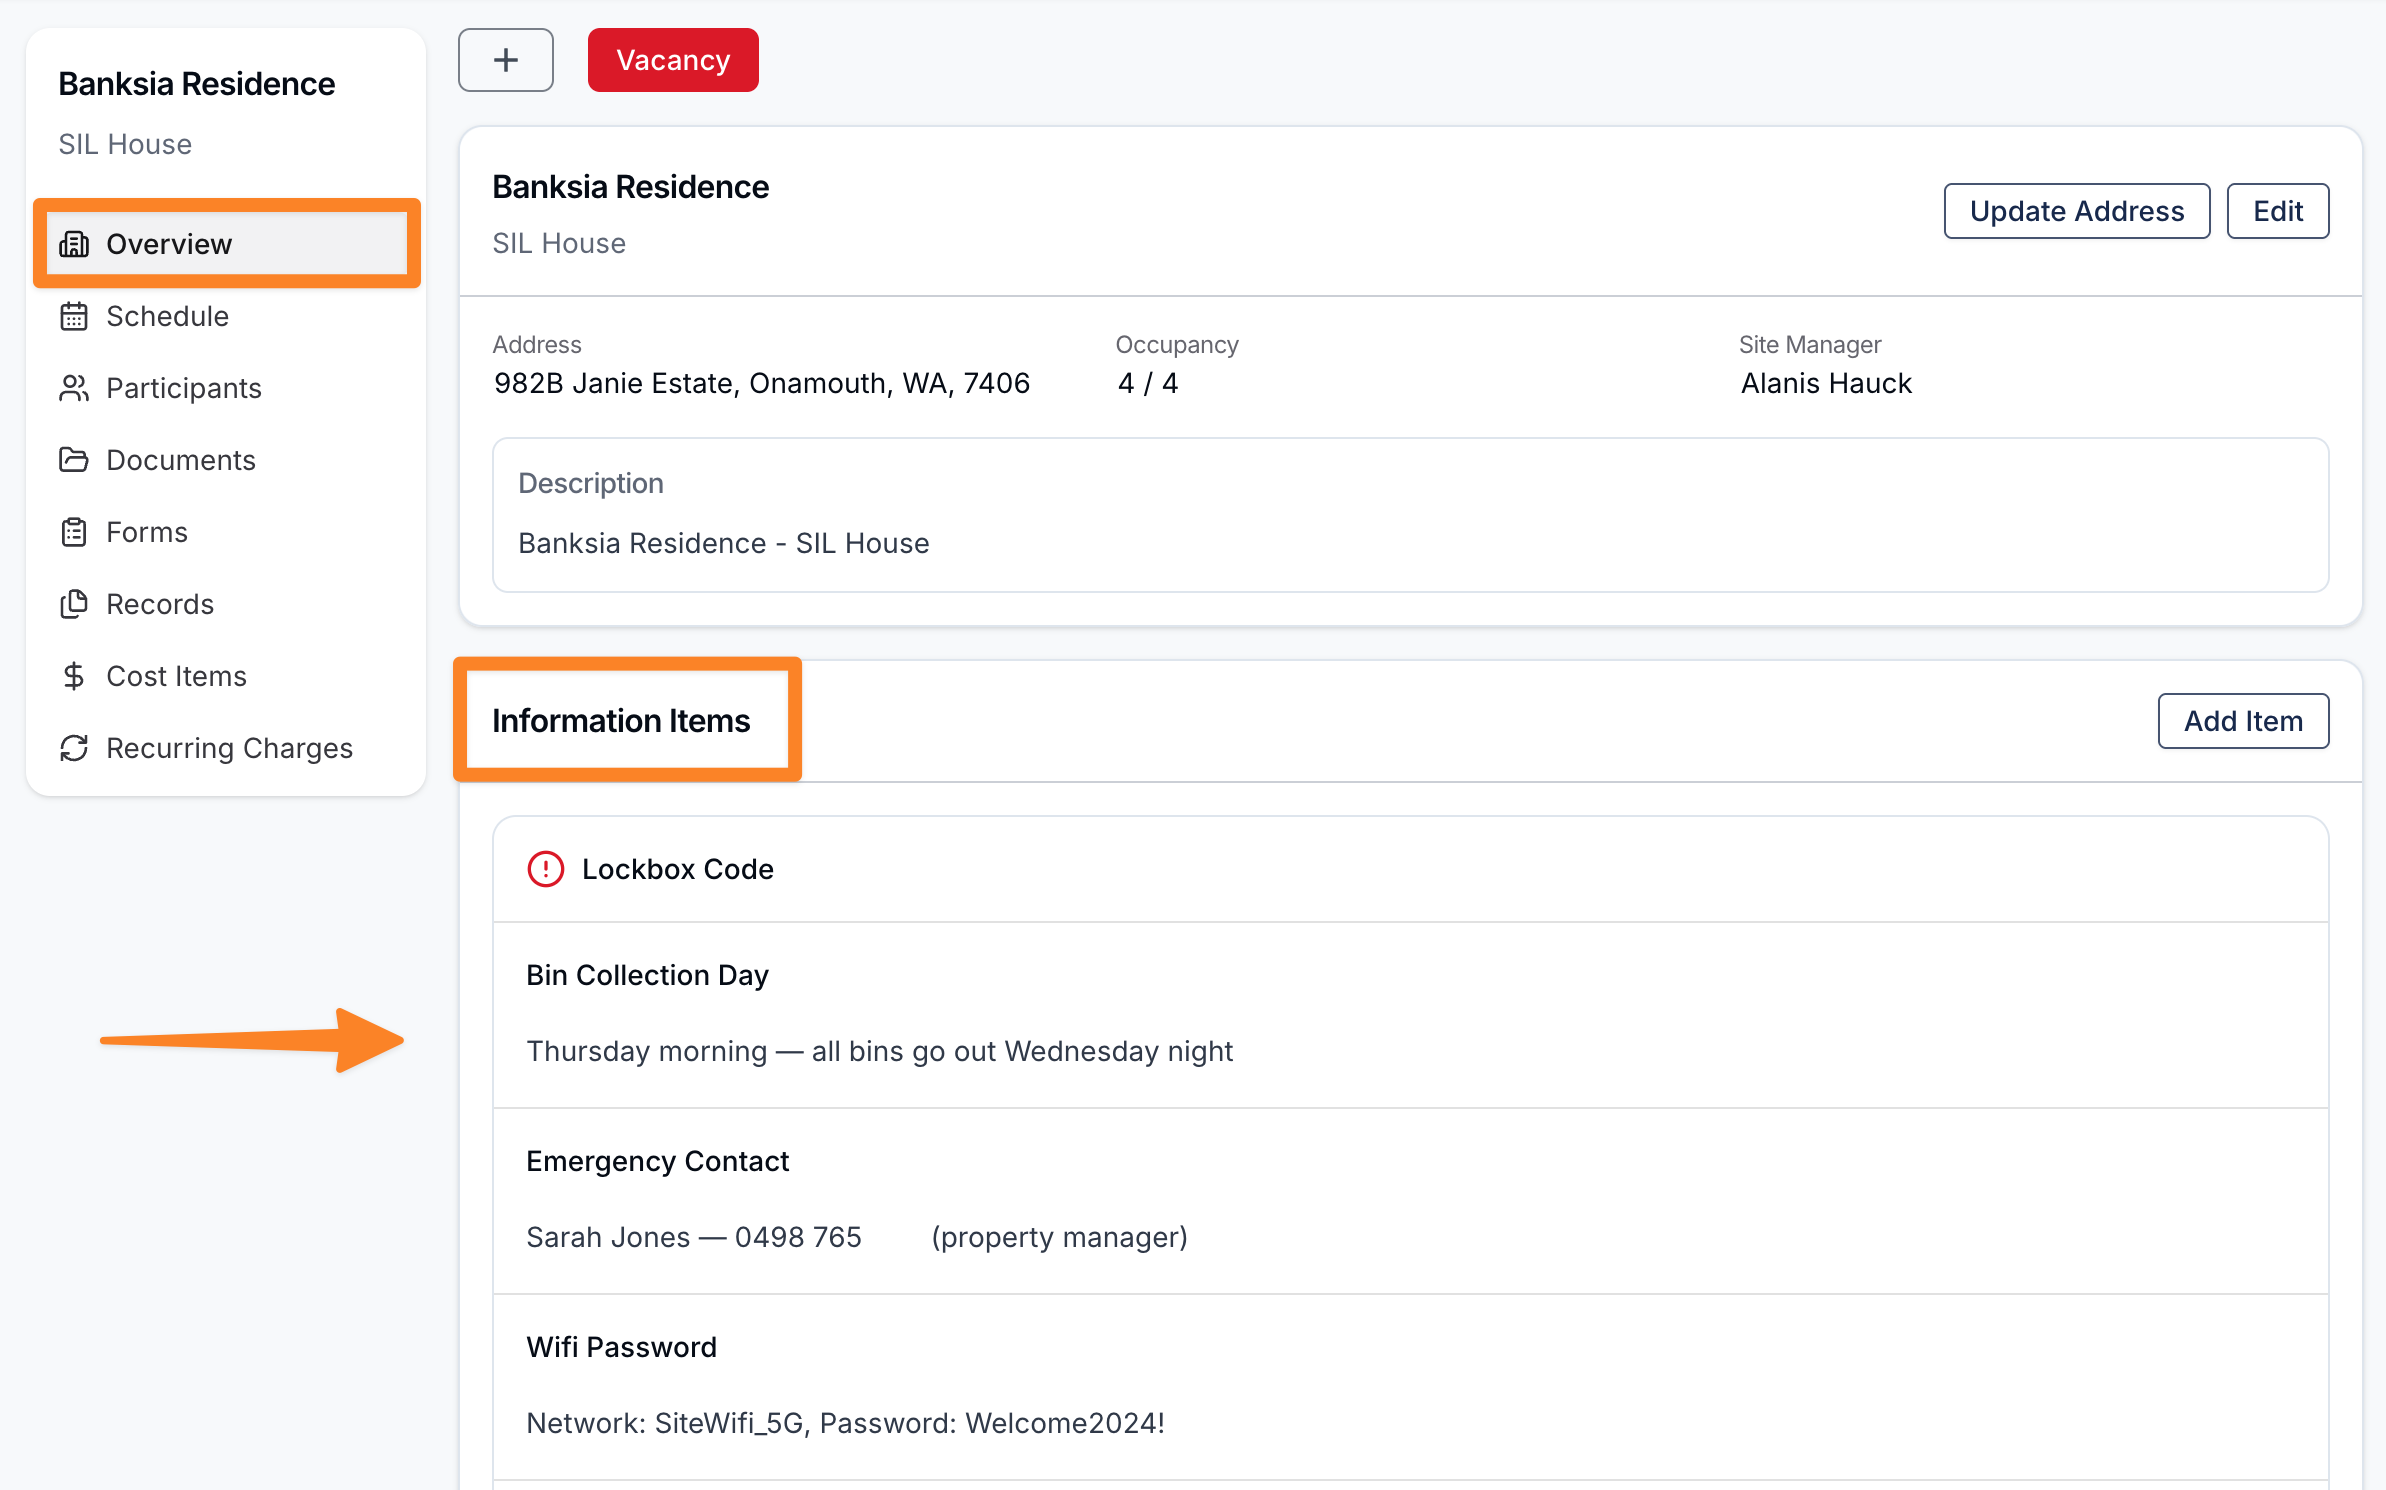
Site Information Items are a place to store practical, day-to-day information that support workers need when they're on shift at a site — for example a lockbox code, bin collection day, preferred tradesperson, or access instructions.
Unlike records, information items don't expire and don't require documents to be uploaded. They're straightforward reference data, though you can optionally attach documents to them - for example, a photo of where the lockbox is located.
Information Item Types
Information items are defined by types, which are created by an administrator from Settings → Sites → Site Information Types. Each type can be marked as:
- Required — the type must be filled in on every site, or it will show as incomplete
- Documents Allowed — files can be attached to information items of this type
- Visible to Support Workers — support workers with a shift at the site can see this information while they're on shift
See the Sites Settings page for how to manage information types.
Viewing Information Items
To view information items for a site:
- Open the site
- Information Items section will be below the overview
Each information item is displayed with the type name, the filled-in content, any attached documents, and indicators showing Required and Visible to Support Workers where applicable.
Adding an Information Item
To add an information item:
- Open the site and go to the Information Items section
- Click Add Item
- Select the information type
- Fill in the content
- Attach any documents
- Save

Editing an Information Item
To edit an information item, click Edit on the item and update the content.
Support Worker Visibility
Information items marked as Visible to Support Workers will be shown to support workers on the mobile app when they have an active shift at the site. Support workers will not see information items of types not marked as visible, and they won't see any information items outside of their shift window.
Information Items on Mobile
Information items appear on the shift's Site screen under the Information section. Each item shows the type name and a short preview of the content — tap any row to open the full details, including any attached documents.
Only information types marked Visible to Support Workers are visible to the app, and support workers only see items for sites linked to a shift they're rostered on. Information items cannot be added or edited from the mobile app.
Site Documents
Overview
The Documents tab on a site stores general files — blueprints, access policies, photographs, emergency contact lists — that don't fit the more structured Records or Information Items models.
Uploading Documents
To upload a document:
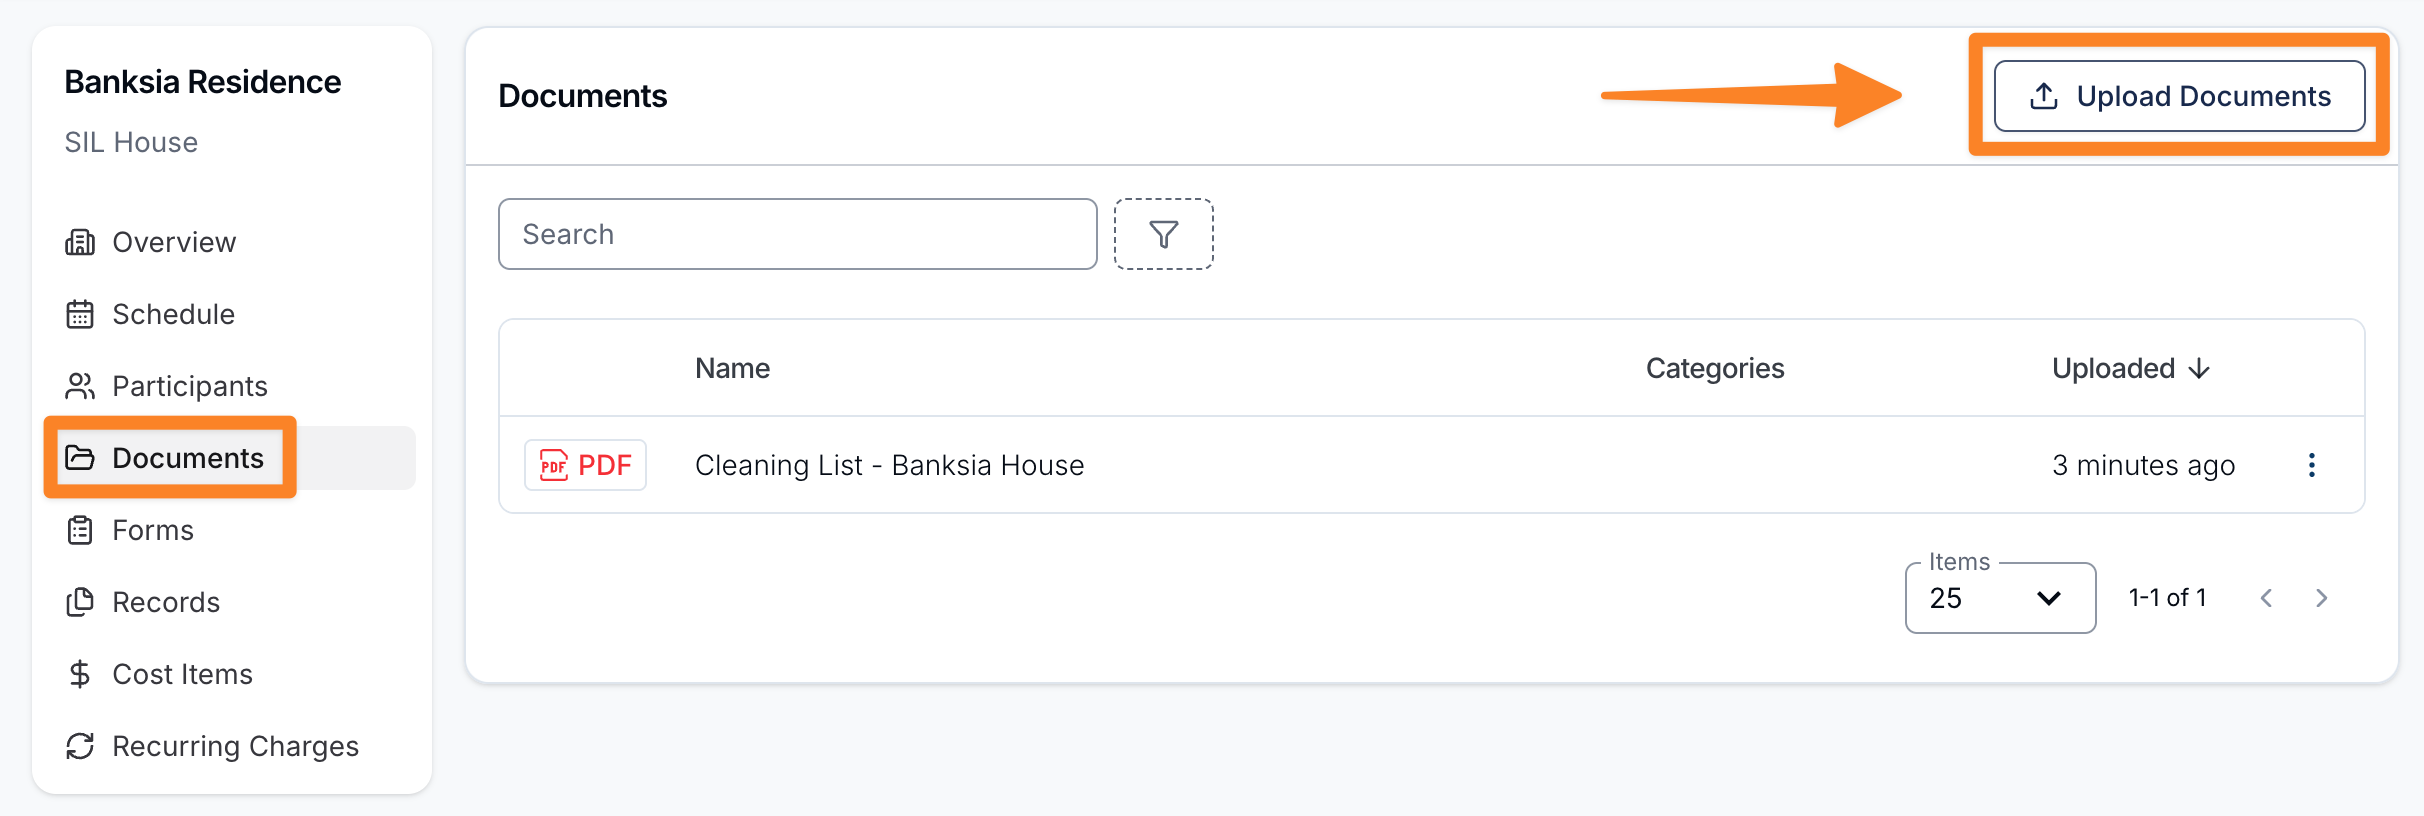
- Open the site and go to the Documents tab
- Click Upload Documents
- Select one or more files from your device
- Confirm the upload
Viewing and Downloading Documents
The Documents tab lists every file uploaded to the site. Click a document to preview or download it.
Site Forms
Overview
You can associate forms with a site so that support workers or admins can fill them out in site context during a shift — for example an incident report, a weekly checklist, or a maintenance log.
Associating a Form
To associate a form with a site:
- Open the site and go to the Forms tab
- Under Associated Forms, click Add Form
- Select the form you'd like to associate
- Confirm
Viewing Submissions
The Forms tab also has a Form Submissions section listing every submission made against a form associated with the site. Click a submission to view its details.
Site Forms on Mobile
When a shift is linked to a site, its site forms are shown on the shift's Forms screen in a dedicated Site Forms section, listed after Participant Forms and General Forms. Tapping a site form opens a sheet showing the site and form name, with an Open Form button that launches the form in the portal via single sign-on.
Unlike participant forms, site forms do not offer a Submit Exception option — they're always completed by opening the form in the portal.