- Day-to-Day
- Creating and Managing Sites
Creating and Managing Sites
Creating a Site
To create a site:
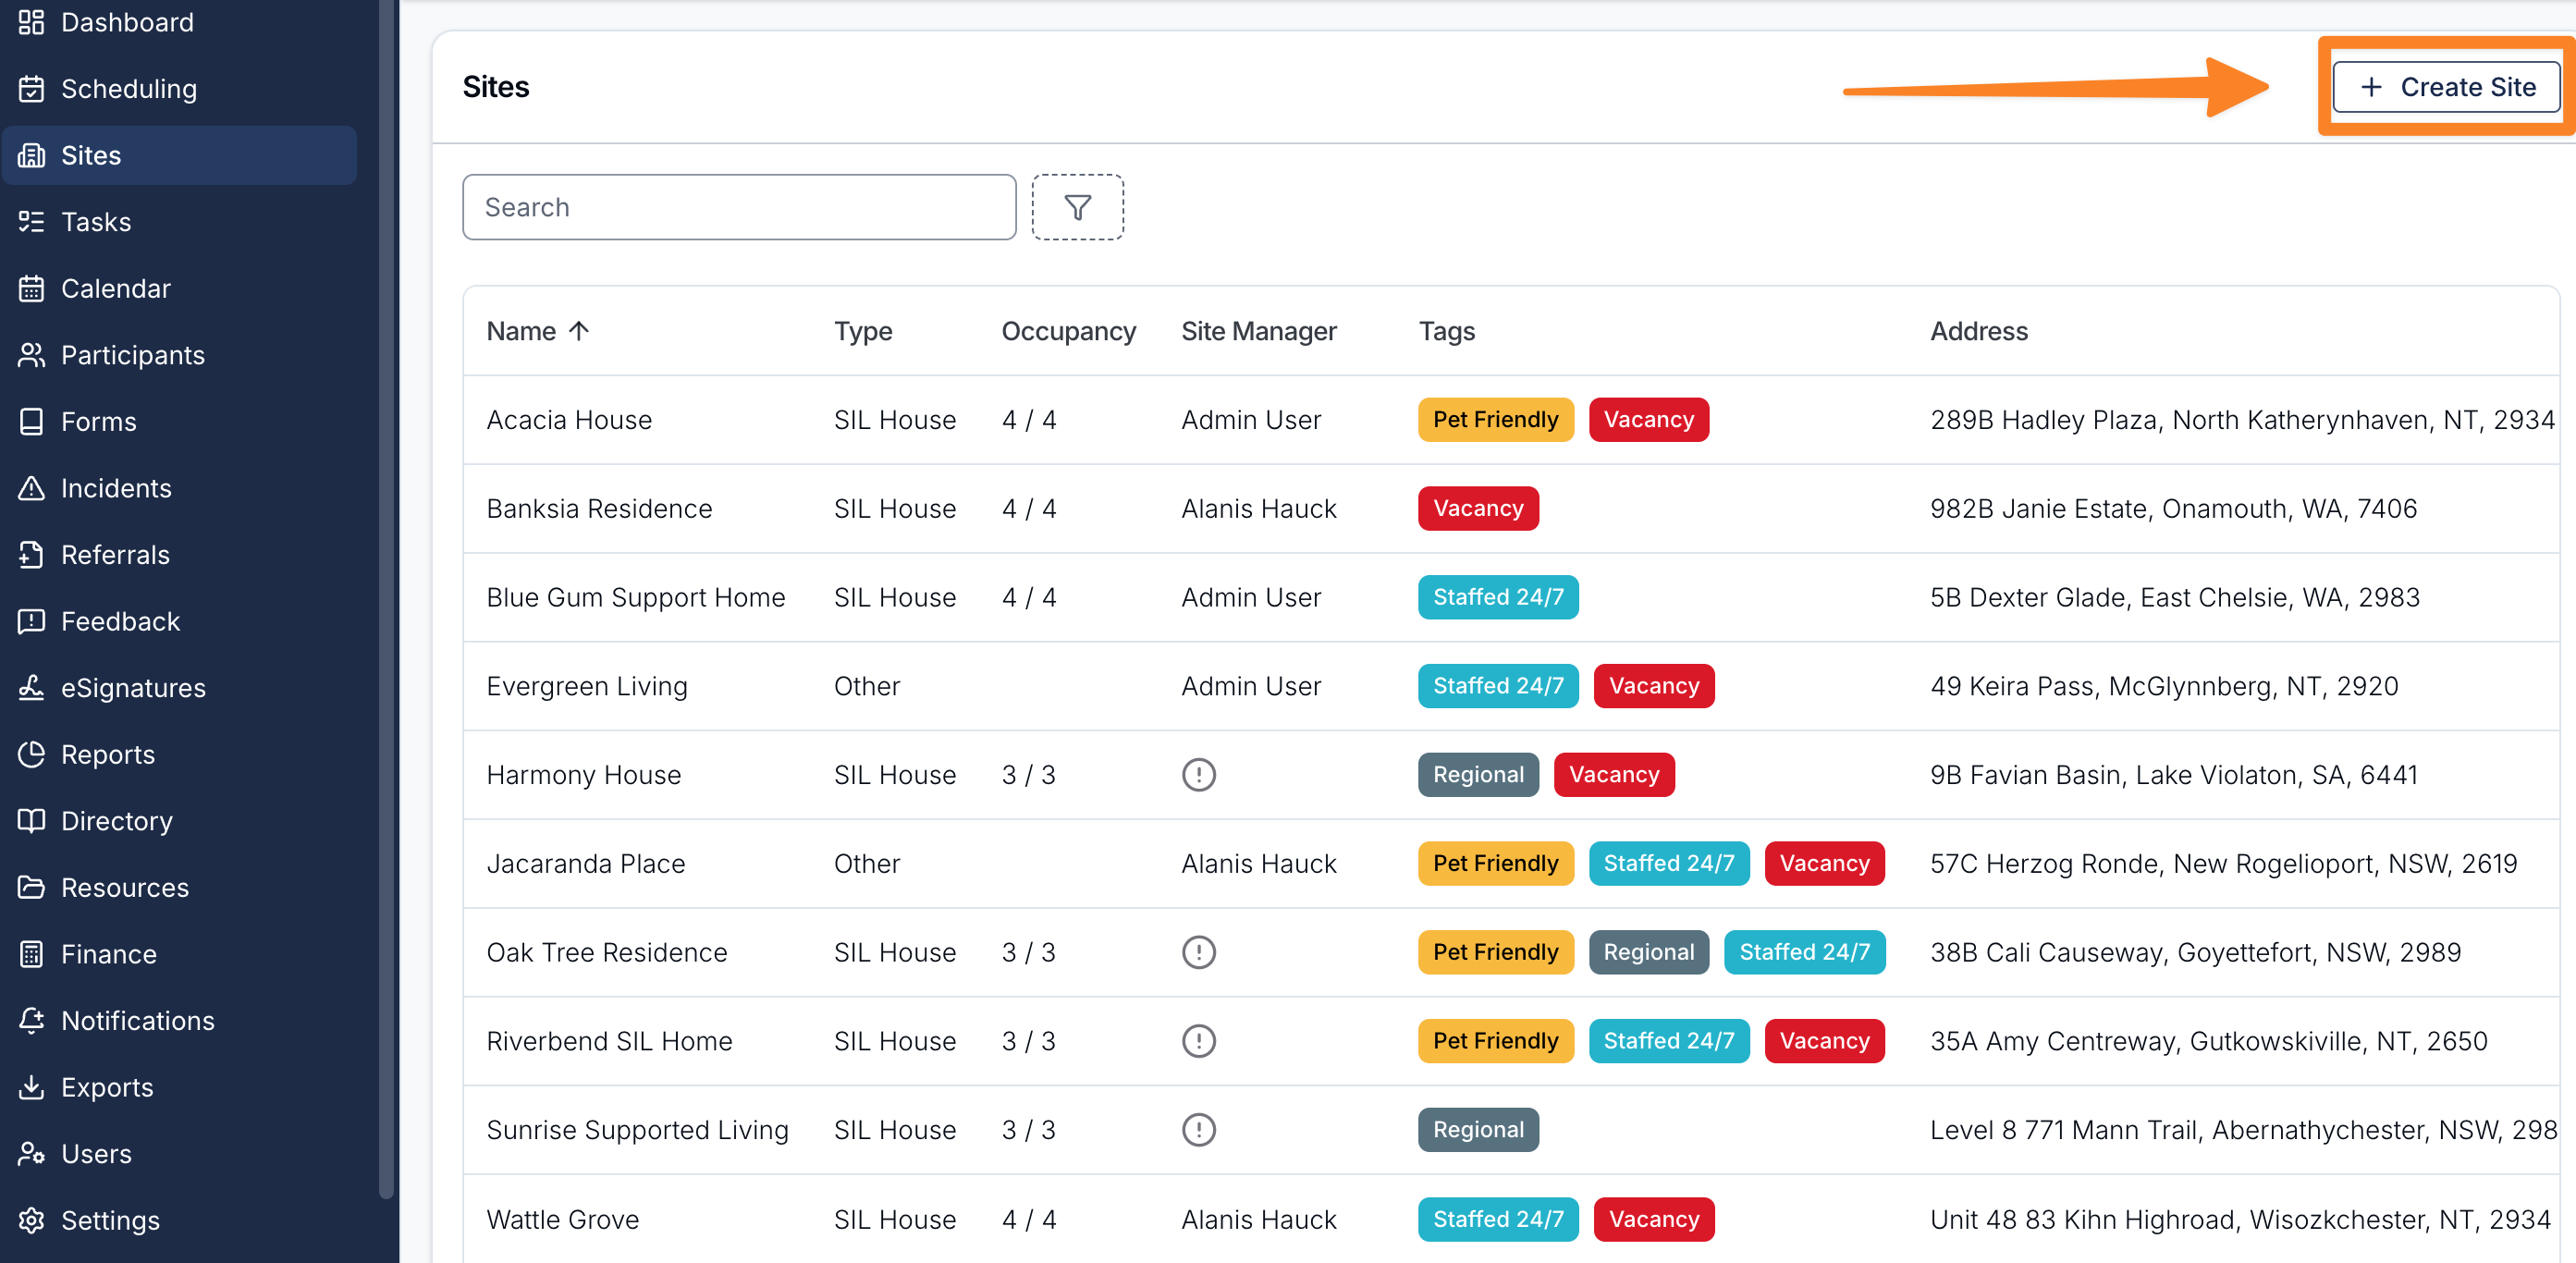
- Navigate to Sites
- Click Create Site in the top right
- Fill in the form (see fields below)
- Click Create to save
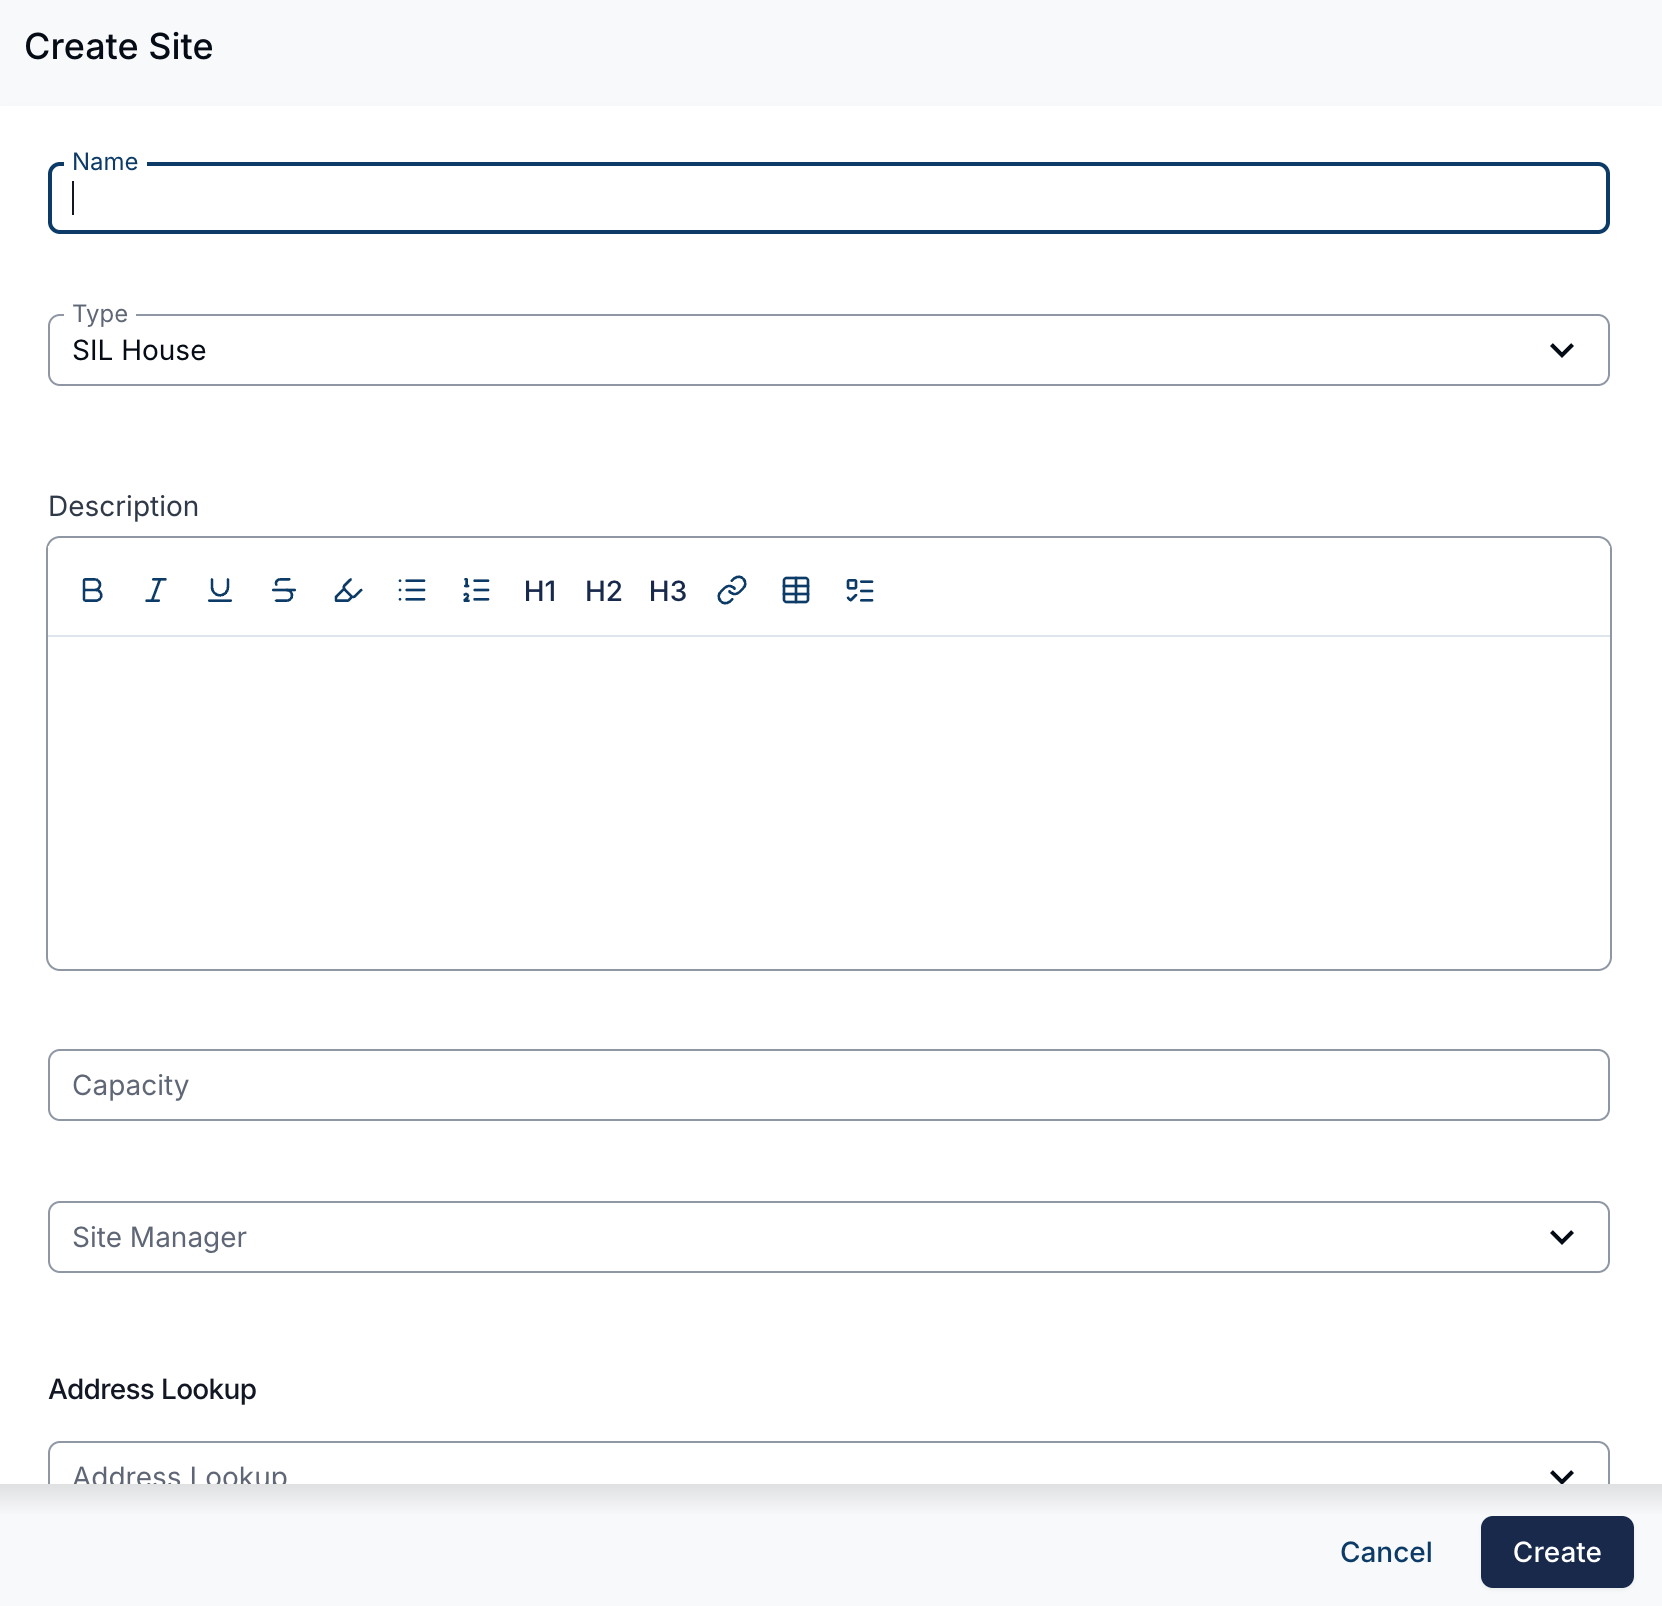
Form Fields
- Name — the site's name (required)
- Type — choose SIL House or Other (required)
- Description — optional long-form description of the site
- Capacity — only shown for SIL House sites. Leave blank for no limit, or enter the maximum number of participants you intend to assign
- Site Manager — optional user who oversees this site
- Address — you can either use Address Lookup to search for the address, or enter it manually using Address Line 1, Address Line 2, Suburb, State, and Postcode
Editing a Site
To edit a site:
- Open the site from the Sites list
- From the Overview tab, click the edit action
- Update any of the fields listed above
- Click Update to save
The address fields can only be set when a site is first created. If you need to change a site's address after creation, contact your administrator.
Assigning Participants
Participants can be assigned to a site from the Participants tab on the site detail page. A participant can be assigned to multiple sites at the same time, and a site can have multiple participants.
Assigning Participants to a Site
To assign one or more participants to a site:
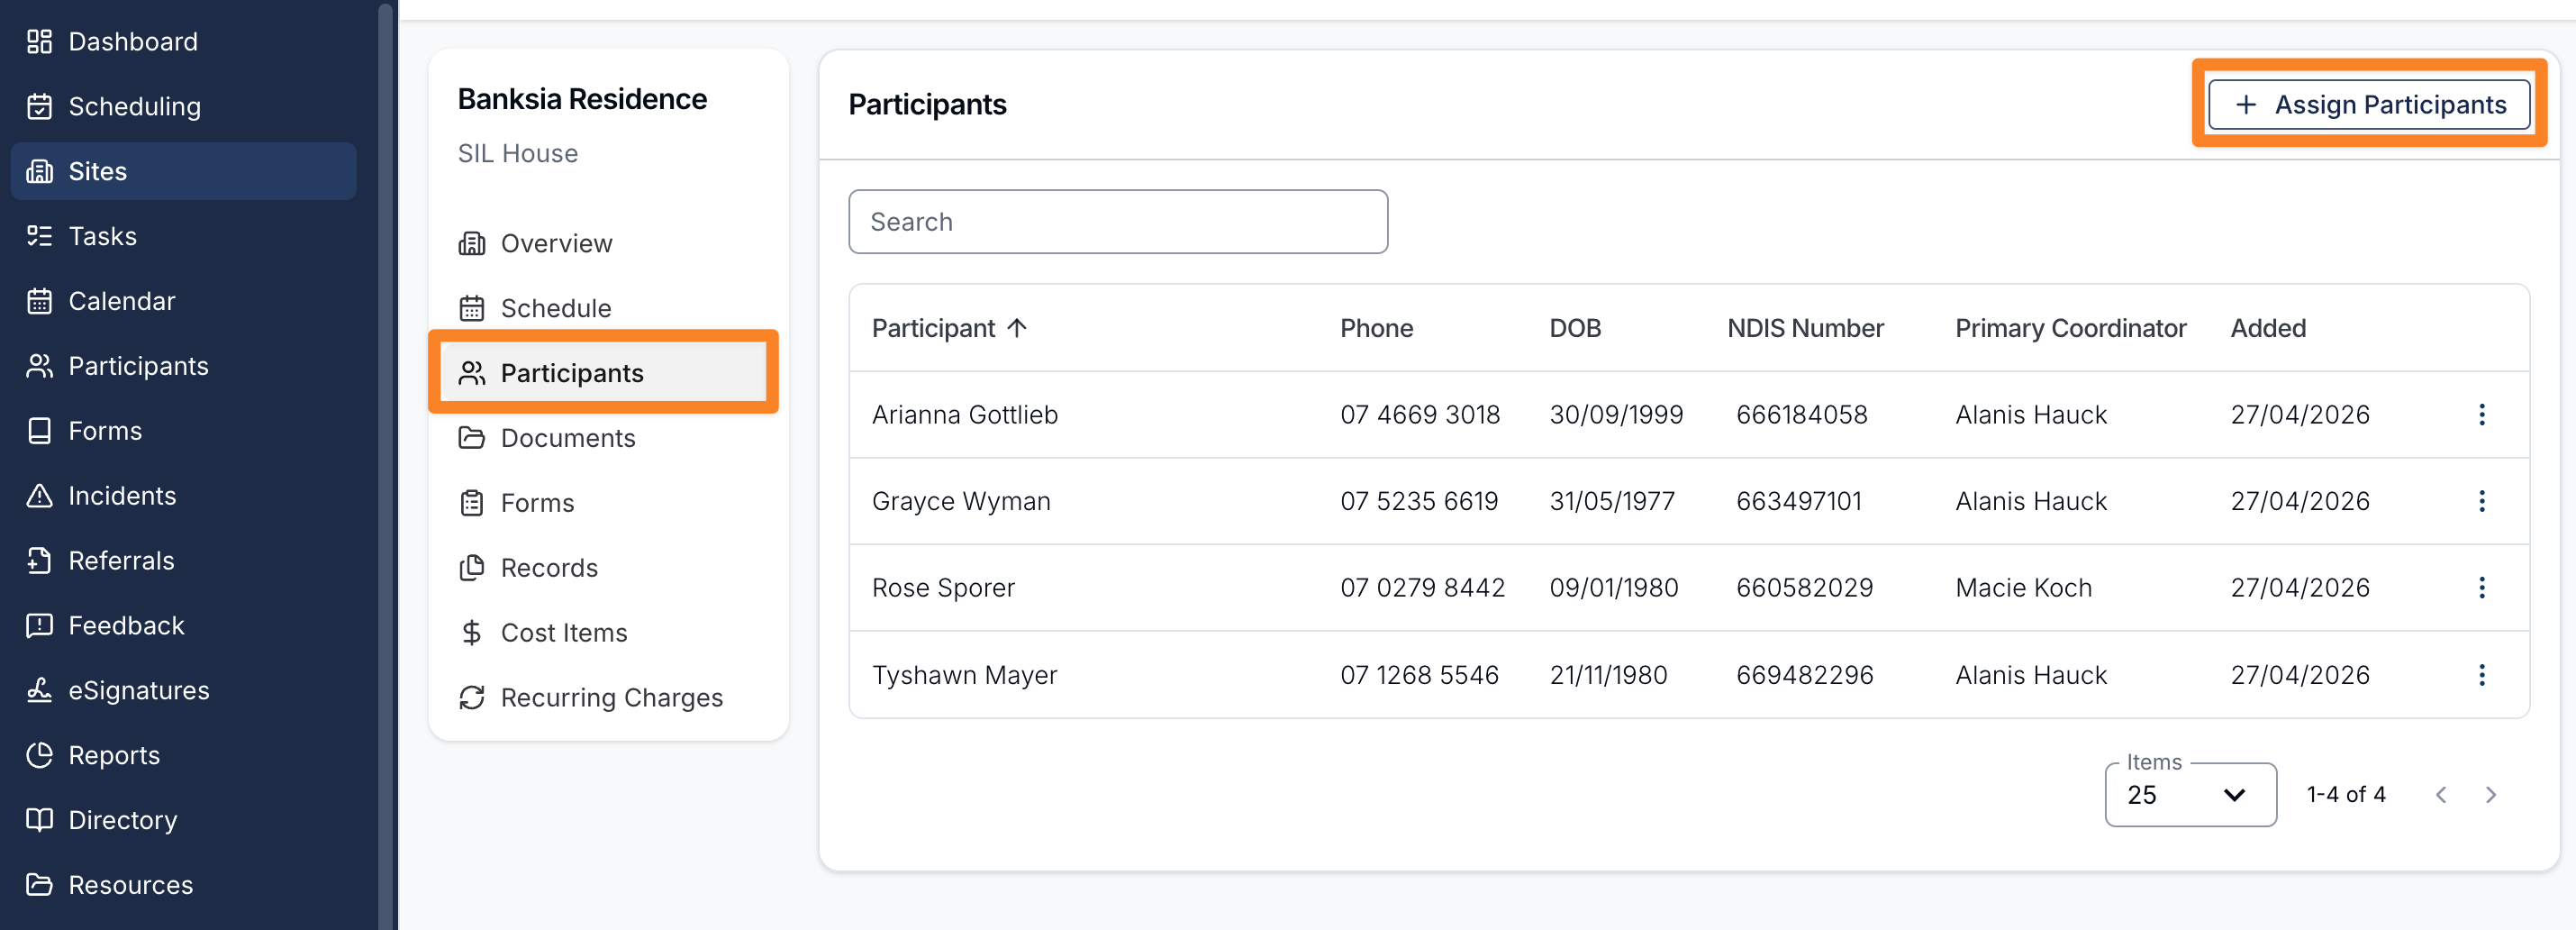
- Open the site and go to the Participants tab
- Click Assign Participants
- Search for and select the participants you'd like to assign
- Confirm your selection
If the assignment would bring occupancy above the site's capacity limit, Astalty will show a warning. You can still proceed — capacity is a guideline, not an enforced limit.
Viewing Assigned Participants
To view the participants assigned to a site:
- Open the site
- Click the Participants tab
The table shows each assigned participant with the following columns: Participant name, Phone, DOB, NDIS Number, Primary Coordinator, and Added (the date the participant was assigned to this site).
For SIL House sites with a capacity set, an occupancy indicator above the table shows the current count versus the capacity (for example, 3/4).
Removing a Participant from a Site
To remove a participant from a site:
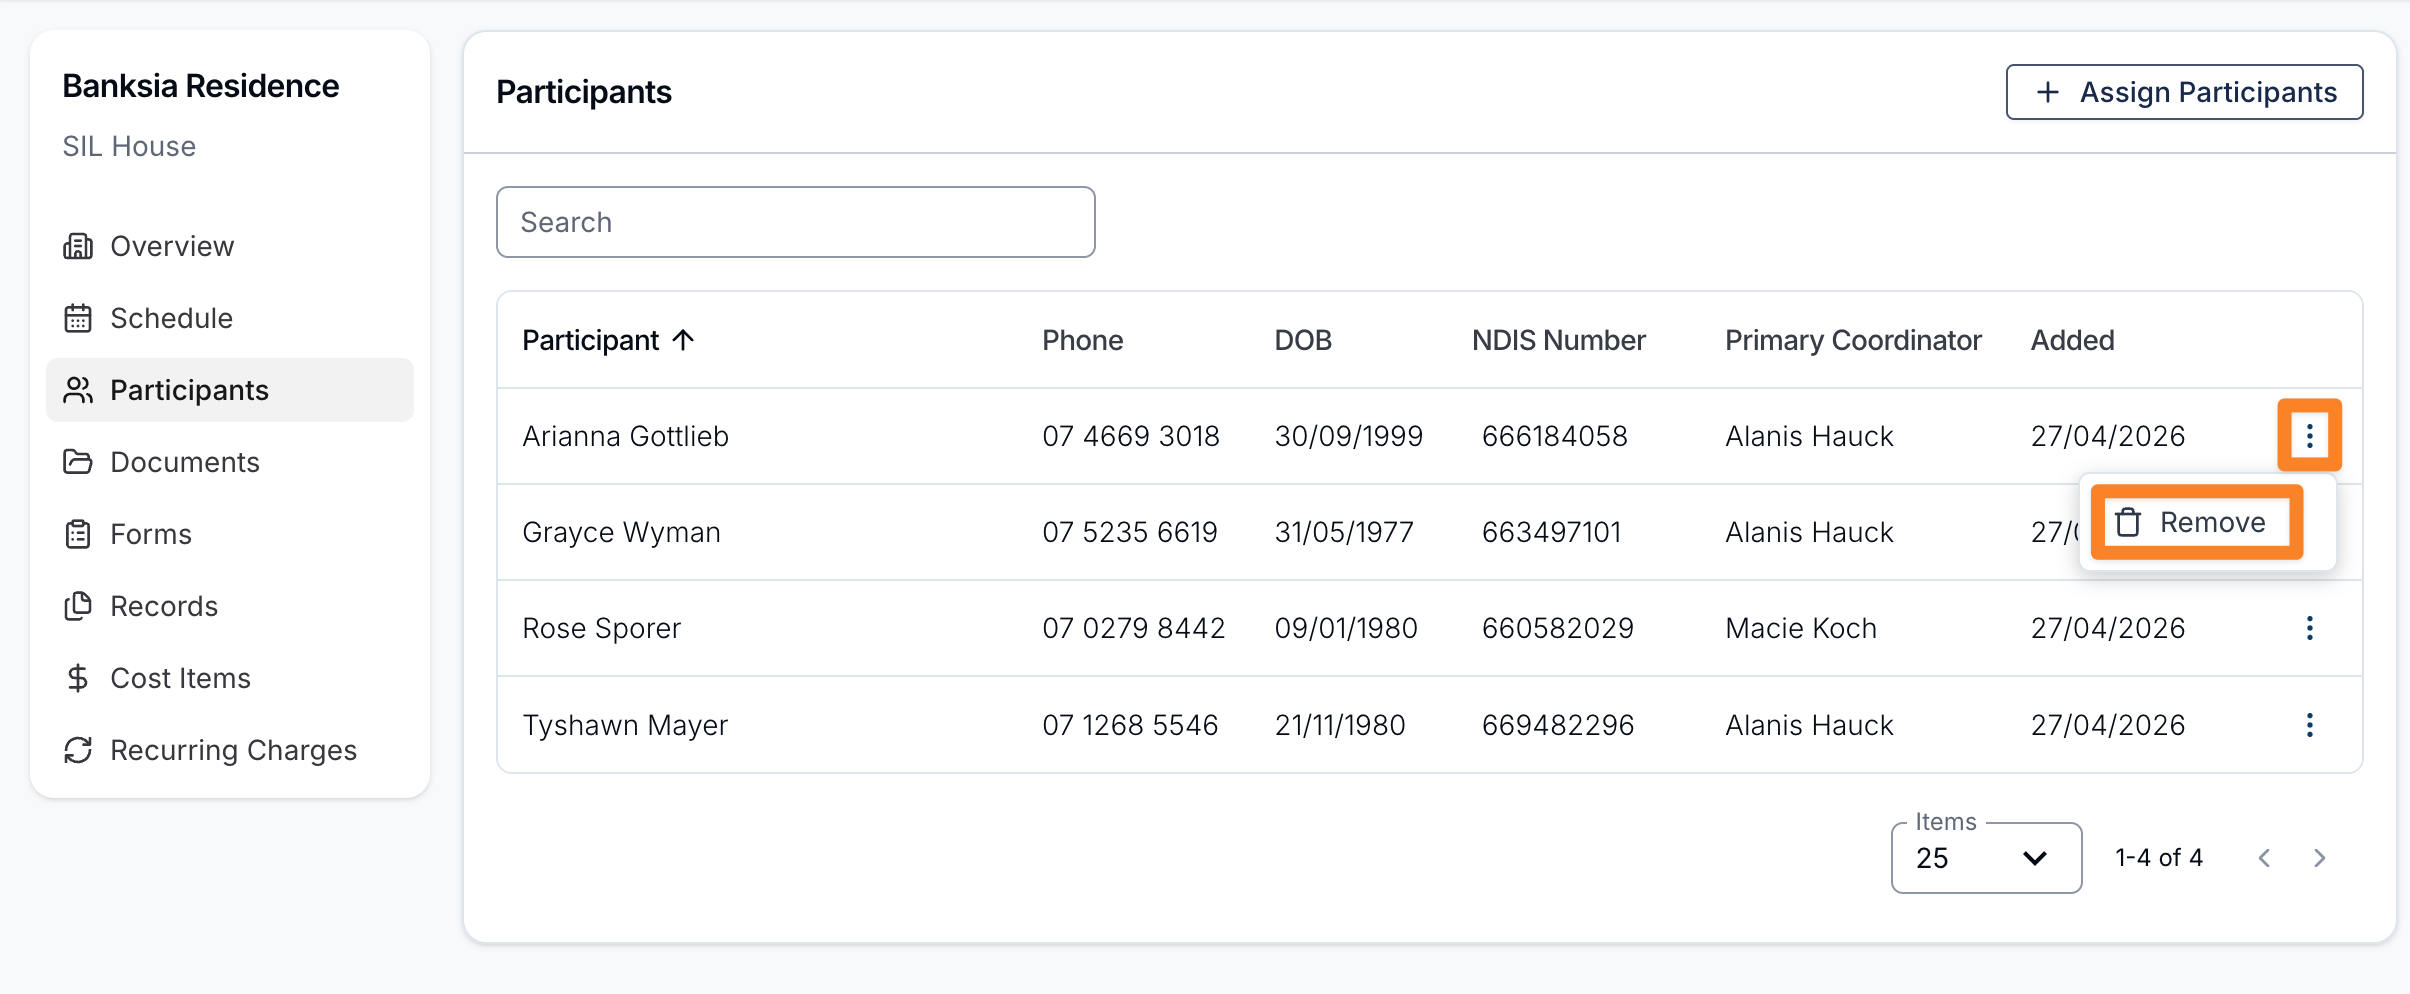
- Open the site and go to the Participants tab
- Find the participant in the table
- Click Remove in the actions column (3 dots)
- Confirm the removal
Removing a participant only unassigns them from this site. It does not delete the participant or remove them from any other sites they're assigned to.
Site Tags
Tags are custom, colour-coded labels you can apply to sites to group, categorise, and filter them. Common uses include flagging sites under audit, marking priority sites, or grouping sites by region or service type.
Tags are managed by an administrator from Settings → Sites → Site Tags. See the Sites Settings page for how to create and manage tags.
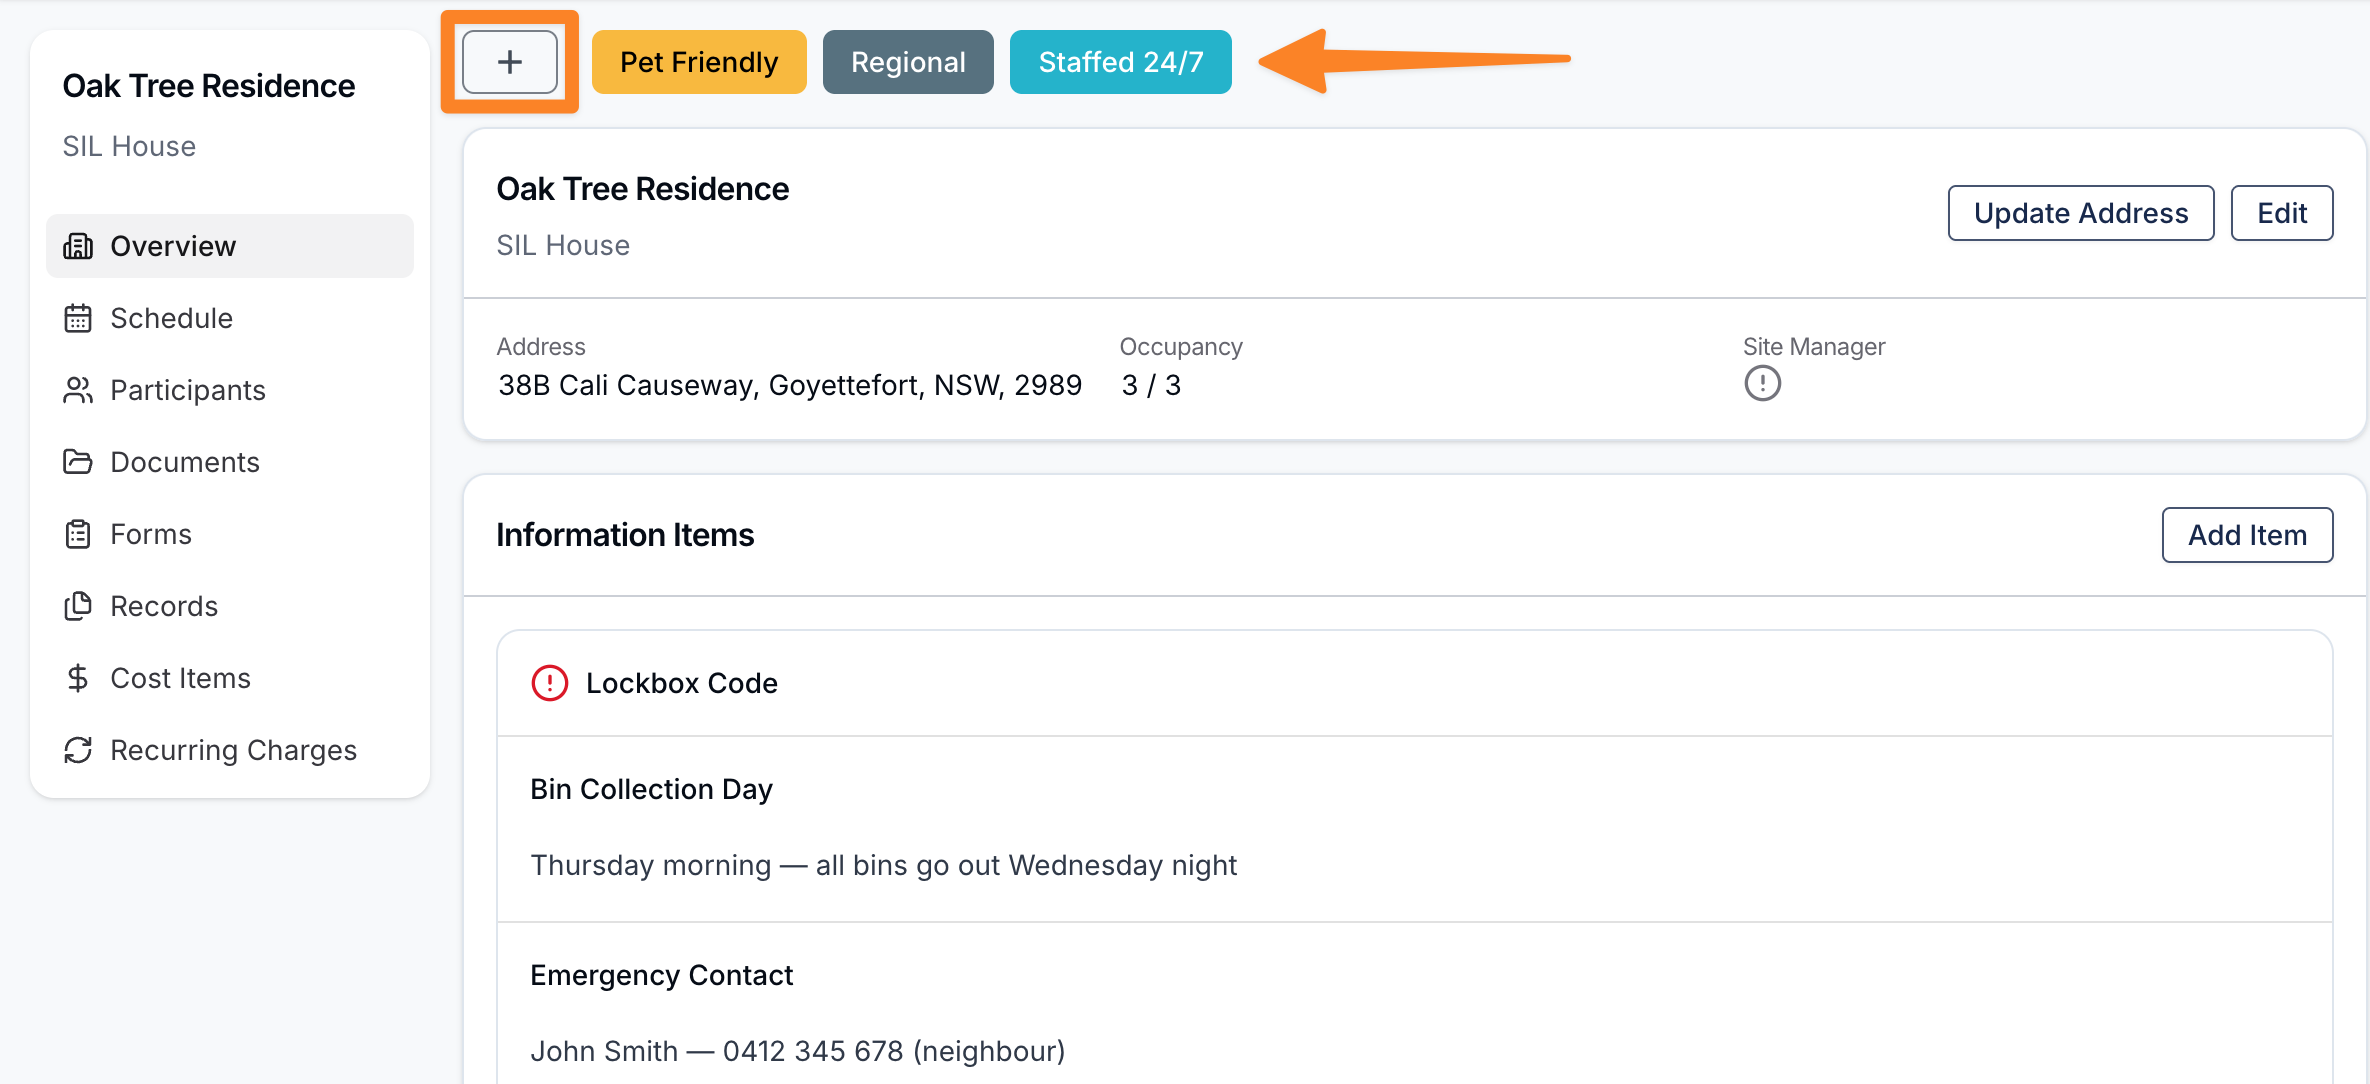
Applying Tags to a Site
Tags are applied when creating or editing a site. In the site form, select one or more tags from the Tags field.
Filtering Sites by Tag
On the Sites list page, open the Tags filter at the top of the table and select one or more tags. The list will filter to sites that have at least one of the selected tags.