- Changelog
- 21 May 2026
21 May 2026
Using Risks in Document Templates
You can insert a summary of a Participant's active risks directly into document templates using the All Risks Summary placeholder. This works for both Astalty templates and Word documents.
To add it, open the template editor and type risk to see the All Risks Summary option, or type ${ris to find the Participant All Risks Summary placeholder. Select it to insert it into your template.
When the document is generated, the placeholder is replaced with a table containing the following columns:
- Risk To — who the risk applies to (Participant, Business, or Staff)
- Description — the details of the risk
- Controls — the controls in place to manage the risk
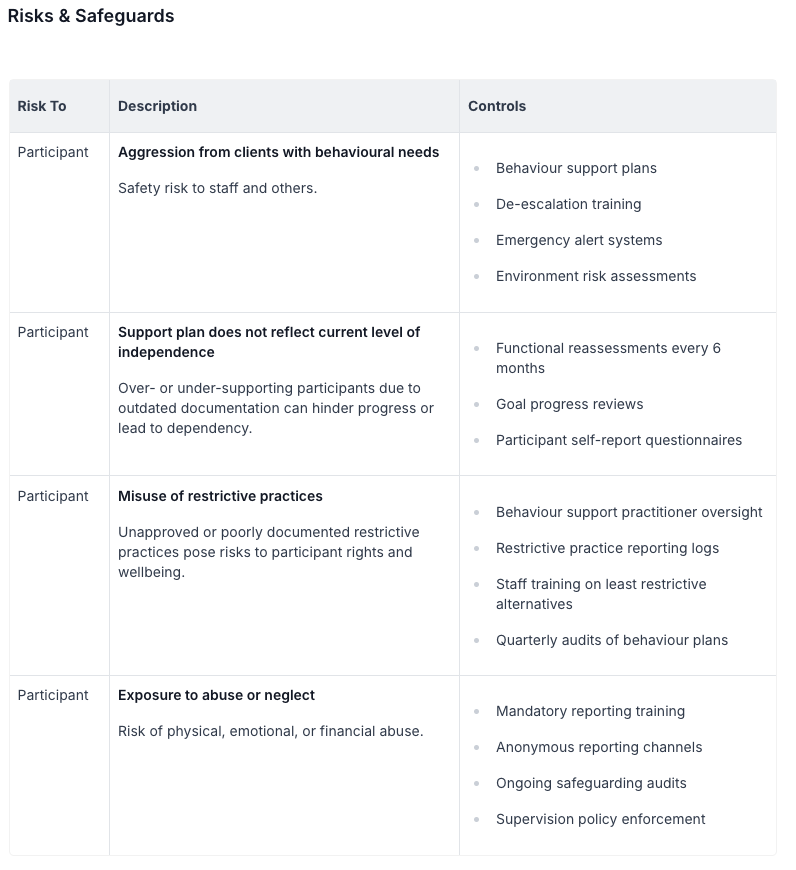
Only active risks are included in the output. For more information on document templates, see the Available Document Template Placeholders guide.
Participant Schedule Updates
The Participant schedule now mirrors the main schedule view, using the same support tiles, colours, and layout. Schedulers can see at a glance what supports are happening for a Participant and whether each one has been published or assigned — without needing to switch views or cross-check.
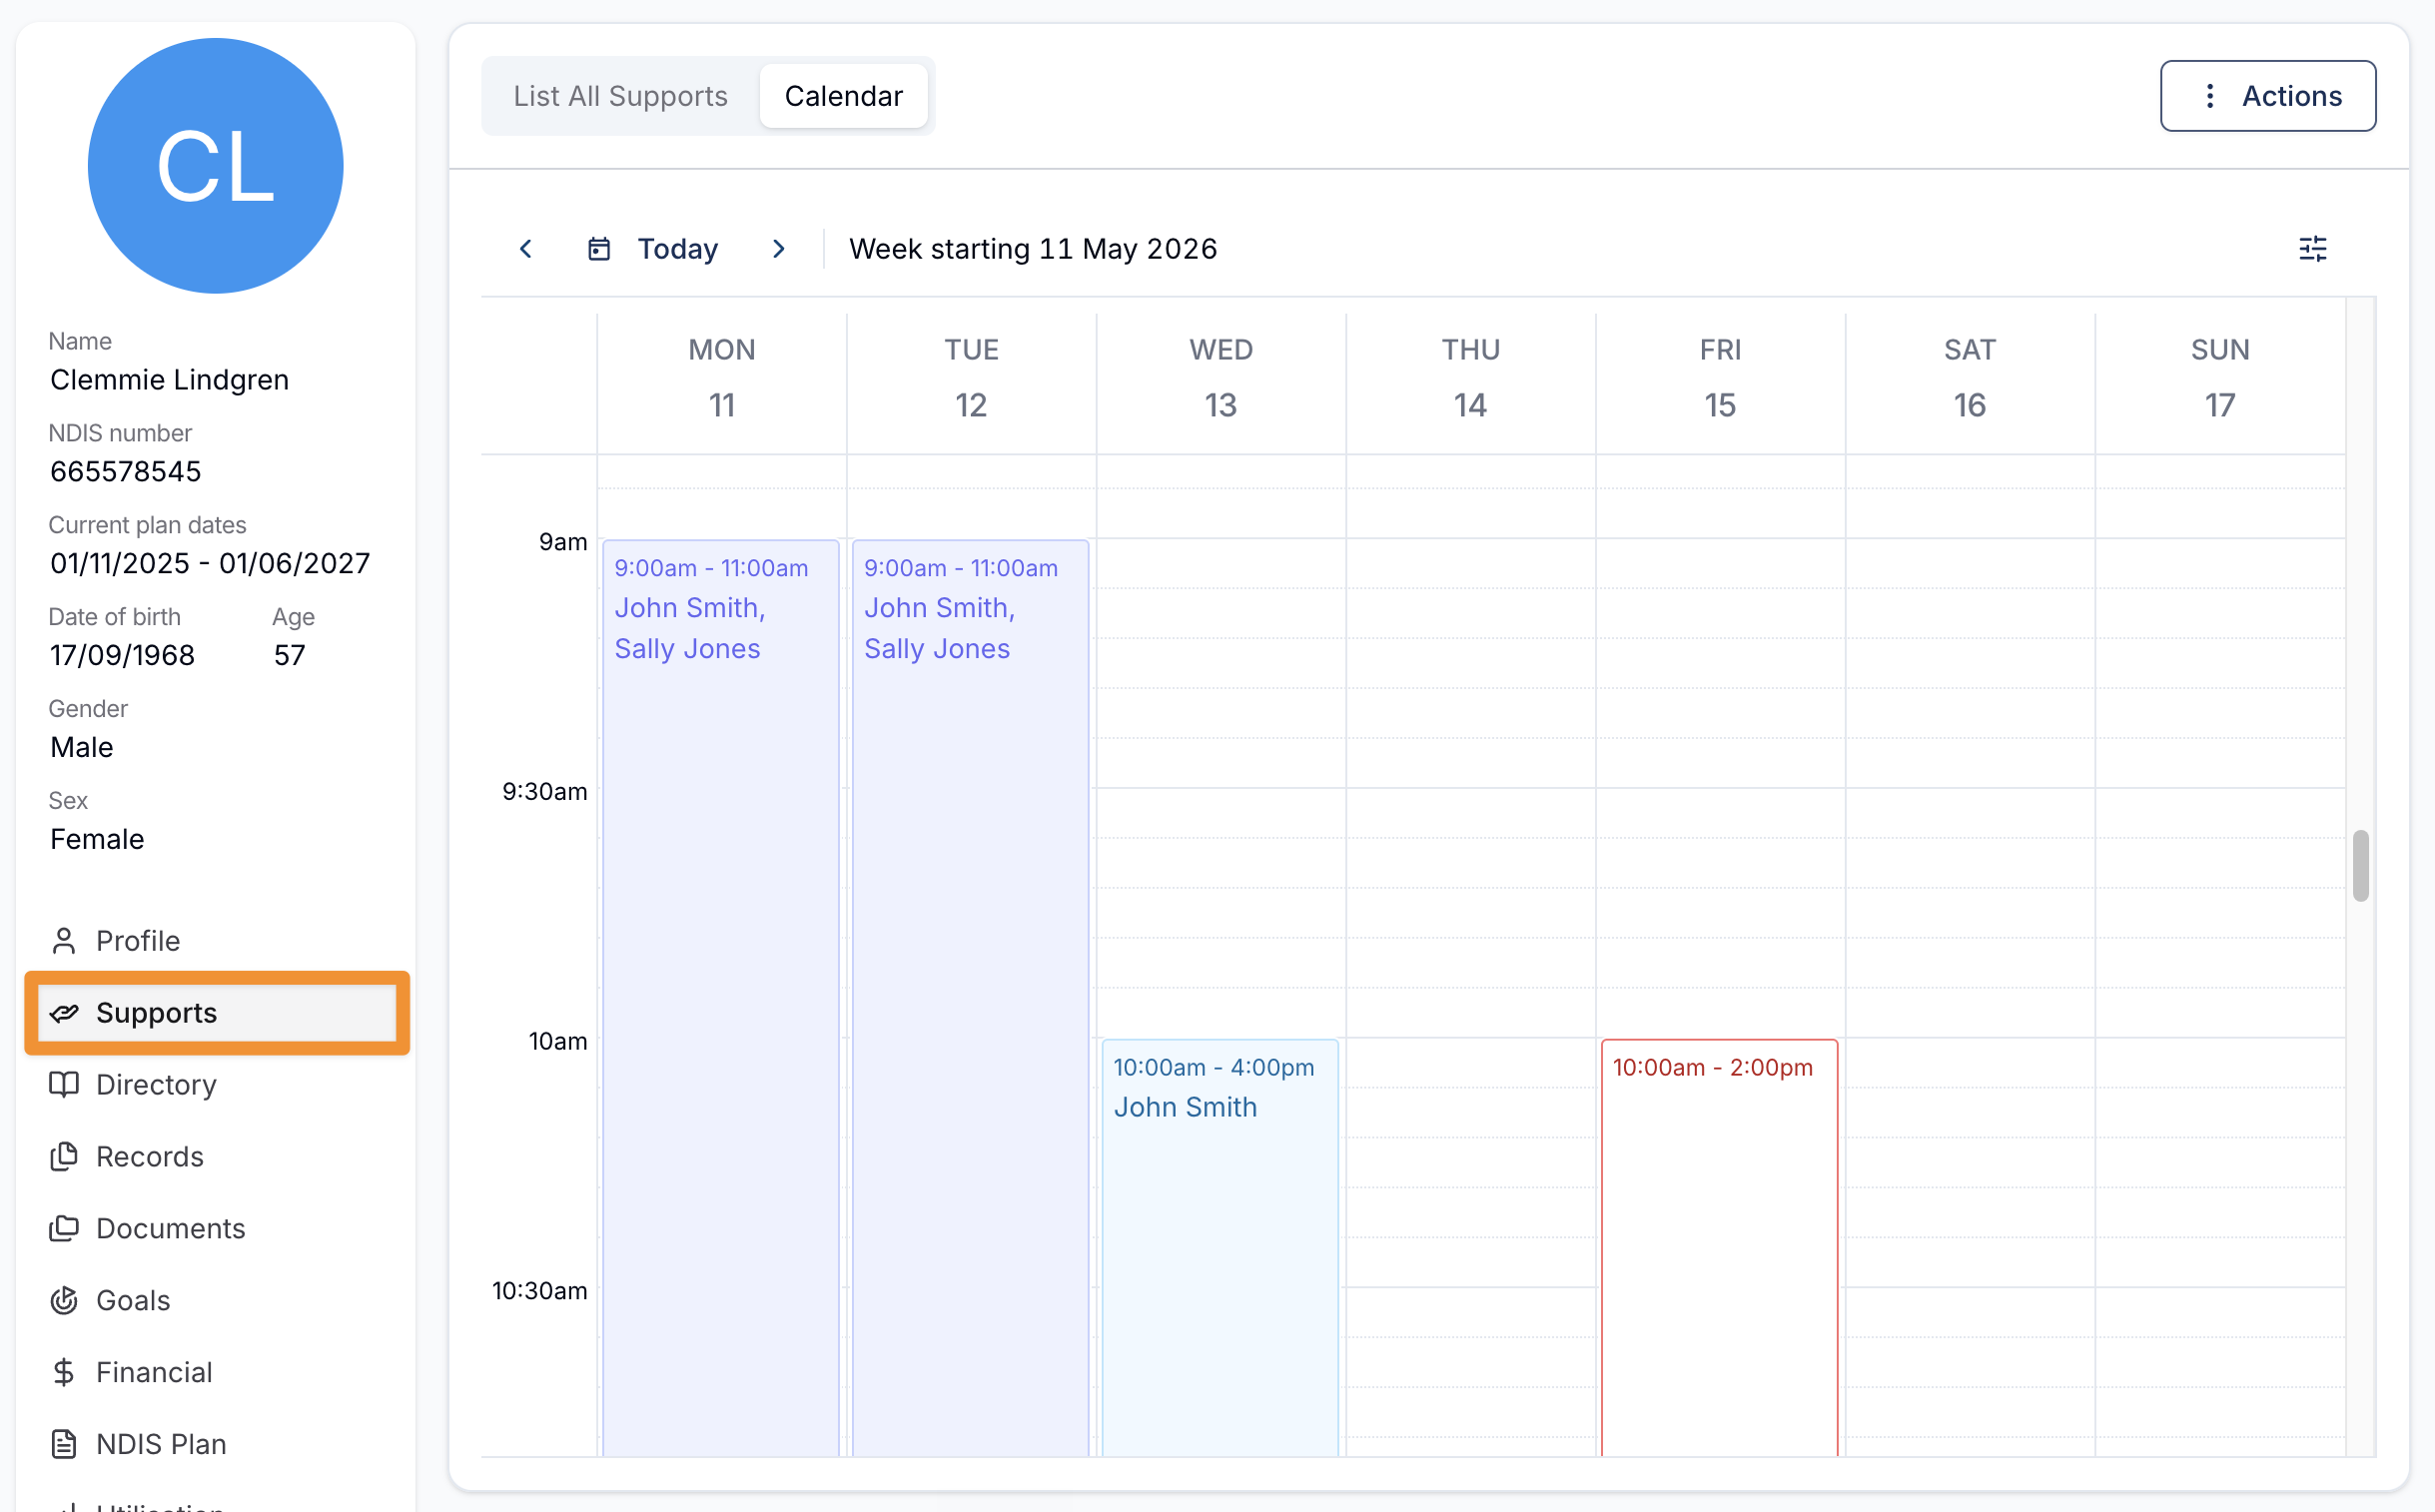
For more information, visit the Viewing a Participants Schedule guide.
Zero Travel Time (to and from supports)
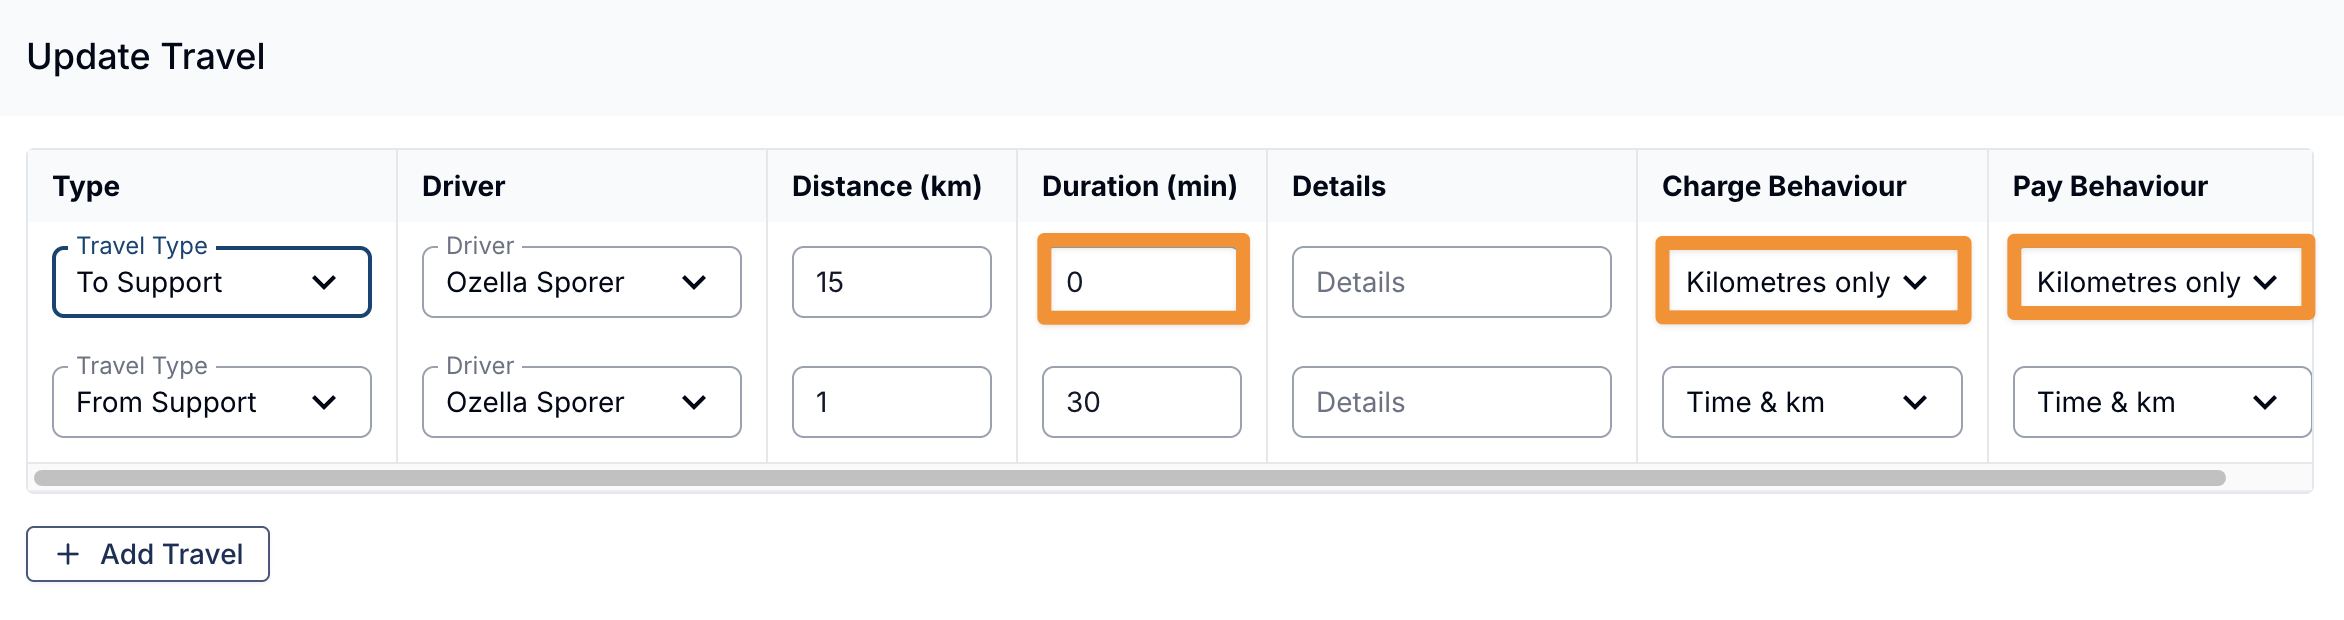
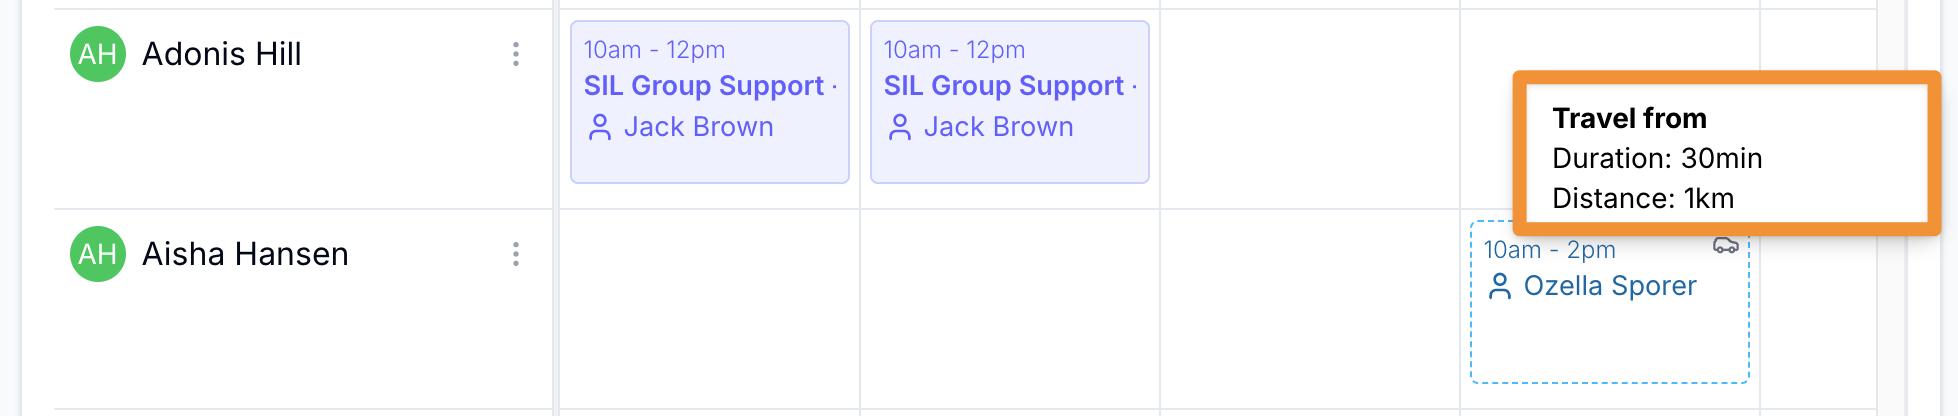
You can now set a travel item's Duration to 0 minutes when capturing the kilometres associated with travel that happens within a scheduled support — for example, travel to or from a Participant that takes place inside the support window rather than in addition to it. Kilometres are still recorded for charging and reimbursement, while the support's scheduled start and finish stay exactly where you set them.
When using 0 minutes, you will need to set the Charge Behaviour and Pay Behaviour for that travel item to Kilometres only so the travel is configured correctly.
This gives organisations more flexibility to schedule supports the way they actually run. If travel is built into your scheduled support time, you can record kilometres without inflating the shift; if travel sits outside the support, you can continue to schedule it as a duration that extends the shift. Either approach is supported, so the schedule stays an accurate reflection of how the support is delivered and how Support Workers are paid and Participants are charged.
For more information, visit the Travel (to, during and from) guide.
Improved Travel Visibility from the Schedule
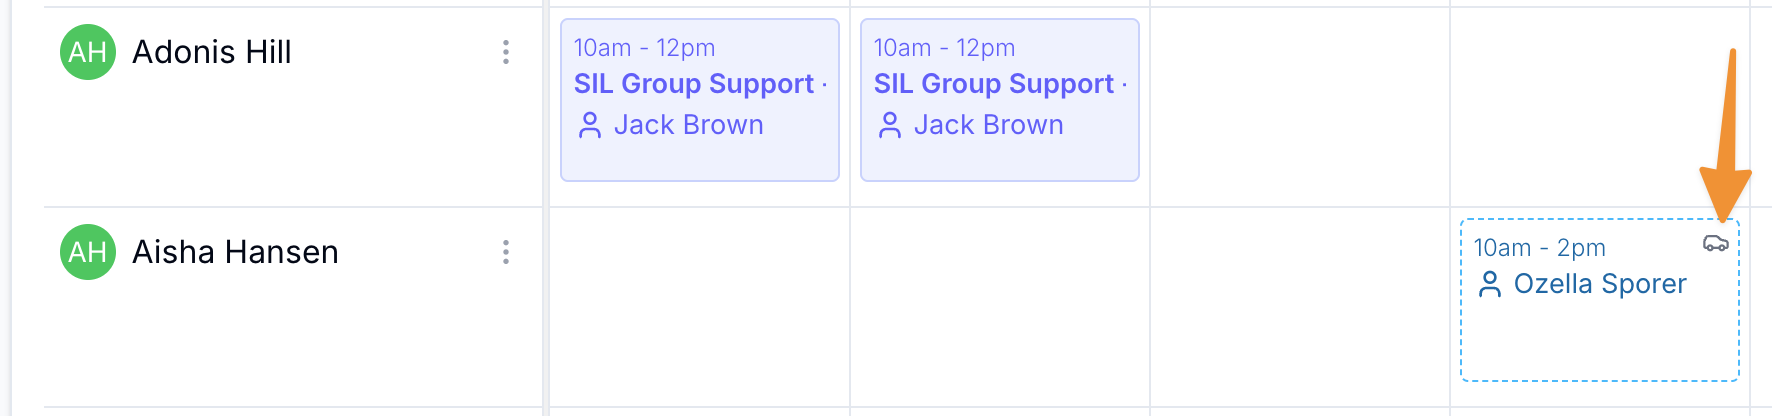
Supports that include travel are now marked with a car icon on the tile in Week and Fortnight views. Hover over the icon to see the travel details included in the support. In Day view, travel continues to be shown as a line indicator on the edge of the tile.
This makes it much easier for schedulers to see which supports include travel without having to open each one individually. When you're working across a full week or fortnight, travel time can otherwise be easy to overlook. The car icon gives an immediate visual cue, helping you spot travel at a glance, plan routes more confidently, and avoid scheduling conflicts where supports might overlap on travel time.
For more information, visit the Viewing the Schedule guide.
Download Goal Summary - Now with Notes & Tasks
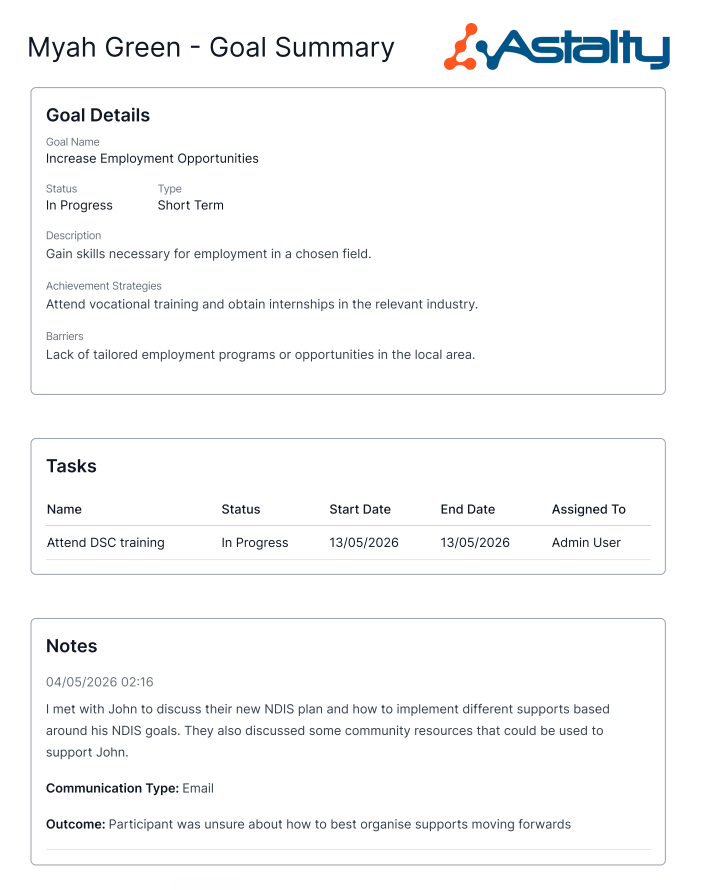
You can now download a PDF summary of an individual Participant Goal from the Goal's Actions menu. The summary includes the Goal name, Type, Status, Description, Achievement Strategies, and Barriers, and tick Include Tasks & Notes at download time to bundle the Goal's associated Tasks and dated Notes into the same PDF.
This is in addition to the existing all-Goals PDF download from the Goals page, which is unchanged.
Download Goal Summary is currently available to users with the Admin or Manager role.
For more information, visit the Goals guide
Utilisation Report — new Funding Periods filter
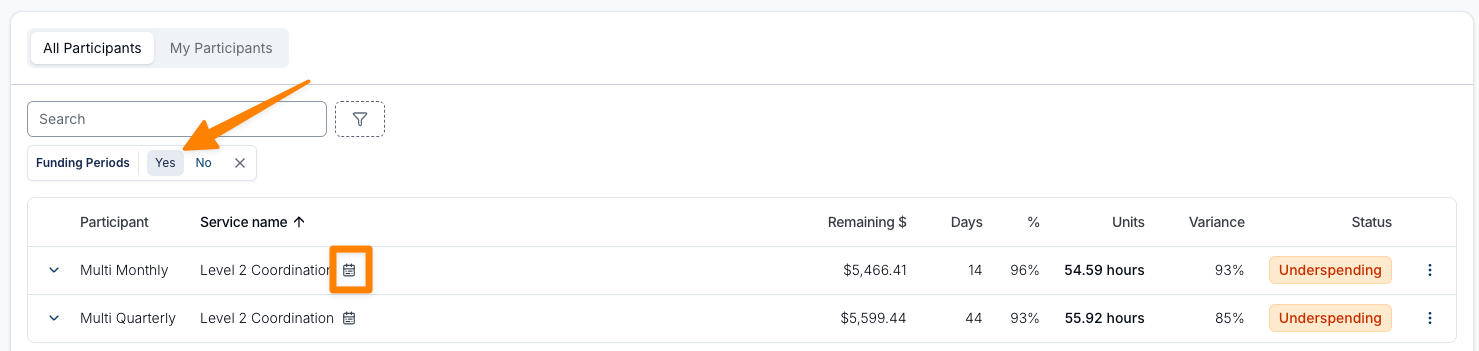
You can now filter the Utilisation Report by Funding Periods to quickly find Services that do — or do not — have a Funding Period set up. Select Yes to show only Services with a Funding Period configured, No to show only Services without one, or leave the filter unselected to see all Services. Services with a Funding Period also display a small calendar icon next to the Service name, making them easier to spot at a glance.
For more information, visit the Utilisation Report guide.
Preview Templates in Template Settings
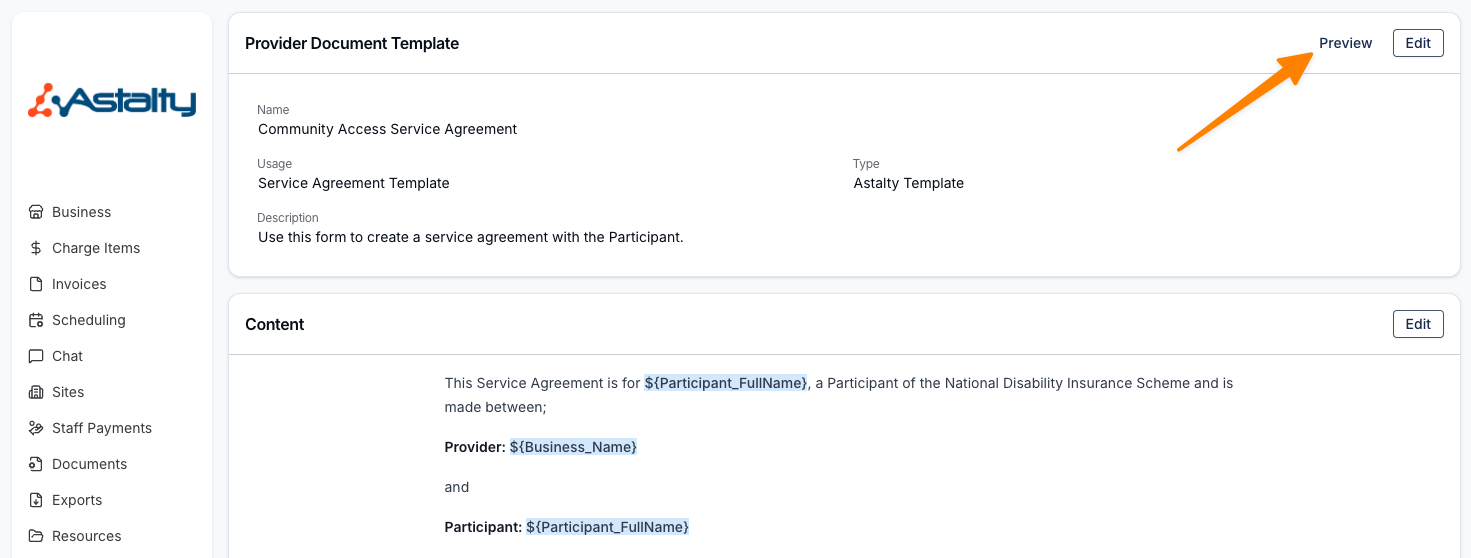
You can now preview a Template directly from Template Settings before using it. Click Preview on any Template to open a pop-out showing exactly how the document will appear when generated — including the heading page, layout, and styling. This makes it easy to confirm your Template looks right before rolling it out to your team.
For more information, visit the Template Settings guide.
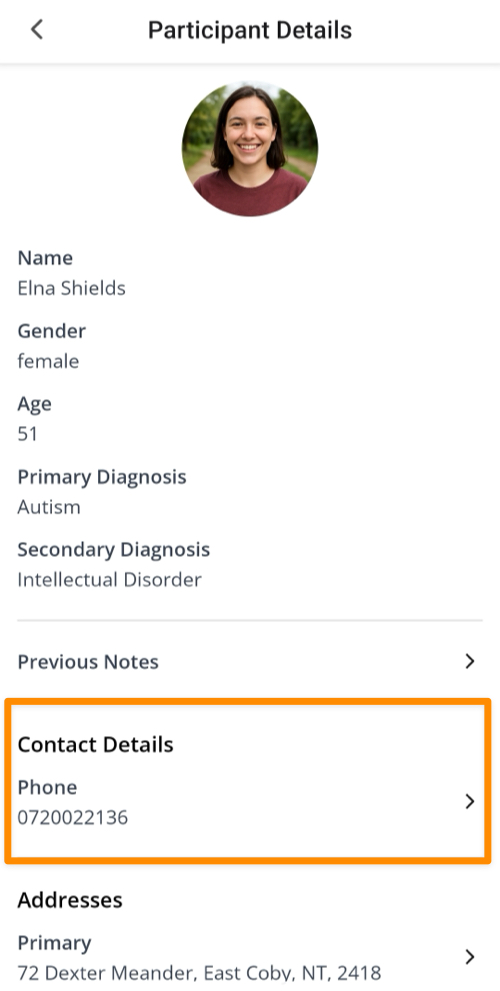
Per-Participant Contact Visibility in the Support Worker App
You can now control whether a Participant's mobile and phone numbers are visible to Support Workers in the app, on a per-Participant basis. Open a Participant's profile, click Edit, and under Contact Information you'll find a new Support worker visibility field with two options: Not Visible (the default for every Participant) and Show Mobile and Phone. When set to Show Mobile and Phone, Support Workers scheduled on a shift with that Participant will see the Participant's contact details in the app.
For more information, visit the Participants guide.
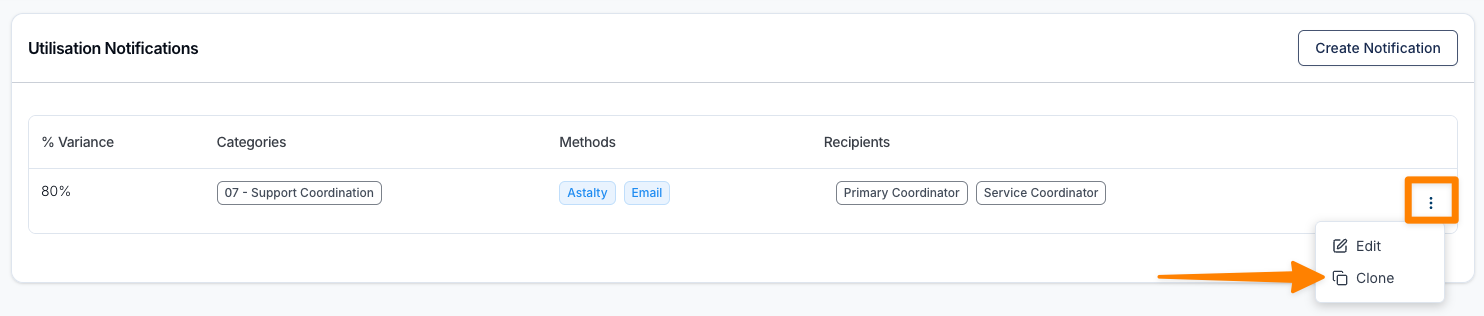
Cloning Utilisation & Utilisation Variance Notifications
You can now clone Utilisation Notifications and Utilisation Variance Notifications. Click the three dots next to any notification and select Clone to open a new notification form pre-filled with all the same content — perfect for setting up several similar alerts (like thresholds at 50%, 75%, and 95%) without re-entering recipients and settings each time. Just tweak what's different and save.

Fore more information, visit the following guides:
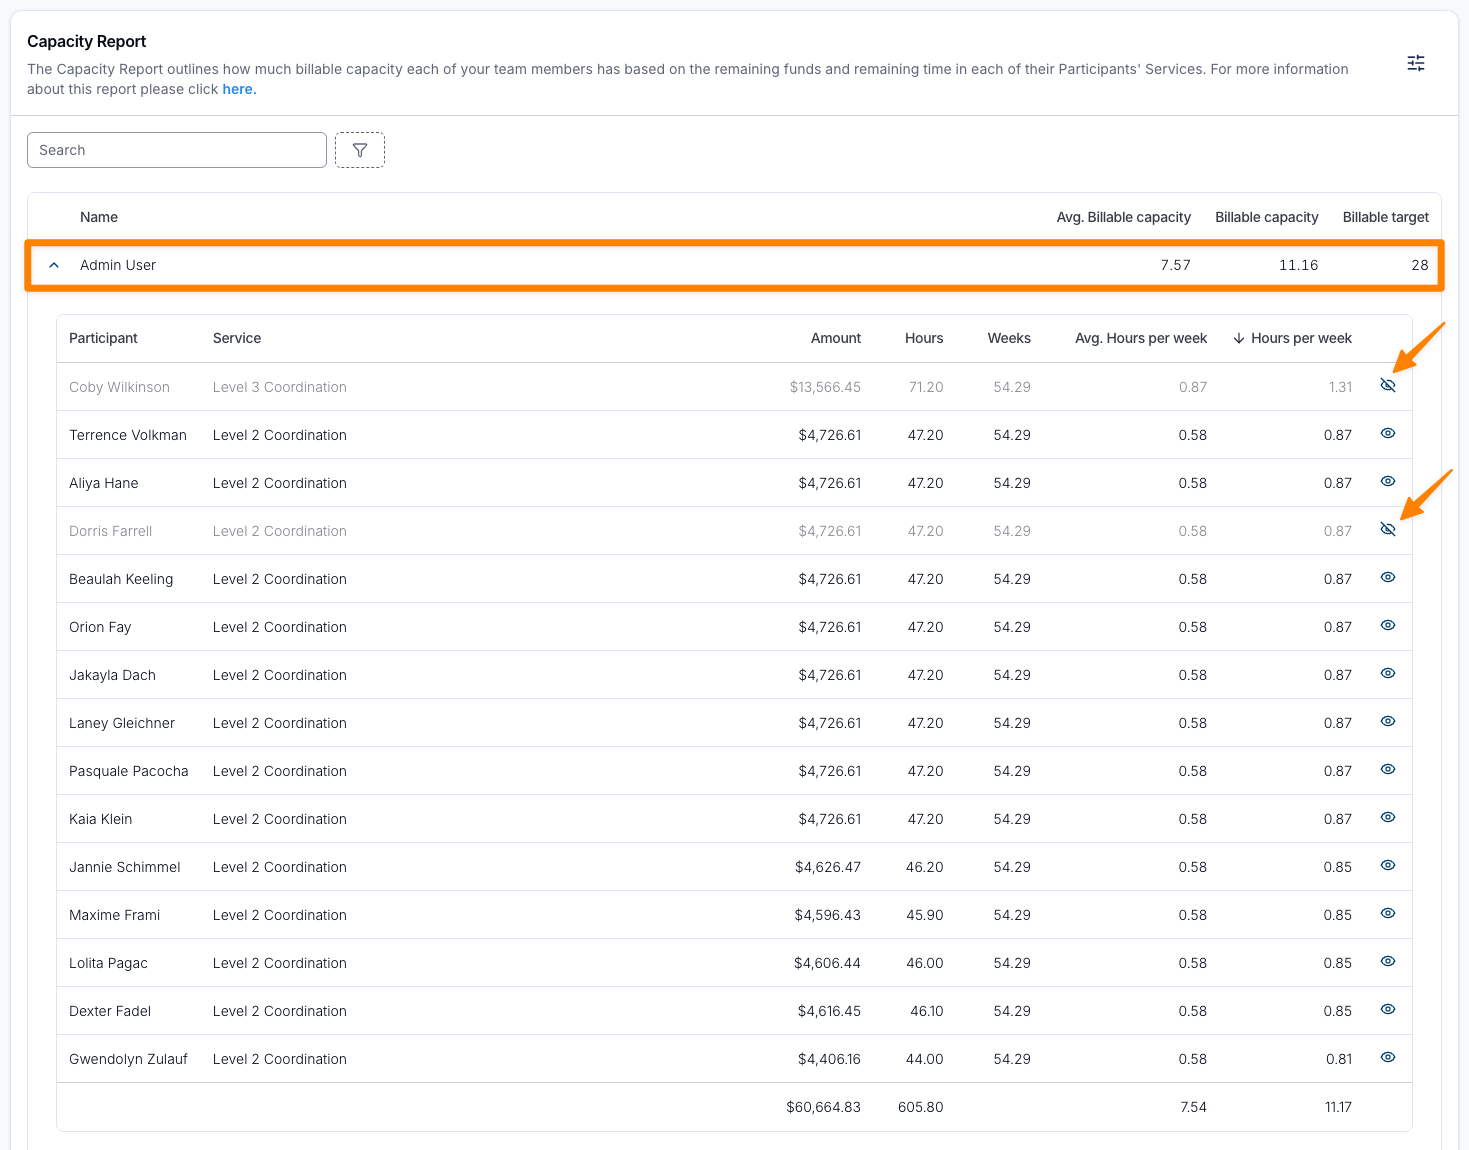
Improved Capacity Report
The Capacity Report now includes an Average Hours per week column within the expanded Team Member view, giving you a clearer picture of weekly availability across each Participant's Services.
You can also now exclude individual Participants from the capacity calculation by clicking the eye icon next to their name. This is useful where a Participant is unlikely to consume their funding as expected — for example, due to failure to engage or other circumstances that limit effective fund utilisation. Excluded Participants no longer contribute to the Team Member's Billable Capacity or Average Hours per week, so the report more accurately reflects your true capacity to onboard additional Participants.
For more information, visit the Capacity Report guide.
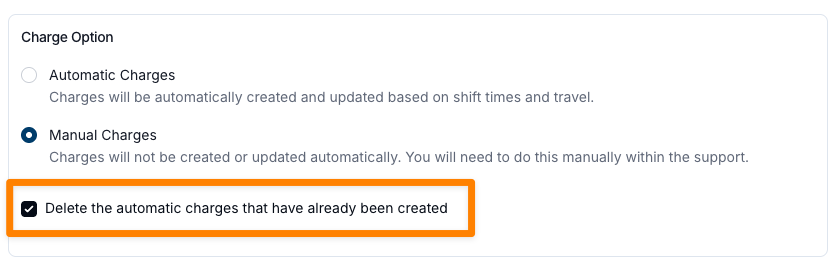
Changing the Charge Option on Group Supports
You can now switch a Group Support from Automatic Charges to Manual Charges after it's been created. Open the Support, click Update Details, scroll to the Charge Option section, and make the change. When switching to Manual Charges, you'll be prompted to delete the automatic charges that have already been created — we recommend deleting them, as any later changes to the Support or clock in/out times won't update the Charge Item times otherwise. Note that this switch only works one way: a Support created with Manual Charges cannot be changed back to Automatic Charges.
For more information, visit the Adding a Group Shift guide.