- Participants
- Profile
- Reference Numbers
Reference Numbers
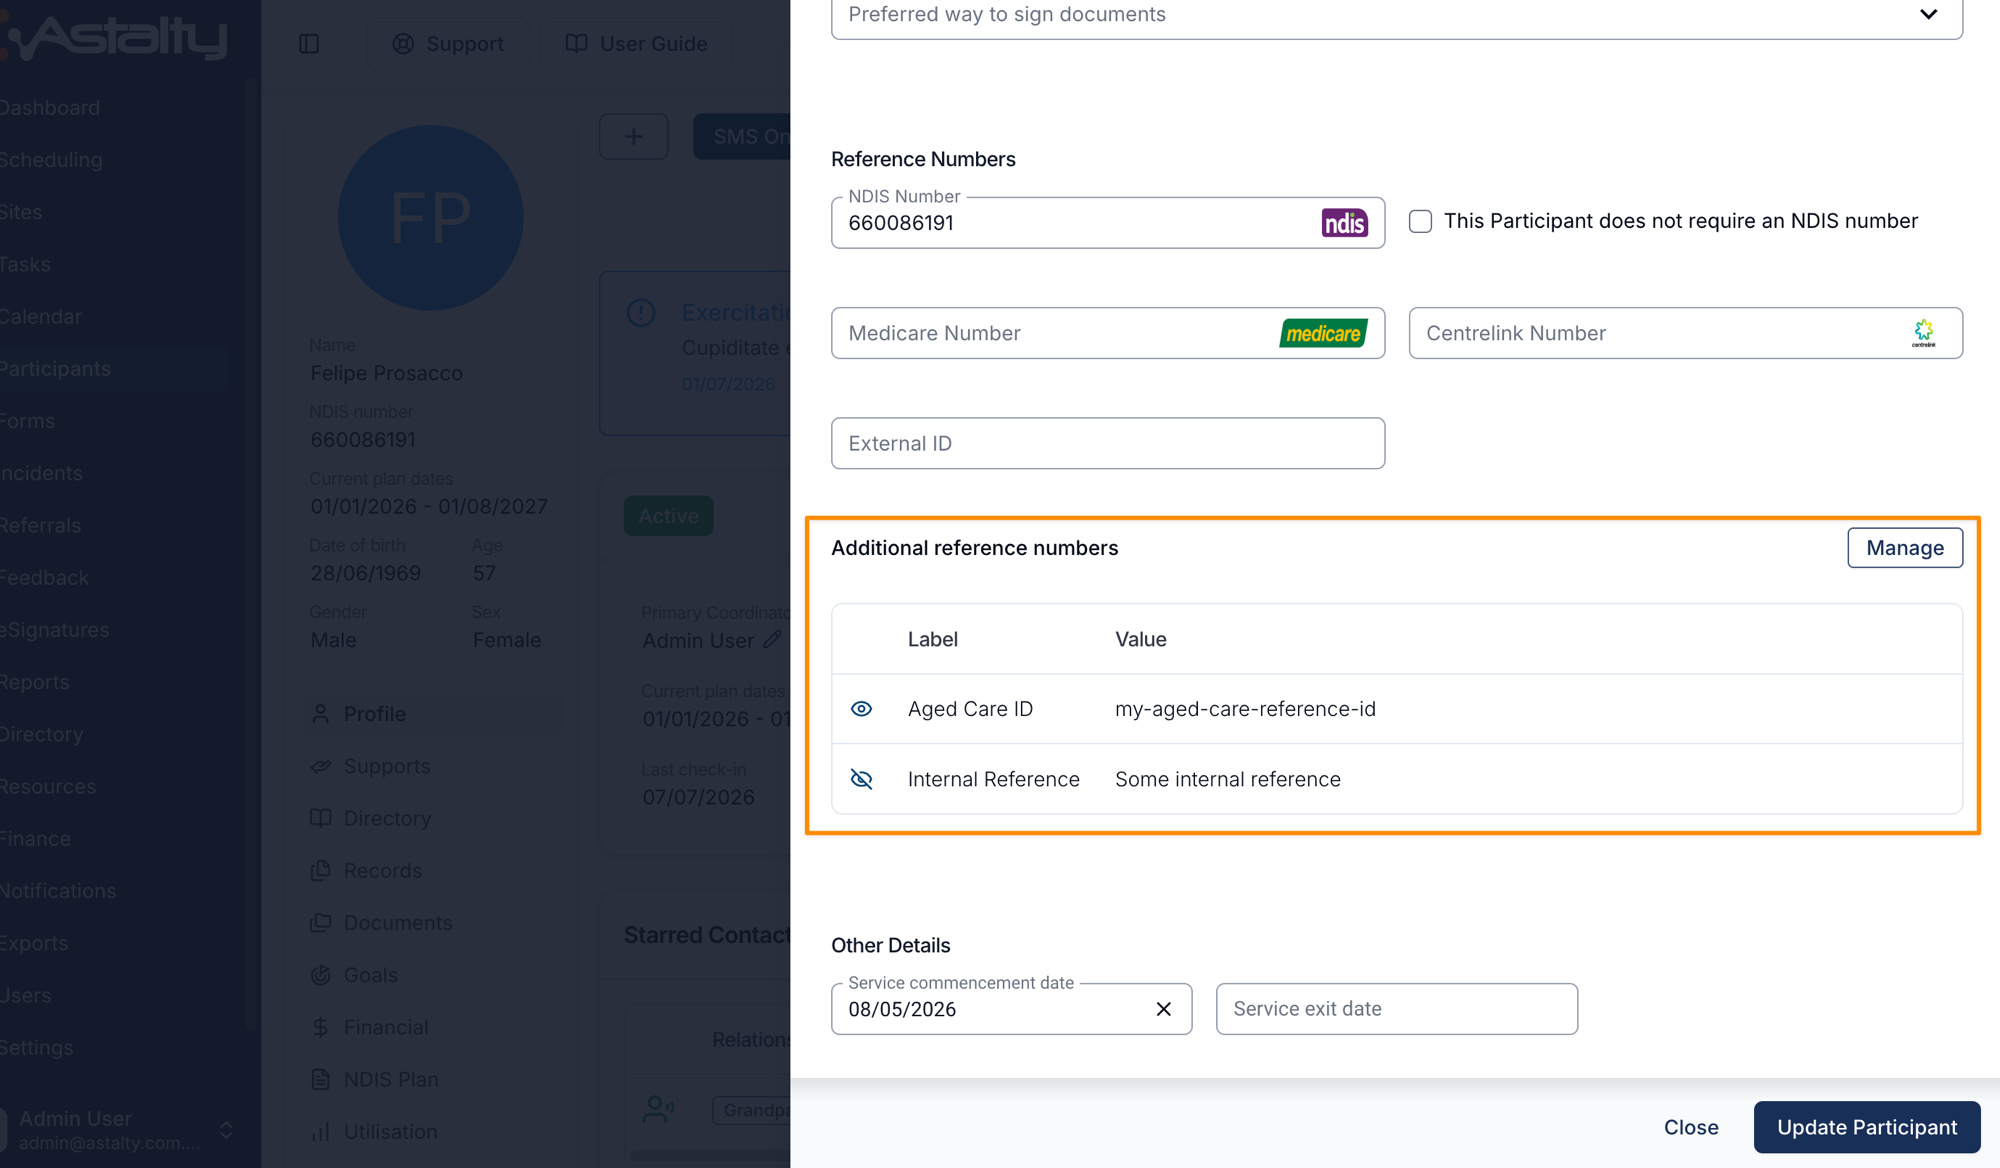
Alongside the built-in identifiers on a Participant's profile - their NDIS Number, Medicare Number, Centrelink Number, and External ID - you can add any number of your own reference numbers. Each one is a simple Label and Value pair, such as an Aged Care ID or a Plan Manager Client Number, and you can choose to show it on the Participant's invoices.
Use them whenever you need to record an identifier that Astalty doesn't have a dedicated field for, or that a funder, Plan Manager, or another system expects to see on your invoices.
Where reference numbers appear
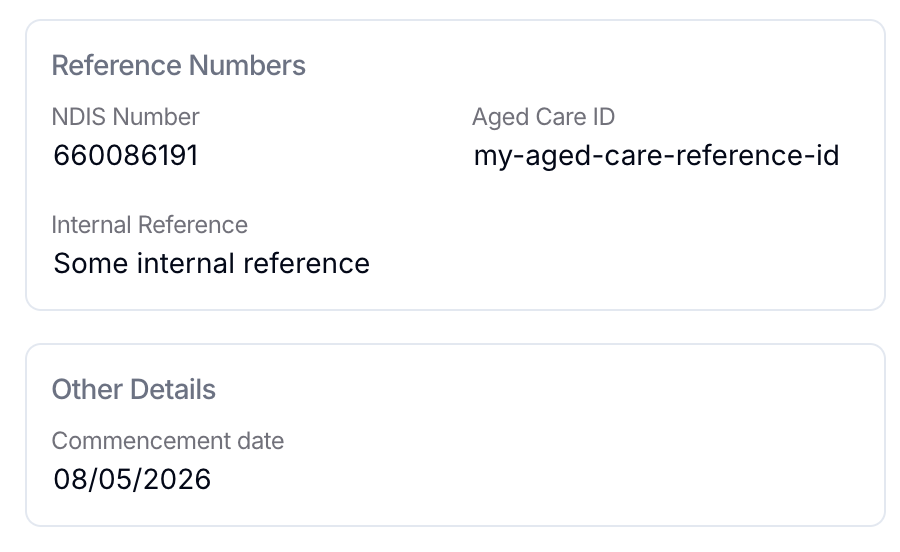
Reference numbers are shown in the Reference Numbers card on a Participant's profile, listed underneath their NDIS, Medicare, Centrelink, and External ID numbers. By default, Support Workers can't see reference numbers.
Adding a reference number
Reference numbers are added from an existing Participant's profile, not while you're first creating them.
- Open the Participant and click Edit.
- Scroll to the Reference Numbers section and, under Additional reference numbers, click Manage.
- In the drawer that opens, click Add Reference Number.
- Enter a Label (what the number is, e.g. Aged Care ID) and its Value (e.g. AGED-CARE-4821).
- Tick Show on invoices if this reference number should appear on the Participant's invoices.
- Click Create.
Repeat for as many reference numbers as you need.
Editing or deleting a reference number
In the Manage drawer, each reference number has a menu on the right. Use it to Edit the label, value, or invoice setting, or to Delete the reference number. You'll be asked to confirm before a reference number is deleted.
Showing reference numbers on invoices
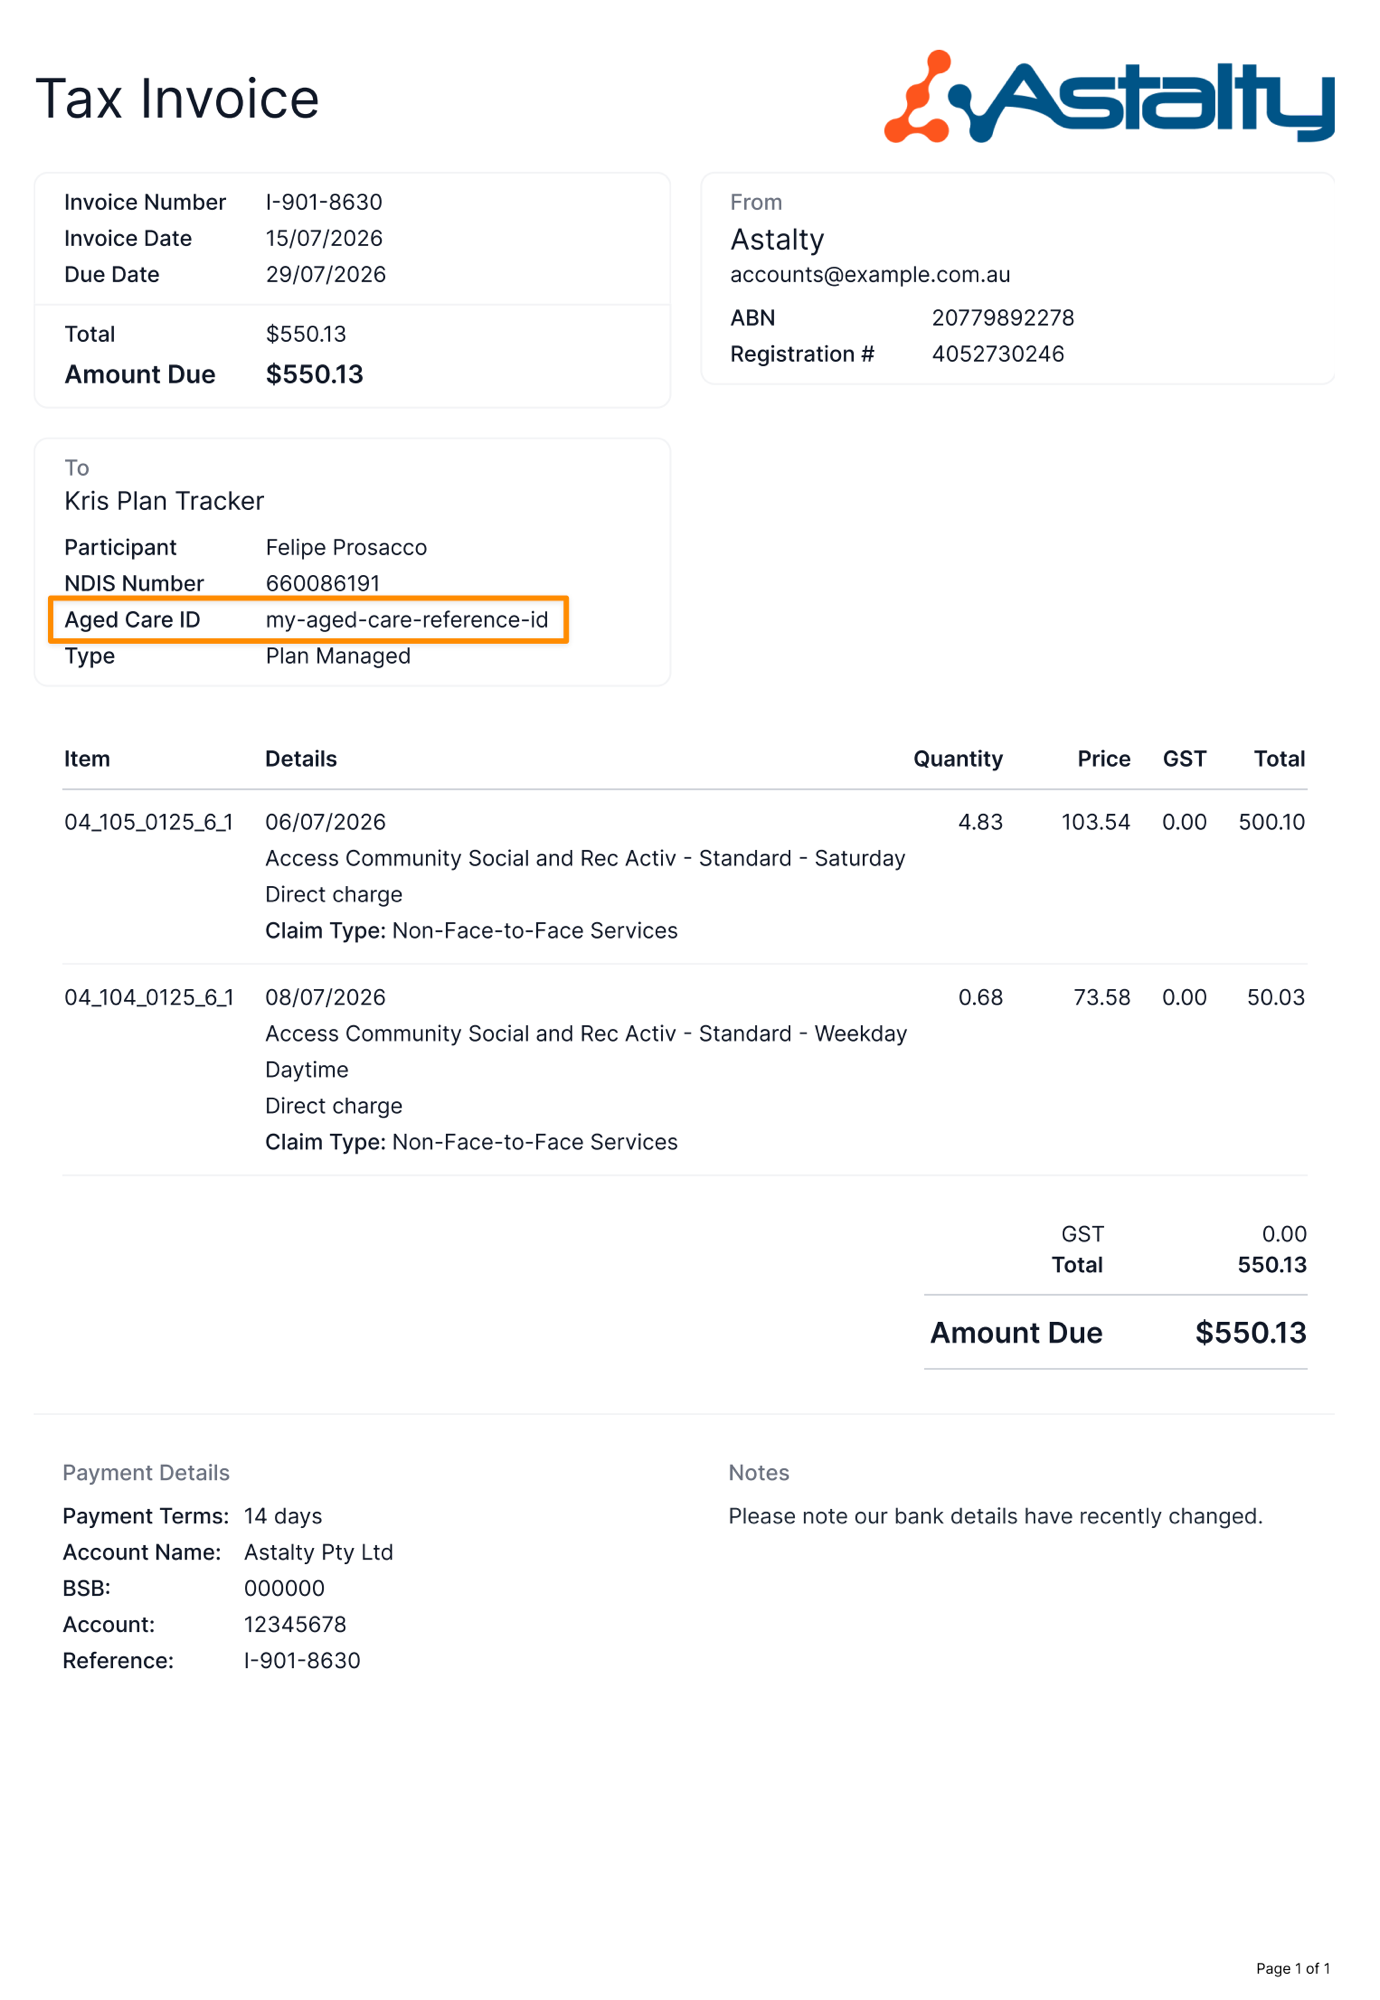
Any reference number with Show on invoices ticked appears in the recipient details (the "To" block) on the Participant's invoices, shown as its Label followed by its Value. The eye icon next to each reference number in the Manage drawer tells you at a glance whether it will show on invoices.