User Name and Registration Number
Overview
Within Astalty you can include your staff members' names and registration numbers on your invoices. When shown, the name appears under the charge as Delivered By, with any registration numbers listed beneath it.
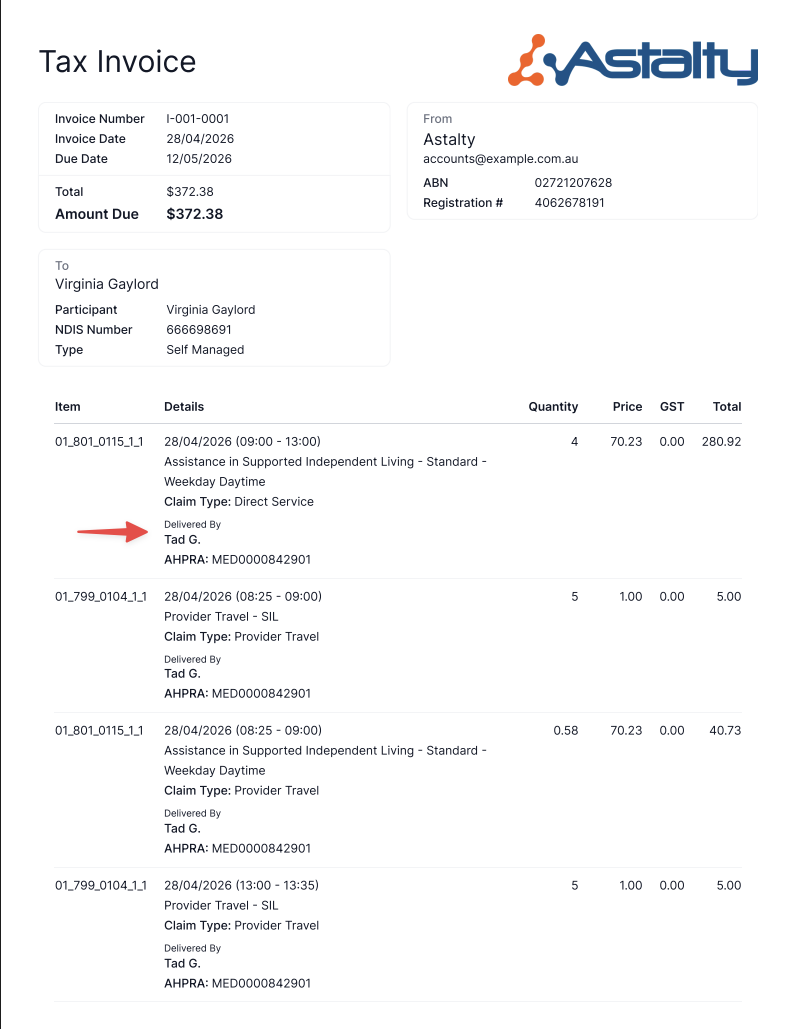
This is set up in two places:
- On each user's profile — choose how that person's name should be written on invoices (Invoice Display Name).
- In your Invoice Settings — choose whether names appear on charges from scheduled supports, and on which invoice types.
Step 1 — Set the user's Invoice Display Name
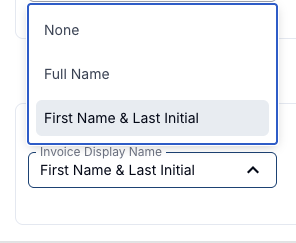
Open the user's profile, select Edit, then select More to reveal the Advanced section. The Invoice Display Name field starts as Not set for every user — a placeholder, not a selectable option — until you choose Do not display, Full Name or First Name & Last Initial. To return to Not set, clear the field using the × that appears once a choice is made.
| Option | What appears on the invoice |
|---|---|
| Not set | No name on charges from Tasks. Scheduled-support charges fall back to the provider's format instead — see Step 3. This is the default. |
| Do not display | No name on any charge — Tasks and scheduled supports alike. Nothing in Step 3 overrides this. |
| Full Name | The user's full name, for example Tad Gislason, on every Task charge, and on scheduled-support charges only when Show support worker name on invoice is on for that invoice type — see Step 3. |
| First Name & Last Initial | The user's first name and the initial of their surname, for example Tad G., on every Task charge, and on scheduled-support charges only when Show support worker name on invoice is on for that invoice type — see Step 3. |
Select Update User to save.
Step 2 — Add a Registration Number (optional)
Create the registration number within the Reference Numbers section of the user's profile and enable Show On Invoice. A common use is an AHPRA number.
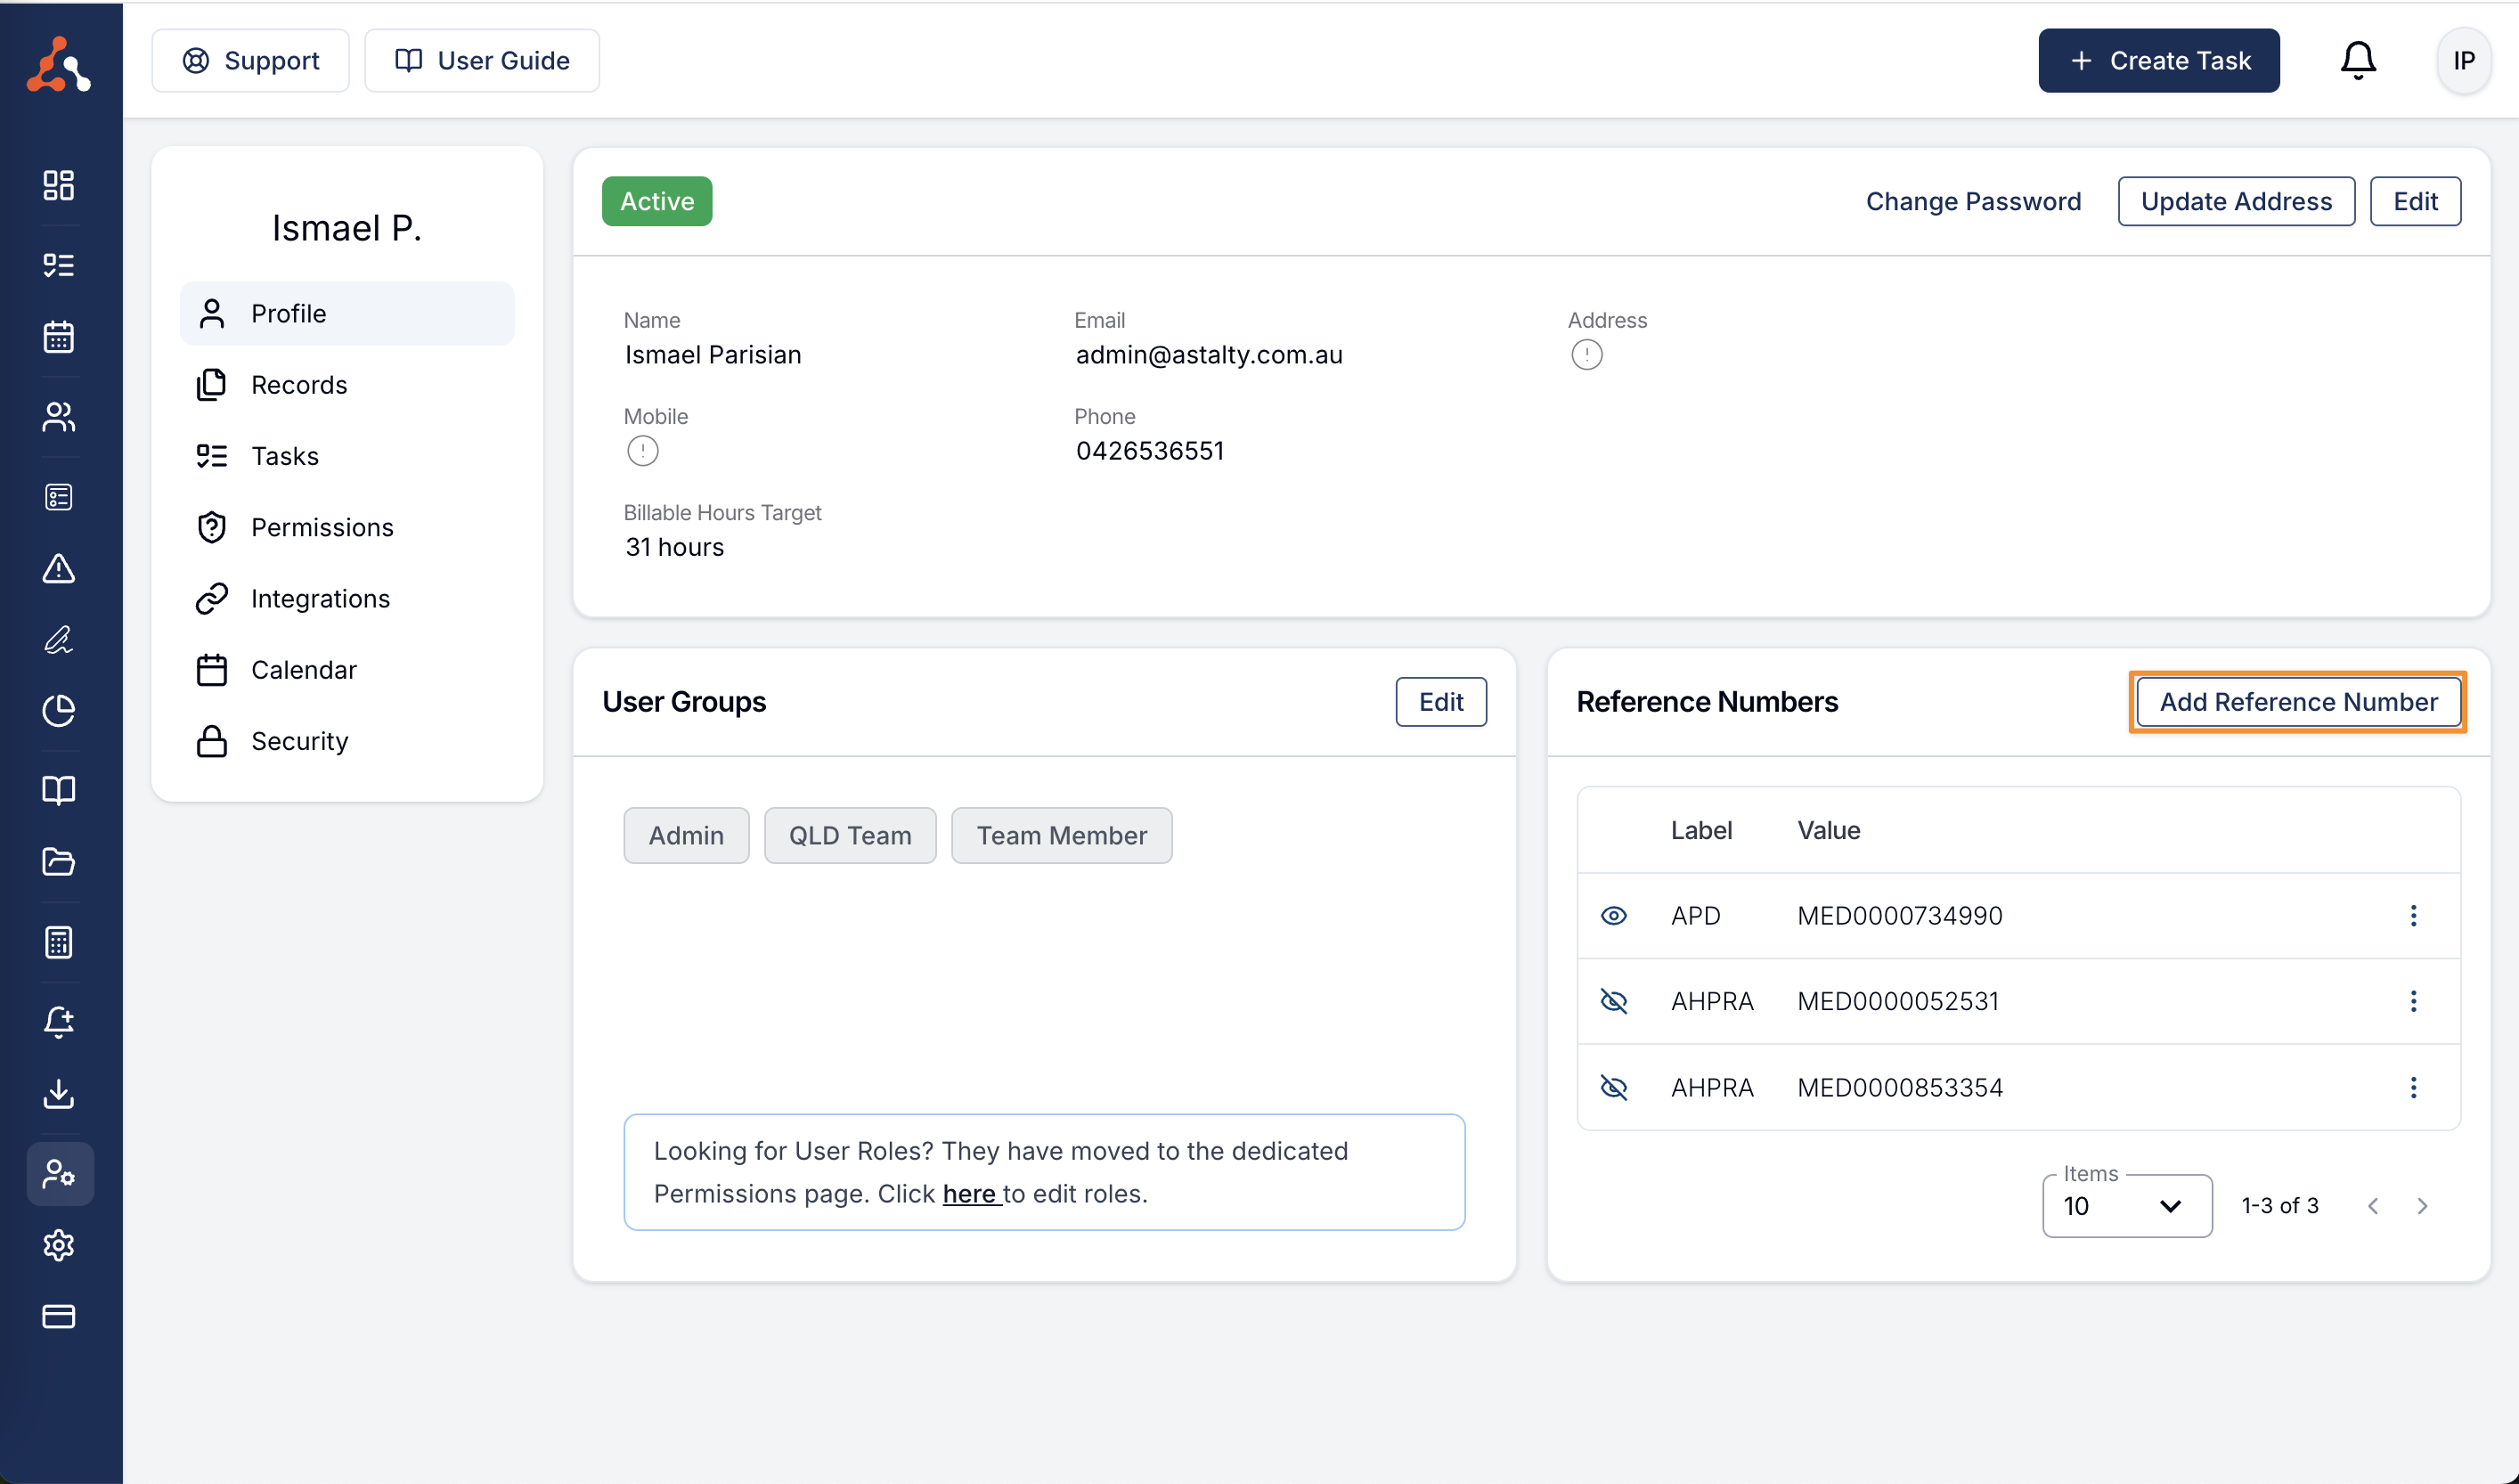
You can find out more about how to add reference numbers in our user guide article here.
Step 3 — Allow names on scheduled support charges
Setting an Invoice Display Name is enough for charges that come from Tasks — they show the assigned user's Full Name or First Name & Last Initial; Not set or Do not display both hide the name instead.
For charges that come from scheduled supports and travel, turn on Show support worker name on invoice in Invoice Settings, select which invoice types it applies to — Self Managed, Plan Managed and/or NDIA Managed — and choose a Display as format: First name & last initial (default) or Full name.
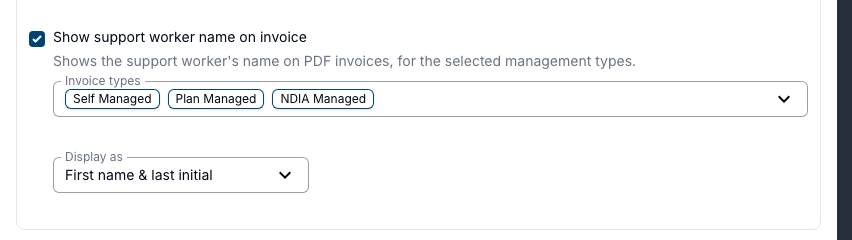
This is particularly useful for 2:1 Direct Support or Group Support, where two workers deliver the same support item at the same rate and the line items would otherwise be indistinguishable.
Video Walkthrough
See our video walkthrough below on how to complete this process.